
What’s Your Soil Hiding? How to Test and Fix Your Lawn’s Foundation
Seeing thin grass or fertilizer that never seems to work can make you feel like you’re throwing cash on the ground. A simple soil test tells you exactly what’s missing, so you can stop guessing and start growing.
This guide walks you through the whole process, from your backyard to the lab report. We will cover how to gather a good sample, where to send it for the best advice, what the pH and nutrient numbers really mean, and how to apply the right fixes for your grass.
I’ve tested the soil around my mower Max and under the drip lines from Sunny for years, learning how to read what the earth needs for a thicker, greener lawn.
At a Glance: Your Soil Test Cheat Sheet
Think of a soil test as a medical check-up for your yard. It skips the guesswork and gives you a prescription.
- It solves the mystery of yellow or pale grass that won’t green up, even with fertilizer.
- It tells you why moss or certain weeds are taking over, as they thrive in specific poor soil conditions.
- It explains poor fertilizer response, so you stop wasting money on products your lawn can’t use.
- It reveals if your soil is too tight and compacted or too sandy and loose for healthy roots.
For testing, you have two main paths. A mail-in lab test from your local cooperative extension is the gold standard. It gives you precise numbers for pH and all major nutrients. The other option is a basic home pH test kit from a place like Home Depot. That lawn soil test kit from Home Depot is fine for a quick pH check, but it won’t give you the nutrient details you need for a real plan.
My rule of thumb is to test in early fall for cool-season grasses. That’s the best time to correct problems before the next growing season. Test in late spring for warm-season grasses. Also test any time you’re starting a new care plan or tackling a persistent problem area.
Why Bother Testing Your Lawn’s Dirt?
When your lawn looks sick, you play detective. The grass is thin. Weeds are winning. The clues are hidden in the dirt.
Guessing with fertilizer is expensive. You might add nitrogen when the real problem is locked-up iron from high pH. You burn money and grass. Worse, excess nutrients wash away, polluting local waterways, especially when using inappropriate types of lawn fertilizer. A soil test stops that cycle.
I learned this with Patch, my shady problem corner. I kept throwing down seed and starter fertilizer, but nothing thrived. The soil test came back with a shockingly low pH. That area was more acidic than the rest of my yard. The grass couldn’t access any nutrients. I corrected the pH, and now Patch is finally filling in.
So, lab or kit? For a one-time, comprehensive diagnosis, invest in the lab test. It’s the difference between a doctor’s blood panel and a home thermometer. The kit is a useful tool for occasional pH spot-checks once you know your baseline.
The Tools You’ll Need to Get a Good Sample
You don’t need fancy gear. You just need clean gear. Residue from last season’s products can skew your results.
- A clean garden trowel, a soil probe, or even a sturdy shovel.
- A plastic bucket. Avoid metal, as it can interact with the soil.
- The sample bag or box from your testing lab, or a clean zip-top bag.
You can find a basic lawn soil testing kit that bundles a probe and bags, but any clean tools from your shed work perfectly.
How Many Soil Handfuls Do You Actually Need?
Don’t just grab dirt from one spot. Your yard has different neighborhoods, or zones.
Sample your sunny front lawn, your shady back lawn, and any obvious problem spots separately. For each zone, take 5 to 8 plugs. Aim for 3 to 4 inches deep, where the grass roots live. Dump all the plugs from one zone into your bucket and mix them thoroughly. This creates one composite sample that represents the whole zone.
Take your samples from random spots in the middle of the zone. Avoid edges. Stay clear of areas near driveways, sidewalks, compost piles, or under roof driplines. These spots can give you weird readings.
Where to Send Your Sample: Finding “Lawn Soil Testing Near Me”
Your first search should be for your local county cooperative extension service. They are connected to state universities and provide affordable, agronomic testing. They understand local soils.
If you search for a private lawn soil test lab, look for one that provides tailored lawn recommendations, not just farm data. Expect to pay between $20 and $50, with results in one to two weeks.
The lab form will ask what you’re growing. Tell them your grass type. Mention any recent lime or fertilizer applications. Most importantly, state your goal: “Residential Lawn.” This ensures they give you advice meant for your backyard, not a farm field.
Breaking Down the Soil Test Report: No PhD Required
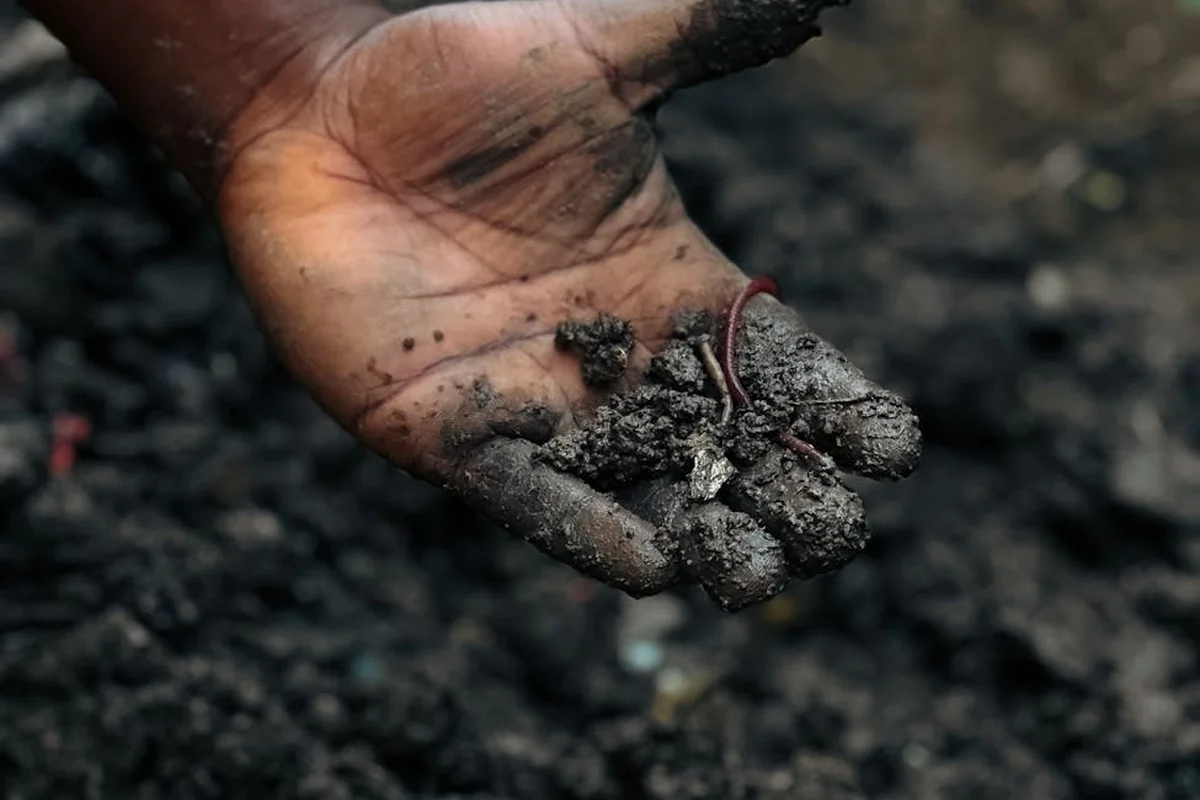
Think of your soil test report as a nutrition label for your lawn. Your job isn’t to understand complex chemistry. It’s to read the levels and see what’s missing or excessive. I’ll translate all that scientific jargon into plain, actionable English you can use this weekend.
pH: The Most Important Number on the Page
Soil pH is like a locked door. If the pH is off, that door is shut, and your grass roots can’t get to the nutrients in the soil, no matter how much fertilizer you add.
For most turfgrass, you want that door wide open in the sweet spot of 6.0 to 7.0.
If your pH is low (acidic soil), nutrients get locked up, moss might move in, and the soil can feel hard and compacted. If your pH is high (alkaline soil), your lawn can look pale and starved, with yellowing between the veins, and the soil often has a chalky, crusty feel when dry.
N-P-K: The Big Three Lawn Foods
These three letters are your fertilizer cheat code.
- Nitrogen (N) is for green, leafy growth.
- Phosphorus (P) builds strong, deep roots.
- Potassium (K) is your lawn’s stress fighter against drought, disease, and cold.
The report will label each as “Low,” “Sufficient,” or “High.” “Low” means buy a fertilizer that has it. “Sufficient” means you don’t need to add more right now. “High” means stop adding it completely.
Here’s a key point: most reliable home test kits don’t measure nitrogen accurately, and that’s perfectly fine. Nitrogen moves through soil quickly, so tests snap a picture of a moving target. We manage nitrogen based on the grass’s growth and color, not a lab report.
Organic Matter & Texture: The Soul of Your Soil
Organic matter is your soil’s sponge. It soaks up water and holds onto nutrients so they don’t wash away. More is almost always better.
Texture is about feel. Grab a damp handful of soil from a few inches down. Rub it between your fingers.
- Sandy soil feels gritty and falls apart. It drains like a sieve.
- Clay soil feels sticky and molds like dough. It holds water too well.
- Loam is the ideal. It feels crumbly, dark, and holds its shape briefly before breaking apart.
This tells you how to care for your lawn. Sandy soil needs shorter, more frequent watering. Clay soil needs deeper, less frequent soaks and more aeration to open it up. This frames how irrigation should differ by soil type. You can tailor your approach for clay versus sandy soils.
Turning Test Results Into a Lawn Care Action Plan
This is your lawn’s prescription. The test diagnosed the issues. Now, here’s how you fill the prescription.
How to Raise or Lower Your Soil’s pH
If Your Soil is Too Acidic (pH is Low)
You need to add lime. Pelletized limestone is the easiest to spread. Your soil test will recommend how many pounds per 1,000 square feet you need.
Apply it in the fall if you can. Water it in lightly to start the process. Then, be patient. Lime works slowly, changing the soil chemistry over months, not days.
If Your Soil is Too Alkaline (pH is High)
Lowering pH is a slower, more precise job. Elemental sulfur is the standard long-term fix. You must follow the test’s application rate exactly. More is not better.
Because it works so slowly and can be tricky, plan on doing a follow-up soil test in a year to see your progress and avoid over-correcting.
Choosing the Right Fertilizer Based on Your Numbers
Look at your “Low” ratings for Phosphorus (P) and Potassium (K). Find a bag of fertilizer where the three numbers (N-P-K) match what you need.
For example, if only Potassium is low, look for a product with a low middle number and a high last number, like a 24-0-8.
I always lean toward fertilizers with slow-release nitrogen. They feed the lawn gently over time, like a steady drip from Sunny, instead of all at once.
If your test shows “Sufficient” levels of Phosphorus and Potassium, you can save money and avoid waste by using a nitrogen-only fertilizer. This prevents dumping nutrients your soil doesn’t need.
Boosting Organic Matter: The Ultimate Long-Term Fix
The single best thing you can do for your soil is add compost. After you aerate your lawn, top-dress your lawn with a thin layer (about 1/4 inch) of quality, screened compost. The soil plugs from aeration create perfect holes for the compost to filter down into the root zone.
Also, use your mower. My mower, Max, has a mulching kit. Leaving the grass clippings on the lawn recycles nutrients and adds a tiny bit of organic matter back every time you mow.
More organic matter fixes texture problems at their core. It helps sandy soil hold water and helps sticky clay soil drain better, all while feeding the microbiology that keeps your lawn healthy. It’s the gift that keeps on giving.
When a Simple Soil Test Isn’t Enough
Here’s the truth. A soil test is your roadmap to fertility, but it won’t fix a broken road. If your soil’s physical structure is the problem, all the nutrients in the world just wash away. I learned this the hard way with Patch, that shady corner that never improved no matter what I fed it.
Signs Your Soil is Crying for Aeration
You need to look beyond the test results. Severe soil compaction is a physical barrier. Your grass roots can’t breathe, water can’t soak in, and nutrients can’t move. Your soil test might say “feed me,” but the real message is “fix me first.”
Walk your lawn. Do you see water pooling after a light rain, even on level ground? Press a screwdriver into the soil. Does it feel like you’re hitting concrete after the first inch? Is your grass thin and struggles to spread, even with fertilizer? These are classic signs.
If your ground is rock-hard and your grass is weak, your lawn needs core aeration, not just another bag of fertilizer. Think of it like this: you can pour the finest vitamins into a clogged straw, but nothing gets through. Aeration punches holes, pulls out plugs of soil, and creates channels for air, water, and yes, those fertilizer nutrients to finally reach the roots.
When You’re Dealing With a Sponge That Won’t Dry
Major drainage issues are another beast. Your soil test may show perfect pH and nutrients, but if the ground stays soggy for two days after a rain, you have a water management problem. This often happens with heavy clay soils-they hold water like a sealed tub.
I watch Sunny, my drip system, closely. In a healthy spot, the water soaks in. In a bad spot, it just sits on the surface, turning the area into a muddy mess. This drowns roots and invites disease.
For minor issues, adding organic matter like compost over time can help loosen clay. But for serious, yard-wide sogginess, surface fixes won’t cut it.
Persistent sogginess points to a need for grading to redirect water flow or even an underground solution like a French drain. It’s a bigger project, but it’s the only real fix when you’re basically gardening in a wetland.
Knowing When to Call for Backup
We all want to be the hero of our own lawn. I get it. But part of being a smart homeowner is knowing your limits. Some projects are simply too big, too technical, or too time-consuming for a weekend warrior.
Consider a professional for large-scale lawn renovation where you need to kill everything and start over, or for major regrading. More importantly, if you’ve faithfully followed your soil test recommendations and applied the right fixes for two full growing seasons with no visible improvement, including attempts to amend compacted lawn soil, it’s time.
Calling a pro isn’t a failure; it’s a strategic move to save time, money, and your sanity when DIY corrections hit a wall. They have tools and eyes for problems-like severe thatch, complex pest issues, or hidden construction debris-that we might miss. It lets you get back to the enjoyable parts of lawn care, like the satisfying hum of Max on a Saturday morning.
Your Soil Test Questions, Answered
When should I use a home test kit versus a professional lab test?
Grab a basic home kit from a hardware store for a quick, one-off pH check. For a full nutritional workup and a real action plan, the professional lab test is the only way to go.
How do I choose a reliable “lawn soil testing near me” service?
Your county’s cooperative extension service is your top, affordable bet. For private labs, ensure they offer interpretation and recommendations specifically for turfgrass, not just crop fields. An organic lawn care guide can help translate lab results into practical, natural steps for your lawn. This keeps you aligned with turf-focused, eco-friendly practices as you move forward.
Can I trust the lawn soil test advice I see on Reddit or forums?
Online communities are great for moral support and sharing experiences. Always, however, base your actual correction plan on your official lab report, not a stranger’s guess about your unique dirt.
What’s the real difference between a basic kit and a pro lawn soil test lab?
A kit gives you a snapshot, usually just pH. A pro lab provides the full film: precise levels of phosphorus, potassium, organic matter, and a custom prescription to make your grass grow greedy.
How often do I really need to test my lawn’s soil?
Test every 2-3 years to monitor your progress and adjust your plan. Test immediately if you’re solving a stubborn problem or starting a major renovation, so you don’t waste a single effort.
From Test Tubes to Thicker Turf
After all my years with Max mowing and Sunny watering, I’ve learned that soil testing is the smartest shortcut to a healthy lawn. Make it a habit to test every few years and let those numbers direct your fertilizer choices—it’s the surest way to green up without the guesswork. In the next steps, we’ll cover how to fertilize your lawn safely and effectively with simple, practical tips. That approach keeps your soil thriving and your turf looking its best.
Taking care of your lawn means taking care of your whole yard ecosystem, from pets to pollinators. Keep learning from each season and each soil report; that’s how you build a lawn that’s not just green, but genuinely thriving. For a practical path forward, explore lawn care maintenance tips you can apply season by season.
Sources and Additional Information
- MySoil Test Kit
- Soil Testing Kit | Yard Mastery
- Lawn & Garden Soil Testing
- Lawn & Garden | Soil Testing Laboratory
Written by Ria Carrington. Ria is an avid lawn care enthusiast and advisor. No lawn is unsalvagable when Ria is at work. She has helped countless homeowners breath new life into their dying lawns. She has a B.Sc in Agriculture and brings practical advice combined with knowledge of plant science and her decade worth of hands on experience.