
How Do You Reseed, Overseed, and Fix Bare Spots in Your Lawn?
Those thin, patchy areas in your grass don’t have to be a permanent eyesore. I know the feeling, and getting your lawn back is a straightforward project.
This guide walks you through the process, covering when and how to reseed, the step-by-step for overseeding, and my best tactics for repairing bare spots.
I’ve revived my own lawn through trial and error, saving cash and weekends in the process.
At a Glance: What Reviving Your Lawn Really Takes
Let’s be clear about three words you’ll hear a lot: reseeding, overseeding, and patching. Think of them as tools for different jobs.
- Reseeding is a total restart. You’re killing off the old, struggling lawn and planting a completely new one from seed. It’s the most work, but sometimes it’s the only real fix.
- Overseeding is thickening up what you already have. You spread new seed over existing grass to fill in thin areas, improve color, and introduce tougher grass types.
- Patching is for spot repairs. You fix a bare spot from a dog run, a fungal patch, or where the kid’s pool sat all summer.
This is the most satisfying DIY project you can do for your home. You get the instant reward of seeing fresh green sprouts, followed by the long-term pride of a lawn that can handle a backyard party. I know that pride firsthand.
My shady corner, “Patch,” used to be a muddy, mossy mess where nothing grew. I brought it back from the brink not with magic, but with patience and the right simple steps. Now it’s one of the thickest, greenest parts of my yard, even with less sun.
The difference between a frustrating waste of money and a stunning comeback almost always comes down to two things: timing and preparation. Get those right, and the grass will do the hard work for you.
First, Figure Out What You’re Actually Fixing
Before you buy a single bag of seed, you need to play detective. Is your grass dead or just sleeping? The answer changes everything.
Grab a handful of brown grass and give it a gentle, firm tug. If it pulls out easily with no resistance, leaving behind nothing but dirt, that grass is dead. If it resists and you see a white or pale green crown at the base, it’s dormant. That crown is the plant’s heart; as long as it’s firm and not dry or mushy, the grass is alive and will green up with proper care and cooler weather.
Now, take a walk. Look at your whole lawn and diagnose the issue.
- Is the lawn overall thin, see-through, or weedy, but you can still see more grass than dirt? This is a job for overseeding. You want to add density without starting from zero.
- Are there large areas (over 50% of the lawn) that are completely dead, compacted, or overrun with weeds you can’t control? This calls for reseeding. A fresh start is your best path to bring your lawn back to life.
- Are you dealing with just a few scattered bare spots or small damaged areas? This is simple patching. Targeted repairs will blend these spots right in.
Knowing what you’re fixing is the first, most critical step to revive your lawn. It tells you which tool to grab and saves you from spending a weekend on the wrong project. Diagnosing the problem correctly is essential for successful lawn care.
Overseeding vs. Reseeding: Picking Your Battle Plan
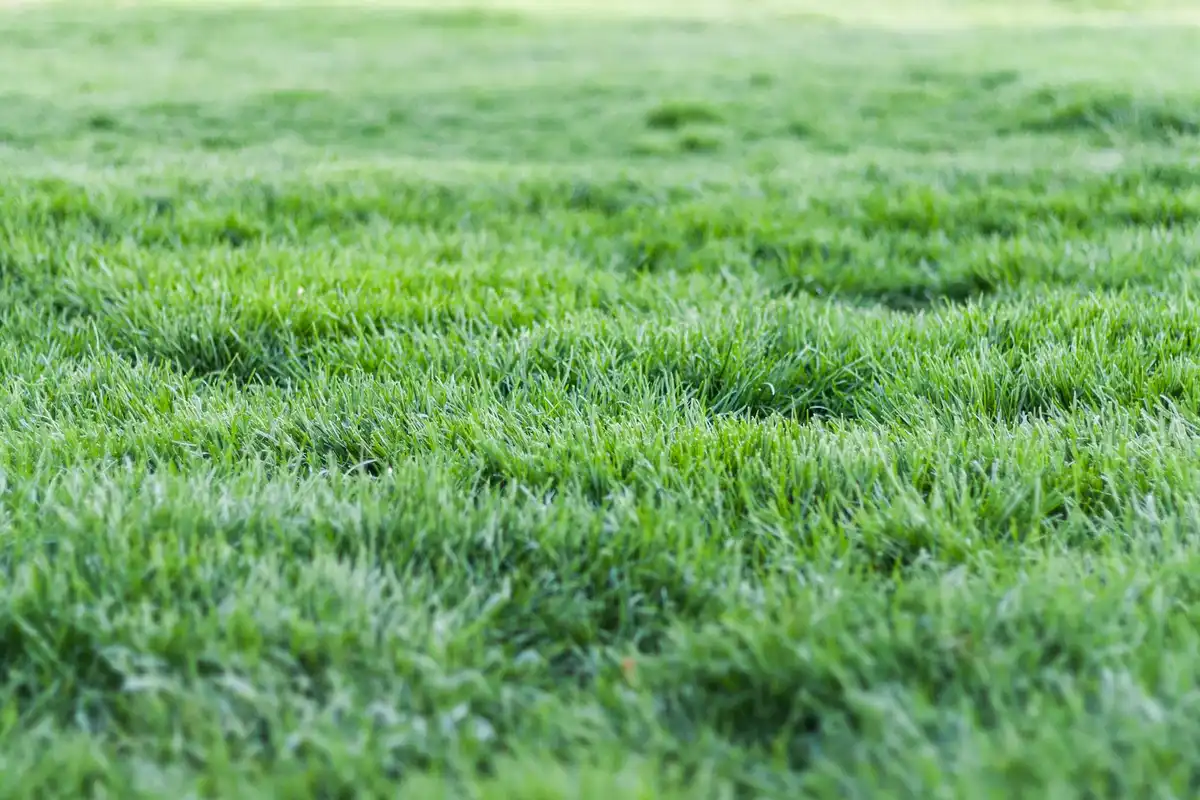
You look at your lawn and see gaps. Maybe it’s a few thin patches or a whole area that looks tired. The first step is knowing whether to overseed or reseed. Picking the right one saves you a ton of time and money.
Overseeding is exactly what it sounds like: spreading new grass seed over your existing lawn. You’re not tearing anything up. You’re giving your current grass a boost of fresh, young plants to crowd out weeds and fill in bare spots. Think of overseeding as a tune-up for your lawn, making a thin yard thick and competitive again. This is what I do every other fall in my backyard to keep it from getting thin.
Reseeding is a full restart. It’s for when a large area is a lost cause, choked with weeds or just dead soil. This process means killing off the old grass and weeds, working the soil from scratch, and laying down new seed. Reseeding is like a lawn renovation, a major project for sections where starting over is easier than fixing what’s there.
How do you choose? It’s a numbers game. Look at the troubled area and make a simple call.
- If the spot is more than 50% weeds or bare dirt, plan to reseed.
- If the grass is just thin or patchy (less than 50% damage), you can overseed.
My shady corner, Patch, taught me this. It was always thin, so I overseeded it. But the spot by the old shed was pure weeds, so that got the full reseed treatment.
Here’s the big takeaway for a busy homeowner. Overseeding is far less work and far less disruptive to your yard than a full reseed. You keep most of your existing grass, which means you get results faster with less soil prep. Reseeding is a commitment, like preparing a brand new garden bed. You need to be ready for that. Timing matters too—the best time to overseed or reseed can boost germination and results. In the next steps, we’ll outline the ideal windows for overseeding in different climates.
The #1 Rule: Your Calendar and Your Grass Type
Let me be straight with you. The single most important factor for success is timing your seeding with your grass type. Get this wrong, and you might as well be sprinkling your cash on the dirt.
For cool season grasses like fescue or Kentucky bluegrass, fall is absolutely king. I schedule my overseeding for early fall, right after I give Max his annual blade sharpening. Spring is the runner up, but it is a distant second because weed competition is fierce.
For warm season grasses like Bermuda or Zoysia, your window is late spring into early summer. The ground needs to be genuinely warm for those seeds to germinate properly.
These seasons work because they offer the perfect blend of warm soil, reliable moisture, and weaker weed pressure. In fall, the soil holds summer’s warmth, nights are cool, and rain is often more consistent. Weeds are slowing down, giving new grass room to grow.
You do not need a fancy soil thermometer. For warm season grasses, use this simple test. When you can walk barefoot on your lawn in the morning and the soil feels comfortably warm under your feet, it is usually time. I learned this after a few seasons of guessing wrong.
Seeding too late is the quickest way to waste your money and effort. I learned this lesson in Patch, my problem corner. Young grass needs weeks to establish strong roots before extreme heat or a hard frost hits. Miss the window, and those delicate seedlings will not survive, no matter how much you baby them with Sunny’s drip lines.
Gear Up: What You’ll Need to Get the Job Done
Think of this like a simple recipe. Get your ingredients and tools together first, and the whole process goes smoothly. I’ve learned that skipping a step or using the wrong tool just means doing the job twice.
The Tools for the Task
You don’t need a garage full of fancy equipment. A few basics will cover 99% of what you need to do.
- A metal bow rake or thatching rake. This is for roughing up the soil in bare spots. You want to scratch the surface, not dig a trench.
- A broadcast spreader. This is my strong recommendation. It flings seed in a wide, even pattern. A drop spreader often leaves stripes and is harder to use evenly. It’s worth the small investment.
- A lawn roller (optional but helpful). Filled halfway with water, this gently presses seed into soil contact, which is vital for germination.
- A core aerator (for large overseeding jobs). You can rent one. Think of it as Max’s less-glamorous, hard-working cousin. It pulls plugs of soil out, creating perfect little holes for seed, water, and air to reach the roots.
- A hose with a gentle spray nozzle or, better yet, connect it to Sunny (your irrigation). You need a soft, rain-like sprinkle.
The Materials That Matter
Quality here makes all the difference. Cheap seed often contains weed seed or grasses that don’t match your lawn.
- The right grass seed. This is the most important choice. Read the bag. For sunny areas that get foot traffic, look for a perennial ryegrass or tall fescue blend. For shade, fine fescues are champions. I always buy a bag with a seed mix meant for my specific conditions.
- Starter fertilizer. Get a bag labeled “Starter.” It’s higher in phosphorus, which is the nutrient that specifically helps new grass roots develop quickly and strongly.
- A thin layer of compost or peat moss (for bare spots). After seeding a bare patch, a light sprinkle (about 1/4 inch) of these materials acts like a blanket. It holds moisture, protects seed from birds, and keeps it from washing away.
Picking the right seed mix is not about getting the fanciest bag, it’s about matching the grass to the life that patch of lawn lives-full sun, quiet shade, or a kid’s play zone. Take five minutes to look at the label. That step alone saves you frustration later when something doesn’t grow right.
The Step-by-Step: How to Overseed Your Lawn

This is where the weekend gets good. Overseeding is the single best thing you can do for a thin or tired lawn. It feels like giving your yard a reset. The goal is simple: get new grass seed down so it can sprout and fill in the thin areas, making your whole lawn thicker and more resilient. I treat this like a project with clear, manageable steps. A crucial part of that plan is lawn aeration and overseeding care—letting air and moisture reach the roots so seeds can take hold. This sets the stage for a thicker, more resilient lawn.
Following these steps in order gives your new grass the best possible start, turning your effort into real results you can see in just a few weeks.
1. Mow Short and Bag Clippings
First, I take Max out for a very short haircut. Mow your lawn about one third shorter than your usual height. For most cool-season grasses, that’s around 2 inches. The goal is to let sunlight hit the soil surface.
Always bag these clippings. You don’t want a layer of fresh clippings smothering the tiny seeds you’re about to put down. Think of it like trying to plant a garden under a blanket. It won’t work.
2. Rake or Dethatch to Expose Soil
Now, grab a stiff garden rake. Your mission is to scratch through the existing grass and break up the thatch layer that’s sitting on top of the soil. Thatch is that spongy mat of dead stems and roots. A little is good, but too much acts like a barrier.
If your lawn feels bouncy underfoot or the rake pulls up a lot of brown material, you might need a power dethatcher. For smaller areas, a good, aggressive raking does the trick. I learned this battling Patch, my shady spot. You need to see bare, loose soil in the thin areas.
Breaking up the thatch layer is non-negotiable because it allows your new grass seeds to actually reach the soil where they can root.
3. (Optional but Great) Core Aerate
If you can rent or borrow a core aerator, do it. For ongoing lawn care, consider renting or buying mowers and other aeration equipment to keep maintenance convenient. This machine pulls up small plugs of soil and drops them on the lawn. It relieves compaction, which is when soil gets packed down so hard that water, air, and roots can’t move through it.
Think of compacted soil like a wet sponge that’s been squeezed tight. Aeration opens it back up. Those little holes are perfect shelters for grass seed. It’s the best prep you can do, especially for clay soils or high-traffic areas.
4. Apply Seed Evenly With a Spreader
Choose a quality seed blend that matches your existing grass and sunlight conditions. Don’t buy the cheapest bag. Plan your spreading method to ensure even coverage. A uniform pass with the right spreader helps seeds establish. Fill your broadcast spreader and set it to the rate listed on the seed bag.
Walk at a steady pace in straight lines, then walk perpendicular to those lines. This cross-hatch pattern is the secret to even coverage and prevents those strange stripes of thick and thin grass. Avoid clumps. An even scatter looks like lightly peppered soil.
5. Apply Starter Fertilizer
New grass seedlings need a gentle, immediate food source to push out strong roots. A starter fertilizer is formulated for this. It’s higher in phosphorus (the middle number on the bag), which is key for root development.
Look for a pet-safe formula. Apply it right after the seed, following the spreader settings on the bag. This one-two punch of seed and food gets everything moving in the right direction.
Starter fertilizer gives your seedlings the specific nutrients they crave to establish deep roots fast, making them tougher from the start.
6. Lightly Rake Seed Into Soil
Don’t leave the seed sitting on top. Take your rake, turn it over so the flat back is facing down, and gently drag it across the seeded area. You’re not digging, just tucking the seed in.
You want about a quarter inch of soil covering most seeds. Good seed-to-soil contact is critical. A seed blowing around on the surface is a seed that will not grow.
7. Keep the Area Consistently Damp (This is Sunny’s Job)
This is the most important step. Watering is not a deep soak now. It’s frequent, light sprinkling to keep the top half-inch of soil moist like a wrung-out sponge.
For the first two weeks, you’ll likely need to water 2-3 times a day, especially if it’s sunny and warm. This is where my drip system, Sunny, earns its keep. I set it for short, frequent cycles in the early morning and late afternoon.
If you don’t have irrigation, a hose-end sprinkler on a timer works. The goal is to never let the seeded area dry out completely. Once the grass sprouts and grows to about 2 inches, you can switch to less frequent, deeper watering.
The Step-by-Step: How to Reseed a Lawn (The Full Reset)
Reseeding is different from overseeding. Think of overseeding as patching a pair of jeans. Reseeding is buying a whole new pair. It’s a full reset, and the prep work is everything. You’re not just adding seed to an existing lawn. You’re learning how to replace a lawn by starting fresh from the soil up. This is for when more than half the lawn is thin, weedy, or just the wrong type of grass.
1. Kill What’s There (The Clean Slate)
You need a clean slate. I’ve done this two ways. For a pet-safe, pollinator-friendly method, I smother the old lawn. This takes time but is completely non-toxic. I cover the area with cardboard or a thick layer of newspaper, then top it with a few inches of compost. It takes a full season to kill everything underneath, but it feeds your soil beautifully.
If you need it done in weeks, not months, a gentle, non-selective herbicide like one containing ammonium nonanoate (found in many “natural” weed killers) can work. It breaks down quickly in sunlight. Always follow the label for pet re-entry times, and consider this a last resort when smothering isn’t an option. My rule is to keep the kids and dogs off until the product is completely dry and for at least 24 hours after, just to be safe.
2. Remove Debris and Loosen the Soil
Once the old grass is dead and brown, you need to get it out of the way. I use a sturdy garden rake to pull up the mat of dead material, called thatch. This can be a workout, but it’s satisfying. Now, dig in. Your goal is to loosen the top 4 to 6 inches of soil. You can use a rototiller, but for smaller areas, I use a garden fork. I just drive it in, rock it back, and repeat every few inches. This breaks up compaction so new roots can spread easily.
3. Level and Fill
This is your chance to fix every bump and ditch. Walk over the loose soil and look for low spots. Fill them with a mix of topsoil and compost. Then, take a lawn leveling rake or just the backside of a regular rake, and drag it across the surface. I go in multiple directions. You want it mostly smooth, like you’re making a bed for the seed. Trust me, a level lawn makes mowing with Max the zero-turn so much easier later.
4. Apply Seed and Fertilizer, Then Make Contact
This is the core of how to reseed a lawn. Use a broadcast spreader for even coverage. Follow the seed bag’s rate for new lawns, not overseeding. Apply a starter fertilizer right after the seed. Now, the most critical part: seed-to-soil contact. Seeds need to hug the soil to germinate. I gently rake the area again, just enough to mix the seed into the top 1/4 inch of soil. Then, I use a lawn roller (you can rent one) filled halfway with water to press them in. Think of it like tucking the seeds into bed.
5. Cover for Protection
A bare, seeded lawn is vulnerable. A thin layer of straw (not hay, which has weeds) or compost acts like a blanket. It holds moisture, protects seeds from birds, and prevents them from washing away in a rainstorm. I use about one bale of straw per 1,000 square feet. You should still see about 50% of the soil through it. Don’t smother your new lawn.
6. The Watering Schedule is Your New Job
Forget this, and everything else was a waste of time. Your new seed must stay consistently damp, not soggy, to sprout. For the first two weeks, you’ll water lightly. I set Sunny, my drip system, to run for 5-10 minutes, three times a day (morning, midday, late afternoon). The goal is to keep the top 1/2 inch of soil moist. Once you see green sprouts everywhere, you can water less often but more deeply. This encourages the roots to grow down.
When Overseeding is the Smarter Choice
If your lawn is generally healthy but has some thin areas or you just want it thicker, overseeding is your friend. It’s far less work than a full reseed. You skip the killing and tilling steps. Instead, you mow the existing lawn very short and rake it hard to scratch up the soil surface (this is called dethatching). This creates little grooves for the new seed to fall into. Then you spread seed, fertilizer, and keep it watered just like a new lawn. Overseeding is the yearly tune-up that keeps a good lawn great and fights off weeds naturally. Using the right overseed equipment can boost seed-to-soil contact and distribution for better germination. This makes the process more efficient, especially in shady areas. It’s how I handle tricky spots like Patch, my shady problem area, every fall.
Fixing Bare Spots: From Dog Runs to Mystery Patches
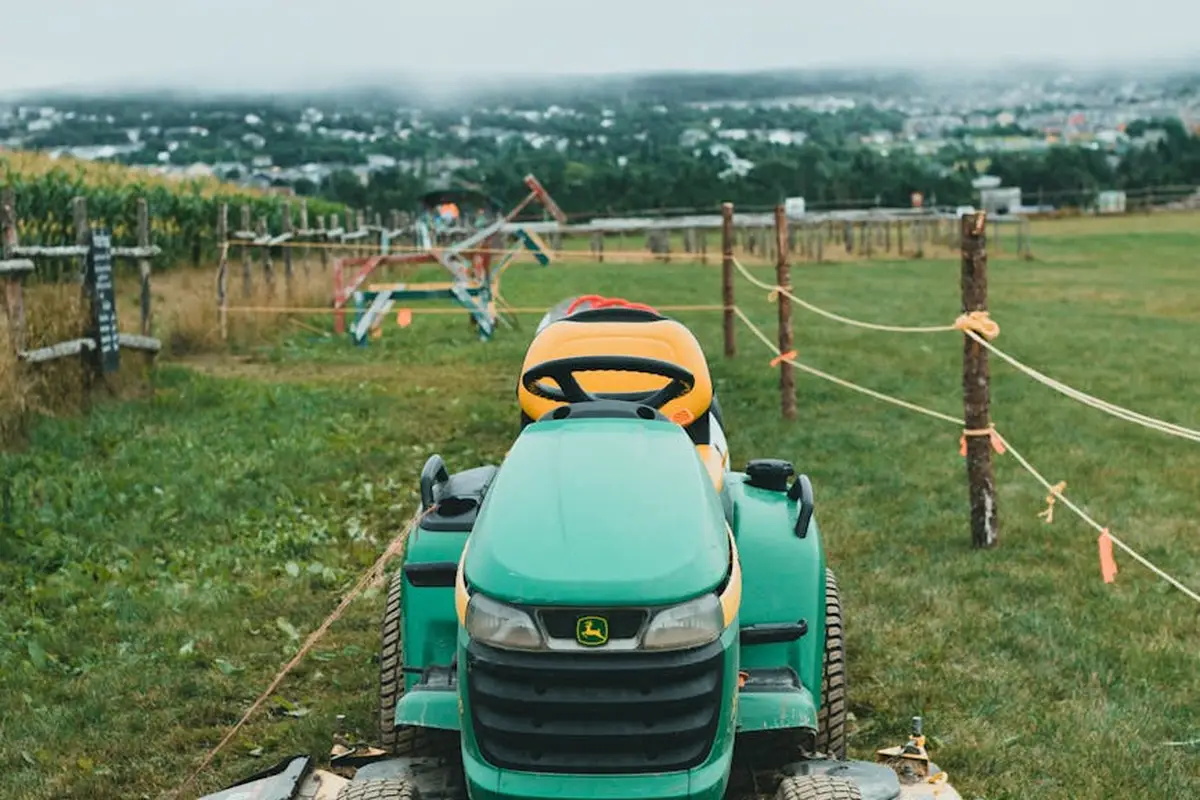
Let’s talk about those bald patches. We all have them. A favorite spot for the dog to run, a trail from the hose to the garden, or just a random patch of dirt that appeared one day for no good reason. Fixing these spots is some of the most satisfying work you can do. It’s like quick, satisfying surgery for your lawn.
The core process for how to fix bare spots in a lawn is a simple, five-step routine that works every time. You don’t need fancy tools, just a few minutes and a little attention to detail.
- Remove dead grass and weeds from the spot. Get down on a knee and scratch out everything that’s not soil. I use a small hand rake, but even a sturdy garden trowel works. You want to see bare, clean dirt.
- Loosen the soil with a hand cultivator. Don’t just scratch the surface. Break up the top inch or two of soil. If the ground is hard and packed, think of it like a brick. You need to turn it back into a soft, welcoming bed for seeds.
- Mix seed with a handful of soil or compost right in the hole. Grab your grass seed. Mix a generous amount with a scoop of the soil you just loosened or some bagged compost. This helps the seeds make good contact and holds moisture right where they need it.
- Press it down firmly with your foot. This is the secret. Don’t just sprinkle and walk away. Gently step on the seeded area to press those seeds into the soft soil. You should hear a faint, damp crunch. That’s the sound of good seed-to-soil contact.
- Water gently and protect from birds and foot traffic. Use a gentle spray, not a jet of water. You want to moisten, not wash away. Keep the spot damp like a wrung-out sponge for the next two weeks. A little bit of straw or a lightweight garden blanket can deter birds and remind everyone to walk around it.
Now, here’s a practical tip from my own yard. I have a spot by the gate I call “Patch.” It’s a high-traffic area that gets compacted. If your bare spot is bigger than a dinner plate, treat it like a mini-reseed. Follow the same steps, but be extra diligent about keeping it watered. For large areas, consider using a lawn roller after step 4 to ensure an even press.
A key part of fixing a bare spot permanently is making sure the ground is level. Low spots collect water and create puddles that drown new grass. When you’re loosening the soil in step 2, add a little extra topsoil or compost to bring it level with the surrounding lawn. This prevents future problems and gives your new grass a flat, even start. It’s a simple fix that makes a world of difference.
Common Mistakes That Waste Your Time and Money
I’ve made most of these errors myself. Consider this a cheat sheet from someone who has wasted a few Saturdays and a bag of good seed so you don’t have to.
Just Sprinkling Seed on Hard Ground
This is the number one reason seed fails. Grass seed is not a magic powder. It needs direct, intimate contact with soil to absorb moisture and root. Tossing it onto hard, compacted dirt or an old thatch mat is like putting it on concrete.
Seed must be in the dirt, not just on it.
For a bare spot, you need to rough up the soil. I use a stiff garden rake or even a hand cultivator. Scratch up the top quarter-inch to create a loose, welcoming bed. For larger overseeding jobs, I run a core aerator or a dethatcher first. This opens up the lawn’s surface so the seed can fall down to soil level.
Watering Too Much or Too Little
Getting water right is tricky. I picture the soil needing to feel like a damp sponge that’s been wrung out. You want consistent moisture in the top inch, not a swamp and not a desert.
Your goal is to keep the seed and the soil around it consistently damp, not soggy.
Watering too much washes seed away and encourages fungus. Watering too little lets the seed dry out and die just after it sprouts. In the first two weeks, you’ll likely need to water lightly 2-3 times a day, especially if it’s sunny and warm. Once the grass blades are up, you can water deeper and less often to encourage roots to chase the moisture down.
Using the Wrong Seed Type for Sun/Shade
Grass seed is not one-size-fits-all. That bargain bag mix might be great for a sunny athletic field but will fail miserably under your maple tree. Shade-tolerant grasses like fine fescues are bred for less light.
For Patch, my stubborn shady corner, I use a shade-specific mix. For my sunny backyard, I use a different, sun-loving blend. Check the label. If a spot gets less than 4 hours of direct sun, use a shade mix. More than 6 hours, use a sun mix. In-between areas are tricky, but a sun/shade blend can work.
Match the seed to the light it will get, or you’re just feeding the birds.
Mowing New Grass Too Soon or Too Short
Patience here saves your new lawn. Mowing too soon pulls tender seedlings right out of the ground. Mowing too short shocks them and exposes the soil to more weed seeds.
Wait until the new grass is at least one-third taller than your target mowing height. If you mow at 3 inches, let it get to about 4 inches tall before the first cut. Make sure your mower blade is razor-sharp. A dull blade tears the young grass, opening the door for disease.
Let new grass establish itself before you ask Max to give it a haircut.
Applying Weed Killer Too Close to Seeding Time
This is a silent killer. Many common weed control products have a “residual” effect. They stay active in the soil for weeks to prevent weeds, and they will prevent your new grass seed from germinating, too.
You must check the product label for the waiting period. Some herbicides tell you to wait 3-4 weeks after applying before you can seed. It works the other way, too. If you seed, you often need to wait until the new grass has been mowed 3-4 times before using a weed killer.
Always read the herbicide label for seeding instructions, or you’ll be nurturing bare dirt.
The Care and Feeding of Your New Grass
You’ve done the hard work of putting seed to soil. Now, the real test of patience and consistency begins. Think of these next few weeks as the newborn phase for your lawn. It needs constant, gentle attention, not a flood of enthusiasm. Proper soil prep is the cornerstone of lawn seeding success. Take this time to gently prepare the soil for best germination.
The First Two Weeks: The Moisture Marathon
This is non-negotiable. Your only job is to keep the seedbed consistently moist. I picture my soil in this stage like a perfectly wrung-out sponge. It’s damp to the touch, but no water squeezes out.
- Water lightly, 2 to 3 times a day, for about 5-10 minutes per session.
- The goal is to dampen the top half-inch of soil. You’re not watering for deep roots yet, you’re just preventing those delicate seeds from drying out.
- If you see puddles or runoff, you’re going too hard. Ease up.
Sunny, my drip system, is a hero here, providing a slow, steady soak that doesn’t wash the seed away. If you’re using a sprinkler, set it on a timer. Consistency wins.
The First Big Cut: When and How to Mow
You’ll see the little green blades shooting up. It’s tempting to get Max fired up right away, but hold off. A good rule of thumb is to wait until the grass is about one-third taller than your desired mowing height.
So, if you want a 3-inch lawn, let it grow to roughly 4 inches tall for that first cut. This ensures the grass blades have enough surface area to support the root system underneath.
- Make sure your mower blade is razor-sharp. A dull blade tears the tender grass, turning the tips white and opening the door for disease.
- Only cut off the top third of the grass blade. For that first mow from 4 inches, you’d take it down to about 2.5-3 inches.
- Never mow when the grass or soil is soggy. You’ll create ruts and compact the soil you just worked so hard to aerate.
What Comes After the Starter Food?
That starter fertilizer you used is packed with phosphorus to boost root growth. It’s a one-time meal for baby grass. You should wait a solid 6 to 8 weeks after seeding before you even think about applying your regular lawn fertilizer.
Why the wait? The young grass needs to focus entirely on establishing its root system. Hitting it with a high-nitrogen regular fertilizer too soon pushes top growth at the expense of those deep, drought-resistant roots. It’s like giving a kid a giant slice of cake before dinner, it spoils their appetite for the good stuff.
Mark your calendar. When those 8 weeks are up, you can resume your normal feeding schedule with a balanced, pet-safe fertilizer.
The Reward for Your Patience
Let’s be honest, this process teaches you more about patience than any garden ever could. You’ll check that bare spot ten times a day. But then, you’ll wake up one Saturday to a thick, lush carpet of green where “Patch” used to be.
That first pass over it with Max is a feeling you can’t buy. You hear the crisp, clean snip of the blades instead of the rough tear of weeds. You smell that sweet, fresh-cut grass scent rising up. This is the moment where all the careful watering and waiting pays off, and your lawn truly starts to feel like yours again.
Your Lawn Comeback: Quick Answers to Common Questions
What’s the real difference between patching a bare spot and overseeding?
Patching is surgery for isolated, dead spots-you’re removing the bad and planting new. Overseeding is preventative care for a generally thin lawn, thickening it up before bare spots even appear.
I have both sun and shade. Can I use the same seed everywhere?
No. Using a sun mix in shade (or vice-versa) is a waste of money and effort. Always match the seed to the light conditions; a “sun/shade” blend is your best bet for mixed areas.
Do I really need to cover the seed with straw or compost?
Yes, especially for reseeding or patching. That thin blanket locks in moisture and protects seed from birds and washouts. For overseeding, a light raking to bury the seed is your minimum.
How do I protect my new seed from birds without scaring the neighborhood?
A light layer of compost or peat moss is the best, most natural deterrent. If using straw, make sure it’s thin-you should still see 50% of the soil underneath.
The spot by my driveway is always bare. What am I missing?
High-traffic areas compact soil and wear grass thin. Before seeding, loosen that soil deeply with a garden fork and consider adding a bit of compost to improve resilience before you replant.
Your Path to a Thicker Lawn
The best thing you can do is to seed at the right time for your grass type and make absolutely sure the seed has firm contact with the soil. Get those two things right, and you give your new grass the best possible start, turning those bare spots into patches you’re proud of.
As you nurture your lawn, remember that a healthy yard is also a safe habitat. I choose pet-friendly fertilizers and avoid harsh weed killers when pollinators are active. Your lawn is a living system, and the most rewarding results come from watching it respond and improve, season after season.
Citations and Authoritative Sources
- r/lawncare on Reddit: New Homeowner: Help me with my bare patches and seeding process!
- r/lawncare on Reddit: Advice on bare spots after reseeding lawn
- Got bare spots in your lawn? Patching them by reseeding …
- How to Repair Bare Spots in Your Lawn | Lowe’s
- Reseeding The Bald Spots in Your Lawn – Zamzows store
Written by Ria Carrington. Ria is an avid lawn care enthusiast and advisor. No lawn is unsalvagable when Ria is at work. She has helped countless homeowners breath new life into their dying lawns. She has a B.Sc in Agriculture and brings practical advice combined with knowledge of plant science and her decade worth of hands on experience.