
How Do You Store Leftover Fertilizer So It Actually Works Next Year?
That half-empty bag in your garage doesn’t have to turn into a wasted expense or a mystery block by next season.
We will cover the right ways to stash granules and liquids, the clear signs your product has degraded, and simple habits to protect your investment.
I’ve kept my own supplies effective for years, learning what works through humid summers and freezing winters in my own shed.
At a Glance: Key Factors for Storing Fertilizer
Think of leftover fertilizer like a forgotten bag of flour in your pantry. It has three main enemies that can turn it into a useless, clumpy mess before next season, especially when mixed with DEF fertilizers.
- Moisture: This is the big one. Water is like a magic wand for ruining dry products and degrading liquid ones.
- Temperature Swings: Extreme heat, bitter cold, and constant freezing and thawing break down the active ingredients.
- Contamination: Dirt, grass clippings, or other chemicals getting into the container can cause unpredictable reactions.
Your main job is to keep products dry, stable, and clearly labeled so they work as intended next spring. Here’s a quick cheat sheet to keep in mind.
Start Here: What Kind of Fertilizer Are You Storing?
This isn’t a trick question, but getting it right changes everything. I learned this the hard way after trying to store a liquid weed control like it was granular. The difference is in the form and how it reacts to its environment.
Granular fertilizer is like little time-release pellets of food, while liquid concentrate is a potent soup that needs to stay mixed. Granular hates getting wet. Liquid hates getting cold. Simple as that.
Granular Fertilizer Storage Basics
I keep my leftover granular in the original bag, but that bag goes inside a 5-gallon food-grade bucket with a gasket lid. A cheap bucket from the hardware store is a game-changer. It keeps out moisture and pests.
The absolute rule for granular is to keep it bone dry. If even a little humidity gets in, those tiny granules will stick together into concrete-like chunks. If your storage shed or garage gets damp, toss a couple silica gel desiccant packs (the “Do Not Eat” packets from shoeboxes) into the bucket. They’re silent heroes.
Good granular fertilizer should look uniform in color and pour like dry sand. If it’s developing hard lumps that don’t break apart with a gentle squeeze, it’s starting to degrade. A strong, sour, or chemical smell (different from its normal odor) is another red flag.
Liquid Fertilizer & Weed Control Storage Basics
For liquids, my first thought is always, “Don’t let this freeze.” I keep mine on a shelf in the basement, where Sunny the irrigation system lives, because the temperature stays more consistent. A frozen liquid concentrate can separate permanently or form crystals that won’t dissolve again, even if it thaws.
Sealing the container tightly is non-negotiable. Evaporation concentrates the formula, making it too strong and unpredictable. It also lets in oxygen, which can break down the active ingredients. Always screw the cap on until it clicks.
Before using a stored liquid, give it a careful look. It’s normal for some products to settle, but they should mix back with a good shake. If you see chalky crystals at the bottom, a layer of sludge, or a separation that won’t blend back together no matter how much you shake, the product is likely past its prime. It’s safer not to use it.
Common Lawn Care Mistakes (And How to Avoid Them)

We’ve all been there. You finish the last fall feeding, toss the half-empty bag in the corner of the garage, and promise you’ll deal with it later. Then spring arrives, you grab that bag, and it’s a solid, unusable brick. I’ve done it myself. Let’s look at the common slip-ups that turn good fertilizer into garbage, especially when it comes to fall fertilizer for lawn and garden application.
Leaving Bags on the Damp Garage Floor
This is the number one killer of leftover fertilizer. Concrete might feel dry, but it acts like a cold drink on a hot day. It sweats, pulling moisture from the air into its surface. That dampness gets sucked right into your fertilizer bag.
Before you know it, those free-flowing granules are a cemented mass. The simplest fix is to get your bags up off the floor, even just an inch makes a world of difference. I use an old wooden pallet I got for free. A simple shelf or even a couple of 2x4s laid flat works perfectly.
Mixing Leftovers in the Same Container
It’s tempting to consolidate half-bags to save space. Resist that urge. Different fertilizers have different chemical makeups. Mixing a spring starter (high in phosphorus) with a fall feed (high in potassium) can cause a reaction.
You might get caking, nutrient lock-up where the fertilizer becomes ineffective, or even a release of gases that could rupture a sealed container. Always keep different products in their original, separate containers to maintain their integrity and safety. Treat them like different spices in your pantry you wouldn’t dump together.
Forgetting to Label and Date
That unmarked white bucket or torn bag becomes a mystery box by next season. Is it weed and feed or straight nitrogen? Was it bought last year or three years ago?
Taking two seconds to write on the bag with a permanent marker saves you guesswork and potential lawn damage. I write the date of purchase and the N-P-K numbers (like 24-0-10). If a bag is torn and I transfer it to a bucket, a piece of duct tape on the lid becomes my label. Knowing exactly what you have and how old it is is the first step to using it effectively and safely.
Your Step-by-Step Fertilizer Storage Plan
Now let’s build a simple system. Think of this as putting your lawn to bed for the winter. A little effort now means your products are ready to work when you are.
Step 1: The Right Location
You want a place that is cool, dry, dark, and absolutely out of reach of children and pets. Heat and humidity are the enemies of shelf life. Sunlight can degrade some products over time.
A dedicated, locked cabinet in the garage is ideal. A dry basement shelf can work, but only if your basement doesn’t feel like a cave (damp). For those with no indoor space, a sealed, waterproof outdoor storage bin placed in the shade is a decent last resort. The goal is a stable environment, not one that swings from hot to cold or dry to wet.
Step 2: The Right Container
Your first choice should always be the original, unripped bag. To seal it, fold the top over tightly a few times and use a strong clip. Then, for an extra layer of protection, place the entire bag inside a 5-gallon plastic bucket with a tight-fitting lid.
If the bag is damaged, transfer the granules directly into a clean, food-grade bucket and seal the lid. Never use a container that previously held food or other chemicals. A proper seal keeps moisture out and prevents any accidental spills from becoming a hazard. My system, Sunny, lives in the garage, but my fertilizer buckets are on a shelf well away from her valves and hoses.
Step 3: Organize for Next Season
Don’t just shove everything in a pile. Group similar products together. Put all your spring and summer fertilizers on one shelf. Group fall fertilizers and soil amendments on another. Keep weed control products completely separate.
Then, use the “first in, first out” rule you see at the grocery store. Place the oldest product in front, so you use it first the next time you feed your lawn. This simple organization takes one minute but saves you from digging through a jumble of bags next season, wondering which one to use.
How to Spot the Signs of Fertilizer Degradation

Finding a half-used bag of fertilizer from two seasons ago is a common garage discovery. The big question is, is it still good? You don’t need a lab to figure it out. Trust your senses. A quick look, feel, and sniff will tell you most of what you need to know.
The Look and Feel Test
Your first check is always visual and physical. Get your hands in there.
For granular fertilizer, think of fresh product like dry sand or brown sugar. It flows freely. When it goes bad, it absorbs moisture. You’ll find hard, rocky clumps that won’t crush easily between your fingers. The granules might look darker or have odd white or yellow crusty patches. If the whole bag feels damp or you see actual fuzzy mold, that’s your sign.
Hard clumps are a dead giveaway that moisture has ruined your granules.
Liquid fertilizers are different. A good concentrate should mix into water cleanly. If you see a layer of sludge at the bottom that won’t shake up, strange crystals forming, or the liquid looks separated into distinct layers (like a bad salad dressing), it’s likely compromised. I once had a bottle that grew what looked like salt crystals. It was a goner. Even when using a proper dilution tool, it didn’t mix properly.
The Smell Test
This one is straightforward but important. Open the bag or bottle and take a cautious whiff. Fresh granular fertilizer has a fairly neutral, earthy, or slightly chemical smell. Liquid concentrates might have a sharper odor.
The real red flag is a strong, pungent smell of ammonia. That smell means the nitrogen is volatilizing, or escaping into the air as a gas. If your fertilizer smells sharply of ammonia, the nutrients are literally evaporating away, and what’s left is far less effective. Trust your nose. If it makes you recoil, don’t put it on your lawn.
Does an Expiration Date Matter?
You’ll often find a date stamped on the bag. This is usually a “guaranteed analysis” date, meaning the manufacturer promises the listed NPK numbers are accurate until then. It’s not like milk that instantly sours the next day.
With perfect storage (cool, dry, sealed), granular fertilizer can remain viable for years past that date. The nutrients don’t disappear, but they can become less available to plants if the product clumps badly. Lawn fertilizers, especially liquid and organic ones, are less stable and have a shorter true shelf life.
Consider the date a guideline, but let the condition of the product be your final judge. A perfectly dry, free-flowing granulated product from 2020 is probably more reliable than a clumped, smelly bag from last season.
What to Do with Fertilizer You Can’t Use
So you’ve got a bag of mystery lumps or a bottle of separated goo. What now? The goal is to keep it out of our water and soil in a harmful way. Disposal isn’t glamorous, but it’s part of being a responsible steward of your little patch of earth.
Safe Disposal of Granular Products
If the granules are only lightly clumped and there’s no mold or strong odor, you might cautiously use them up. Apply at half the recommended rate to a small, non-critical area-maybe that back corner by the fence-and see how the grass responds over a few weeks. These observations can also help when weighing granular vs liquid herbicides for lawns. When comparing the two formats, consider how evenly they spread and how long they stay active.
For large amounts of clearly degraded product, or any fertilizer you can’t identify, do not toss it in the regular trash. Your best bet is local Household Hazardous Waste (HHW) collection. Most counties have these facilities or scheduled collection days. A quick search for “[Your County] HHW disposal” will point you right.
When in doubt, the HHW facility is the safest path for both your lawn and the environment.
Safe Disposal of Liquid Concentrates
This is non-negotiable. Never pour leftover liquid fertilizer concentrate down a storm drain, sink, or onto bare soil. It can easily run off into waterways and negatively affect soil life wherever it accumulates.
If the product is fully mixed and still looks okay, you can dilute it much more than the label says and apply it very lightly to a grassy area, just to use it up. For anything separated, sludgy, or unknown, the HHW facility is your only option. Secure the lid, place it in a sturdy box to prevent leaks, and take it in.
I keep a designated cardboard box in the garage for these kinds of trips. When it’s full, I make the run. It’s a small effort that protects the work I’ve put into my lawn and the broader ecosystem Sunny helps me care for.
Required Materials for Proper Fertilizer Storage

Think of storage as your off-season defense line. Getting it right means your products work as hard next season as they did when you opened the bag. Here’s what you’ll need, most of which you probably already have in the garage.
Your Primary Containers
A torn, floppy bag is the enemy. You need something solid.
- Airtight Plastic Storage Bins with Lids: These are your workhorses. I use clear ones so I can see what’s inside at a glance. A 5-10 gallon size is perfect for a partial bag of granular fertilizer.
- Reused Containers: Never throw out a clean, sturdy plastic bucket. That empty kitty litter tub or a large coffee can is ideal for holding a smaller amount of product for the season. Just make sure it’s bone dry inside first.
The goal is to create a barrier against damp air, which is fertilizer’s worst friend.
Tools for the Perfect Seal
If the lid doesn’t snap shut tight, you’re wasting your time.
- Metal Bag Clips or Heavy-Duty Binder Clips: For any product still in its original bag (like a grass seed bag you’ve rolled closed), a strong clip is better than a twist-tie. It creates a much tighter seal to keep moisture out.
- A Plastic Bag Liner: For an extra layer of protection inside your storage bin, you can put the fertilizer bag itself into a large, heavy-duty garbage bag and twist it closed before putting the lid on the bin. This is my go-to move for anything I’m storing long-term in the shed.
Labeling Supplies
You will forget what’s in that bin by October. I promise.
- A Permanent Marker: Not a fading pen. A thick, industrial-strength marker.
- Masking or Painter’s Tape: This is your label. Write the product name and the date you opened it on a piece of tape, then stick it right on the lid and the side of the container. This beats a paper label that can fall off or get damp.
Clear labeling stops the guessing game and helps you track how old your product is.
Moisture Control
This is the secret step that makes all the difference.
- Silica Gel Packs or Moisture Absorbers: Toss a few of the larger silica gel packs (the kind that come in shoe boxes or electronics) into the bottom of your storage bin. They silently pull moisture from the air inside the container. You can also buy rechargeable moisture absorbers made for toolboxes.
- A Cup of Uncooked Rice: In a pinch, a small, open container of dry rice acts as a decent homemade moisture absorber. It’s not as effective as silica, but it’s better than nothing.
Gather these simple things before you start. It takes me less than five minutes to get a bag properly stored, and it saves money and frustration down the road. Always store everything up high on a shelf, out of reach of kids and pets, in a cool, dark place like a garage or garden shed.
Your Fertilizer Storage Questions, Answered
1. Can I store fertilizer in my unheated shed over winter?
Granular fertilizer is fine if it’s sealed bone-dry in a tub, but liquid concentrates are a hard no. Freezing temperatures will permanently ruin liquid formulas, so bring those bottles inside to a climate-controlled space.
2. Is it okay to dump leftover granular fertilizer into a different container?
Only if the container is absolutely clean, dry, and wasn’t used for food or other chemicals. For the best protection, keep the product in its original bag and place the entire bag inside a fresh storage bin with a tight lid.
3. How do I make my storage area pet-safe and kid-safe?
Always store products up high on a locked or out-of-reach shelf, never on the floor. Treat every container like a potential hazard, because to a curious pet or child, it looks intriguing but is definitely not a snack.
4. What’s a cheap, effective hack for keeping granules dry?
After sealing the bag inside a storage tub, toss in a handful of uncooked rice in a small open container. It acts as a simple, homemade moisture absorber to help keep that greedy-grass fuel perfectly dry.
5. Should I check my stored fertilizer before the spring season?
Absolutely. Give bags and bottles a quick look-and-sniff test a week before you plan to use them. This quick check prevents surprises and ensures you’re feeding your lawn with effective product, not mystery goo.
Final Thoughts on Fertilizer Storage
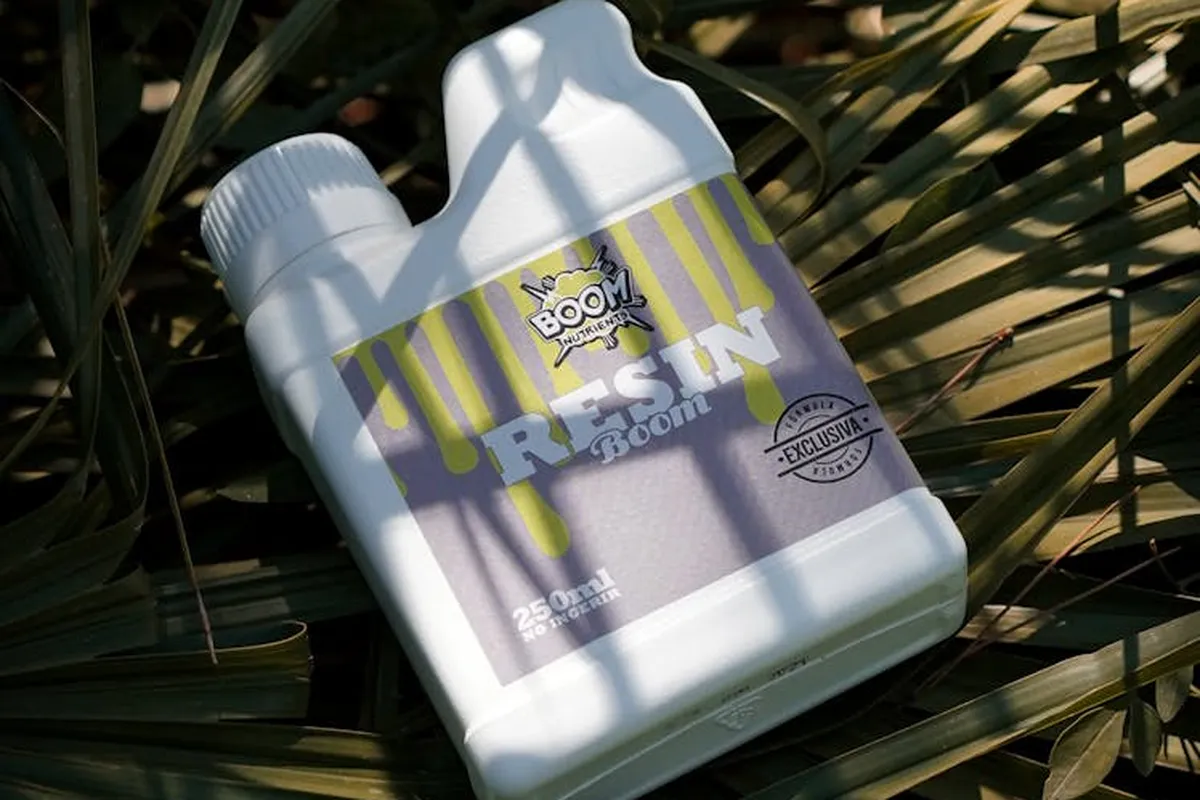
The single best thing you can do is keep your leftover fertilizer dry and sealed tight. Get this right, and your products will be ready to help your grass when it needs a boost next season.
Storing your lawn products correctly is part of being a good steward of your little patch of green. It keeps your investment working, protects what’s around your home, and helps you build a thick, vibrant lawn you can actually enjoy. Proper storage is especially important when it comes to household products used for lawn care.
Deep Dive: Further Reading
- r/farming on Reddit: What to do with leftover fertilizer?
- Leftover Fertilizer :: Melinda Myers
- Does Fertilizer Go Bad or Expire? 5 Tips for Storing Fertilizer – Do Not Disturb Gardening
- Does Fertilizer Go Bad? 10 Must-Know Storage Tips to Keep It Fresh
- Leftover fertilizer?
- Does Fertilizer Go Bad?
- How to Dispose of Fertilizers Properly – RecycleNation
Written by Ria Carrington. Ria is an avid lawn care enthusiast and advisor. No lawn is unsalvagable when Ria is at work. She has helped countless homeowners breath new life into their dying lawns. She has a B.Sc in Agriculture and brings practical advice combined with knowledge of plant science and her decade worth of hands on experience.