
What Are the Real Steps to Aerate and Overseed Your Lawn?
If the thought of aerating and overseeding feels like a big, confusing project, I get it.
This guide will walk you through the whole process, from when to do it, choosing the right seed, the aeration and seeding steps themselves, and the critical post-care that makes it all work.
I’ve done this job every fall for the last six years, learning what saves money and what just wastes a Saturday.
When Is the Absolute Best Time to Aerate and Overseed?
Timing is everything. Get it right, and your new grass gets a fighting chance. Get it wrong, and you’re just feeding the birds.
For cool-season grasses like Kentucky Bluegrass or Fescue, aim for early fall. Your target is when soil temperatures drop to around 65-75°F — ideal for grass seed germination. The air is cooler, rain is more reliable, and weed competition fades. Spring is your backup plan, but fall is the champion.
For warm-season grasses like Bermudagrass or Zoysia, late spring through early summer is your window. Wait until the soil is consistently warm, above 65°F, and the grass is actively growing.
Don’t guess the soil temperature. Use a simple meat thermometer, poke it a few inches into the soil in the morning, and you’ll know for sure.
Your lawn will tell you when it’s time. Look for these signs:
- Water pools on the surface instead of soaking in after rain or watering.
- The grass feels spongy when you walk on it.
- Your lawn is thinning out, no matter how much you feed it.
- The soil is hard as a rock. Try pushing a screwdriver into the ground. If it’s a struggle, you need to aerate.
How often should you do this? For an average lawn on clay soil, once a year is a good rhythm. If you have sandy soil that doesn’t compact easily, you might stretch it to every other year. If you have kids or pets running around every day, stick with annual aeration.
One last timing tip: always check your area’s average first frost date if overseeding in fall. Your new grass needs at least 45 days to establish roots before a hard freeze hits.
Tools and Materials You’ll Need to Get Started
You don’t need a garage full of pro gear. Here’s the short list of what actually gets the job done.
The Core Tools:
- Core Aerator: This is the main event. You can rent a gas-powered walk-behind model from a hardware store for a day. It’s the fastest way.
- Broadcast or Drop Spreader: For spreading seed and fertilizer evenly. An old one works fine, just calibrate it.
- Metal Rake: To gently scratch the soil in bare spots after aeration and before seeding.
- Garden Hose with Adjustable Nozzle: For gentle, consistent watering. This is where my setup, Sunny, earns its keep.
- High-Quality Grass Seed: This is not the place to cheap out. Match the seed to your sun and shade areas.
The “Nice to Have” Crew:
- Your Lawn Mower (Hey, Max): You’ll mow the lawn short before you start.
- Soil Test Kit: Optional but smart. It tells you exactly what your soil lacks so you don’t waste money on the wrong fertilizer.
- Starter Fertilizer: A low-nitrogen, high-phosphorus fertilizer helps new grass roots develop. Look for one labeled “starter.”
Renting a core aerator for a day usually costs between $60 and $100. It’s worth every penny compared to the back-breaking work of a manual tool or the cost of buying one. Your effort is better spent on the seeding and watering afterward.
Choosing your seed is critical. Get a blend formulated for your region’s climate and with a mix for sun and shade, so both your sunny backyard and my problem child, Patch, get what they need.
Do You Aerate or Dethatch First? (And Other Order Questions)
This trips up a lot of folks. They’re different jobs for different problems.
Dethatching cuts through and removes the layer of dead stems and roots (thatch) sitting on top of the soil. Aeration pulls out actual plugs of soil to relieve compaction below the surface. Think of thatch like a tight sweater on your lawn, and compaction like wearing that sweater while stuck in a crowded elevator.
Here’s your rule of thumb: if your thatch layer is thicker than half an inch, dethatch first, then aerate. If your thatch is thin but the ground is hard, just aerate.
You can dethatch and aerate at the same time, but I don’t recommend it for most homeowners. It’s a lot of stress on the grass in one go. Doing them separately, especially dethatching in early fall and then aerating a week or two later, gives the lawn a chance to recover between treatments. The only time I might combine them is on a very neglected lawn that needs a full reset.
The order of operations for a successful project is simple: Mow short, aerate, seed, fertilize, water. Keep that sequence in mind.
Step-by-Step: How to Aerate Your Lawn the Right Way
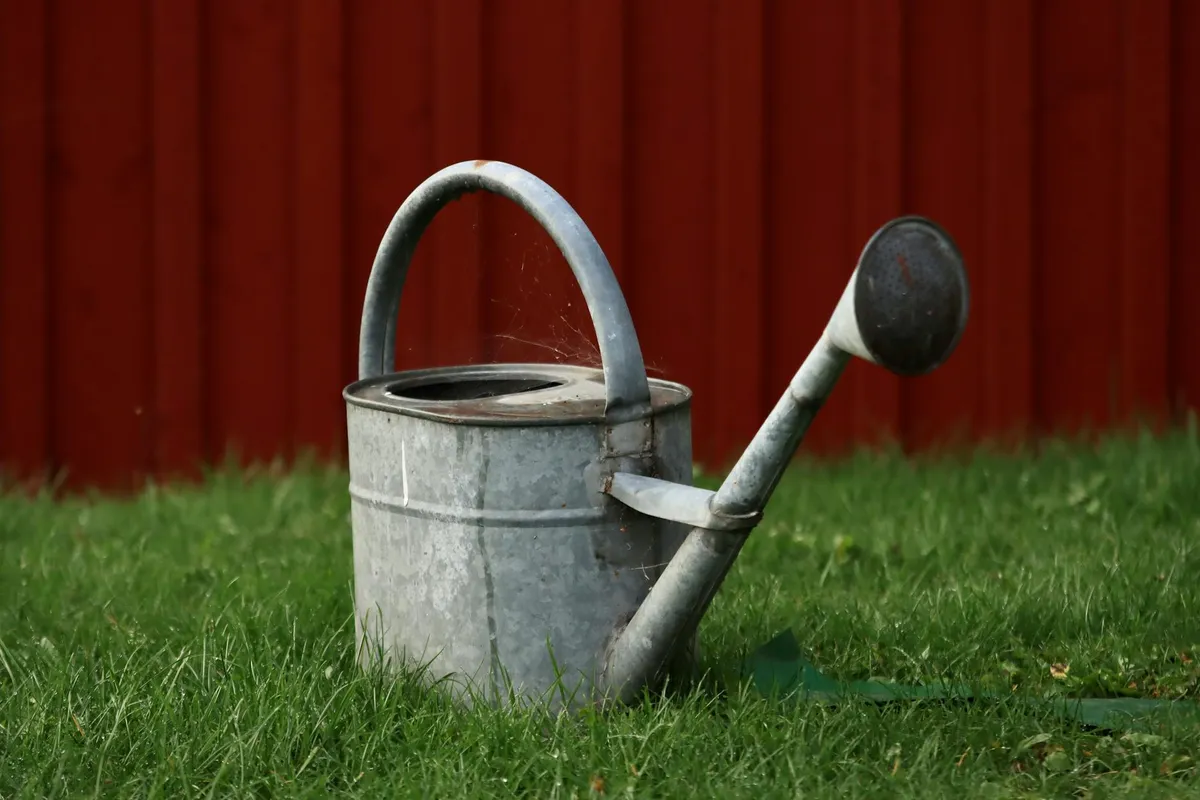
Do not just rent a machine and start poking holes. A little prep makes a huge difference. Think of it like getting ready for a big meal. You want the soil, not the grass, to be the main course for the new seed. Here is my routine. Good soil prep sets the stage for lawn seeding success. I test the soil, amend as needed, and loosen the top layer before you start seeding.
- Mow Low: Cut your grass about half its normal height, one to two days before aeration. This gives the aerator tines clear access to the soil.
- Water Deeply: The day before, give your lawn a good, deep soak. You want the soil moist, like a damp sponge that has been wrung out, not muddy. Dry, hard soil will just crumble around the tines.
- Run the Aerator: Go over your lawn in one direction, just like you are mowing. Then, go over it again in a perpendicular direction. This cross-hatch pattern ensures you get plenty of holes and full coverage. Aim for 20 to 40 holes per square foot; you should see a lot of soil plugs on the surface when you are done.
- Handle the Plugs: Those little cores of soil and thatch are gold. Leave them right where they fall. They will break down in a week or two with rain and mowing, adding valuable organic matter back into your lawn. Do not rake them up unless they are excessively thick and smothering the grass.
Got a tricky slope? Go across it, not up and down. Going with the slope can cause soil to wash out of the holes during the next rain. On uneven ground, take it slow to avoid damaging the machine or tearing up turf.
Do You Have to Aerate Before Overseeding?
Do you need to aerate my lawn before seeding? You do not have to, but you really, really should. Let me show you the difference.
Overseeding without aeration is like trying to plant flowers in a parking lot. The seed sits on top of hard, compacted soil. Birds eat it, wind blows it away, and what does germinate struggles to put down roots. Aerating before seeding breaks up the soil and improves seed-to-soil contact. This makes aerated seeding more effective than overseeding alone.
Overseeding after aeration is like planting in a freshly turned garden bed. Each aeration hole is a protected micro-environment for a seed, giving it direct soil contact, moisture retention, and shelter from the elements. The result is dramatically better germination and seedlings that establish faster. Aeration turns a hopeful sprinkle of seed into a strategic planting operation. To maximize these results, align overseeding with core aeration practices that optimize hole depth, spacing, and timing. A disciplined core aeration routine helps seeds establish evenly across the lawn.
Step-by-Step: How to Overseed for a Thicker, Healthier Lawn
Now for the fun part. The holes are open, the soil is ready. It is time to fill them with your future lawn.
- Calculate Your Seed: Check the bag label for the seeding rate, usually listed in pounds per 1,000 square feet. Measure your lawn’s area. Do not guess. Under-seeding leaves thin spots; over-seeding is a waste of money and can lead to disease.
- Spread the Seed: Use a broadcast spreader for large, open areas and a drop spreader for precision along edges. Split your total seed in half. Apply one half walking north to south, and the other half walking east to west. This cross-seeding technique is the best way to get even coverage.
- Get Seed to Soil: Do not just leave the seed sitting on top. Gently rake the entire area with a leaf rake. You are not trying to bury the seed, just nudging it into the aeration holes and ensuring good soil contact. I often walk behind Max and let the gentle breeze from his deck do some of this work.
- Consider Starter Fertilizer: A starter fertilizer, high in phosphorus, can give new grass a strong root boost. If you use one, choose a pet-safe, slow-release formula and apply it lightly according to the label-more is not better here. For my pollinator-friendly areas, I often skip it and rely on the organic matter from the breaking-down soil plugs.
Seeding on a windy day? Do it early in the morning when the air is calm. For spots with intense sun, a super-light layer of straw or peat moss can help keep the seed bed moist. Just a dusting, not a blanket.
Can You Aerate After Seeding?
No, you cannot. It is the wrong order. Aerating after you have spread seed will pull up and bury those new seeds, ruining your careful work. The machine will destroy the delicate seed-to-soil contact you just created.
If you missed the window and already seeded a compacted lawn, do not reach for the aerator. Your better option is a gentle slit-seeder, which cuts thin grooves and deposits seed directly into them, or topdressing with a thin layer of compost to protect the seed and improve the soil surface. There are several methods for spreading grass seed effectively to suit different lawns. The right approach—slit-seeding, topdressing, or light broadcasting—can boost germination and coverage. It is a good lesson from my friend Patch: sometimes the direct attack is wrong, and you need a smarter, gentler tactic.
Caring for Your Lawn Immediately After Aeration and Overseeding

The first few weeks are the most important. You’ve opened the door for new grass; now you have to help it walk through. Your job is simple: keep the seed moist and protected.
For the first 10 to 14 days, your new grass seed is vulnerable. It needs consistent moisture to germinate. Think of it like a sprout in a paper towel in a science class.
The first rule is light and frequent watering, enough to dampen the soil but never to puddle or run off. Your goal is to stop that tiny seed from drying out, even for a few hours.
How to Water New Grass Seed Without Drowning It
Break your watering into short sessions. I set Sunny, my drip system, to run on a gentle cycle. For most sprinklers, this is what works.
- Week 1: Water in the morning and again in the early evening. Each session should be just 5 to 10 minutes. You want the top half-inch of soil to stay damp all day.
- Weeks 2 & 3: As you see sprouts, you can cut back to once a day, but make it a longer soak to encourage roots to go deeper.
Test the soil with your finger. It should feel like a wrung-out sponge-cool and damp, not muddy or soggy. If you see water pooling, you’re watering too long at once.
If it rains, that’s free watering. But watch for heavy downpours. A gentle rain is perfect. A torrential storm can wash seeds into piles. If a heavy rain is forecast right after seeding, a very lightweight straw or erosion control blanket can help.
Birds will see your fresh seed as a buffet. You don’t need chemicals. A simple, lightweight biodegradable netting or a thin layer of straw (not hay, which has weeds) works great. I’ve even used old window screens laid flat over small areas like Patch.
What does germination look like? You’ll first see tiny, bright green shoots. They look fragile. For cool-season grasses like fescue or ryegrass, this usually starts in 5 to 10 days. Kentucky bluegrass can take 14 to 21 days. Be patient. Keep watering until you have a solid green fuzz across the area.
Long-Term Care: Mowing, Fertilizing, and Keeping It Green

Once the new grass is up, your care shifts. You’re now building a strong, thick lawn that can crowd out weeds on its own.
You should wait to mow until the new grass is about one-third taller than your desired mowing height. If you mow at 3 inches, let the new grass get to about 4 inches tall. This ensures the roots are strong enough to handle the mower’s vibration. Make sure your mower blade is razor-sharp. A dull blade will tear the young seedlings out.
Hold off on fertilizer for at least 4 to 6 weeks after seeding. The seed starter you (hopefully) used has enough food for now. When it’s time, use a slow-release, balanced fertilizer. I look for one with a good amount of nitrogen but also potassium for root strength. Slow-release is key-it feeds the grass gently over weeks and won’t burn the tender new growth.
Sunlight is fuel. Most grass needs at least 4 to 6 hours of direct sun. In shady spots like Patch, choose shade-tolerant seed mixes and don’t overwater, as shade keeps soil damp longer. Sometimes, thinning a tree canopy is the only real fix for a bare spot.
A simple seasonal schedule keeps you ahead:
- Spring: Apply a pre-emergent if you didn’t overseed. Light fertilizer. Start regular mowing.
- Summer: Mow high to shade soil and conserve water. Water deeply but infrequently to train roots.
- Fall: This is your main season for aeration, overseeding, and fertilization.
- Winter: Keep leaves raked off. Let the lawn rest.
When Should You Really Stop Mowing and Fertilizing in the Fall?
Your lawn will tell you. As soil temperatures drop, grass growth slows way down. Plan your last mow for when growth has nearly stopped, but before the first hard frost settles in for good. For me, that’s usually a week or two after Halloween.
You want that final cut to be a bit shorter than your summer height-maybe down to 2.5 inches. This helps prevent matting and snow mold over winter.
Stop all nitrogen-heavy fertilization about 6 to 8 weeks before your expected first hard frost. A late fall “winterizer” fertilizer that’s high in potassium is the exception-it’s for root health, not top growth. This final care routine sends energy down to the roots, ensuring your lawn wakes up healthy and hungry next spring.
Greedy Grass Pro Tips and Common Mistakes to Avoid
After you’ve done the hard work of aeration and overseeding, the next few weeks are all about smart follow-up. I’ve seen the same simple errors trip up well-meaning homeowners every season. Avoid these, and your thick, new grass will thank you.
Mistake 1: The “More is Better” Seed Tactic
It’s tempting to empty the whole bag, thinking a dense blanket of seed guarantees a lush lawn. It does the opposite. Too much seed creates brutal competition. The seedlings fight each other for water, light, and nutrients, leading to a weak, spindly stand of grass that’s more likely to fail.
The fix is simple: follow the recommended seeding rate on your seed bag, which is often calculated by square footage, and resist the urge to double up. Proper spacing lets each seedling develop a strong root system without having to battle its neighbors for survival.
Mistake 2: The “Flood and Forget” Watering Schedule
New grass seed needs consistent moisture to germinate, but its roots are incredibly shallow. A long, heavy soaking once a day will run too deep, leaving the seed itself to dry out in the sun. Conversely, a light sprinkle that barely wets the surface evaporates in minutes. After germination, as the grass begins to establish, watering patterns shift toward encouraging deep roots. This connects to how you water an established lawn to keep it healthy without wasting water.
Water short and often, aiming for two to three light watering sessions a day, just enough to keep the top half-inch of soil damp like a wrung-out sponge. This keeps the seed hydrated without washing it away or promoting disease. As the new grass reaches mowing height, you can gradually shift to fewer, deeper waterings to train the roots to grow down.
Mistake 3: Mowing Too Soon, Too Low
You’re eager to get back on the mower, but cutting new grass too early rips the delicate seedlings right out of the ground. Waiting is non-negotiable.
Let your new grass grow to at least one-third taller than your target mowing height before the first cut, and always use a sharp blade. For example, if you mow at 3 inches, let the grass reach 4 inches first. A sharp blade on Max gives a clean cut. A dull blade tears and shreds the tender grass, opening the door for disease and stress.
Mistake 4: Reaching for Synthetic “Quick Green” Fertilizers
After overseeding, your soil is open and vulnerable. Applying a high-nitrogen synthetic fertilizer can chemically “burn” your emerging grass and harm the vital soil life, like earthworms and microbes, that you just encouraged with aeration. Fertilizer after seeding or overseeding can be tricky, so it’s best to proceed with caution.
Instead, use a starter fertilizer labeled for new seed or a gentle, organic option like a thin layer of compost. Organic fertilizers feed the soil biology first, which in turn nourishes your grass slowly and safely. This builds long-term health and is inherently safer for pets and the pollinators that visit your clover or other flowering plants.
Mistake 5: Assuming Aeration Holes Are Enough Seed Contact
Core aeration creates perfect seed beds, but seeds can still sit on top of the soil or thatch between the holes. Without good soil contact, they won’t germinate effectively, leaving you with a patchy result.
After broadcasting seed, go over the area once with a light rake or a drag mat (an old piece of chain-link fence works) to gently work seeds into the soil and aeration holes. You don’t need to bury them deep. This one extra step dramatically improves germination rates, even in tricky spots like my problem area, Patch.
Greedy Grass Pro Tip: The Compost Blanket
Here’s my secret weapon after seeding: a very light topdressing of finely screened compost. I spread just a quarter-inch layer over the seeded area. This isn’t mulch. It does three brilliant things at once. It protects the seeds from birds and sun, holds in precious moisture, and delivers a perfect, mild dose of organic nutrients right to the root zone as it breaks down. It’s the ultimate pet-safe, soil-friendly boost that smooths out the seedbed and gives every single seed its best chance.
Your Greedy Grass FAQ: Quick Answers for a Lush Lawn
What if I can’t rent a core aerator? Is there a DIY alternative?
For small areas, a manual aerator or garden fork will do-just punch holes 3-4 inches apart. It’s more labor, but still opens the soil for seed and water.
Can I mix grass seed types when overseeding, or should I stick to one?
Use a pre-mixed blend suited to your lawn’s sun and shade; don’t create your own mix. Combining incompatible types leads to uneven growth and a scraggly look.
How do I protect newly seeded areas from birds without chemicals?
A light layer of straw or biodegradable netting works wonders. It shields seeds from feathered thieves while still letting sunlight and water through.
What’s the biggest watering mistake to avoid right after overseeding?
Don’t water too heavily at once-this washes seeds away. Keep sessions short and frequent to dampen the topsoil without causing runoff.
When is it safe to apply weed killer after aerating and overseeding?
Wait at least until after the new grass has been mowed 2-3 times. Even then, choose a product labeled safe for young grass to avoid setbacks.
Wrapping Up Your Aeration and Overseeding Project
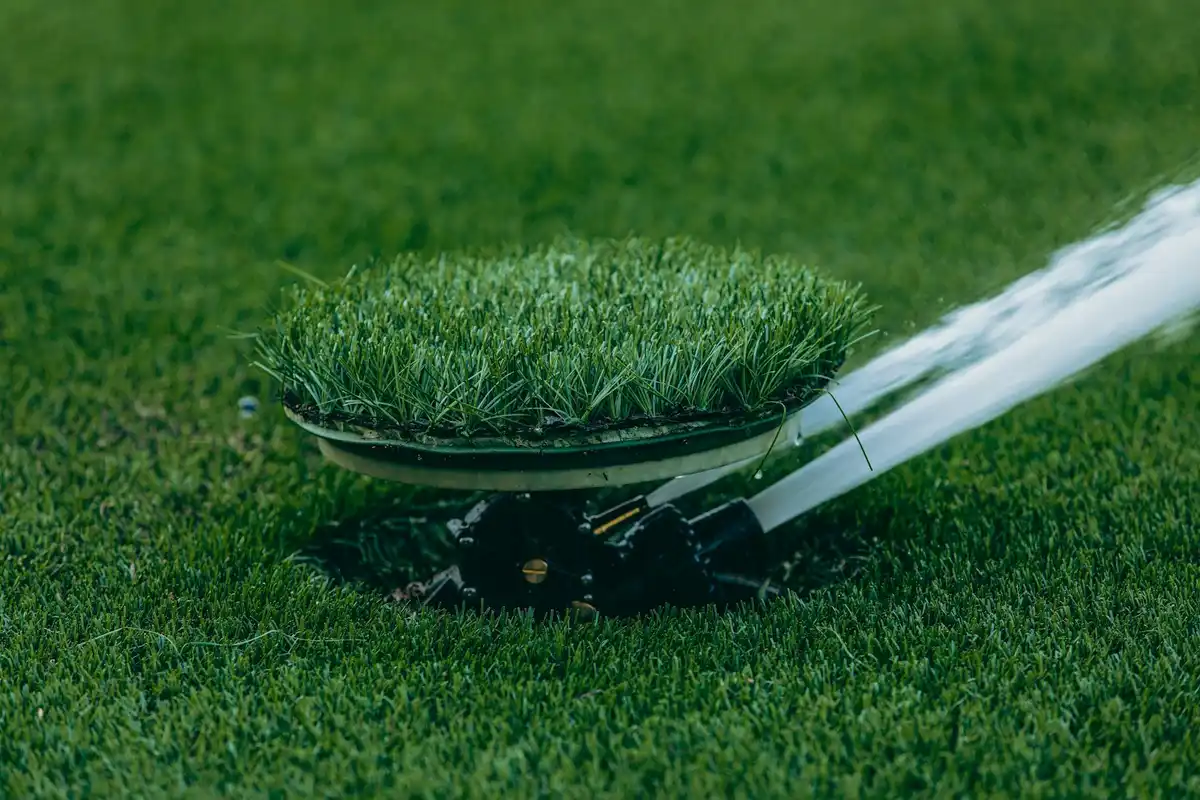
The most critical step isn’t the day you run the aerator. It’s the consistent care you give in the weeks after. Water your new seed gently and often, and give your lawn the time it needs to build strong roots without heavy traffic.
A beautiful lawn should be a safe place for pets and pollinators. I keep learning from my own yard, and I encourage you to watch how yours responds each season. That patience and observation will always guide you better than any quick fix.
Related Guides and Information
- How to Aerate and Overseed Your Lawn (5 Simple Steps) | GreenPal
- 7 Steps to Prepare Your Lawn for Aeration and Overseeding
- Aeration and Overseeding: Timing, Process, & Benefits | Lawn Doctor
- Before and After: 6 Lawn Aeration and Overseeding Care Tips
- How to Prepare Your Lawn for Aeration and Overseeding
Written by Ria Carrington. Ria is an avid lawn care enthusiast and advisor. No lawn is unsalvagable when Ria is at work. She has helped countless homeowners breath new life into their dying lawns. She has a B.Sc in Agriculture and brings practical advice combined with knowledge of plant science and her decade worth of hands on experience.