
How Do You Spread Grass Seed Effectively for a Thicker Lawn?
If you’ve ever tossed seed only to watch it wash away or clump up, you know that how you spread it matters just as much as what you spread.
This guide walks you through the key steps, focusing on choosing the right spreader for your yard’s size, nailing the perfect timing, preparing your soil correctly, and applying seed for maximum growth with pet-safe, pollinator-friendly care.
I’ve learned this through seasons of seeding my own lawn, dialing in the methods that give you more green for your money.
The Truth About Throwing Grass Seed: Will It Grow?
You have the bag. You have a bare spot. The thought is tempting: can I just throw grass seed on my lawn and call it a day? The short, honest answer is maybe, but you’ll hate the results.
Here’s the simple science. A grass seed can germinate on top of soil if it stays moist. But that’s a big “if.” Left on the surface, it’s a snack for birds, it washes away in the first rain even if it was planted before or during rainfall, and it dries out in a single sunny afternoon. Even if it sprouts, the tiny roots struggle to anchor into hard ground.
Think of it like this: tossing seed on hard soil is like scattering breadcrumbs for birds. It’s gone fast. Properly planting seed is like tucking those crumbs into a moist, soft sandwich. It’s protected, it has contact, and it can grow into something substantial.
Seed needs direct soil contact, moisture, and a little protection to grow thick, not thin and patchy.
I learned this the hard way with my own problem area, Patch. One rushed Saturday, I just scattered seed over the compacted dirt. A week later, a few sad blades appeared. A month later, it was still mostly dirt. I had to do it right the second time, which meant preparing the soil first.
Gather Your Gear: Tools for Spreading Grass Seed
You don’t need a garage full of professional gear, but the right tool makes the job effective and saves your back. Here’s your lineup, from simple to serious.
Your Hands (with gloves): Perfect for tiny, specific patches. You get total control, but it’s slow for anything bigger than a dinner plate.
Handheld Broadcast Spreader: This is your go-to for small to medium areas. It’s a plastic canister you crank by hand to fling seed in a wide pattern. It’s cheap, easy to store, and great for overseeding.
Walk-Behind Broadcast Spreader: Think of the common Scotts model many neighbors have. This is the workhorse for large lawns. You fill the hopper, set the rate, and walk. It covers ground fast and evenly. If you already have one for fertilizer, you’re set-just clean it thoroughly first.
Drop Spreader: It drops seed straight down in a precise band. Excellent for seeding along edges or fences without wasting seed on the driveway. It requires more careful walking to avoid streaks.
Slit Seeder or Power Rake (Rentable Tools): This is the pro move for a major renovation. It cuts thin grooves into the soil and deposits seed directly into them. It’s the best for guaranteeing soil contact on tough ground. It’s more effort and cost, but for a full lawn reset, it’s unmatched.
And a quick note: before you start, give Sunny, my drip irrigation, a check. Consistent moisture after seeding isn’t optional, it’s the rule. Make sure your hoses or sprinklers are ready for duty.
Required Materials for the Job
Before you head outside, make sure this checklist is covered.
- The Right Grass Seed: This is non-negotiable. Get a mix for sun or shade that matches your region. Don’t buy a “full sun” blend for a shady backyard.
- A Spreader: Choose from the list above based on your lawn’s size.
- A Sturdy Garden Rake: Not a leaf rake. You need the metal-tined kind to scratch open the soil surface.
- Compost or Topsoil: A thin layer (about 1/4 inch) to cover the seed and protect it. I use compost-it feeds the soil, too.
- A Reliable Water Source: Whether it’s a sprinkler you move around or a built-in system, you must be able to water lightly 2-3 times a day for the first few weeks.
Prep Work: Getting Your Soil Ready for Success
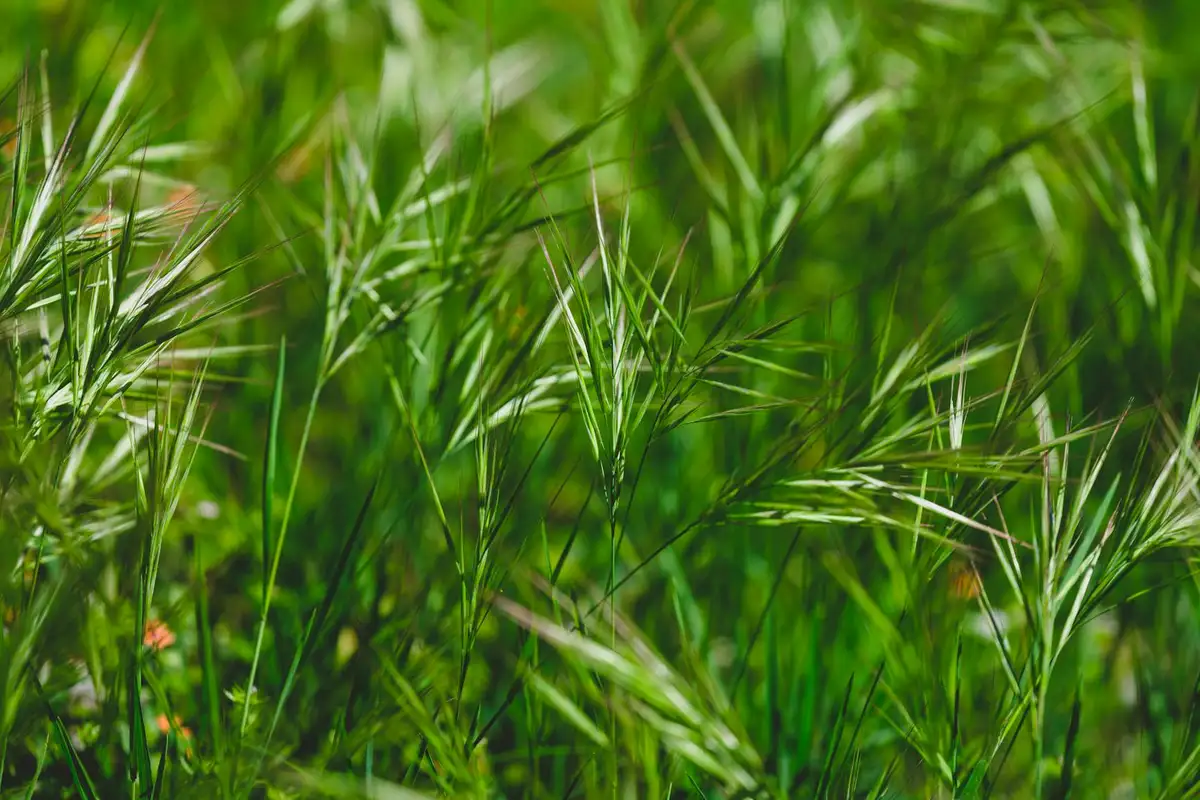
Think of soil prep like making a bed for your new grass seed. You want it soft, clean, and welcoming. Skipping this step is like tossing seed onto a parking lot and hoping for the best. I learned this the hard way with Patch, my stubborn shady corner. A little work up front saves a ton of frustration later.
Follow these steps in order, and you’ll create the perfect seedbed.
- Mow Short. Take your lawn down to about 1.5 to 2 inches. This lets sunlight and water reach the soil. I give Max, my zero-turn, a quick pass to scalp it. It feels a bit drastic, but it’s necessary.
- Dethatch if Needed. Thatch is that spongy layer of dead grass and roots. If it’s over half an inch thick, it blocks seed from the soil. You can rent a dethatcher or use a sturdy rake. Listen for the satisfying rip as you pull up the matted layer.
- Aerate Compacted Soil. This is the big one. If your soil is hard, water pools, or grass struggles, it’s probably compacted. A core aerator pulls out plugs of soil. After aerating, your lawn will look like it’s covered in dog treats, but the holes let air, water, and roots move freely. The ground feels looser, almost fluffy underfoot.
- Test Soil pH. Grass likes soil that’s not too sour or too sweet. A simple kit from the garden store works fine. You mix soil with water, add the powder, and match the color. Aim for a pH between 6.0 and 7.0. If it’s off, adding lime (to raise pH) or sulfur (to lower it) can make a huge difference.
- Level Bare Spots. Fill in dips and holes with a sandy topsoil mix. Tamp it down gently. You want a smooth surface so water doesn’t pool and drown your new seedlings.
Timing is everything with seeding. For cool-season grasses like Kentucky Bluegrass or Fescue, early fall is king. The soil is still warm from summer, nights are cool, and fall rains help. For warm-season grasses like Bermuda or Zoysia, wait for late spring when soil temperatures are consistently above 65°F. Planting at the right time gives seeds a fighting chance against heat, cold, and weeds. If you’re planning a spring seeding, knowing the best time to plant grass seed in spring can improve germination. Spring timing also helps young roots establish before the heat of summer.
What about spreading seed before rain or snow? A light, gentle rain within a day or two is perfect. It waters the seed in naturally. But a heavy downpour can wash your seed away into the gutter. Never seed right before a forecasted storm. Snow is a definite no. The seed will just sit on top, exposed to birds and the elements, and likely won’t germinate in cold conditions. Wait for a clear forecast.
When you’re done, run your hand over the prepared soil. It should feel like damp, crumbly chocolate cake, not sticky mud or dry dust. That’s when you know it’s ready.
Spreading Seed: A Guide to Every Method
Now for the main event. Choosing how to spread your seed depends on your lawn’s size and your style. Each tool has its place in the shed.
By Hand: For Patches and Small Areas
This is how I handle Patch and other bare spots. It’s simple but requires a careful touch.
The key is a wide, sweeping motion with your arm, like you’re gently tossing sand. Don’t clump it. I go over the area twice, walking in one direction and then perpendicular to it, for better coverage.
A pro tip: mix your grass seed with dry, fine sand or sawdust. This bulks it up so you can see exactly where you’ve thrown it, preventing bare spots and wasted seed. For those asking how to spread grass seed without a spreader, this sand method is your best friend. Just make sure the mix is dry so it flows easily from your hand.
Using a Broadcast Spreader: For Large Lawns
When I need to cover my whole backyard, I grab my broadcast spreader. It’s the workhorse for big jobs, flinging seed in a wide fan pattern.
Calibrate it first to avoid those dreaded streaks of thick and thin grass. Find the setting recommendation on your seed bag. Pour some seed into the hopper and spin the mechanism over a tarp or driveway to see how far it throws. Adjust until it looks right.
For the actual spread, walk in straight, overlapping rows. Start by walking the perimeter, then fill in the middle. Overlap each pass by about one foot. Think of it like mowing with Max, but slower and more deliberate. A common model like the Scotts Turf Builder Classic Drop Spreaders (broadcast type) operates on this simple principle.
Using a Drop Spreader: For Precision
Drop spreaders are like the sniper rifle of seeding. They drop seed directly in a band beneath the hopper, giving you pinpoint control.
They’re perfect for seeding along fences, sidewalks, or near flower beds where you don’t want stray seed. But here’s the big warning: overlap mistakes are easy. If you don’t line up your wheel tracks perfectly, you’ll get thin stripes where the bands don’t meet. I mark my starting point with a small flag and walk slowly, keeping one wheel on the previous track’s edge.
Using a Slit Seeder: For Best Soil Contact
This machine is a beast, and it’s fantastic for overseeding an existing lawn without tearing it up. A slit seeder uses rotating blades to cut thin grooves into the soil and drop seed directly into them.
It plants the seed where it needs to be for the best possible soil contact, which means faster germination and stronger roots. It’s more effort to rent or buy, and it takes some muscle to operate, but for challenging, compacted areas or when you’re serious about thickening up your turf, it’s hard to beat. The seed is tucked away safely from birds and sun, just waiting for a drink from Sunny, my irrigation system.
After the Seed is Down: Care and Common Blunders

You got the seed spread. Now the real work begins. This next stretch is all about gentle, consistent care. Think of your soil as a nursery, not a boot camp.
Watering is your number one job for the next two to three weeks. Your goal is to keep the top half-inch of soil consistently moist. It should feel like a damp sponge, not a soaked one.
Here is the simple, daily routine I follow with my Sunny irrigation setup.
- Days 1-10: Water lightly 2-3 times a day. Short sessions, just enough to dampen the soil without causing puddles or runoff.
- Days 10+: Start to water deeper but less often. Switch to one good, long soak every morning. This encourages the new roots to reach down for moisture.
Adjust your schedule based on the weather; a hot, windy day can dry that soil crust in hours, while a cool, drizzly week might mean you barely need to water at all.
You will be itching to mow. Wait. Those baby grass blades are tender. You should not even think about a mower until the new grass is about one-third taller than your target mowing height. For most lawns, that’s a first mow when seedlings are about 3 to 4 inches tall.
Set your mower, good old Max in my case, to its highest setting for that first pass. Make sure the blades are razor sharp. A dull blade will tear the seedlings right out of the ground.
Protect those seedlings from foot traffic. I use stakes and string to mark off the area, or I lay down a few stepping boards if I absolutely must cross it. Every crushed seedling is a patch you will have to fill later. Whenever you walk newly seeded grass, stay on the marked paths to protect the seedlings. Keep any crossings on a dedicated route with slow, careful steps.
Greedy Grass Pro Tip: After spreading seed, give it a light, fluffy blanket. I use a thin layer of screened compost or peat moss, about an eighth of an inch thick. It holds moisture, protects the seed from birds, and gives the seedlings a tiny nutrient boost as they break through. It makes a noticeable difference in those tricky spots. That light blanket also supports germination by keeping the soil consistently moist and protected as the seeds wake up. More on cover techniques to protect new grass seed germination will follow in the next steps.
Common Grass Seeding Mistakes and How to Avoid Them
We have all been tempted to just toss some seed and hope for the best. I have done it in Patch’s area out of frustration. Here is what usually happens, and how to steer clear.
Too Much or Too Little Seed
Piling on seed does not create a thicker lawn. It creates competition where all the seedlings fight for light and food, and most die off. Too little seed means thin, patchy turf. Follow the recommended rate for grass seed application on the bag for your grass type. A hand-held spreader gives you much better control than throwing it by the fistful.
Forgetting the Soil Prep
Seed needs contact with soil to germinate. Throwing it on top of thatch or compacted dirt is a waste. The fix is simple: rake the area vigorously to scratch up the soil surface. It only takes a few minutes and gives the seed a home. For larger areas, I rent a core aerator once a year. It is worth the effort.
Poor Timing
Planting cool-season grass in July or warm-season grass in November is asking for failure. Seed when the seasonal temperatures favor your grass type. For cool-season grasses, early fall is king. The soil is warm, the air is cool, and weed competition is low. Understanding the ideal temperature for grass seed germination helps you time your sowing even more precisely. When soil temperatures hit the ideal range for your species, germination is more uniform and rapid.
Inconsistent Watering
Letting the seedbed dry out is the number one cause of failure. Those tiny sprouts die fast. The fix is to set reminders or use a simple timer on your hose faucet. Consistency is far more important than volume; think frequent, light mistings.
Mowing Too Soon
This is a heartbreaker. You get excited, fire up the mower, and scalp all your hard work. Be patient. Wait for the grass to reach that one-third taller rule. When you do mow for the first time on your newly seeded lawn, never take off more than one-third of the grass blade height in a single cut. Your new lawn will thank you with thick, strong growth.
Your Grass Seed Spreading Questions, Answered
Can I mix grass seed with something to spread it more evenly by hand?
Absolutely. Mix your seed with dry, fine sand or sawdust at about a 1:1 ratio. This bulks it up so you can see your coverage and prevents clumping for a much more even throw.
Is it okay to spread grass seed right before it rains?
Only if you’re sure it will be a gentle, soaking rain and not a downpour. A light rain is perfect to water seeds in, but a heavy storm will wash your hard work-and your seed-right away. This same gentle approach applies when watering new grass seed on an established lawn.
Can I use my fertilizer spreader for grass seed?
Yes, but you must clean it thoroughly first to avoid chemical residue. More importantly, you need to recalibrate the settings, as grass seed is often spread at a different rate than fertilizer.
What’s the best way to spread seed in a small patch without buying a spreader?
Use the sand-mix method above and practice a wide, gentle tossing motion with your wrist. Go over the area twice, in perpendicular passes, to avoid missing any spots.
How do I stop my broadcast spreader from leaving those obvious streaks?
Calibration and overlap are key. Test your spread setting on the driveway first, then walk in straight lines, overlapping each pass by about one foot. Get greedy with your overlap to ensure every inch gets covered.
Your Lawn’s Seeding Success Story
For the thickest lawn, focus on getting every seed in touch with the soil and keeping it consistently damp. I see the best results when I gently rake after spreading and water with Sunny every morning until those sprouts appear.
Always lean into pet-safe products and pollinator-friendly habits as your grass establishes. Stick with it, learn from each season, and you’ll grow a yard that’s both lush and lively.
Sources and Additional Information
- r/homeowners on Reddit: Can I just spread grass seed on my existing lawn and water?
- How to Overseed a Thin Lawn | ScottsMiracle-Gro US
- How Thick to Spread Grass Seed for Even Coverage
- Thicken Your Lawn by Overseeding: Why and How to Overseed Your Lawn | ScottsMiracle-Gro US
- How to Overseed or Reseed Your Lawn
- Can I Just Throw Grass Seed Down on Existing Lawn? 2025 Expert Guide to a Thicker, Healthier Yard
- Frequently Asked Questions About Grass Seed For Your Lawn | ScottsMiracle-Gro US
Written by Ria Carrington. Ria is an avid lawn care enthusiast and advisor. No lawn is unsalvagable when Ria is at work. She has helped countless homeowners breath new life into their dying lawns. She has a B.Sc in Agriculture and brings practical advice combined with knowledge of plant science and her decade worth of hands on experience.