
Which Fertilizer Is Truly Best for Your Plants, Flowers, and Vegetables?
You want a vibrant garden, but picking a fertilizer from the shelf feels like a guessing game. Let’s fix that with clear, practical advice you can use today.
We will cover breaking down those confusing three-number codes, matching fertilizer types to specific plants like hungry tomatoes or delicate roses, and my proven tips for getting results without wasting cash.
I know this works from my own yard, feeding everything from Patch’s stubborn corner to the vegetable beds, always watching the budget.
At a Glance: Your Fertilizer Cheat Sheet
There is no single “best” fertilizer. Picking the right one comes down to what you’re asking your plant to do. Is it growing leaves, making flowers, or producing something you can eat? Understanding fertilizer requirements helps keep plants healthy. Choosing the right nutrients at the right times supports healthy growth.
Every fertilizer bag has three key numbers, like 10-10-10 or 5-10-5. Think of these like a nutrition facts label for your plant. They tell you the percentage of the three main nutrients, always in the same order: Nitrogen (N), Phosphorus (P), and Potassium (K). For gardeners, the NPK ratios guide you in feeding different plants or growth stages. Knowing the NPK ratios helps you pick the right fertilizer bag for your garden.
You match the fertilizer’s job to your plant’s current goal.
You have a few main types to choose from. Slow-release granular fertilizers are like a slow-cooked meal for your soil, feeding plants steadily over weeks. Liquid fertilizers act fast, like a shot of espresso for a quick green-up when a plant looks stressed. Organic options, like compost or manure-based meals, feed the soil first, building a healthier home for roots and earthworms. Fertilizers also shape soil life—microbes and earthworms respond to nutrient balance and pH. That soil biology supports healthier roots and long-term garden resilience.
No matter which you pick, follow one golden rule. Always water thoroughly after you apply fertilizer. This washes granules off grass blades to prevent burn and moves nutrients down to the roots where they’re needed.
Fertilizer 101: What Those Numbers Really Mean
Let’s break down the N-P-K label you see on every bag. It’s simpler than it looks.
Nitrogen (N) is for green, leafy growth. It’s the first number. This is what makes your lawn thick and your tomato plants bushy. Too little, and growth is weak. Too much, and you get lots of leaves but few flowers or fruits.
Phosphorus (P) is for roots and blooms. It’s the middle number. This nutrient helps seedlings establish strong roots and encourages flowering plants, like roses or zinnias, to set more buds. It’s crucial for root vegetables like carrots, too.
Potassium (K) is for overall plant health. It’s the last number. Think of it as the plant’s immune system booster. It helps with drought tolerance, disease resistance, and the overall strength of stems and stalks.
Now, let’s compare common ratios. A 10-10-10 fertilizer is a balanced, general-purpose meal. It gives equal parts of each nutrient. A 5-10-10 mix is different. It’s lower in nitrogen but higher in phosphorus and potassium, making it a fantastic “bloom booster” for your flower beds.
You’ll also choose between organic and synthetic fertilizers. Organic fertilizers come from natural sources like bone meal or kelp. They release nutrients slowly as soil microbes break them down, improving soil structure over time. They’re generally safer for pets, pollinators, and soil life. Synthetic fertilizers are manufactured. They provide nutrients in a form plants can use immediately, which is great for a rapid correction, but they don’t do much for long-term soil health.
So, what are the best fertilizers? The best fertilizer is the one that matches the specific job you need done for your specific plant. You wouldn’t feed a prize rose the same meal as your spring lettuce. For leafy greens, look for a higher first number (Nitrogen). For tomatoes and peppers as they start to flower, a formula with a higher middle number (Phosphorus) supports fruit set. It’s about reading the label and understanding what your plant is trying to accomplish this season.
Feeding Your Flower Beds: Roses, Orchids, and More
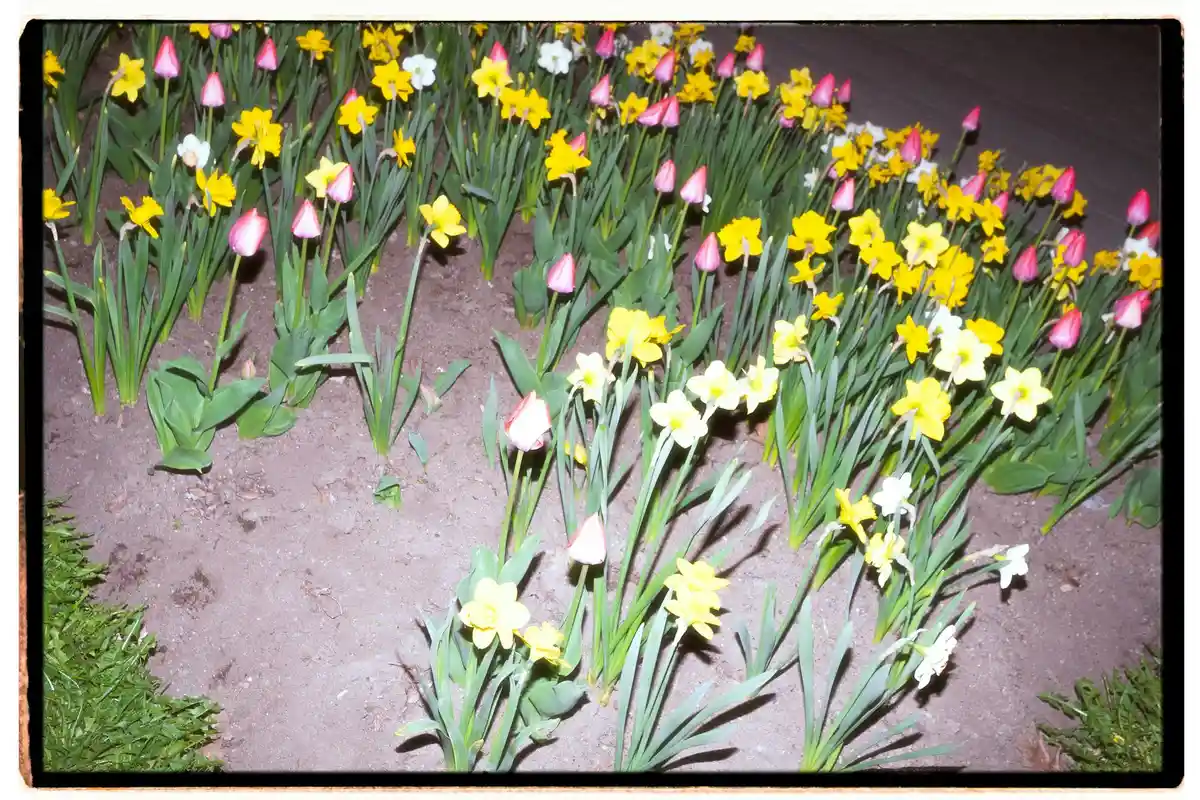
Your lawn gets most of my attention, but I know the flower beds around its edges matter just as much. They frame the green, add color, and bring in the bees and butterflies. Feeding them right makes a huge difference.
Starting with the Classic: Rose Food
Roses are heavy feeders, but they’re not complicated. You want big, showy blooms. That means focusing on phosphorus, which is the middle number in a fertilizer ratio like 5-10-5.
The middle number (phosphorus) is what encourages strong root development and, most importantly, those spectacular flowers.
Now, a question I see a lot: is fish fertilizer good for roses? It can be. I’ve used it. The pros are clear. It’s an organic, slow-release option that improves soil life over time. The cons? Well, it can have a strong smell for a day or two, and if you have curious pets like I do, you might find them digging around the base of your rose bush. It also tends to be lower in overall nutrient numbers, so it feeds gently.
Vining Beauties: Do Clematis Need Fertilizer?
Clematis and other flowering vines like honeysuckle are less needy than roses. They do benefit from a light boost to fuel their long season of growth.
The answer is yes, but keep it simple. A light application of a balanced, all-purpose fertilizer (like a 10-10-10) as new growth starts to appear in spring is perfect. That fits neatly into a spring lawn fertilizer application plan. We’ll link a quick guide on timing and rates in the next step.
Think of it as a morning cup of coffee for your vine, not a full breakfast buffet. Too much nitrogen, the first number, will give you lots of leaves at the expense of the flowers you’re waiting for.
The Delicate Ones: How to Fertilize Orchids
Orchids live in a different world than your garden soil. They grow in bark chips. This is why their feeding needs are unique.
Do orchids need fertilizer? Absolutely, but the rule is “weakly, weekly.” You must use a fertilizer specifically formulated for orchids. These are usually water-soluble and urea-free.
Urea-free is key because orchids can’t use the nitrogen in urea efficiently in their potting medium. I mix mine at half the recommended strength and apply it every other week when I water. It’s like giving them a consistent, light snack instead of an occasional huge meal.
A Common Mix-Up: Can I Use Orchid Fertilizer on Other Plants?
I get this one a lot. You have a bottle of orchid food left over, and your tomato plant looks hungry. It’s tempting, but I don’t recommend it.
Orchid fertilizer is designed to be very mild and is often formulated for acid-loving plants. Your tomatoes, roses, and most lawn grasses won’t find what they need in it. Using orchid fertilizer on other plants is like watering them with weak tea, it won’t hurt them, but it won’t really help them grow strong either. Stick to plant-specific foods for the best results.
Quick Guides for Popular Flowers
Here’s a fast reference for some common favorites. Remember, always water the soil well before and after applying any fertilizer.
- Roses: Look for a ratio where the middle number is higher, like 4-6-4. Apply in early spring as leaves emerge. Feed again after the first big wave of blooms fades to support the next round.
- Clematis: A single, light application of a balanced fertilizer (10-10-10) when the vines start actively growing in spring is all most varieties need.
- Orchids: Use a water-soluble, urea-free fertilizer (such as 20-20-20) mixed at half strength. Apply every other week during watering.
- Native Pollinator Flowers (like Milkweed or Coneflower): These tough plants often need little to no added fertilizer. Too much can make them leggy and weak. Focus on building healthy soil with compost instead, and they will reward you and the pollinators all season.
Vegetable Garden Fuel: From Tomatoes to Carrots
Feeding your vegetable patch is different from feeding your lawn. Grass wants to grow leaves. Your veggies have a job to do, whether it’s making fruit, bulking up roots, or growing tender leaves. I group them by their job description to keep things simple.
Think of it this way: plants that you grow for their leaves, like spinach and lettuce, are hungry for nitrogen. Plants that flower and fruit, like tomatoes, need a boost of phosphorus and potassium to support that hard work. Grouping by purpose lets you feed your garden strategically, getting the most from your plants without waste.
Before you even think about a bag of fertilizer, start with your soil. The single best thing you can do is mix a few inches of good compost into your garden bed before planting. This isn’t just fluffy advice, it’s foundational. Good compost feeds the soil life, improves texture for drainage, and provides a slow, steady trickle of nutrients. Mixing in compost at the start often means you won’t need to push heavy fertilizers later in the season. It’s like giving your plants a packed lunch instead of forcing them to run to the snack bar every day.
So, what’s the answer to “what fertilizer for plants and vegetables” when you’re just starting? My go-to starter recipe is simple. At planting time, I work a balanced organic granular fertilizer, like a 4-4-4 or 5-5-5, into the soil according to the bag’s directions. This gentle, all-purpose food gets everything off to a solid start while the compost gets to work. It’s a reliable baseline.
Top Veggie Picks and Their Food
Tomatoes & Peppers: These are the heavy lifters. Once you see the first yellow flowers appear, switch their diet. They need more phosphorus to support strong fruit set and development. A fertilizer with a higher middle number, like a 5-10-10, applied at this stage is perfect. It tells the plant, “stop making so many leaves and focus on those tomatoes!”
Leafy Greens (Lettuce, Spinach, Kale): You want a lush, tender harvest of leaves, so nitrogen is the star here. Early in the season, a side dressing with a nitrogen-rich feed, like blood meal (12-0-0) or a similar organic option, gives them a rapid green-up. This is the one time in the garden where a “green lawn” mentality, focused on nitrogen, pays off perfectly.
Root Crops (Carrots, Radishes, Beets): Here’s a classic mistake: too much nitrogen. It forces all the energy into growing big, beautiful leafy tops while leaving you with tiny, spindly roots underground. It’s incredibly disappointing to pull up a handful of leaves and a thread-like carrot. For these, use a low-nitrogen, balanced mix or one slightly higher in potassium (the last number) to encourage strong root development.
Beans and Peas: These plants are the overachievers of the garden. They have a special ability to pull nitrogen from the air and fix it in the soil with help from bacteria on their roots. Because they make their own nitrogen, adding a heavy nitrogen fertilizer is not just wasteful, it can actually hurt their natural process and reduce your harvest. If your soil is poor, a light, balanced feed at planting is fine, but often they need nothing extra at all.
Indoor and Potted Plant Care: Herbs, Houseplants, and Water Gardens
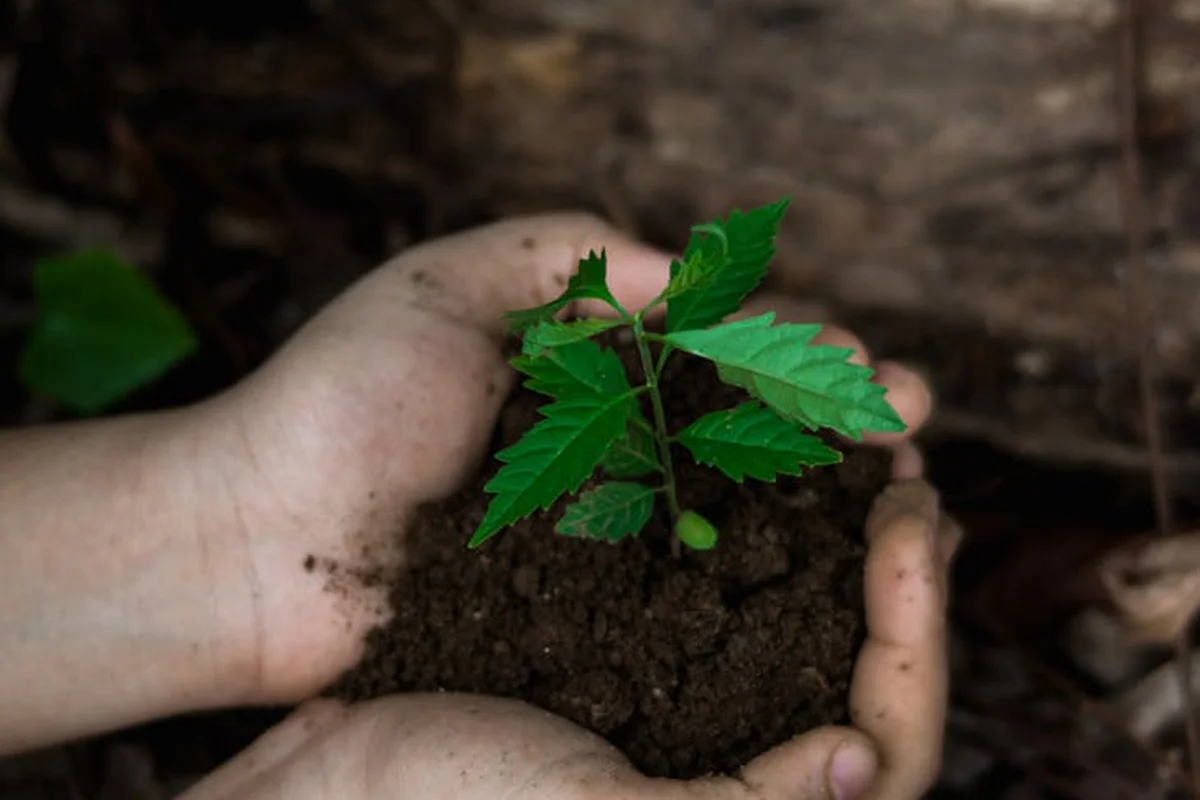
Container gardening is a different beast than tending your lawn. I think of my pots like tiny, hungry pets. They can’t send their roots out to find food, and every time you water, you’re flushing nutrients straight out the bottom. That fast drain is great to prevent soggy roots, but it means you have to be the consistent chef.
The golden rule for anything in a pot is simple: feed little, but feed often. You’re not trying to pack on massive growth like you might with your grass. You’re providing a steady, gentle supply to keep things happy and healthy.
Feeding Your Potted Herbs
For herbs like basil, mint, or rosemary, less is truly more. I learned this the hard way with a pot of basil that grew huge, beautiful leaves with almost no flavor. It was all show and no substance. Herbs produce their best oils and flavors under a bit of gentle stress.
Too much nitrogen, in particular, pushes rapid, soft growth that dilutes the very taste you’re growing them for. Stick with a balanced, water-soluble fertilizer and dilute it to half the strength recommended on the bottle. Apply this light meal every four to six weeks during their active growing season (spring and summer). In fall and winter, let them rest and skip the fertilizer.
Plants Living in Water
If you’re growing something directly in water-like lucky bamboo, some philodendron cuttings, or a full hydroponic setup-you can’t just use any old plant food. Soil-based fertilizers can gunk up the water and aren’t formulated to be absorbed properly.
You need a hydroponic or water culture fertilizer. These are complete, liquid formulas that provide every nutrient the plant needs in a form it can use directly from the water. They’re designed to keep the water column balanced and clear.
A Quick Word on Homemade Plant Food
I get asked about homemade fertilizer all the time. Can you make your own? Sure. A simple compost tea (steeping finished compost in water) or a diluted fish emulsion can give plants a mild, gentle boost. It’s like a vitamin shot rather than a full meal. For precise mixing, a liquid fertilizer dilution tool can help you measure the exact dilution you need.
Homemade options are fantastic for adding microbial life and trace nutrients, but they are not a precise or complete replacement for a balanced fertilizer. They’re mild, which means they’re hard to overdo, but they also won’t fix a major nutrient deficiency. I use them as a supplement, not the main course.
Common Indoor Scenarios
Let’s get specific. Here’s my straightforward playbook for the most common potted residents.
Potted Herbs (Basil, Mint, Thyme):
- Use a balanced liquid fertilizer (look for a 10-10-10 or similar ratio on the label).
- Dilute it to half-strength with water.
- Apply every 4-6 weeks only during active growth (spring/summer).
- Stop feeding in fall and winter.
Foliage Houseplants (Pothos, Snake Plant, Fiddle Leaf Fig):
- Use a balanced liquid fertilizer at full, recommended strength.
- Feed once a month in the spring and summer when they are pushing new leaves.
- In the lower-light months of fall and winter, cut back to feeding once every 2-3 months, or stop entirely.
- Yellowing leaves can often mean too much water or food, not too little.
Succulents and Cacti:
- These desert natives are built for lean times. They need a special formula.
- Look for a fertilizer labeled for cacti/succulents. It will be low in nitrogen and higher in potassium and phosphorus.
- Feed only once, at the very beginning of their growing season (usually early spring), and that’s often enough for the whole year.
- Overfeeding makes them grow weak and leggy, ruining their compact shape.
How and When to Apply: Methods That Work
Let’s get this food to the roots. Choosing a fertilizer is one thing, but putting it down wrong can waste your money and even hurt your plants. I’ve learned this the hard way, mostly by watching Patch of all places-a little too much enthusiasm one year left some unhappy ferns.
Think of it like feeding your family. You wouldn’t serve a month’s worth of meals all at once.
Granular vs. Liquid: Two Tools for Two Jobs
You have two main choices here: granular and liquid. They’re different tools, and I keep both in my shed.
Granular fertilizer is your slow-release, long-term feeder, perfect for garden beds and established lawns. The little pellets break down over weeks, sending a steady trickle of nutrients into the soil. It’s like a home-cooked roast that simmers all day, filling the house with good smells for hours. I use granules for my main vegetable garden and flower borders in the spring. They build the soil up for the long haul.
Liquid fertilizer is your quick-fix, fast-acting solution for potted plants or a sudden need for green-up. It mixes with water and gets to work almost immediately. This is my go-to for the containers on my patio or if my tomatoes look a little pale and hungry in mid-summer. It’s like an energy shot-quick, effective, but the effect fades faster so you’ll need to apply it more often.
Putting Down Granular Fertilizer: A Simple Plan
Doing this right is simple. The goal is an even spread so one plant isn’t overfed and another starved.
- Check the Bag Rate: Every bag has a setting number for a broadcast spreader. For my old spreader, I set it just under the recommended number. It’s easier to make a second light pass than to fix an overdose.
- Fill and Walk: Load the hopper on a calm day. Walk at a steady pace, pushing the spreader in straight lines with a little overlap on each pass. I think of it like mowing with Max-nice, straight stripes.
- Water It In, Now: This is the step you cannot skip. Water the area thoroughly immediately after applying granular fertilizer to wash the nutrients off the leaves and into the soil. If you don’t, those pellets can act like little magnifying glasses in the sun and scorch your grass or plants. I let Sunny, my drip system, run for a good 30 minutes to get a deep soak.
The Right Time to Feed Your Garden
Timing is everything. Plants can’t use food when they’re sleeping.
Feed most plants when they are actively growing, which for most of us is spring and into summer. That’s when they’re putting out new leaves, stretching their roots, and flowering. A spring feeding gets them off to a strong start. A light summer feeding can support continued growth and blooming.
Do not fertilize when plants are dormant or slowing down for winter. It’s like offering a heavy meal right before bed-it wastes the food and can force weak, new growth that gets damaged by frost. For my cool-season lawn and perennials, I stop feeding by early fall.
Watering After Feeding: The Golden Rule
You’ve applied the fertilizer. Now what? Water is the delivery truck.
The best way to water after fertilizing is with a gentle, deep soak that moves nutrients down to the root zone where plants can actually use them. A quick sprinkle just dampens the surface. You want water to penetrate 4 to 6 inches deep. This encourages strong, deep roots and prevents the fertilizer from just sitting on top or washing away in a hard rain.
I use a soaker hose or my drip irrigation for this. It delivers water slowly and right at the soil level without erosion or runoff. If you’re using a sprinkler, let it run in one area until you can push a screwdriver easily into the damp soil. That’s how you know the water, and the food, have gone where they’re needed.
Oops, I Overdid It: Fixing Fertilizer Burn and Other Problems
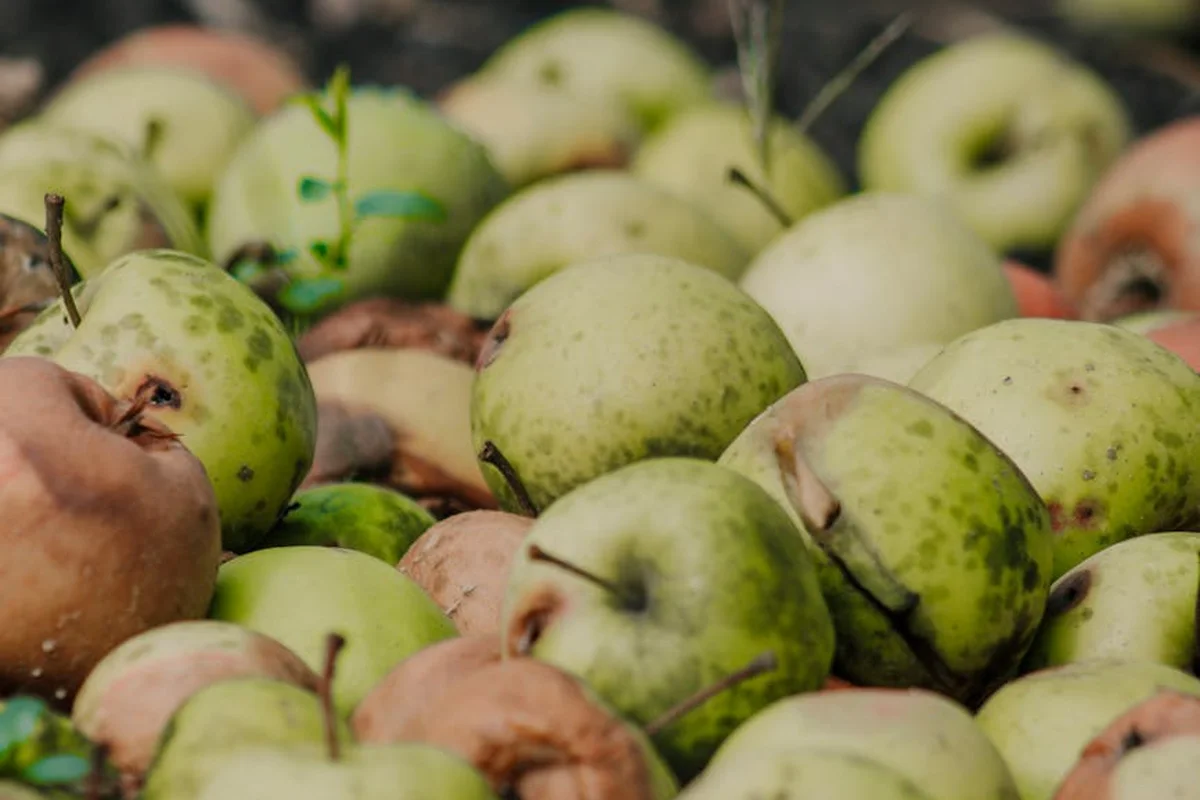
It happens to everyone. You’re trying to give your plants a boost, but a few days later, you see it. The leaf edges look scorched-crispy, yellow, or brown. The plant might wilt even though the soil is damp. That’s fertilizer burn. The salts in the fertilizer have drawn water out of the plant roots, like putting a slice of cucumber on salt.
When you see those burnt edges, your first move is always water, and a lot of it. You need to flush the soil and dilute those excess nutrients fast.
The First-Aid Flush
Don’t just give it a sprinkle. You need a deep, thorough soak. I head to Sunny, my drip system, and run it for an extended cycle, but for a potted plant or a small area, a slow-running hose is best.
- Water the area slowly and deeply for at least 20-30 minutes. You want water to seep down well past the root zone, carrying the excess fertilizer salts with it.
- Wait an hour, then do it again. One good soaking might not be enough. Repeating the process helps ensure you’ve diluted the concentration in the soil.
- Hold off on any more fertilizer for at least a month. Let the plant recover. You can trim off the badly burnt leaves, but avoid heavy pruning while it’s stressed.
For my lawn, if I ever see a streaky brown pattern after feeding, I’ll drag the sprinkler out and let it run in that spot for a solid afternoon. Patience is key here. You won’t see the burned grass blades turn green again, but you’ll protect the roots and crown so new growth can come in.
Why This Happens: The Synthetic Speed Trap
Nine times out of ten, this burn comes from using too much synthetic, fast-release fertilizer. Remember our chat earlier about how synthetics are like an energy drink for plants? Well, giving a triple-shot is a surefire way to cause a crash. The nutrients are immediately available in a potent salt form, which is great if applied perfectly but harsh if you mismeasure.
Organic fertilizers are far more forgiving. They need soil microbes to break them down, releasing food slowly. It’s much harder to burn your plants with compost or a bag of organic blend. This is a huge point in their favor for us weekend gardeners who aren’t aiming for laboratory precision.
The Golden Rule: The Label Is Law
More is not better. I learned this the hard way with a rose bush years ago. I thought a little extra would give me more blooms. It gave me a nearly dead plant instead.
Always follow the label rates on the bag or bottle to the letter-that measurement is your best defense against causing harm. Use a calibrated spreader for your lawn, and for garden plants, I keep a dedicated measuring cup in my fertilizer tub. Eyeballing it is a recipe for regret. Your plants want a steady meal, not a feast that makes them sick.
Smart Product Picks: What to Look For on the Shelf
Walking down the garden center aisle can be overwhelming. So many bags and bottles, all promising miracles. Forget the hype. Focus on finding the right tool for the job, just like you wouldn’t use my mower, Max, to trim your shrubs.
Start With These Four Reliable Types
You don’t need a garage full of products. A simple toolkit of four fertilizer types will handle 95% of what you grow.
A basic, all-purpose granular fertilizer (like a 10-10-10) is your garden’s reliable workhorse. I keep a bag on hand for my foundation shrubs, perennial beds, and young trees. It gives a balanced meal that supports steady, overall growth. Think of it as the comfortable jeans of plant food.
For your flower pots and hanging baskets, grab a liquid bloom booster with a higher middle number (like 10-30-10). That extra phosphorus is like a direct signal to your petunias and geraniums to put energy into making more blooms, not just more leaves. It’s a quick pick-me-up they love.
Houseplants do best with a gentle, balanced liquid fertilizer. They’re living in a confined space with limited soil, so they need regular, light feeding during their growing season. A half-strength dose every few weeks keeps them happy without risk of burning their roots.
Never underestimate a good organic option, like compost or fish emulsion. This is about feeding your soil as much as your plants. I work compost into my vegetable garden every spring. It improves soil texture and slowly releases nutrients. Fish emulsion is a bit stinky, but my tomatoes and roses act like it’s a five-star dinner.
How to Read the Label (It’s Not Rocket Science)
The numbers and words on the bag tell you everything. Here’s your cheat sheet.
The three big numbers are the N-P-K ratio. Nitrogen (N) for green, leafy growth. Phosphorus (P) for strong roots and flowers. Potassium (K) for overall plant health and hardiness.
Your most important check is for the words “slow-release” or “controlled-release” on the label. This is non-negotiable for granular fertilizers in my book. Slow-release feeds plants gradually over weeks, mimicking nature. It prevents nutrient wash-out into storm drains and eliminates the risk of burning your lawn or garden. Fast-release fertilizers give a big, sugary rush that often leads to a crash. Understanding the difference between slow-release and quick-release fertilizers helps you plan steady nutrition. In the next steps, we’ll compare these types to show when each is appropriate and how to use them.
Finding “Fertilizer for Plants Near Me”
Your local soil has a personality. My soil holds water like a sponge, while my cousin’s drains like a coffee filter. A product formulated for the sandy soils of the coast won’t act the same in heavy, midwestern clay.
The best advice is to skip the big-box store once in a while and visit a local garden center. The staff there usually garden in your same dirt and rain. They can point you to products that actually work for our specific region’s challenges and weather patterns. It’s a simple step that saves a lot of guesswork and money.
Rethinking Your Green Space: Lawn Alternatives and Philosophies
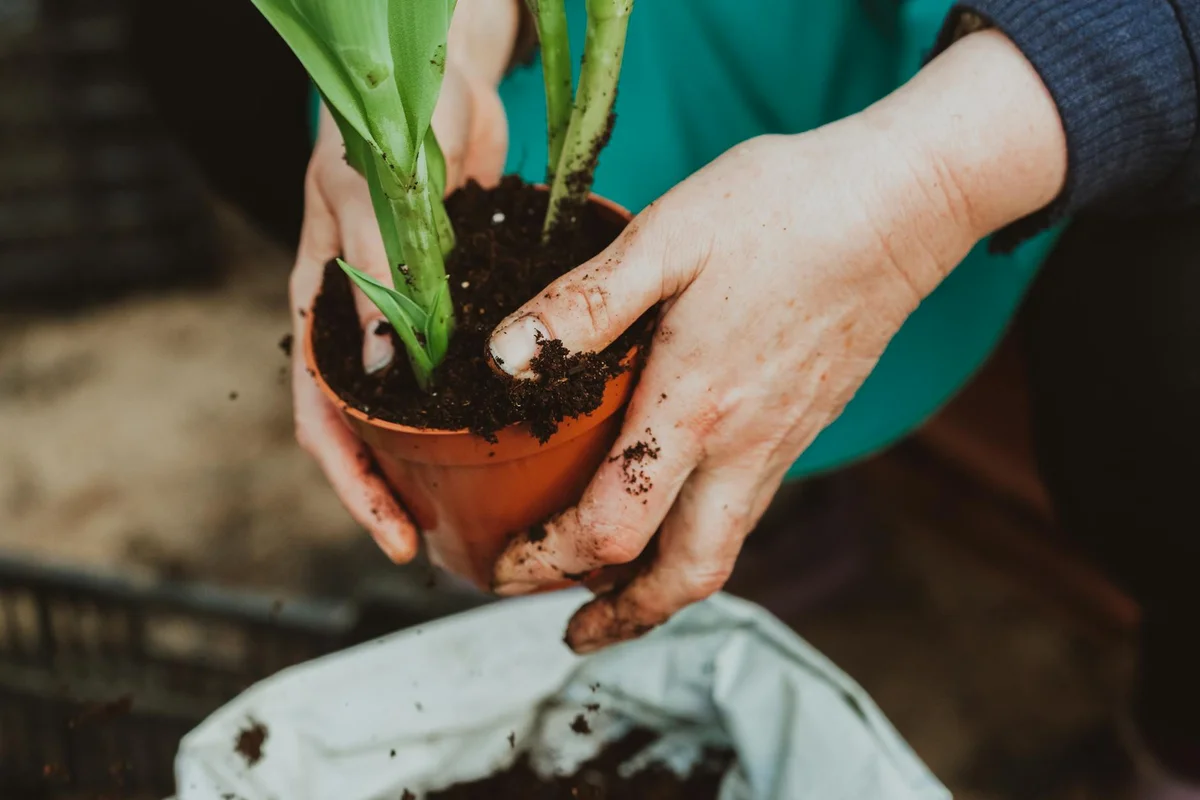
Before we talk about feeding your grass, it’s worth asking a bigger question: what do you really want from your yard? I spent years chasing the perfect, uniform turf. Then I met “Patch,” a shady corner where grass just gave up. Fighting it taught me that sometimes the best lawn care is choosing the right plant for the job, not just the right fertilizer.
The Traditional Lawn vs. The Low-Maintenance Mix
A classic, fertilized lawn of Kentucky bluegrass or fescue has its appeal. It feels cool and soft underfoot, looks tidy, and handles a game of catch. But it asks for a lot in return: regular mowing with Max, consistent feeding, and vigilant weed control.
Many homeowners are now looking at low-maintenance alternatives, and for good reason. A lawn mixed with white clover, for instance, changes the game. Clover pulls nitrogen from the air and fixes it in the soil, essentially fertilizing itself and the grass around it. It stays green during summer droughts, feeds pollinators, and rarely needs mowing.
The biggest shift with a clover mix is that you often need little to no extra fertilizer, saving you time, money, and worry about runoff.
- Traditional Lawn Pros: Dense, durable for play, that classic green carpet look.
- Traditional Lawn Cons: Higher water and nutrient needs, more mowing, constant weed pressure.
- Clover Mix Pros: Drought-tolerant, self-fertilizing, pollinator-friendly, less mowing.
- Clover Mix Cons: Different look (some see clover flowers as “weeds”), can attract bees (a pro for me, a con for some).
The Organic-Only Path: Feeding the Soil
If you stick with a traditional grass lawn, you have two main feeding philosophies. The organic path is all about patience and building life. You’re not just feeding the plant; you’re feeding the billions of microbes and worms in your soil. Think of it like cooking a rich stew instead of making instant ramen. Organic lawn care takes time but builds a healthier lawn overall.
You use things like compost, manure, bone meal, or alfalfa meal. These materials break down slowly, improving soil structure so it holds water and nutrients like a damp sponge. The results aren’t overnight. Your lawn greens up gradually over weeks. It can also be more physical work, like spreading yards of compost.
Organic methods build incredible long-term soil health, which is the true foundation of a resilient lawn, but you must be willing to accept a slower, gentler green-up. I use this approach in my backyard where my dog plays, because I know what’s in the soil is safe and natural.
The Synthetic Route: Precision and Speed
The synthetic path uses manufactured, water-soluble fertilizers. The numbers on the bag (like 24-0-6) tell you the exact percentages of Nitrogen, Phosphorus, and Potassium. This is precision nutrition. You’ll see results fast, often in just a few days. The grass gets a deep, quick green that many find satisfying.
This speed comes with a need for careful handling. Applying too much or at the wrong time (like before a heavy rain) can lead to fertilizer burning the grass or washing away into waterways. You must always check the label for recommended watering-in times to ensure it’s safe for pets and kids to return to the lawn.
Synthetic fertilizers give faster, more dramatic results, but they demand strict attention to application rates and timing to prevent harm to your lawn and the local environment. Understanding your lawn’s fertilizer needs application helps you achieve the right balance safely. Tailoring application to soil and seasonal conditions ensures you get the most benefit without waste.
Choosing What Fits Your Life
So, which path is right? It comes down to your life. Ask yourself a few simple questions.
- How much time do I have for lawn care each week?
- Is my main goal curb appeal, play space, or helping local bees and birds?
- Do I have kids or pets who roll around on this grass daily?
Maybe you split the difference. I do. My front lawn gets a synthetic feed in the spring for that quick green pop. The backyard, where my dog spends his days, is on an organic program. Or maybe you decide a section of your yard would be better as a clover patch or a perennial flower bed.
The best method is the one that aligns with your time, your goals for the space, and your peace of mind about what’s on the ground where your family plays. There’s no single perfect answer, only the right choice for your corner of the world.
Your Quick Fertilizer Questions, Answered
1. Where’s the best place to buy fertilizer locally?
Skip the giant warehouse aisles and head to a local garden center. The staff there knows our soil and weather, so they’ll point you to products that actually work in your yard, saving you time and money on guesswork.
2. Are there any fertilizer brands you swear by?
I look for brands that clearly state “slow-release” on granular bags and offer simple, specific formulas. For organic, Espoma and Dr. Earth are reliable; for a quality synthetic that’s hard to mess up, Scotts or Milorganite get the job done without fuss.
3. Can I trust fertilizer recommendations I see on Reddit or forums?
Use them as a starting point for ideas, but always cross-check with your plant’s needs and your local conditions. Remember, the person giving advice might be gardening in completely different dirt than you are.
4. Is it safe to buy fertilizer on Amazon?
Yes, but be a smart shopper-stick to well-known brands and read reviews focusing on delivery condition and actual results. It’s great for convenience, but you miss out on the local expert advice that prevents costly mistakes.
5. I’m growing plants in just water. What should I use?
You must use a hydroponic fertilizer; regular garden food won’t dissolve right and can rot the roots. These liquid formulas are complete meals designed to keep the water clean and your plants thriving, as we touch on in the indoor section.
Feeding Your Garden with Purpose
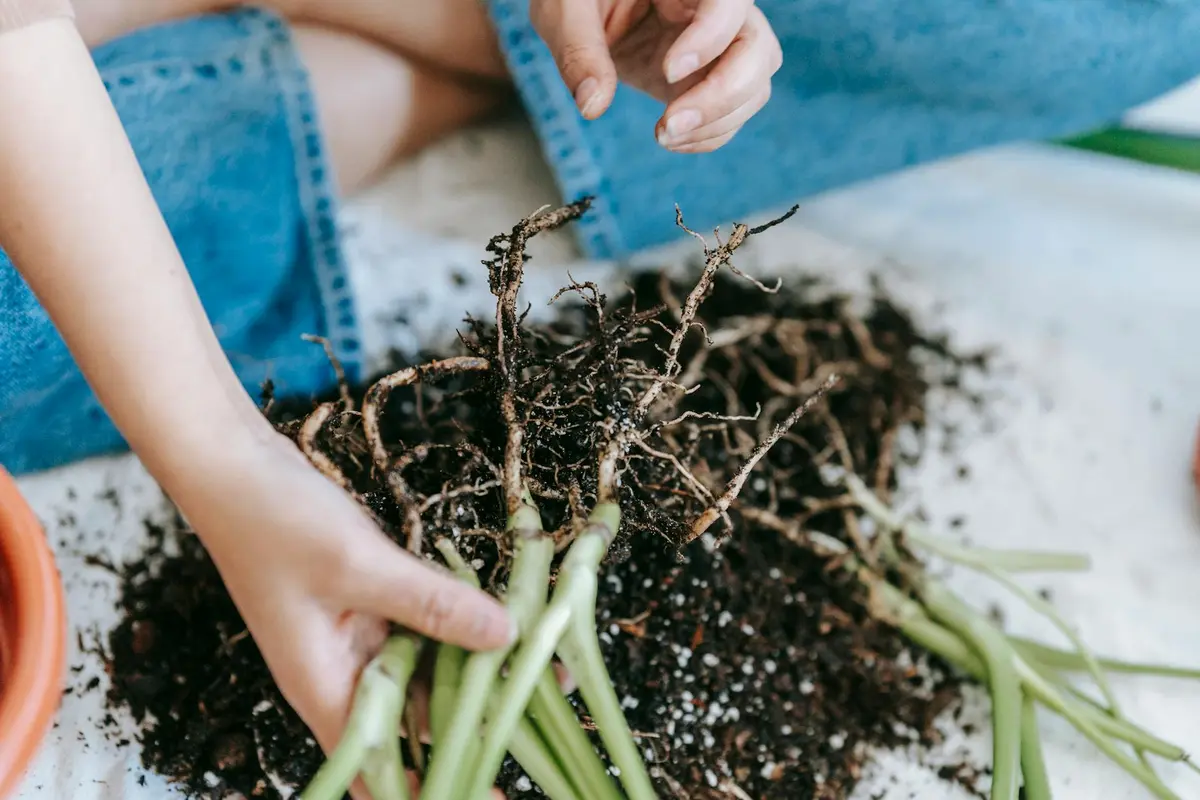
The best move you can make is to match your fertilizer to the specific hunger of your plants and the truth of your soil test. Skip the guesswork by starting with a soil test; it tells you exactly what to add so your plants get what they need, not just what you think they might want. A lawn fertilizer calculator translates those recommendations into exact amounts for your yard, making the next steps quick and precise.
I always choose pet-safe, pollinator-friendly options to protect the little helpers in my yard. Your care today builds a healthier garden tomorrow, so keep learning from each season and every patch of soil.
Further Reading & Sources
- Is there any good general fertilizer I can get to use on all of my plants? I have a vegetable container garden. : r/gardening
- What is the best type of fertilizer?
- How to Use Fertilizer for Plants According to Experts
- Amazon Best Sellers: Best Garden Fertilizers
- Feeding Plants – What’s the Best Fertiliser to Use? | BBC Gardeners World Magazine
- Fertilizing a Garden – Texas A&M AgriLife Extension Service
- Best Rated – Plant Food & Fertilizer – The Home Depot
Written by Ria Carrington. Ria is an avid lawn care enthusiast and advisor. No lawn is unsalvagable when Ria is at work. She has helped countless homeowners breath new life into their dying lawns. She has a B.Sc in Agriculture and brings practical advice combined with knowledge of plant science and her decade worth of hands on experience.