
How Do You Grow a New Lawn from Scratch Without Breaking the Bank?
Starting a lawn from bare dirt might seem like a huge project, but I promise it’s a straightforward process that pays off for years.
We will cover choosing the right grass for your yard, testing and fixing your soil, the smart way to plant seed or sod, and protecting your new grass as it grows.
I’ve built my own thick, green lawn from the ground up, learning what works and what wastes your weekend and your wallet.
At a Glance: Key Factors for Your New Lawn
Starting a lawn from dirt is a rewarding project. I’ve done it in my own backyard, and it taught me more than a decade of just mowing ever did. The whole process boils down to a few big ideas you can’t skip.
- Fix the soil first. Everything grows from what’s under your feet.
- Pick the right grass for your sun, shade, and climate.
- Time it right. Planting in the wrong season is an uphill fight.
- Commit to the follow-up. New grass needs attentive care, like a puppy.
Good soil isn’t just a suggestion, it’s the non-negotiable foundation for everything that comes after. Think of it like building a house. You wouldn’t put a solid foundation on loose sand. You’d want solid, stable rock. Your grass is the house, and the soil is its foundation. If the soil is hard, weedy, or nutrient-poor, even the best grass seed will struggle.
You have two main paths forward: seeding or sodding. Seeding is more affordable and gives you more variety choice, but it requires patience and protection from birds and washouts. Sodding is instant gratification-you get a mature lawn in hours-but the cost is significantly higher. It’s the classic trade-off between your time and your budget. Think about long-term cost and effort as well. Seed usually requires more ongoing care, while sod can cut down on work upfront but may need different maintenance later.
The first six weeks after planting are the most critical period for your new lawn’s survival. This is when you’re “babying” it. Watering needs to be consistent and gentle to keep the top inch of soil moist. The first mow is a milestone; you wait until the grass is about one-third taller than your target height, ensure the soil is firm, and use a sharp blade. Miss this early care window, and you’ll likely see thin, patchy areas, which is exactly what my friend Patch taught me the hard way.
Tools You’ll Need to Get Started
You don’t need a garage full of pro gear, but the right tools make the job smoother and give you better results. Here’s what you’ll want to have on hand.
For Testing and Measuring:
- A simple soil test kit. This tells you what your dirt needs before you spend a dime on seed or fertilizer.
- A long tape measure. For calculating your square footage to buy the correct amount of seed or sod. Guessing here gets expensive.
For Ground Preparation:
- A sturdy steel rake. For leveling soil and creating a fine, crumbly seedbed.
- A garden tiller (for small areas) or a rental sod cutter (for large areas or removing old turf). This is the hard work phase. My tiller has saved my back more times than I can count.
- A lawn roller (half-filled with water). This firms the soil after tilling and ensures good seed-to-soil contact, which is vital for germination.
For Planting and Watering:
- A broadcast or drop spreader. For evenly distributing seed or fertilizer. An uneven spread shows up later as stripes in your lawn.
- Soaker hoses or oscillating sprinklers. I’m a fan of soaker hoses for small, defined areas-they’re efficient like my setup, Sunny. For larger lawns, a few good sprinklers on timers are a weekend-saver.
A quick note on safety: if you’re using any soil amendments or starter fertilizers, keep pets off the area until the product is watered in and the surface is completely dry. It’s a simple step for their safety. Always store tools and supplies where curious paws and noses can’t reach them.
How Do I Prepare the Soil for a New Lawn?

I learned this lesson the hard way with a spot I call Patch. It’s a shady corner where nothing wanted to grow but moss and weeds. I kept throwing seed at it every fall, getting frustrated when it just washed away or sat there. The problem wasn’t the seed. It was what was underneath. The soil was compacted, sour, and just plain tired. Preparing the soil is the single most important step you will take for your new lawn, and skipping it is a guarantee for thin grass and constant weed battles.
Think of it like building a house. You wouldn’t pour a foundation on top of old rubble and soft sand. Your grass seed or sod needs a stable, nourishing base to call home. Here’s how to build it.
Running a Simple Soil Test
Before you add anything, you need to know what you’re working with. You can start with a simple hands-on test right now. Grab a handful of moist soil from a few inches down and give it a squeeze.
- If it holds its shape firmly and feels slick, you have heavy clay. It holds water like a wet sponge, which can drown grass roots.
- If it feels gritty and falls apart immediately, you have sandy soil. It drains like a coffee filter, often too fast for roots to grab a drink.
- The ideal is a loamy feel-it forms a loose ball that crumbles easily when poked. That’s your goal.
Look for other clues, too. Does water pool on the surface for hours after a rain? That’s a sign of compaction. Has nothing but weeds ever grown there? The soil biology is probably out of whack.
For the best results, I always send a sample to my local university extension office. For a small fee, they give you a precise report on your soil’s pH and nutrient levels. It tells you exactly what your dirt is hungry for, so you don’t waste money guessing.
Amending Your Dirt for Success
Now, let’s turn your dirt into soil. This is where you fix the problems your test revealed. Organic matter is your best friend here-it loosens clay, gives sandy soil something to hold onto, and feeds the microbes that keep your lawn healthy from below.
For most lawns, compost is the perfect all-around amendment. I get it by the truckload. You want to till it into the top 6 to 8 inches of your soil.
- For heavy clay soil: Till in 3 to 4 inches of compost. This creates air pockets and dramatically improves drainage.
- For sandy soil: Till in 2 to 3 inches of compost. This adds body and moisture retention so water and nutrients don’t just wash through.
Using compost feeds the soil life naturally, which supports a healthier ecosystem right down to the pollinators. While you’re at it, take a step back and look at the grade. Ensure the soil slopes gently away from your house’s foundation-about a 1 to 2% grade is perfect to prevent water from pooling against your basement walls.
Finish by removing any rocks or roots, then rake the area until it’s as smooth as a tabletop. You want a fine, loose seedbed. If you can, let it settle for a week, watering lightly if it gets dusty. Then you’re ready to plant.
What’s the Best Time to Plant and Which Grass to Choose?
Timing is everything. Plant at the wrong time and you’re fighting an uphill battle against heat, cold, or drought. The simple rule is this: plant when the grass wants to grow, not when you’re just tired of looking at dirt.
The best time of year to plant a new lawn of cool-season grasses (like Kentucky Bluegrass, Fescue, and Ryegrass) is early fall. The soil is still warm, the air is cooler, and autumn rains help with watering. Spring is your second choice, but you’ll battle more weeds. If you’re planning to plant in spring, timing and soil readiness still matter. The next section covers the best spring seeding window.
For warm-season grasses (like Bermuda, Zoysia, and St. Augustine), plant in late spring to early summer, once the soil is consistently warm. These grasses love the heat and will spread quickly when planted at the right time. Understanding the differences between warm-season and cool-season grasses can help you choose the right type for your lawn.
Not sure which group you’re in? If you have cold winters and hot summers (think the Midwest, Northeast, and Pacific Northwest), you likely need cool-season grass. If you have mild winters and long, hot summers (think the South and Southwest), you need warm-season grass. Your local garden center will have the right seed for your area.
Grasses for Tough Spots: Shade and Drought
Not every part of your yard gets full sun, and not everyone wants to water constantly. The good news is there are grasses made for these exact spots. Choosing the right one saves you years of frustration.
For those shady areas under trees or along north-facing fences, fine fescues are your champions. Varieties like Creeping Red Fescue or Chewings Fescue need far less sun than other grasses. For hot, dry areas where you want to conserve water, look into drought-resistant grasses like Buffalo Grass or certain blends of Tall Fescue.
My best advice for how to choose the right type of grass seed or sod is to read the label and mix it up. A quality seed bag will have a tag listing the varieties inside and their percentage. Look for a mix, not just one type. A blend of Kentucky Bluegrass and Ryegrass creates a tough, carpet-like lawn. A mix of several fescue varieties handles both sun and shade better. This diversity builds a resilient lawn that can handle stress without needing you to rescue it every season. When you buy grass seed types, compare blends and seed percentages on the label. This helps you pick the right mix for your climate as you move to the next steps.
If you’re laying sod, do the same check. Healthy sod should be dense, uniformly green, and moist-not dry, yellowing, or falling apart. A diverse sod is a strong sod.
The Planting Guide: How to Seed or Sod Your Lawn

Here’s where you choose your path. Seeding is the patient gardener’s route. It’s far less expensive and offers more grass variety, but it asks for more time and attentive care. It’s ideal for those on a budget and willing to invest the time. Sodding is the instant upgrade. You pay more for that immediate green carpet, and the installation is more physically demanding, but you get a usable lawn in weeks, not months.
Think of it like baking bread versus buying a loaf. One is a rewarding project, the other gets dinner on the table fast.
Step-by-Step: Seeding a Lawn from Dirt
Growing a lawn from bare dirt is all about creating the perfect nursery for tiny grass seeds. The two non-negotiable rules are even coverage and perfect seed-to-soil contact. Germination fails without them.
- Calculate Your Seed: Check the bag’s coverage rate. For a new lawn, you often need about twice the seed you would for overseeding. It’s better to have a little extra than to run out mid-job.
- Use a Spreader: I use a broadcast spreader for large areas. Set it to the rate on the bag and make two passes: one north-south, one east-west. This criss-cross pattern is the secret to even coverage.
- Rake It In Gently: Don’t bury the seed. Take a leaf rake, flip it over so the tines face up, and lightly drag it across the surface. Your goal is to barely cover the seed with about 1/8 to 1/4 inch of soil. You should still see some seed peeking through.
- Roll for Contact: This is the magic step. A lawn roller, half-filled with water, presses the seed firmly into the damp soil. You’re tucking it in for bed. No roller? Walking carefully over the area in flat shoes can help.
- The First Watering: Soak it. Use a gentle spray to moisten the top 1-2 inches of soil without creating puddles or washing seeds away. That damp, dark earth is your signal to stop.
The crisp snap of a roller over fresh seed is the sound of a good start.
Step-by-Step: Laying Sod for Instant Gratification
Laying sod is like assembling a living, green puzzle on your soil. The key is speed and precision to keep the grass from drying out before it roots.
- Measure and Order: Measure your area in square feet. Order 5-10% extra for cutting and fitting. Sod is perishable, so schedule delivery for the day you’ll install it.
- Lay the First Course: Start along a straight edge, like a driveway or sidewalk. Lay the rolls end-to-end, like bricks in a staggered pattern. Stagger the seams in each row so no two seams line up. This prevents gully erosion.
- Keep it Tight: Butt the edges and ends together tightly without stretching or overlapping. Gaps will dry out and create dead lines.
- Water as You Go: Do not wait until the entire yard is done. The moment you lay a section, give it a thorough soaking. The sod should feel heavy and damp.
- Roll the Entire Area: Once everything is laid and watered, roll the whole lawn. This presses the sod roots into the soil below and removes air pockets.
- Fill the Seams: Sweep a sandy topsoil or compost into the seams between rolls. This helps prevent drying and encourages the pieces to knit together.
Watering each section immediately is the difference between rooting and rotting.
Caring for Your New Lawn and Solving Common Problems

A new lawn is like a newborn. It needs constant, gentle attention. The most common questions I get all boil down to water, food, and that first haircut.
How much should I water a newly seeded or sodded lawn? The rule is simple: keep it damp like a wrung-out sponge. The surface should never dry out completely, but you should never see standing water. For seed, this means light watering 2-3 times a day. For sod, deep watering once or twice a day to soak the soil beneath it.
How do I fertilize a new lawn? Use a starter fertilizer when you plant. It’s high in phosphorus, which is the root-building nutrient. After that, wait 6-8 weeks before feeding again with a balanced, gentle fertilizer. More is not better here.
When should I first mow a new lawn? Follow the 1/3rd rule. Mow when the grass is about one-third taller than your desired height. For new grass, that’s often around 3-4 inches tall. Make sure your mower blade is razor-sharp. A dull blade tears and shreds tender young grass, inviting disease.
How do I control weeds in a new lawn? Your first defense is a thick lawn. For seeded lawns, most standard pre-emergents will also block grass seed, so hand-pulling is your friend initially. For sod, you can use a pet-safe pre-emergent after it’s rooted. I always keep a stand-up weeder by the back door for easy patrols.
Does mowing stimulate growth? Yes, when done correctly. That first proper mow signals the grass plants to grow laterally and thicken up, instead of just growing tall and spindly. It’s how you build a carpet, not a hayfield.
The First Six Weeks: Water, Food, and the First Cut
Here’s a simple schedule to follow. This is what worked for my last renovation.
- Weeks 1-2: Keep the soil surface constantly moist. For seed, light sprinkles 2-3 times daily. For sod, one deep daily soak.
- Weeks 3-4: Start to taper. Water deeply once a day, encouraging roots to chase moisture down into the soil.
- Weeks 5-6: Transition to a normal watering schedule. Aim for 1-1.5 inches of water per week, applied in 2-3 sessions. Let the soil dry slightly between waterings.
The first mow is a milestone. I wait until the grass is firmly rooted (you can’t pull a blade up easily) and hit the height rule. I give Max a fresh blade, set the deck high, and make the pass. The sound is a crisp, clean shear, and the smell, that fresh-cut grass smell, is the reward for your patience.
Common New Lawn Mistakes and How to Avoid Them
- Planting at the Wrong Time: Cool-season grass in summer heat will fry. Warm-season grass in fall will stall. Visible Sign: Seed doesn’t sprout, or new grass turns yellow/brown and dies. Correction: Reseed at the correct time for your grass type.
- Skimping on Soil Prep: Hard, compacted soil is a prison for roots. Visible Sign: Patchy growth, water pooling, grass struggling in weeks 3-4. Correction: It’s a hard lesson. You may need to core aerate and overseed again to fix it.
- Over or Under-Watering: Both are killers. Visible Sign: Under-watering turns grass grayish and brittle. Over-watering leads to moss, fungus, and a spongy feel. Correction: Do the screwdriver test. It should slide easily 4-6 inches into damp soil.
- Mowing Too Short, Too Soon: Scalping stresses the plant. Visible Sign: Lawn looks scalped, thin, and brown after mowing. Correction: Raise your mower deck. Never cut more than 1/3 of the grass blade height at once.
Patience is the final, unwritten step. Lawns take a full season, sometimes two, to truly mature and thicken. Even my problem child, Patch, took a whole year of spot-seeding and gentle care to finally join the rest of the lawn. Give it time.
Your New Lawn FAQ: Quick, Greedy Answers

How do I know if my soil is *truly* ready for seed or sod?
It’s ready when it’s crumbly like coffee grounds and slopes gently away from your house. If you can easily push a screwdriver 6 inches deep into damp soil, your foundation is greedy for grass.
I missed the ideal planting window-can I still plant?
You can, but you’ll need to be a water watchdog. For cool-season grasses, a late spring planting means battling heat and weeds; for warm-season, a late summer planting gives less time to establish before dormancy.
What’s the one thing people forget when laying sod?
They forget to water the soil *before* laying the first piece. Give that bare dirt a deep drink so the sod’s roots meet moisture immediately, encouraging them to dive down greedily.
How do I protect new seed from birds without scary tactics?
Lightly rake and roll the seed into the soil so it’s not an open buffet. A thin, quarter-inch layer of straw or erosion control blanket works even better, hiding the seed and holding moisture.
My new lawn has patches-what’s my first move?
Don’t panic and drown it. Identify the cause: dry patches need adjusted watering, squishy patches need less, and bare patches just need a quick scratch-and-reseed when the weather’s right.
Your Journey to a New Lawn Starts Here
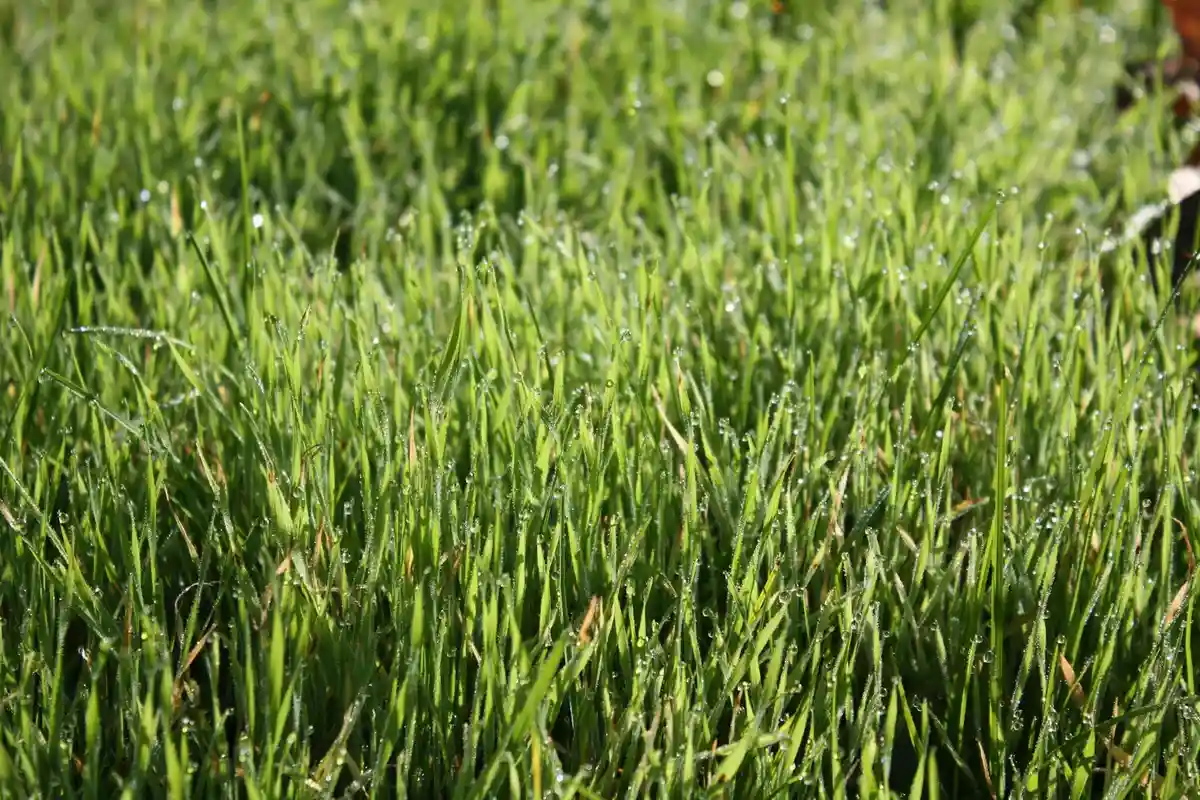
The single most important step is what happens before you ever spread a seed or lay a piece of sod. Focus your energy on preparing your soil first, as healthy earth is the only real foundation for a lawn that lasts. Get that right, and everything that follows becomes simpler. That groundwork sets you up for lawn seeding success. Take a moment to test, loosen, and amend soil as needed so seeds can establish quickly.
Remember that a great lawn is a living part of your home’s ecosystem. Choose pet-safe fertilizers and spot-treat weeds to protect your family and the pollinators that visit your yard, turning your green space into a responsible, thriving habitat.
Relevant Resources for Further Exploration
- How to Seed a Lawn From Scratch
- Starting a New Lawn from Scratch: How to Grow Grass
- Starting a Lawn from Scratch
- How to Grow a New Lawn | ScottsMiracle-Gro US
- Starting lawn from scratch | Lawn Care Forum
- How to Plant Grass Seed in a New Lawn
- How to Grow a Lawn From Scratch (DIY Guide + Lessons …
Written by Ria Carrington. Ria is an avid lawn care enthusiast and advisor. No lawn is unsalvagable when Ria is at work. She has helped countless homeowners breath new life into their dying lawns. She has a B.Sc in Agriculture and brings practical advice combined with knowledge of plant science and her decade worth of hands on experience.