
How Do You Aerate and Level a Lawn with Heavy Clay Soil? A Step-by-Step Guide
If your lawn pools water after a light rain or feels rock-hard underfoot, heavy clay soil is likely to blame, and I can show you how to fix it for good.
We will cover understanding your clay soil, choosing the right aeration method, a step-by-step leveling process, and smart aftercare to lock in your success.
I’ve transformed my own stubborn, clay-heavy yard with Max the mower and learned the money-smart tricks through years of hands-on weekends.
What Exactly Is Heavy Clay Soil and Why Is It a Problem?
Think about that gray modeling clay from your childhood. When it’s dry, it’s a dense, hard brick. When it’s wet, it’s a slick, sticky mess that holds its shape. That’s heavy clay soil. It’s made of incredibly tiny, flat particles that pack together tighter than sardines in a can.
This creates a few big headaches for your grass. First, water has nowhere to go. Clay soil drains poorly, acting more like a bathtub than a coffee filter, which leads to puddling and drowns grass roots. When it finally dries out, those packed particles bake into something resembling pottery, creating hardpan that roots can’t penetrate. It also suffocates the lawn by holding very little air, which grass needs just as much as water.
You’ve probably seen these issues in your own yard. Those compacted ruts from the mower or the dog, or the spot where water just sits for hours after a rain. This is exactly what makes my problem area, Patch, so stubborn. The shade plus that dense, airless clay is a perfect recipe for moss and weeds.
Wondering if you have it? Try the simple squeeze test. Grab a handful of damp soil (not sopping wet) and squeeze it in your fist. If it holds its shape tightly and feels slick, you can even rub it into a shiny ribbon, you’ve got clay. Sandy soil will crumble immediately. Good loam will hold a loose shape but then break apart easily.
So, can you aerate clay soil? Absolutely, yes. But doing it wrong can make things worse. Jabbing spikes into wet clay just compresses it further, like poking a fork into dough. The right method at the right time is your ticket out of this sticky situation.
Getting Your Clay Lawn and Yourself Ready
This isn’t a spur-of-the-moment job. A little planning prevents a lot of frustration and wasted effort. Let’s get you and your lawn set up for success by using the right strategies.
Required Materials & Tools
You don’t need a garage full of fancy gear, but a few key items are non-negotiable.
- Core Aerator (rental): This is the star of the show. It pulls out finger-sized plugs of soil, creating real holes for air, water, and roots. Don’t settle for a spike aerator that just pokes holes. On clay, spike aerators simply compact the soil sideways, creating an even harder barrier around each hole. Core aeration is the only way.
- Garden Rake (or leveling rake): For breaking up the soil plugs and spreading your leveling mix.
- Leveling Mix Ingredients: A wheelbarrow for mixing is key. You’ll need:
- Sharp/Builder’s Sand (coarse, not play sand)
- Topsoil or Compost
- Peat Moss or other organic matter (optional, but great for moisture retention)
- Lawn Roller (optional, can often be rented with the aerator): Useful for gently pressing your leveling mix into the aeration holes without smashing the soil flat again.
Finding the Moisture “Goldilocks Zone”
Timing your aeration with soil moisture is critical. If the ground is too dry, the aerator tines will just bounce off the concrete-like surface. If it’s too wet, you’ll tear up huge, muddy clods and the machine will get stuck.
The perfect time is about a day after a good rain, or after you’ve run your irrigation system, when the soil is moist but not soggy. Do a test: step on the lawn. If your footprint disappears quickly, it’s too wet. If the soil is dusty and hard, it’s too dry. You want it to hold a slight imprint but not stick to your shoes.
The Best Time of Year to Do This
This depends entirely on whether you have cool-season or warm-season grass, as you want to do this right before your grass’s peak growing season so it can recover fast.
- Cool-Season Grasses (Kentucky Bluegrass, Fescue, Ryegrass): Early fall is prime time. The soil is still warm, rain is more frequent, and grass is growing vigorously to recover. Early spring is a decent second choice.
- Warm-Season Grasses (Bermuda, Zoysia, St. Augustine): Late spring to early summer, as the grass wakes up and starts growing aggressively. This gives it the whole season to fill in.
Your Pre-Game Checklist
Run through this list before you fire up the aerator. It takes minutes and saves hours of headache.
- Call 811: Do this at least a few business days before you dig. It’s free, and they’ll mark your underground utility lines. Don’t guess.
- Mow Short: Cut your lawn about 1-2 days before, setting your mower one notch lower than usual. This helps the aerator tines reach the soil easier.
- Mark Everything: Use bright flags or even plastic knives to mark every sprinkler head, shallow irrigation line, and any other obstacle. I learned this the hard way with Sunny’s drip lines.
- Clear the Deck: Pick up sticks, toys, hoses, and any debris from the lawn.
The Right Way to Aerate Heavy Clay Soil
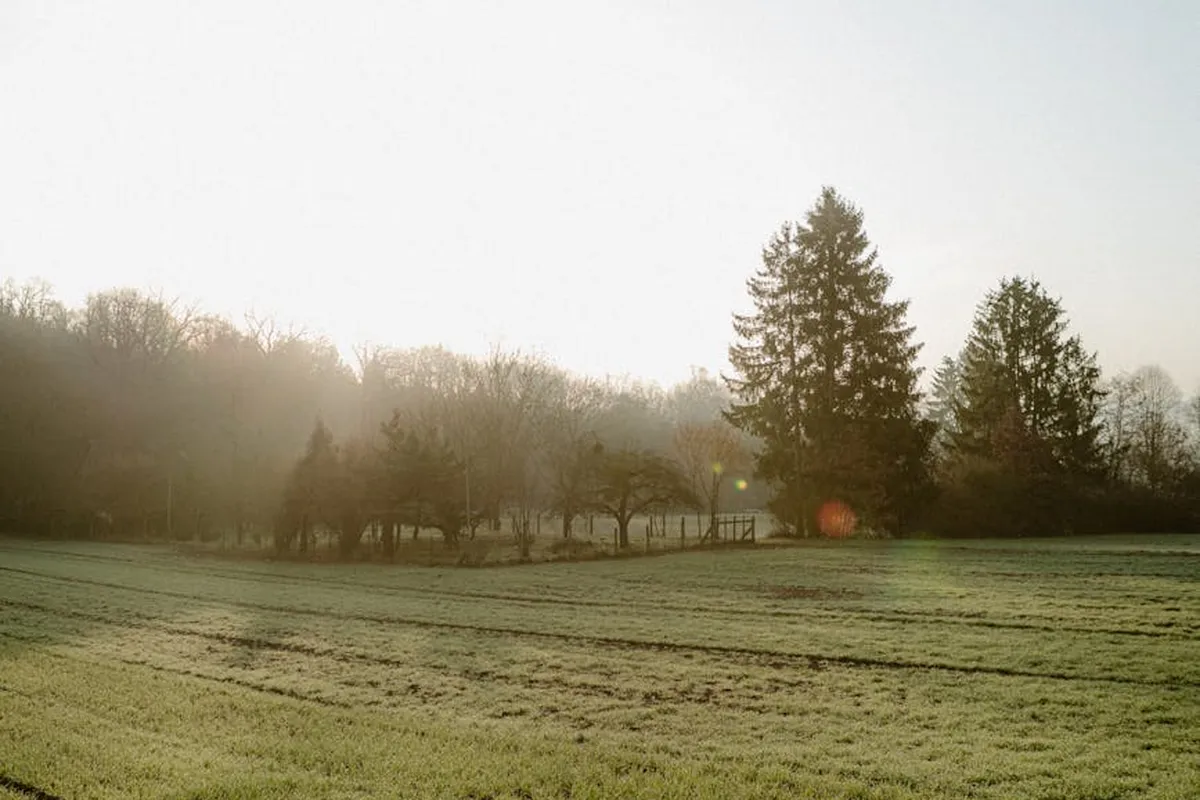
Heavy clay soil feels solid underfoot, like wet pottery clay. Water pools on top, and grass roots struggle to breathe. Aeration fixes this by creating real holes for air and water. Here is how to do it right.
- Pick the perfect time. Aerate when the soil is moist but not soggy. I aim for a day or two after a good rain, or after Sunny, my drip system, has run. If the ground is too dry, the machine will bounce. If it’s a swamp, you’ll make ruts.
- Mow the lawn short. Set your mower a notch lower than usual. This lets the aerator tines bite deep into the soil. Max, my zero-turn, handles this job in one quick pass.
- Get the right tool: a core aerator. Rent a walk-behind or tow-behind machine from a local garden center. For a small area like Patch, my problem corner, a manual core aerator works.
- Make your passes. Go over the lawn once in one direction. Then, make a second pass at a 90-degree angle. This cross-hatch pattern ensures you pull plenty of cores.
- Leave the lawn alone. Once you’re done, resist the urge to clean up immediately.
When you’re finished, your lawn should look like it’s been peppered with soil cigars. Hundreds of small, cylindrical plugs of clay will litter the surface. That’s exactly what you want to see. If you’re looking for a different material, don’t use sand for lawn leveling or topdressing.
Spike vs. Core Aeration: The Final Showdown for Clay
Spike aeration uses solid tines to poke holes in the ground. For clay, this is a bad idea. Think of it like poking holes in plastic wrap. The hole might be there for a second, but the plastic just seals back up around the spike. With dense clay, those poked holes often just compress the soil sideways, making the compaction underneath even worse.
Core aeration uses hollow tines to remove plugs of soil. It’s like removing small plugs of that plastic wrap. This creates permanent space for air, water, and roots to move. For heavy clay, core aeration is non-negotiable. It’s the only method that physically relieves soil compaction.
You’ll have a mess of soil cores on the lawn. Here’s what to do. Option one is best: let them break down naturally. Rain and a few mows with Max will crumble them back into the lawn, where they act as free topdressing. Option two: if the look bothers you, rake them up after they dry for a day. But I always leave them.
If you’ve been searching for “aerating clay lawn,” this core method is your answer. It is the key to fixing that hard, waterlogged ground for good. Core aeration loosens the soil and improves its health.
Leveling Out the Bumps and Ruts After Aeration
Once your lawn is aerated, those holes are perfect for filling with a good leveling mix. This smooths out bumps and ruts while improving the soil from the top down.
Your Leveling Mix Recipe
Do not use pure sand or pure topsoil on clay. Pure sand can mix with clay particles and create a concrete-like layer. Pure topsoil often just sits on top without fixing drainage.
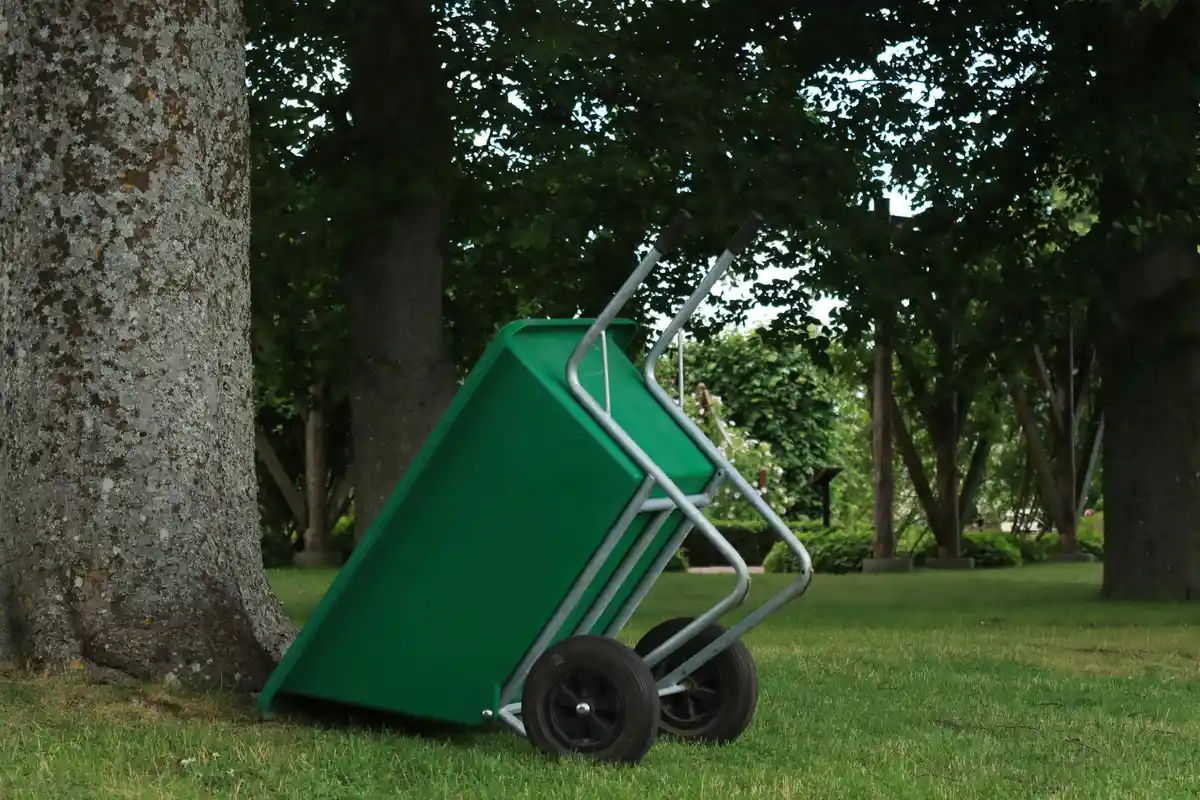
My go-to DIY mix is a 50/50 blend of coarse sand (like masonry or play sand) and good-quality compost. The sand creates permanent drainage channels between the clay clumps. The compost adds organic “fluff” that feeds the soil and helps retain moisture without sogginess. I mix it in a wheelbarrow until it looks like uniform, dark soil.
- Find the low spots. The best time is after a rain when water pools. You can also drag a long, straight board or a level across the lawn to see where it dips.
- Spread the mix. Use a shovel or a broadcast spreader to apply your sand-and-compost mix over the low areas. Do not dump it in piles.
- Rake it gentle. Use a lawn rake to spread the mix evenly. The goal is to fill the holes and low spots while letting the existing grass blades peek through.
- Let it settle. Water the area lightly with Sunny to help the mix settle into the aeration holes and around the grass.
Never bury the grass. Add no more than 1/2 inch of mix at a time. If a spot is deeper, fill it in layers over a few weeks. This keeps the grass alive and growing through the new material.
Common Lawn Care Mistakes and How to Avoid Them
- Mistake: Leveling when the soil is soggy. This presses the new mix into mud and worsens compaction. The fix is simple: just wait for the ground to dry out to that moist, crumbly state.
- Mistake: Using the wrong fill material. I see people use pure topsoil or sand they had leftover. If you’ve already done this, the fix is to gently rake out as much as you can and start over with the correct 50/50 mix.
- Mistake: Applying too much mix at once. Smothering grass kills it. If you’ve added a thick layer, rake it out to less than 1/2 inch. Be patient and add thin layers in future sessions.
What Comes Next and When to Call for Backup
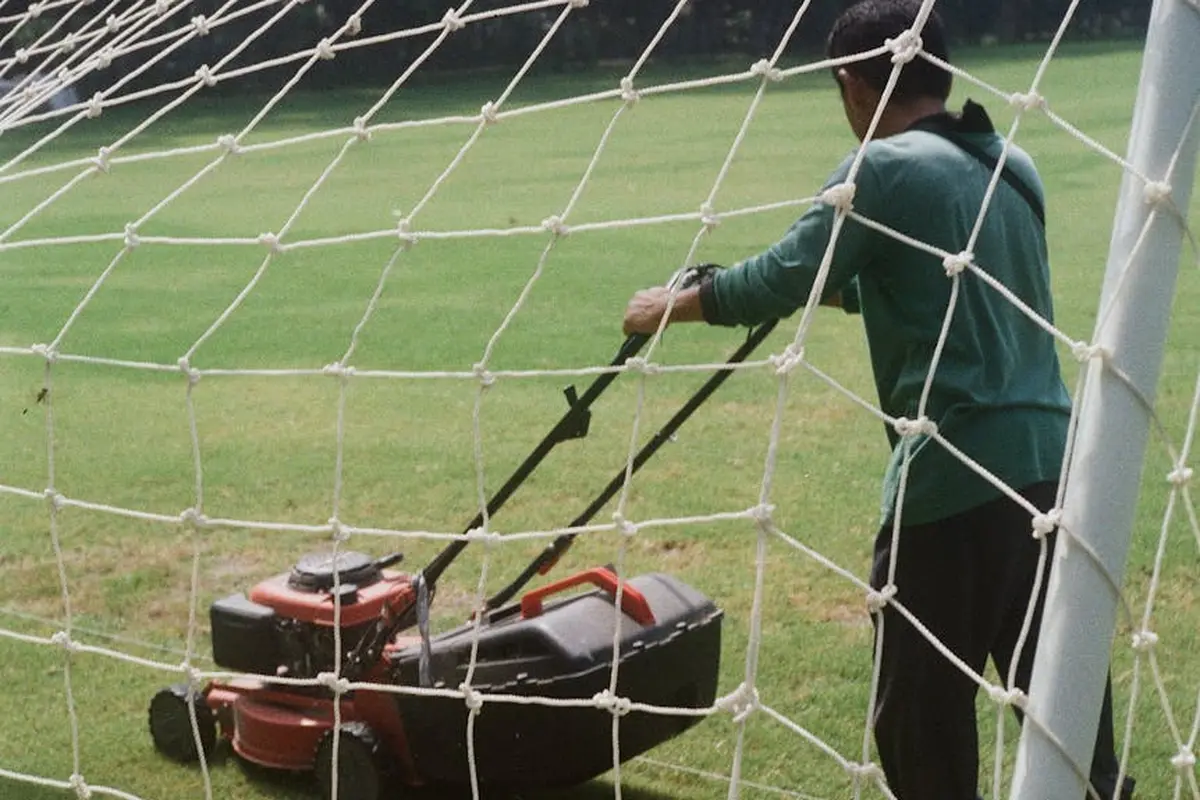
You did the hard work. Your lawn looks like it got a polka-dot tattoo. Now, let that new breathing room work for you.
Immediate Post-Care: The First 48 Hours
Treat your lawn gently for the first few days. Think of it like recovering from a good workout.
Water it. Give it a nice, gentle soak. You want the moisture to seep into those new holes and help the soil settle. Don’t blast it with a jet stream from the hose.
Keep off the grass. No soccer games, no heavy foot traffic. Let the soil structure adjust without getting compacted again. I usually give it two full days of peace.
You can mow when the soil plugs on the surface have dried out a bit and crumble easily underfoot. This might be 3 to 5 days. If you’re mowing a newly seeded lawn for the first time, wait until the seedlings are about 3 inches tall. Then mow with the blade at a high setting and only remove a light amount, to avoid stressing the tender growth. Set your mower high for this first cut to avoid stressing the grass roots that are now exposed in the aeration holes.
The Smart Follow-Up: Capitalize on Your Work
You’ve created the perfect opportunity. Those holes are tiny incubators waiting for good stuff.
Overseed right now. If you’re in the right season for your grass type, this is the golden hour. Spread your seed. The seeds will fall into the holes, get perfect soil contact, and be protected from birds and drying out. It’s the easiest way to get thick grass.
Follow with a light, gentle fertilizer. A balanced, slow-release organic fertilizer is perfect here. It gives the new grass and the recovering old grass a steady meal without burning anything. Stay tuned for the next steps, where we cover how to fertilize lawn safely and effectively. These tips will help ensure you get a lush, healthy lawn without harming it.
Keep the area moist for the next week or two if you seeded. A light daily watering helps germination. Sunny, my drip system, is perfect for this kind of quiet, efficient work.
Long-Term Clay Soil Management: It’s a Relationship
Beating clay soil isn’t a one-time fight. It’s a long-term partnership. These simple habits change everything.
- Aerate annually. Make it a fall ritual. Each year, you pull out more plugs and slowly, slowly improve the soil structure.
- Topdress with compost. After aerating, spread a thin layer (about 1/4 inch) of fine compost over the lawn. Rake it so it fills the holes. This is how you add organic matter directly to the root zone. It feeds the soil life and steadily loosens the clay.
- Mow high, always. Never scalp your lawn, especially on clay. Taller grass means deeper roots, which naturally help break up compacted soil over time. It also shades the soil, keeping it cooler and reducing water evaporation.
This isn’t complicated work. It’s consistent work. Patch, my weedy shady spot, taught me that slow, steady improvements always win.
When This Guide Isn’t Enough
Most clay soil problems are totally fixable with patience and the steps above. But sometimes, the issue is bigger than a core aerator and a bag of compost can handle.
You might need to call in a pro if you see these signs:
- Severe, constant flooding: If every rain leaves a pond that sits for days, you may have a grading issue or need a subsurface drainage system like French drains or tile.
- Major sinkholes or erosion: This can signal bigger problems with the ground underneath that need engineering solutions.
- Soil that never improves: If it always feels like wet pottery clay or dry concrete, even after years of aeration and compost, the composition might be extreme. A full renovation with soil amendment might be the only real fix.
There is zero shame in calling for backup. Professionals have equipment like power rakes, sod cutters, and heavy-duty tillers that can tackle in a weekend what might take a homeowner months. Investing in a pro for a major drainage issue or full renovation can save you money, time, and a whole lot of frustration in the long run.
For the vast majority of us, that stubborn clay lawn is a project we can absolutely handle. But knowing when a job has outgrown your shed and your weekends is the mark of a smart gardener.
Your Clay Soil Aeration Questions, Answered
Is renting a core aerator really worth the cost?
Absolutely. Think of it as investing in your lawn’s foundation-it’s the single most effective tool to fix compaction for good. The results in water drainage and grass health will save you money on water and reseeding down the line.
Can I aerate my small, clay lawn by hand?
For a small area, a manual core aerator can work, but be prepared for a serious workout. Ensure the soil is in that perfect moist zone, and focus on making multiple, closely spaced passes to get enough holes.
Should I rake up all those soil plugs left on the lawn?
No, leave them be! Let them dry and break down naturally over a week or two with mowing and rain. Those plugs are free, perfect topdressing that will feed your lawn as they crumble back into the holes.
How soon after aerating can my kids or dog run on the lawn?
Give it at least 48 hours of gentle use to let the soil structure settle. For heavy play or pets, wait until after you’ve mowed the first time, which is usually about 5-7 days later when the plugs have dried.
How will I know if I need to aerate again next year?
Your lawn will tell you. If you start to see water pooling again or the ground feels rock-hard underfoot by next season, it’s time. For greedy, thick grass, I make core aeration an annual fall tradition.
Your Lawn’s Fresh Start
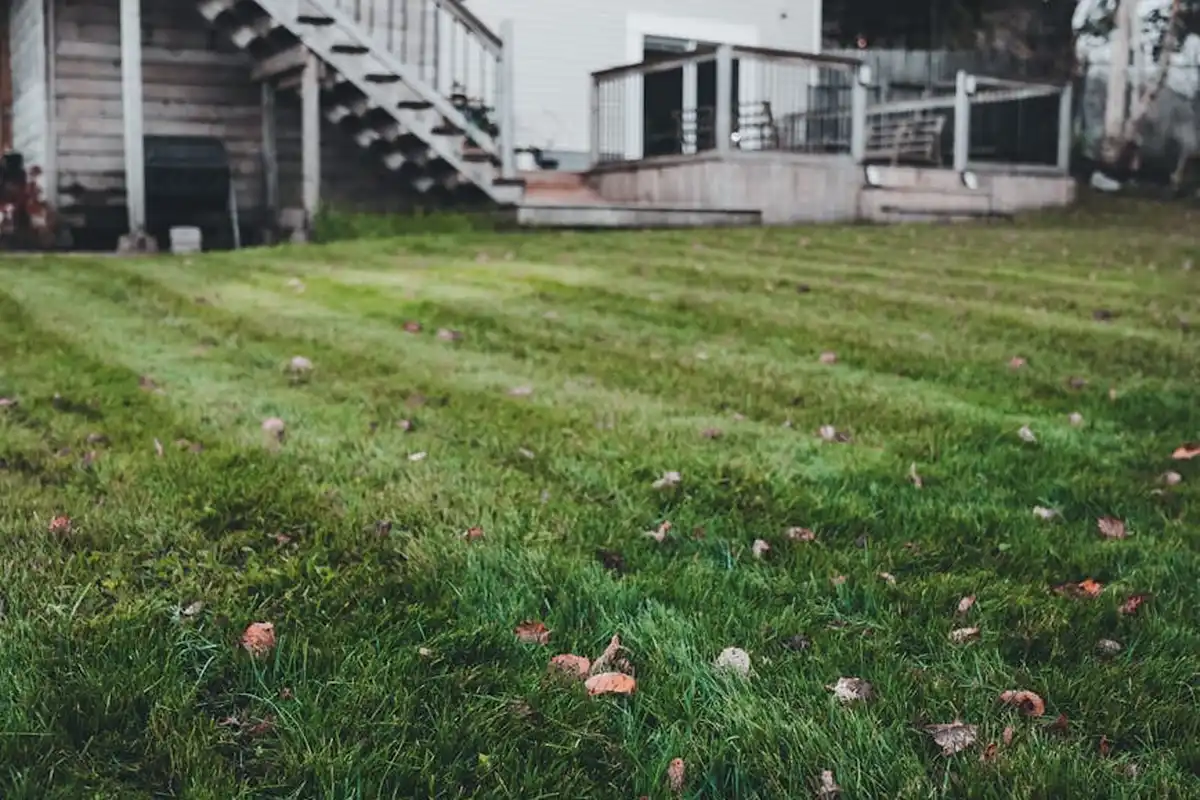
The best advice I can give you is to tackle this project in stages and be patient with your soil. Don’t try to core aerate, level, and seed all in one frantic weekend. Spread the work out, amend that clay each time, and let the lawn tell you when it’s ready for the next step.
Remember, a truly healthy lawn starts with responsible care. I always keep Sunny, my drip irrigation, running efficiently to save water, and I choose products safe for my dog and the bees that visit Patch. To guide seasonal care, I rely on simple lawn care maintenance tips. They help me adjust feeding, mowing height, and irrigation as needed. Your lawn is a living part of your home’s ecosystem, and tending it thoughtfully is the real win.
References & External Links
- Help with clay soil | Lawn Care Forum
- Aerate Lawns: An Aerator How To Guide | Bioadvanced
- r/lawncare on Reddit: Aerating clay soil
- How to Improve Clay Soil for Lawns – Gardening Guide
- How can I improve heavy clay soil? | Jonathan Green
Written by Ria Carrington. Ria is an avid lawn care enthusiast and advisor. No lawn is unsalvagable when Ria is at work. She has helped countless homeowners breath new life into their dying lawns. She has a B.Sc in Agriculture and brings practical advice combined with knowledge of plant science and her decade worth of hands on experience.