
What is Soil Compaction and Why Should You Aerate Your Lawn?
If your lawn feels spongy yet hard when you walk on it, or if rain puddles up instead of sinking in, you’re seeing the signs of compacted soil.
We will cover how everyday activities crush your soil, the simple ways to diagnose compaction, and why pulling out plugs with an aerator is the most effective solution.
I’ve fixed my own compacted spots, like Patch, by aerating with Max for seasons, learning what truly revives grass.
At a Glance: Key Factors in Soil Compaction
Think of your lawn’s soil as a fluffy pillow. Now imagine someone sitting on it for five years straight. That’s compaction. It happens slowly, but the causes are everyday things.
The main culprits are easy to spot. Foot traffic from kids, pets, or backyard gatherings packs the earth down. Even my weekly laps on Max, my zero-turn mower, adds pressure over time. Your soil type is a big player, too. Clay-heavy soil acts like play-dough, squeezing together much easier than sandy soil.
The clearest symptom is water that just sits on the surface or runs off your lawn instead of soaking in. Your grass roots are gasping for air and water down below, but they’re sealed off.
Luckily, the fix is one word: aeration. You’re going to punch holes in that hard soil to let everything breathe and drink again. The best time to do it depends on your grass type. For cool-season grasses, early fall is prime. For warm-season grasses, aim for late spring into early summer when they’re actively growing.
How Do I Know If My Lawn Soil Is Compacted?
You don’t need a lab test. Grab a simple Phillips-head screwdriver from your garage. Find a spot that should be healthy, not a known thin area.
Push the screwdriver into the soil. If it slides in 6 inches with steady, gentle pressure, you’re in good shape. If you meet serious resistance after just an inch or two, and it feels like you’re trying to poke through a tough steak, your soil is compacted. I check a few spots like this every spring, especially along the paths we always walk.
Watch what happens when you water. Healthy soil soaks up moisture like a sponge. Compacted soil repels it like a brick. If you see puddles that linger for more than 30 minutes after watering or rain, or you notice water running straight off onto your driveway, it’s a major red flag. Sunny, my drip system, would be wasting her effort on ground like that.
Your grass will tell you it’s struggling. Roots can’t spread, so the turf gets thin and patchy. Weeds like prostrate spurge or knotweed, which thrive in tough conditions, will start moving in. That shady corner I call Patch was a compaction nightmare before I addressed it. The moss loved it, but the grass hated it.
The sponge versus brick analogy is the easiest way to picture it: you want soil that’s loose and absorbent, not dense and hard. Compacted soil has no room for the air, water, and nutrients your lawn needs to be thick and healthy. Aeration creates those rooms again.
What Makes Soil Get So Hard and Packed Down?
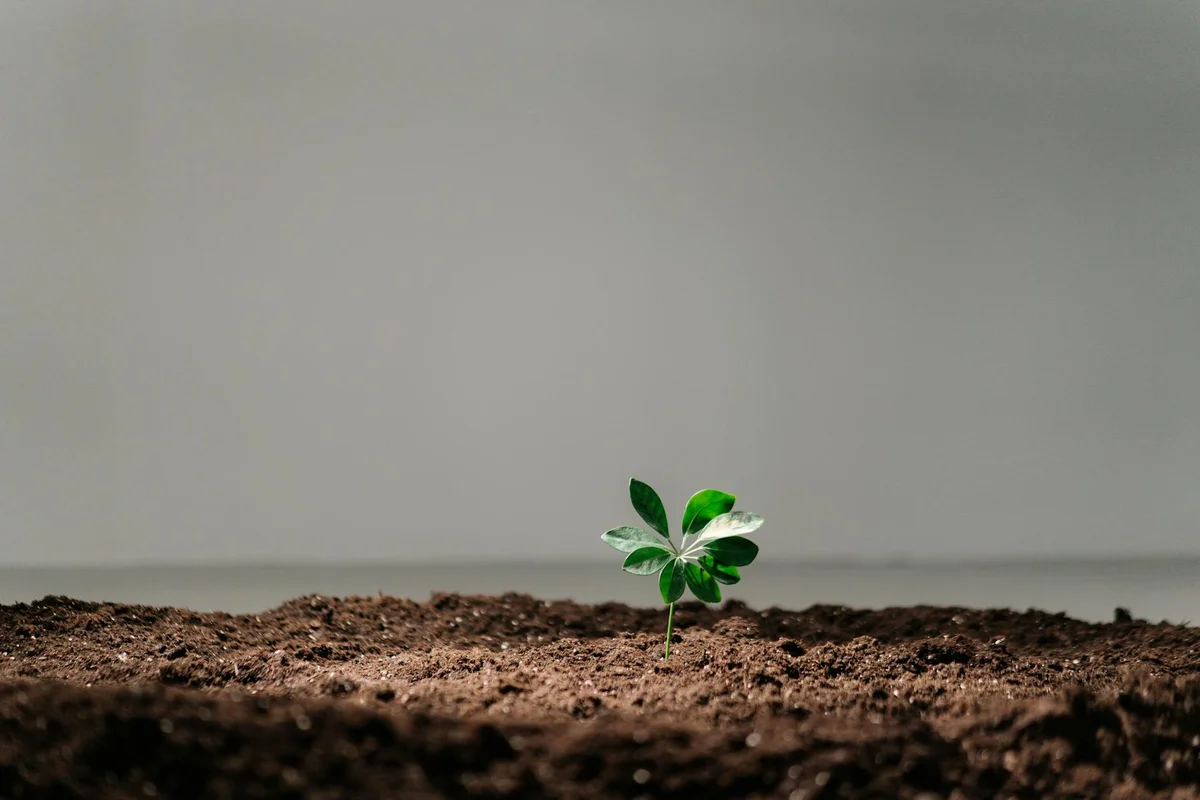
Picture your soil like a big, fluffy bag of popcorn. Now imagine sitting on it. That’s compaction. The tiny mineral particles, organic matter, and all the little air pockets between them get pressed together.
This isn’t a natural disaster. It’s a slow, steady creep caused by the weight of everyday life.
- You walking across the yard to get the mail.
- The kids playing a game of tag in the same spot every weekend.
- My mower, Max, rumbling across the same tracks every five days.
Each pass presses down a little more. Over months and years, those fluffy air pockets disappear. The soil becomes dense, like a worn-out path across a park.
Your Soil Type Sets the Stage
Not all dirt compacts the same way. Your soil’s texture is a huge factor.
Clay soil is like sticky dough. When wet, the microscopic particles slide and stick together, forming a slick, dense layer. When it dries, it bakes into a hardpan that can feel like concrete. I’ve chipped away at patches like this, and it’s no fun.
Sandy soil is more like a sieve. The large grains don’t stick together well, so water drains fast and weight is distributed more easily. It resists compaction better, but it also holds fewer nutrients for your grass.
Most lawns are a mix, or loam, which is the goal. But if you have a heavy clay base, you’re fighting an uphill battle against compaction from the start.
How Watering Can Make It Worse
Here’s a common mistake I see. A homeowner sees their lawn looking dry, so they turn on the sprinklers for a long, heavy soak. Too much water at once floods the surface.
Instead of soaking in, it sits on top, weighing down the soil and washing fine particles into the remaining pores, sealing the surface. This is how you get that shiny layer of water that just sits there before running off to the street.
The Downward Spiral
Compaction creates a vicious cycle. Those air pockets we squish are home to the good guys: earthworms and beneficial microbes. They need oxygen to thrive and to tunnel, which naturally aerates the soil.
When the soil gets too hard, they can’t breathe or move. Their populations drop. Without their natural tunneling work, the soil becomes even more solid and lifeless. It’s a quiet, underground problem that builds on itself.
Why Is Compacted Soil So Bad for My Grass?
Think of your grass roots like they need to breathe, just like you do. Those air pockets in the soil are their oxygen supply. Compacted soil cuts off their air.
It’s like trying to live with a pillow over your face. The grass is stressed and struggling from the roots up.
Shallow Roots, Thirsty Lawn
When the soil below is a brick wall, roots can’t push down. They grow sideways, right under the surface. This creates a lawn with no foundation.
A shallow root system means a weak, thirsty lawn. It can’t reach deeper moisture reserves, so it browns out at the first sign of heat or dry weather. You end up watering twice as often just to keep it from crisping up. I’ve seen this happen in my own sunny sections, and it’s frustrating.
Water and Food Can’t Get In
This is where you waste money and effort. When you water or fertilize compacted soil, the liquid hits a hard, sealed surface.
- Water pools and runs off into storm drains, taking your expensive fertilizer with it.
- What little soaks in stays in the top inch, encouraging those shallow roots we don’t want.
- The nutrients your grass desperately needs never reach the root zone where they’re useful.
It’s like trying to fill a sealed jar. You can pour all you want on the outside, but nothing gets inside where it counts.
The Invitation for Trouble
Weak, stressed grass is a welcome mat for every lawn problem you hate.
Weeds like crabgrass and plantain have tough, opportunistic roots that can punch through hard soil that your grass can’t. Diseases thrive in the stagnant, wet conditions that sit on top of compacted ground.
That stubborn area I call “Patch” taught me this. The compacted, shady soil there was always the first spot where weeds got a foothold, no matter what I did. The problem wasn’t the weeds themselves, it was the soil they were growing in.
Fighting weeds and disease in compacted soil is a never-ending battle unless you fix the ground first.
How Does Lawn Aeration Fix This Problem?
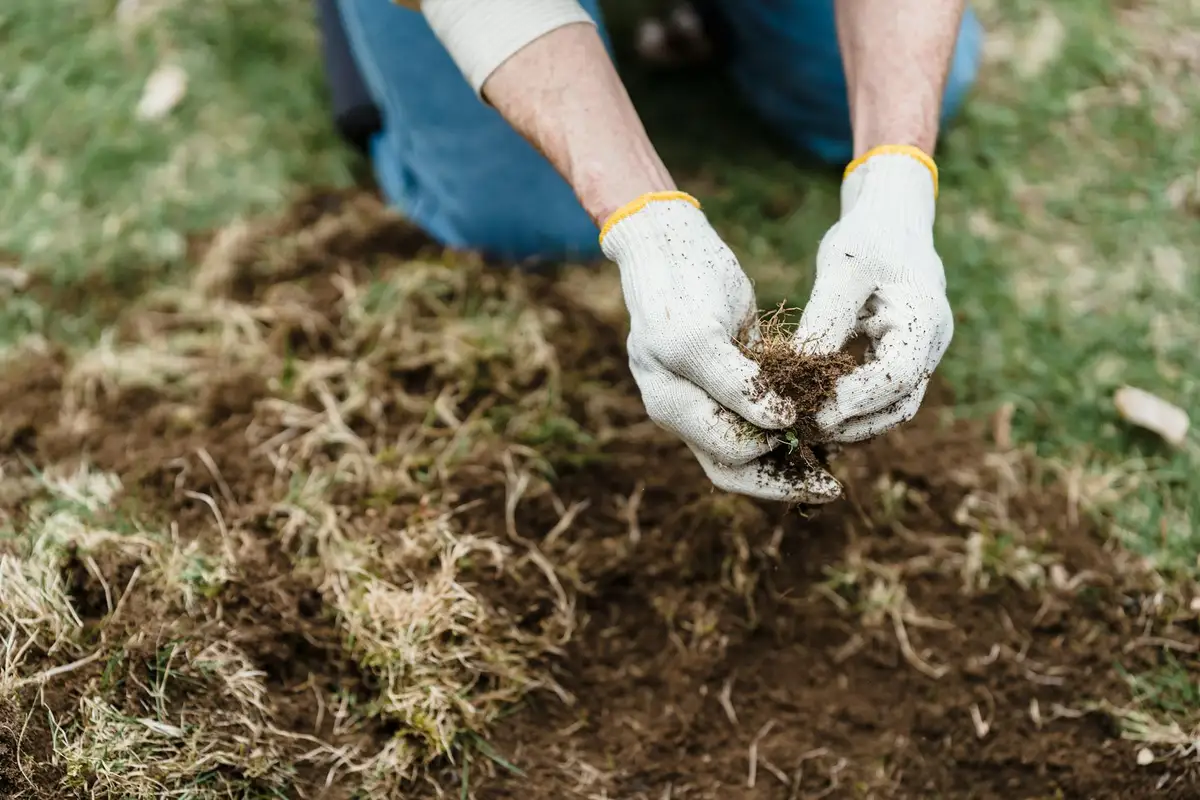
Think of aeration as giving your lawn room to breathe. You’re poking holes in that hard, compacted soil to let air, water, and nutrients flow back down to the roots where they belong.
It’s not just making holes, though. The type of hole matters. You have two main choices: spike aeration and core aeration.
Spike vs. Core Aeration: What’s the Difference?
Spike aeration uses solid tines or forks to poke holes into the ground. It’s like using a nail to poke holes in a hard piece of clay. It creates an opening, but it can actually press and compact the soil right around the hole even more.
Core aeration is the real fix for a compressed lawn, and it’s what I do every fall. A machine with hollow tines pulls out actual plugs of soil and turf, about the size of your finger. It removes material, creating real space. This relieves the pressure and gives roots an easy path to expand. To dial in the process, a lawn aeration plug density tool helps gauge how many plugs you pull per square foot. That keeps the spacing uniform as you move across the lawn in the following steps.
Those little soil cores left on your grass might look messy, but they’re a sign of a job done right. Let them break down naturally over a week or two. They’ll filter back into the holes, adding loose, organic matter right where you need it.
What About Liquid Aeration?
You might see products called “liquid aerators” or “soil looseners.” These are usually solutions containing soap-based surfactants or humic acids. They don’t create physical holes. Instead, they help water penetrate and can improve soil structure over time.
I’ve used them on Patch, my problem corner, as a supplemental treatment. They’re a good option for small areas, between core aerations, or if you physically can’t handle a machine. Just know they’re a helper, not a full replacement for pulling cores when the soil is truly hard.
The Real Benefits of Opening Up Your Soil
So why go through the trouble? The changes are quiet but powerful.
- Deeper Roots: With less resistance, grass roots can grow down, not just out. Deeper roots mean a lawn that withstands drought and heat much better.
- Water Actually Sinks In: Instead of running off to your driveway or pooling, water channels into those holes and soaks deep. Your sprinklers, or my buddy Sunny the drip system, become way more efficient.
- Food Gets to the Table: Fertilizer can finally reach the root zone instead of sitting on a hard, impermeable surface and potentially washing away.
- Soil Life Returns: Air and moisture invite back the beneficial microbes and earthworms that turn thatch into food. A living soil is a healthy soil.
Tools You’ll Need for DIY Lawn Aeration
You can handle this yourself. The right tool depends on your lawn’s size and your budget for sweat.
Manual Tools for Small Spaces
If your lawn is a postage stamp, or you’re focusing on a high-traffic area like around a playset, manual tools can work.
- Aerator Sandals: Strapped to your boots, these have spikes on the bottom. You literally walk around your lawn. It’s a serious workout and best for very small spots.
- Handheld Core Aerator: This is a step up. It’s a tool with a foot bar and two to four hollow tines. You step on it, it sinks in, and you pull out a plug. It’s precise and effective for tight areas, but your back will feel it after a few hundred holes.
For anything more than a few hundred square feet, I strongly recommend renting a machine. It saves your body and gets the job done right in an afternoon.
Power Equipment for Real Results
This is the way to go for most suburban lawns. You can rent a walk-behind core aerator from any big-box home improvement store or a local garden center.
These machines are easy to operate. They look like a small push mower but with a drum of hollow tines. The machine does the hard work of extracting the plugs as you guide it. My first time using one felt like a revelation-Max the mower even seemed jealous of the new machine in the yard for a day.
It’s worth the rental fee for the uniformity and depth of aeration you get. You’ll cover in an hour what would take a weekend of painful manual labor.
Other Handy Supplies
A little prep makes the day smoother. Here’s what to grab:
- Marking Flags or Stakes: Use these to mark any in-ground sprinkler heads, shallow utility lines, or dog cable anchors. Hitting one with the aerator is a bad day.
- Garden Hose: Water your lawn deeply 1-2 days before you aerate. Moist soil (not soggy) allows the tines to penetrate cleanly and pull a good core.
- Lawn Sweeper or Rake (Optional): If the sight of the soil plugs bothers you after a week, you can gently rake them to help them break down. I just let them be.
One quick safety tip for the rental machine: wear sturdy, closed-toe shoes (steel-toe is best), long pants, and safety glasses. Those tines kick up small stones and debris. Keep pets and kids inside while you’re working.
When and How to Aerate Your Lawn for the Best Results
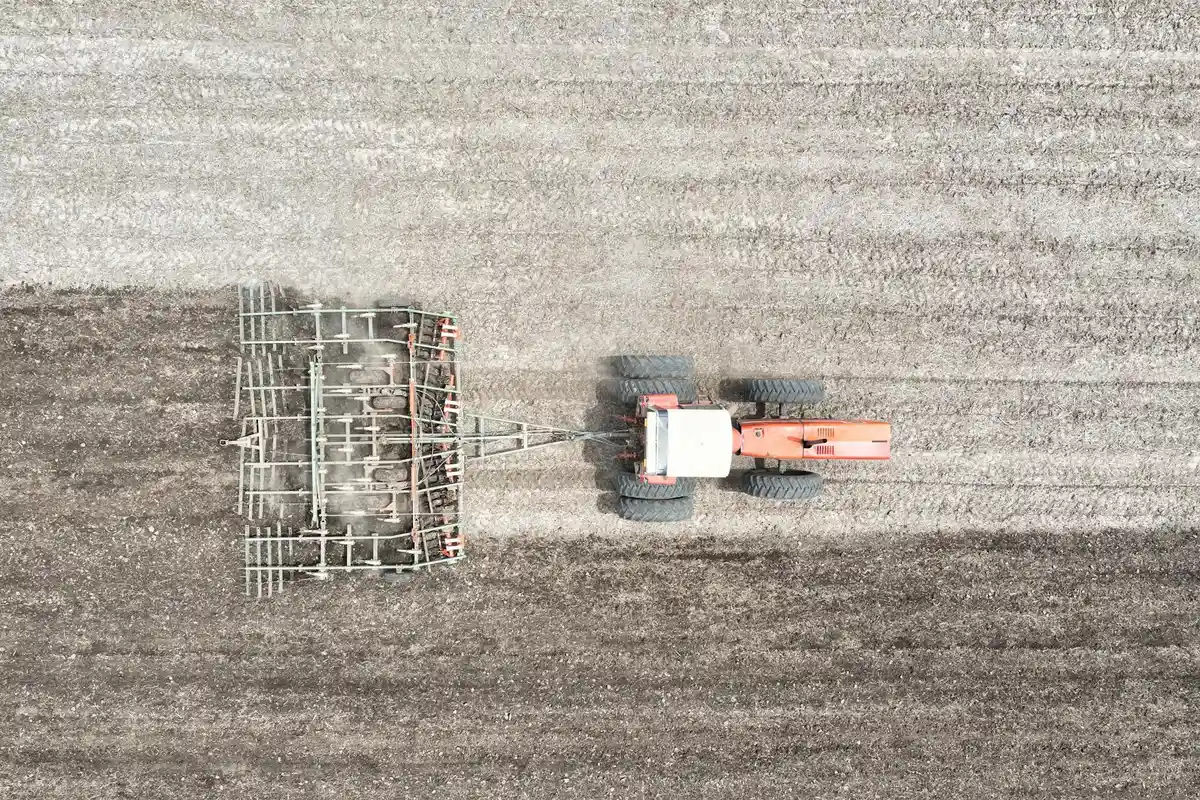
I have one golden rule for aeration. You do it when your grass is actively growing. This is non-negotiable. Think of it like getting a haircut; you want your grass to recover and fill in quickly, and it can only do that when it’s in its prime growing season.
For cool-season grasses like fescue, bluegrass, and ryegrass, that prime season is early fall. I aim for mid-September. The soil is still warm, the air is cooler, and there’s usually decent rainfall. The grass explodes with growth, healing any disruption fast. Spring is a distant second choice, only if you missed fall and have a severe problem.
For warm-season grasses like Bermuda, Zoysia, and St. Augustine, you want late spring or early summer. Wait until it’s fully green and growing strong, typically when soil temperatures are consistently above 65°F. This is when “Sunny,” my drip system, starts getting a real workout, and the grass can bounce back from aeration in days. It’s always good to know the difference between cool-season and warm-season grasses to time your lawn care right.
Preparation is simple, but it makes all the difference. Here is your checklist.
- Water the lawn deeply one or two days before. You want the soil moist, like a well-wrung-out sponge, not a swamp.
- Mow your lawn a little shorter than usual. This helps the aerator tines reach the soil more easily.
- Clear any debris like sticks, toys, or dog bones. Max, my mower, hates running over hidden things, and so will a rental aerator.
When you start, don’t just go in one straight line. Cover your lawn in multiple directions, just like you would when mowing for a striped pattern. Go north-south, then east-west. This ensures you get good core extraction over the entire area, especially in high-traffic zones.
The moment you finish, you have a perfect opportunity. Those open holes in the soil are begging for seed and food. You can overseed and fertilize immediately for amazing results. The seed makes direct contact with soil, and the fertilizer gets straight to the roots. It’s the single best thing you can do after aeration.
Let’s talk about what will ruin your day. Do not aerate when the soil is a soggy mud pit. You’ll create giant ruts and compact it even more. On the flip side, do not aerate when the soil is baked hard and dry. The tines will just bounce off the surface, or snap. If you can’t easily push a screwdriver 3 inches into the ground, it’s not ready.
When This Guide Isn’t Enough: Calling in the Pros
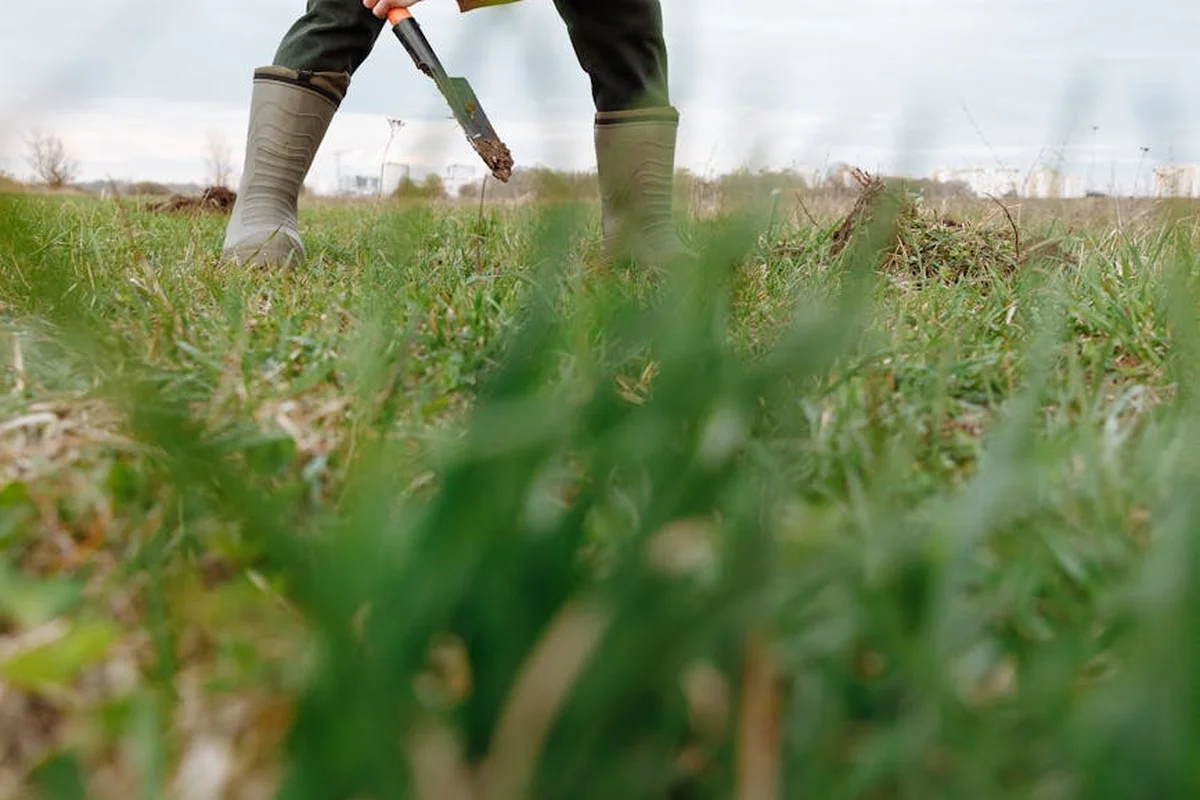
I love a DIY project, but sometimes the job is just too big for a rented machine from the hardware store. If your lawn is over an acre, the physical toll of wrestling a walk-behind aerator might not be worth the savings.
Call the professionals if you have severe, chronic drainage issues or soil that feels like pure pottery clay. Pro services often use heavy-duty ride-on aerators that pull deeper, thicker cores, and some can even inject sand or other amendments directly into the holes. This is a game-changer for transforming problem soil that a basic aeration can only begin to fix.
For a major lawn renovation, aeration is a critical first step any reputable pro will include. They see it as foundational work, just like I do. It prepares the canvas for everything else, from leveling to complete reseeding.
There is no shame in hiring this out. Getting your lawn back on track is the goal, and sometimes writing a check is smarter than spending a weekend in pain for mediocre results. A good pro can do in two hours what might take you two exhausting days, and they’ll do it better. I’ve done it both ways, and for the really tough jobs, I call for backup. Your back and your lawn will thank you.
Your Soil Compaction and Aeration Questions, Answered
Is spike aeration good enough, or do I really need to pull out plugs?
Forget just poking holes; you need to pull plugs. Core aeration physically removes soil to create real room for roots and air, while spike aeration can worsen compaction around the holes.
What should I see after aeration to know it’s working?
Watch for water soaking in instead of pooling, and you’ll see thicker, greener grass filling in within a few weeks. Those little soil cores breaking down on the surface are your first sign of success.
How often should I aerate my lawn?
If you have clay soil or heavy foot traffic, plan to aerate once a year. For healthier lawns on sandier soil, once every two to three years is usually enough to keep things greedy.
What’s the single best thing I can do right after aerating?
Overseed and fertilize immediately. Those open holes give seed and nutrients a direct line to the root zone, supercharging your lawn’s recovery and thickness.
Can I just use a liquid aerator instead of renting a machine?
Liquid soil looseners are a helpful supplement, not a cure. For truly compacted soil, there’s no substitute for physically pulling cores to break up that underground concrete.
Wrapping Up Your Soil Compaction Battle
Schedule a core aeration for your lawn every fall or spring to loosen hard soil. This single action lets water, air, and nutrients feed the roots, which is how you build a thick, resilient lawn. Do it safely by following basic precautions to protect people, pets, and any underground utilities. Safe aeration helps you maximize the benefits without risk.
I treat my yard as a living part of our local environment, so I always opt for pet-safe and pollinator-friendly care. Keep observing, keep learning from each season, and your efforts will reward you with a beautiful space for everyone to enjoy.
Research and Related Sources
- Why, When and How to Aerate Your Lawn
- Aerating Lawns | Home & Garden Information Center
- Unlocking Soil Potential: How Core Aeration Breathes Life into Compact Soil
- Lawn Aeration | University of Maryland Extension
- Solving Soil Compaction: Advanced Aeration Tips – Your Green Team
Written by Ria Carrington. Ria is an avid lawn care enthusiast and advisor. No lawn is unsalvagable when Ria is at work. She has helped countless homeowners breath new life into their dying lawns. She has a B.Sc in Agriculture and brings practical advice combined with knowledge of plant science and her decade worth of hands on experience.