
How Do You Create Lawn Stripes and Mowing Patterns?
Do you admire those sharp, professional looking stripes on other lawns but think they’re too hard to achieve? I’m here to show you it’s a simple, satisfying skill any homeowner can master.
We will cover the right mower setup, the basic technique for clean lines, how to design different patterns, and my smart tips for lasting results.
I’ve learned this firsthand through seasons of trial and error with Max, my trusty zero turn mower.
What Are Lawn Stripes and Why Should You Care?
Let’s clear something up right away. Lawn stripes are not magic. They’re an optical illusion created by the way light hits your grass. When you mow, the wheels and roller of your mower bend the grass blades over. Blades bent toward you look darker because you’re seeing more of the shaded side. Blades bent away from you look lighter because you’re seeing the sun reflecting off the tops.
The visual payoff is instant and massive. That crisp, alternating pattern gives your lawn a professional, manicured look that makes the whole yard pop. I’ve done it for years, and turning Max around at the end of a pass to see that first clean stripe never gets old.
It’s one of the simplest ways to show pride in your home. You don’t need a fancy degree or expensive equipment, just a little know-how and your regular Saturday mow. It signals that you pay attention to the details.
Playing with patterns can also trick the eye. Straight, long stripes can make a narrow yard seem wider. A diagonal or checkerboard pattern can add depth and make a simple square lawn look more like a designed space.
The Gear That Gets It Done: Your Stripping Toolkit
The good news is you can start with what you have. The essential tool is any lawn mower. The quality of your lines, though, depends on what you add to it.
Let’s compare mower types from a pattern-making view:
- Push Mower: Light and maneuverable, great for small yards. You provide all the muscle, which makes very straight lines a test of willpower.
- Self-Propelled Mower: Easier to guide in a straight line since the mower does the driving. My go-to recommendation for most homeowners.
- Rider (Like my Max): The king of covering ground fast. The large tires and weight naturally create bolder stripes. Turning tightly for complex patterns takes practice.
A striper kit is just an attachment that adds a heavy roller behind your mower. This roller, often filled with water or sand, is what really bends the grass over decisively to create those high-contrast bands. Most kits clamp or bolt onto your mower’s rear axle or hitch.
Here’s your simple list of required materials:
- Your mower
- A measuring tape
- Two stakes and some string (for your starting guide)
- A striper kit or a homemade roller (more on that below)
Greedy Grass Pro Tip: A well-sharpened mower blade is more important for clean stripes than an expensive mower. A dull blade tears and bruises the grass tips, leaving a ragged, whitish look that kills contrast. A sharp blade gives a clean cut that reflects light beautifully. Find out how to sharpen or replace your lawn mower blade for the best results.
How Your Mower Makes the Magic Happen
Think of your grass like a thick rug. When you mow, the cutting deck lifts the blades up to cut them. Then, the rear roller follows, acting like a giant comb. It presses the grass down neatly in the direction you’re traveling.
The physics are simple but satisfying. Grass bent toward you (the direction you just came from) absorbs light and looks dark. Grass bent away from you (toward your next pass) reflects light and looks light. That’s the entire secret. Your roller just makes the “bend” more uniform and lasting.
Choosing Between a Striper Kit and a Simple Roller
You have two main paths here: a commercial kit or a DIY solution.
A purchased striper kit is for dedicated crispness. Brands make them for specific mowers, so installation is usually straightforward-often just a few bolts. They’re an investment, but they’re engineered for weight and balance, giving you the boldest, most consistent lines. I saved up for mine and have zero regrets.
A homemade weighted roller is the budget-friendly champion. You can make one from a large PVC pipe filled with concrete or sand, mounted on an axle with brackets. It’s a weekend project. The lines will be softer than a commercial kit, but you’ll still get that beautiful, defining contrast that makes your lawn stand out, especially when used with proper lawn edging techniques. It’s a perfect starting point.
Your First Pattern: How Do You Mow Perfect Straight Stripes?
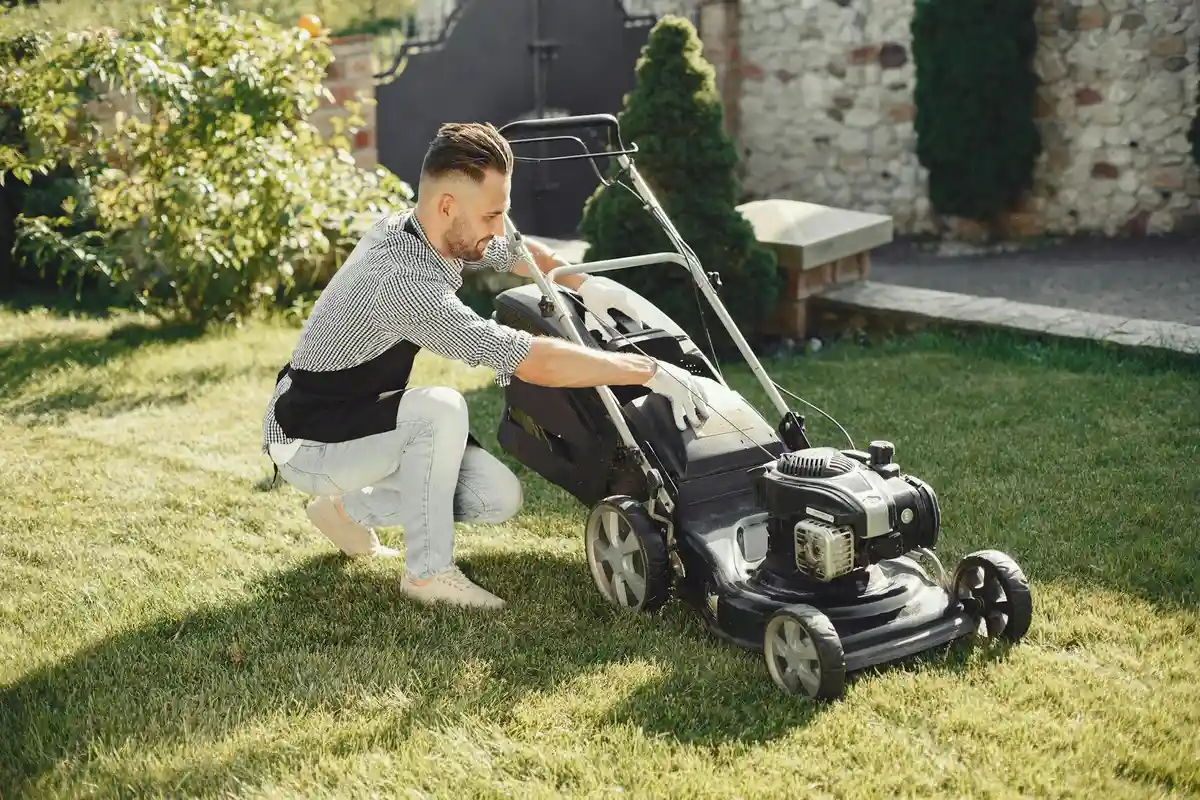
Every great striped lawn starts with one pattern: the classic back-and-forth. It’s the foundation. The good news? You don’t need a special mower. The lines come from bending the grass blades in opposite directions. Light reflects off them differently, creating that dark and light contrast.
Your mission is simple: mow one direction, then mow right back next to it in the exact opposite direction. Let’s break it down so your first try looks like you’ve been doing it for years.
Step 1: Set Up Your Guide Lines
You need a straight line to follow. I always use my driveway or sidewalk as a natural guide. If your lawn is open, create your own edge.
- Run a string line between two stakes, or lay a long, straight board on the grass.
- Mow a “header strip” first. Go around the entire perimeter of your lawn. This creates a clean frame to work within and gives you space to turn your mower around neatly.
Line up Max’s outside tire with your guide. Take a deep breath. This first pass sets the tone.
Step 2: Mow Your First Pass and Alternate
Engage the blades and mow forward in a slow, steady line. Go all the way to the other side of your lawn. When you turn around, don’t just mow back along the same path. Also, pay attention to the blade rotation direction as you mow. Following the proper rotation helps ensure an even cut and safer operation.
You must overlap your wheel track by about one-half to one full tire width on your return pass. This overlap is the secret. It ensures you don’t leave a thin strip of uncut grass between your stripes. It also positions the mower deck to bend the grass in the opposite direction, creating the visual stripe.
Mow back in the opposite direction, right next to your first line. See the dark stripe appear? That’s it. You’re striping. Repeat this slow, overlapping back-and-forth across the entire lawn.
Step 3: Finishing Touches for Crisp Edges
Once the main field is done, look at your turns. The ends of your stripes might look a little ragged where you pivoted. Clean this up.
Make one final pass with your mower around the entire border, just like your initial header strip. This trims any uneven ends and gives the whole pattern a sharp, contained look, like a picture in a frame. Stand back and admire your work.
Leveling Up: Lawn Stripe Patterns Beyond the Basics
Once you’ve mastered straight lines, you can create any pattern you see on TV or at the ballpark. They all use the same rule: change the mowing direction. You’re just changing the angle.
How to Make a Checkerboard Pattern
A checkerboard is simply two sets of stripes laid on top of each other. It looks complex but is surprisingly easy.
- Mow your entire lawn in straight, parallel stripes. Use the method above, going north to south.
- Mow the entire lawn again, but this time go east to west, perpendicular to your first stripes. Your second pass should be at a 90-degree angle to the first.
That’s it. The grass where the mowing directions cross creates those perfect squares. The key is to keep your lines straight and parallel for both passes.
Creating Diagonal and Diamond Patterns
For a dynamic look, angle your stripes. A 45-degree cut across your lawn can make a rectangular yard look wider or longer.
- Use string lines stretched from corner to corner as a guide for your first diagonal stripe.
- Mow your parallel stripes along that angled guide instead of along your driveway.
A diamond pattern is just a checkerboard done on a diagonal. First, mow parallel diagonal stripes across the whole lawn. Then, mow over it again with parallel stripes going the opposite diagonal angle. The crossing lines form the diamonds.
What About Circles or Swirls?
I get asked about this a lot. Yes, you can mow circular patterns or even sweeping swirls. It’s more of an art form and takes a very steady hand to look good. You’re essentially freehanding curves with your mower.
My advice is to get incredibly comfortable with straight lines and checkerboards first. That practice teaches you how your mower handles and how the grass bends. Once that feels like second nature, you can start experimenting with gentle curves around a tree or garden bed. For most of us, a crisp diagonal or checkerboard pattern delivers all the curb appeal we need.
Common Lawn Stripping Mistakes and How to Fix Them

Even with the right roller, you can end up with faint, wobbly, or messy stripes. I’ve made these errors myself, usually when I was in a hurry or feeling overly ambitious. Think of it like the lessons my weedy corner, Patch, has taught me: patience and good technique beat brute force every time.
Here are the typical slip-ups that ruin a good pattern and exactly how to correct them.
Mistake 1: Mowing Too Fast or with Dull Blades
This is the number one stripe killer. When you zip across the lawn with Max, you’re not cutting the grass blades cleanly. You’re tearing and shredding them.
A dull blade bruises the tip of each grass blade, turning it a whitish-yellow. This damage makes the grass reflect light poorly, so your dark and light stripes look washed out and faint instead of crisp and vibrant.
The fix is straightforward: slow your pace and sharpen your blades at least twice a mowing season. A clean, sharp cut leaves a healthy blade that bends uniformly and reflects light perfectly for that bold stripe effect.
Mistake 2: Not Overlapping Passes Correctly
If your stripes look like uneven railroad tracks or you see thin strips of unmowed grass between them, your overlap is off. This happens when you’re guessing where your last pass ended.
The result is a pattern that looks jittery and unprofessional, distracting from the clean lines you want.
Use your mower’s wheel track as a built-in guide. On your next pass, place your outside wheel right on the edge of the stripe you just made. This gives you a consistent, perfect overlap every single time. No more guesswork.
Mistake 3: Trying Complex Patterns on Uneven or Long Grass
Ambition is good, but you have to walk before you can run. Trying a checkerboard on a bumpy lawn or grass that’s too tall is a recipe for a wavy, confused mess. The mower deck rocks over bumps, creating uneven pressure and blurry lines.
Always mow at the proper height for your grass type to maintain lawn health before you even think about a pattern. Different grass types have different ideal mowing heights, so knowing yours helps you set the right target. Understanding the height preferences for your grass type keeps you on track with mowing schedules. If your grass is too long, never take off more than one-third of the blade height in a single cut. You might need to mow high, then mow again a few days later at your desired striping height.
For bumps, consider core aeration and topdressing in the fall to level things out. A smooth lawn is a stripe-ready lawn.
How Do You Keep Stripes Looking Good Between Mows?
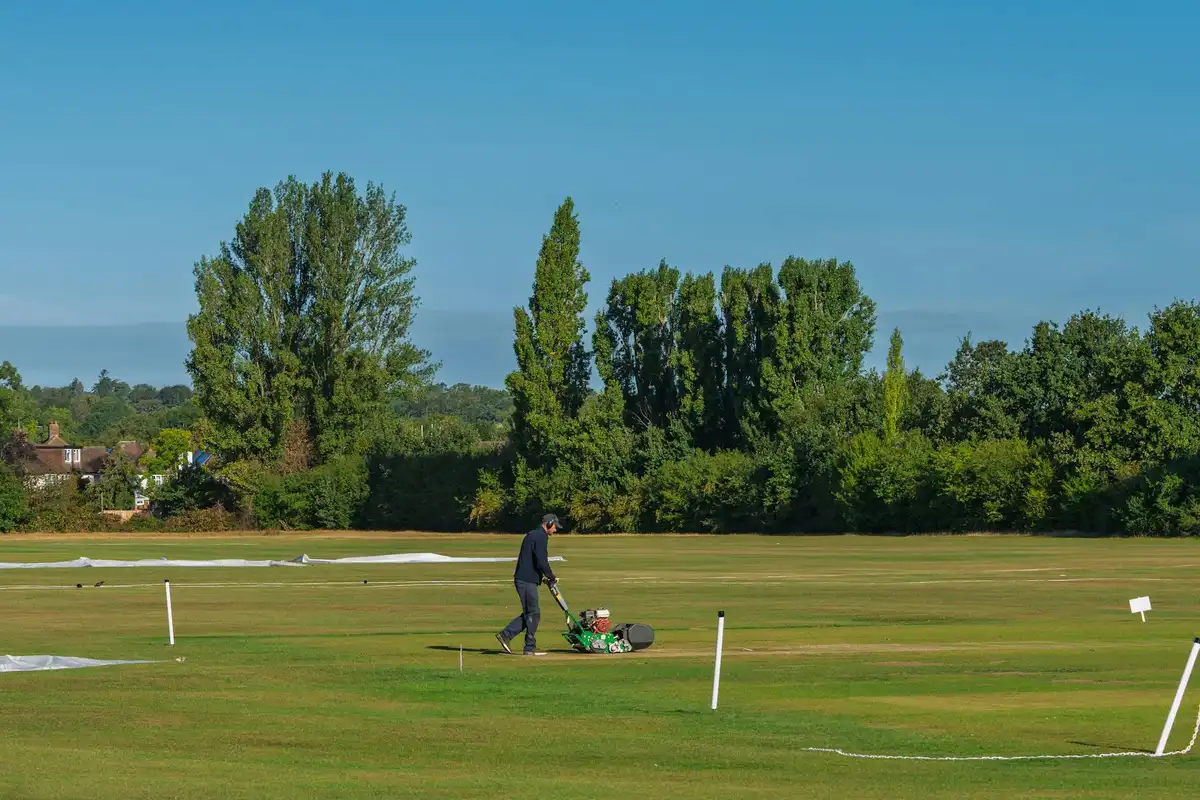
Sharp stripes after a fresh cut are great, but I love it when my pattern still has definition four days later. The secret isn’t a special mower trick. It’s all about foundational lawn care.
Healthy grass has resilient, upright blades that hold their bend longer. Weak, stressed grass flops over quickly, erasing your hard work. This is where systems like my drip setup, Sunny, really prove their worth.
Watering and Feeding for Stripe Durability
Shallow, frequent watering leads to shallow roots. Weak roots can’t support strong, thick grass blades that stand up tall and then hold a clean bend.
Deep, infrequent watering encourages roots to grow down, building a tougher, more drought-resistant lawn with blades that have the structure to maintain a stripe. I set Sunny to run longer, but less often, so water soaks down 6 inches into the soil.
A balanced fertilizer applied at the right times for your grass type feeds this thickness. Thick grass not only crowds out weeds but provides more blade surface to catch the light and deepen that contrast. Think of it as building a better canvas for your art.
Mowing Height and Frequency Tips
Scalping your lawn by cutting too short is incredibly stressful for the grass. It weakens the plant, making it susceptible to disease, weeds, and heat. Weak grass cannot hold a pattern.
Never remove more than one-third of the grass blade in a single mowing session to avoid shocking your lawn. If you want to mow at 3 inches, don’t let the grass get taller than 4.5 inches before you cut it. Also, adjust your lawn mower cutting height to match your target mowing height. Regularly check and set the height to keep the turf healthy and even.
More frequent mowing at a consistent, ideal height keeps the grass slightly shorter, thicker, and more uniform. This consistency makes every stripe pop with maximum contrast and helps them stay defined longer, as every blade is equally healthy and bent in the same direction. Pairing this with proper lawn mowing and grass cutting techniques—such as keeping a consistent height and using overlapping passes—helps you reproduce the effect. Mastering these techniques leads to cleaner stripes and healthier turf.
Advanced Moves: Pro Techniques for Impossibly Crisp Lines

You’ve got the basics down. Your lines are straight, your lawn is healthy, and you get that satisfying look back from the kitchen window. Now, let’s get greedy. These are the finer points that transform good stripes into a lawn that makes people slow down their car to look.
It’s all about light and shadow. The visual “pop” of a stripe isn’t just the grass bending. It’s the shadow created in the trough between the rows of upright grass blades. To make that shadow as deep and dramatic as possible, you need to think like a stage director setting up the perfect spotlight.
For the dedicated enthusiast, this is where striper kits and rollers move from a fun tool to a precision instrument. They give you consistent, heavy pressure that a standard mower deck just can’t match, laying the grass over in a uniform, clean line.
Timing Your Mow for Maximum Visual Pop
If you want to take a photo of your masterpiece or just enjoy the deepest contrast from your porch, timing is everything. The angle of the sun is your best friend or your worst enemy.
Mowing in the late afternoon, a few hours before sunset, is the secret. The low sun skims across your lawn, casting long, dramatic shadows from every blade of grass bent over. This turns a light stripe/dark stripe pattern into a brilliant white/deep emerald contrast. I plan my “show mows” for these times, especially before a backyard gathering. It’s one of the best times to mow your lawn for that perfect look.
Contrast this with mowing at high noon, when the sun is directly overhead. It floods the lawn with light from above, washing out those beautiful shadows. Your stripes will still be there, but they’ll look flat and muted, like a faded photograph. Save the midday cuts for maintenance; save the evening cuts for glory.
Fine-Tuning Your DIY Striper or Roller
Not all grass bends the same way. Your striper kit needs to match your lawn’s personality. It’s like adjusting the seat in Max for a perfect fit-a small tweak makes a huge difference in performance.
Think about your grass type. Soft, fine fescues in cooler climates need a gentler touch. Too much weight on your roller can scalp or crush them. Start with a lighter fill (like water) or less weight in a sand-filled roller. Stiff, wiry Bermuda or Zoysia grass can handle-and actually needs-more aggressive pressure to lay over cleanly. A heavier roller fill (like sand) gives you that sharp, carpet-like definition.
The height of your striper bar matters too. It should follow the contour of your mower deck. If it’s too high, it won’t press the grass. If it’s dragging on the ground, you’ll create ruts. Most kits have adjustable brackets; take the time to set it just right.
Always test your setup on a small, inconspicuous area first, like the corner by Patch. Make a few passes, check the grass for stress, and see if the line definition meets your standard. It’s the same smart logic you’d use before applying a new weed control across the whole yard. A five-minute test can save you a season of regret.
Getting Greedy with Your Stripes: Your FAQs Answered
How often should I change my mowing pattern?
Switch it up every 1-2 mows to keep your grass healthy and standing tall. Constantly bending the blades the same way can train them to grow sideways, thinning your turf.
Does the type of grass I have affect my stripes?
Absolutely. Grasses with stiffer, wider blades like Kentucky bluegrass hold a crisp stripe longer. Softer, finer grasses like fescue still stripe beautifully, but the contrast may be slightly softer-focus on sharp blades and a good roller for the best results.
Can I create stripes without a striper kit or roller?
Yes, your mower alone can bend the grass. For darker, more defined lines that last, simply mow your next pass in the opposite direction, overlapping your tire track. The weight of your mower provides the basic effect.
What’s the best way to stripe around trees and garden beds?
Mow your main field stripes first, then use a trimmer or push mower to clean up the perimeter. For a pro look, curve your pattern lines around the obstacle, keeping the direction of the bend consistent to maintain the illusion.
How do I maintain stripe definition during a hot, dry week?
Deep, infrequent watering is key for grass with the root strength to hold a bend. If the lawn is stressed and dormant, skip the pattern and just cut high to protect it-the stripes will return when your greedy grass is healthy again.
Your Striped Lawn Journey
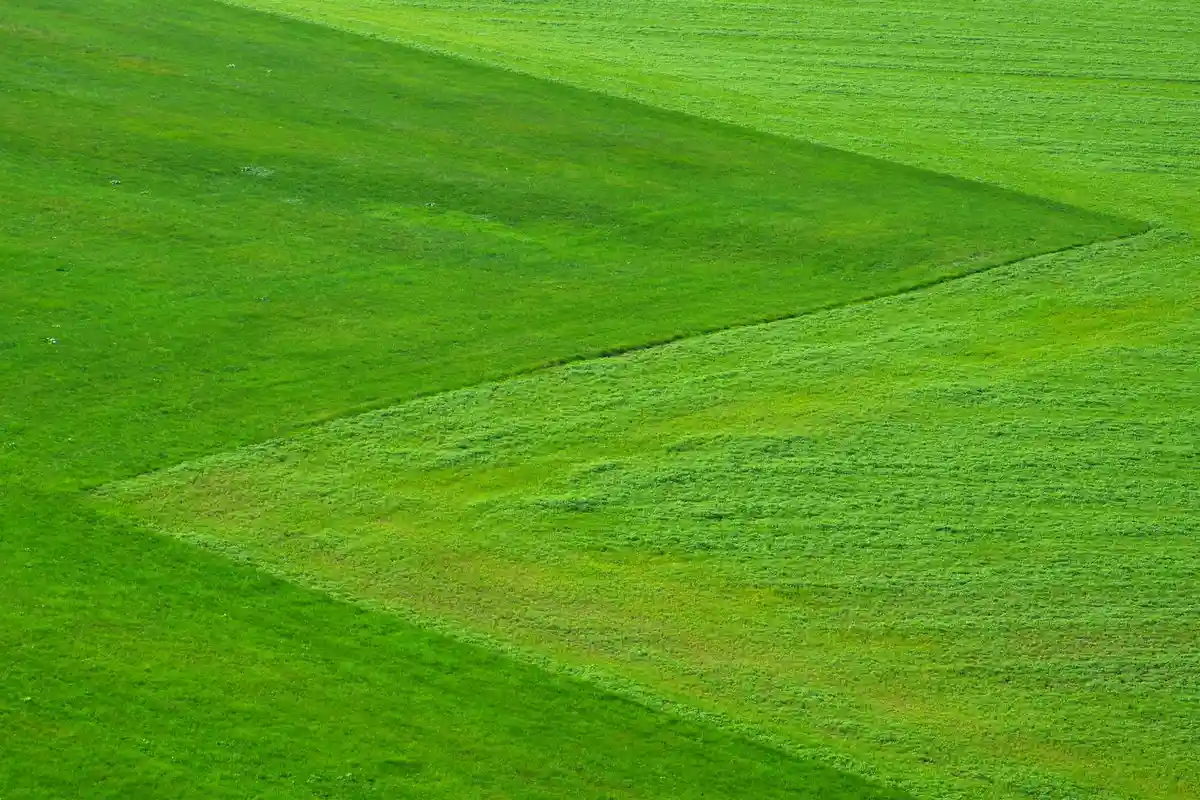
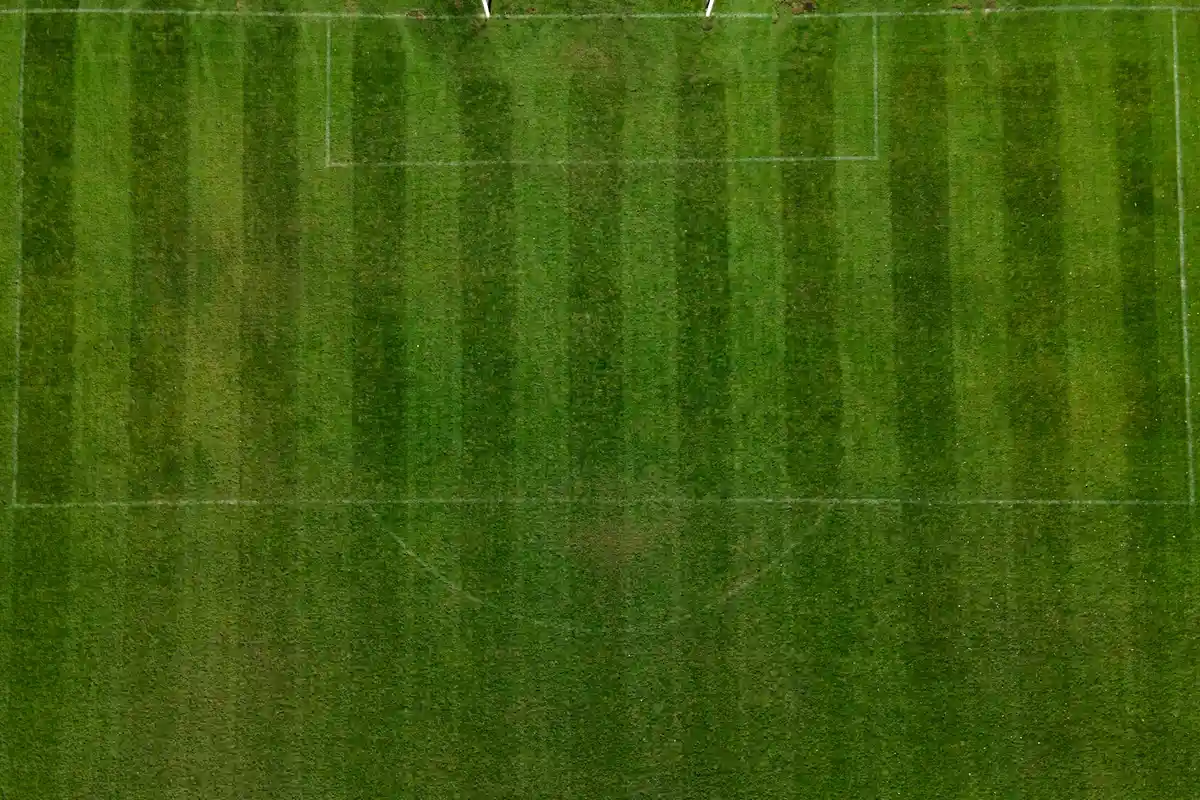
The best stripes start with a simple rule: mow tall, mow often, and change your direction every single time. A healthy, thick lawn is the only true canvas for those beautiful dark and light bands you see on a ball field.
Remember, a great lawn is about stewardship. Water deeply with a system like Sunny, feed it thoughtfully with organic options, and always choose pet-safe products that protect the bees and butterflies. Every season with your lawn, from the easy wins to the stubborn lessons Patch teaches, makes you a better caretaker.
References & External Links
- Lawn Striping and Lawn Patterns | Scag Power Equipment
- How To Mow A Lawn With Stripes – The Scotts Company LLC
- r/lawncare on Reddit: How do i get my lawn it so it’s striped like a sport field.
- Transform Your Yard: Easy Ways to Create Stunning Lawn Mowing Patterns
- Lawn Striping: How to Mow Ballpark Grass Patterns | Simplicity
- How to Stripe Your Lawn for a Big League Look | ScottsMiracle-Gro US
- How to Stripe Your Lawn Like a Pro | Toro YardCare
Written by Ria Carrington. Ria is an avid lawn care enthusiast and advisor. No lawn is unsalvagable when Ria is at work. She has helped countless homeowners breath new life into their dying lawns. She has a B.Sc in Agriculture and brings practical advice combined with knowledge of plant science and her decade worth of hands on experience.