
Which Way Should Your Lawn Mower Blade Spin? A Homeowner’s Quick Guide
Hearing a strange whirring sound or seeing ragged grass tips? Your mower blade’s rotation or orientation could be off.
We will cover the standard rotation direction for most mowers, how to safely check it, the proper way the blade should face when installed, and why getting this right saves you money and time.
I’ve learned this through seasons of hands-on tuning with my zero-turn mower, Max, to get that clean, healthy cut.
At a Glance: Key Factors
If you’re in a hurry, here’s the quick summary. Get these right, and you’re 90% of the way there.
- Nearly every common walk-behind or riding mower blade spins in a clockwise direction when you’re standing behind the mower, looking forward.
- When installed correctly, the sharp, angled cutting edge of the blade faces up toward the sky, and the blunt or curved wing faces down toward the grass.
- A blade installed backwards will tear and shred your grass, leaving ragged, brown tips that invite disease. It also won’t create proper suction to lift grass or bag clippings.
- The bolt that holds the blade on can be tricky. The threads are often reversed (lefty-tighty, righty-loosey) to keep it from loosening during operation.
Do Lawn Mower Blades Spin Clockwise or Counterclockwise?
Here’s the straight answer: they almost all spin clockwise. From my basic push mower to my trusty zero-turn Max, the blade spins so that the cutting edge is moving from your right to your left (if you’re facing the mower’s front).
This clockwise rotation is a design standard because it works perfectly with how grass grows. As the blade spins, it creates a low-pressure area or a slight vacuum under the mower deck. This suction pulls the grass blades upright right before the blade slices them. It also directs the cut grass clippings toward the discharge chute or into the collection bag.
Are there exceptions? A few, but they’re rare in the residential world. Some very old reel mowers or specialized commercial equipment might spin the opposite way. If you’re unsure about an older machine, the confirmation steps below will show you the truth.
The “Right” Rotation for a Clean Cut
Think of it like this: a properly spinning blade is a sharp scissors slicing cleanly through paper. A blade spinning the wrong way is like trying to cut with the back of the scissors, you just mash and tear the paper.
The clockwise spin allows the blade’s sharpened, beveled edge to meet the grass at the perfect slicing angle. That clean cut seals the grass blade quickly, reducing water loss and stress, which helps your lawn stay greener and healthier. A torn blade, from a dull or backwards install, stays frayed and brown for days.
This rotation is also key for your mower’s other jobs. The airflow it creates is what efficiently lifts clippings to be mulched finely or sent cleanly into your bag. Get the spin wrong, and your mower simply won’t perform as designed.
How to Confirm Your Mower’s Spin Direction
Don’t guess. A one-minute check can save you a ton of frustration. Always start with safety: disconnect the spark plug wire to ensure the mower cannot start accidentally when you’re learning how to safely turn off a lawn mower.
First, try the visual check. With the spark plug wire disconnected, use a gloved hand (or a block of wood for safety) to gently rotate the blade. Watch which way it spins easily. Note the direction from the operator’s position behind the mower. That’s your answer. If you have a self-propelled model, that direction will guide your drive diagnostics in the next steps. In the next steps, you’ll inspect the drive belt, pulleys, and transmission for proper operation.
Second, look for the manufacturer’s clue. Many mower decks or the blades themselves have a rotation arrow stamped into the metal. It’s often near the center spindle. If you see one, that’s the final word.
Finally, listen before you start. When you crank the engine, you can often hear the “whir” of the blade spinning up in the first split-second. Knowing what direction to expect helps you catch an issue before you drive over your lawn.
What Happens If Your Mower Blade Is On Backwards?

Picture giving your lawn a haircut with a pair of rusty, dull scissors. That’s what a backwards mower blade does. Instead of a clean slice, the blunt edge smashes the grass. You’ll see ragged, white-tipped blades and a general shredded, tattered look across your lawn.
The mower’s performance suffers badly. It won’t cut to a consistent height, leaving some patches tall and others scalped. You’ll feel excessive vibration through the handle and hear the engine laboring. Consider starting by adjusting the lawn mower cutting height to restore an even cut. This quick adjustment can reduce strain and prevent future scalping.
A backwards blade doesn’t cut your grass, it bludgeons it, leaving it stressed and vulnerable to disease. Those torn tips are open wounds, losing moisture and inviting fungal problems. It’s like sending your grass into a fight with its hands tied.
The Telltale Signs of a Backwards Blade
Your lawn and mower will send you clear signals. Look for these symptoms right after a mow.
- Your grass looks frayed, torn, and bruised, with a pale, almost white cast on the tips.
- The mower sounds rough and labored, with a heavier vibration you can feel in your hands.
- Clippings are pulverized into a fine dust instead of being cleanly cut into small pieces.
- The overall lawn appearance is uneven and ragged, like a very bad haircut.
I learned this the hard way with Patch, my stubborn shady spot. After a hasty blade sharpening one evening, I mowed the next day. Patch looked like it had been chewed up and spit out. The sound was all wrong, too. Max just sounded tired. That’s when I knew I’d messed up the installation.
Why Your Mower Hates It Too
This isn’t just hard on your grass. It’s brutal on your machine. A backwards blade throws the entire cutting system out of balance. This creates intense, jarring vibration that travels through the spindle straight into the mower’s bearings and engine mount. Some lawn-mowing myths distract from real maintenance. Lawn mowing myths debunked explains what’s actually true.
That vibration is pure wear and tear. It’s like forcing Max, my zero-turn, to run over a washboard road all day. The engine has to work much harder to spin the imbalanced blade, a condition called lugging. Over time, this strains the crankshaft and prematurely wears out the spindle bearings, leading to costly repairs.
Treating your mower this way shortens its life. It’s the opposite of the respect a good piece of equipment deserves.
Step-by-Step: How to Check and Install a Blade Correctly
Fixing a backwards blade is a simple, 20-minute weekend task. It builds your confidence and saves your lawn. Let’s get it right. Safety is not optional here. Disconnecting the spark plug wire is your very first, non-negotiable step. I don’t care if you’re “just looking.” Do it every single time.
Tools You’ll Need
- Socket wrench with the correct size socket (usually 1/2″ or 5/8″, but check your bolt).
- A sturdy block of wood (a 2×4 scrap is perfect).
- Work gloves.
- Safety glasses.
A torque wrench is ideal for getting the bolt perfectly tight, but a strong pull with a standard socket wrench is fine for most homeowners. The key is making it very tight.
Safety First: How to Tip Your Mower Safely
Once the spark plug is disconnected, you need to access the blade. Always tip your mower so the side with the air filter and carburetor is pointing up. This keeps oil from flooding into the air filter, which can cause a real headache when you try to start it again. Also, if you’re planning to change the lawn mower spark plug, this is a convenient point to have a replacement on hand. When you’re ready, install the new plug and continue with the reassembly.
Before you loosen the center bolt, wedge your block of wood between the blade and the mower deck. This locks the blade in place so you can break the bolt free without the whole assembly spinning. I once skipped this step, and the wrench slipped. My knuckles still remember the lesson.
Identifying the Cutting Edge and Proper Orientation
Take the blade off. Look at it. One side has a clear, sharp, bevelled edge. The other side is flat and dull. This is your cutting edge. When mounted, this sharp, angled edge must face upward, toward the inside of the mower deck. If you’re sharpening the edge, now’s a good time to learn about sharpening and balancing a lawn mower blade. A sharp, balanced blade cuts cleaner and runs smoother.
Look at the blade’s wings. The longer wing or the one with the most pronounced curve should also arc up toward the deck. This design creates lift, standing the grass up for a clean cut and helping disperse clippings.
When in doubt, remember the simple rule: the sharp edge faces the sky, and the dull side hugs the ground.
Tightening the Bolt: The Righty-Tighty Rule with a Twist
Here’s the part that trips up many DIYers. Most lawn mower blade bolts have standard threads. You tighten them clockwise (righty-tighty) and loosen them counter-clockwise (lefty-loosey).
But many mowers, including most John Deere models, use a reverse-thread bolt. This is a safety feature. For a reverse thread, you loosen it by turning it clockwise. You tighten it by turning it counter-clockwise.
Always check your owner’s manual first. If you don’t have it, a quick online search for your mower model and “blade bolt thread direction” will give you the answer. Assuming the wrong direction can lead to a very stripped bolt.
Greedy Grass Pro Tip: The Final Check
Before you crank down the bolt completely, do a final check. Hand-tighten it, then slowly spin the blade by hand. Make sure it rotates freely without hitting any part of the deck. Once you’re sure it’s oriented correctly, tighten the bolt down securely with your wrench.
Take a paint marker or a dab of nail polish and put a small mark on the top side of the blade, near the center. Next time you take it off, you’ll know exactly which way it faces. Finally, reconnect your spark plug wire. Now you’re ready for a test mow that will make your lawn sigh with relief. You might also remove and clean the lawn mower spark plug to keep starts reliable. A quick wipe and check can help the next mow go smoothly.
Are Lawn Mower Blade Bolts Reverse Threaded? Demystified
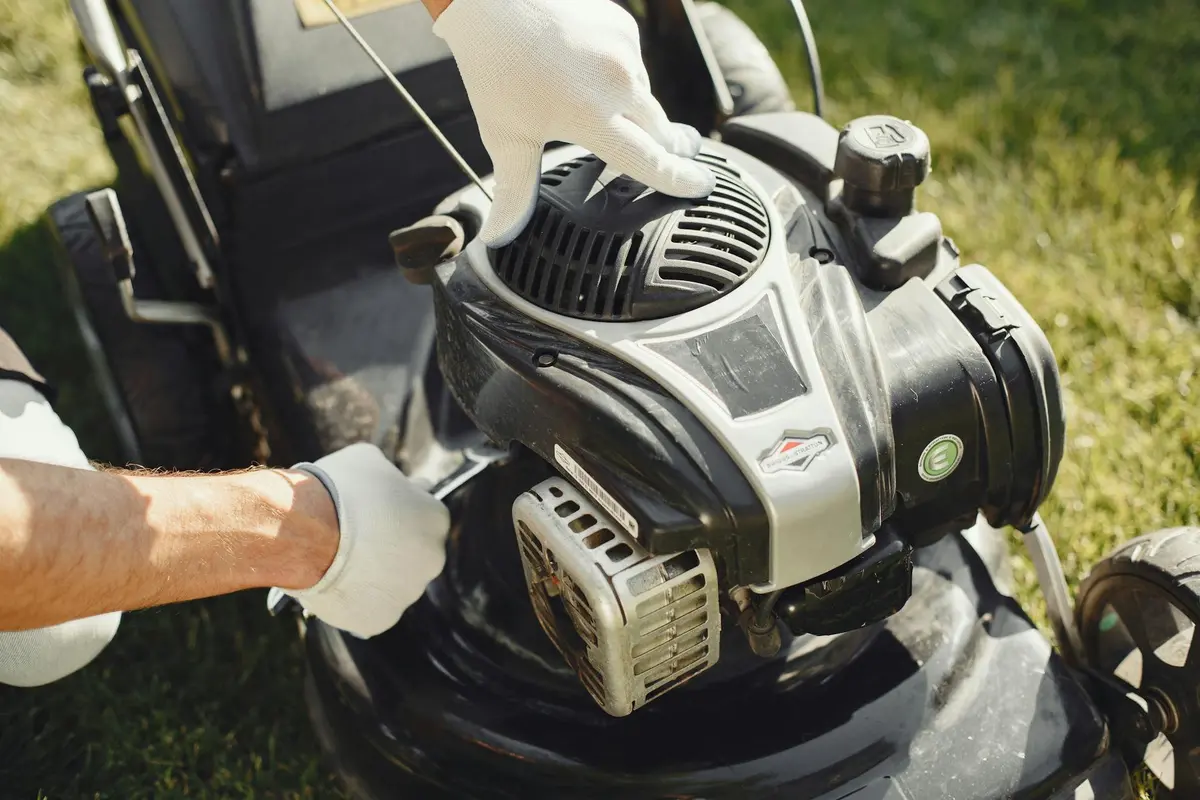
You grab your wrench to change a blade, turn it left, and nothing happens. Maybe you even crank harder. Stop. That bolt might not work the way you think. The short answer is yes, on a huge number of mowers, the main blade bolt or nut has left-hand threads. That means “lefty-tighty, righty-loosey.”
I learned this the hard way years ago, putting way too much muscle into a stubborn bolt on an old mower before the light bulb went off. It’s a common snag, and knowing about it saves your knuckles and your tools.
Why Some Mowers Use Reverse Threads
It’s a clever bit of mechanical common sense. When your mower blade spins (usually clockwise when viewed from above), that rotation creates a force that would slowly twist a standard right-hand thread bolt loose over time.
A reverse-thread bolt does the opposite. The blade’s normal spinning action actually works to tighten the bolt further as you mow. It’s a built-in, self-tightening safety feature, much like a locknut on a bicycle wheel that keeps it from coming off while you ride.
Think of it as the mower helping you keep itself together. Every time Max fires up and starts his work, he’s giving that center bolt an extra little snug turn for me.
How to Know If Your Mower Has a Reverse Thread
You don’t need to guess. There are two easy ways to check before you apply force.
First, look at the bolt head or the raised center nut the blade mounts to. Many manufacturers stamp a clear “L” on reverse-threaded hardware. If you see that “L,” you’ve got your answer.
No stamp? Do a gentle test. With the mower safely off and the spark plug disconnected, place your wrench on the bolt. Try to turn it in the normal “lefty-loosey” direction. If it doesn’t budge or feels incredibly tight, it’s almost certainly reverse-threaded. Now try turning it to the right. If it loosens, you’ve confirmed it.
Riding mowers and many popular push mower brands use reverse threads, so always check first. Taking thirty seconds to verify can save you from stripping a bolt or damaging your mower deck.
How Other Blades Compare: Ceiling Fans, Saws, and More

Blades spinning to do work is a concept everywhere. Looking at other tools can make the “why” behind your mower blade’s rotation click into place.
Helicopter Blades and Ceiling Fans: Pushing Air for a Purpose
Helicopter blades are shaped to bite into the air. They spin to push air powerfully downward, which creates lift. Your mower blade has a similar job, but its material is grass. It spins to cut and then efficiently lift or move the clippings into the bag or back down to the lawn.
Your ceiling fan is a perfect home example. In summer, you set it to spin counterclockwise to push cool air down on you. In winter, you reverse it to clockwise to pull warm air up from the ceiling. The direction changes the function.
Just like setting your ceiling fan for the season, installing your mower blade correctly sets it up for its core job: a clean, efficient cut. The right direction ensures it creates the proper airflow under the deck to manage your grass clippings well.
Table Saw Blades: Safety Through Direction
Safety is paramount with a table saw. Its blade spins toward the front, toward the operator. This might seem dangerous, but it’s deliberate. This rotation pulls the piece of wood down onto the table and into the fence, giving you control and reducing dangerous kickback.
The parallel to your mower is direct. The correct rotation direction is a fundamental safety and performance feature for both tools. On a mower, proper rotation ensures the grass is cleanly cut and directed, not torn or thrown dangerously.
Whether it’s wood, air, or grass, the principle is the same. The “blade direction rotation push air” idea is really about controlling the material you’re working with to get a safe, effective result. Getting your mower blade on right is how you control your cut and keep your lawn, and yourself, safe.
Quick Hits: Your Blade Rotation Questions, Answered

1. I get that the blade spins clockwise, but why is the air movement underneath so important?
That upward suction is what makes your lawn look greedy and full. It stands each grass blade tall for a clean cut and efficiently whisks clippings away, preventing clumpy smothering and promoting thicker regrowth.
2. How is a mower blade’s job different from a ceiling fan’s blades?
A ceiling fan moves air for comfort, but a mower blade moves air for a purpose. Its specific spin and angled wings create a focused vacuum to lift grass, proving the right “blade direction rotation push air” is crucial for function, not just circulation.
3. Is there a safety reason for the spin direction, like with a table saw blade?
Absolutely. Just as a table saw’s rotation controls the wood, your mower’s clockwise spin safely directs clippings down and into the bag or mulch chamber. The wrong spin can throw debris unpredictably, which is a safety hazard for you and your landscape.
4>I saw online debates about “blade direction rotation push air.” What’s the big deal homeowners miss?
The big deal is lawn health, not just theory. That debate boils down to a simple truth: if your blade isn’t pushing air correctly, it’s not cutting correctly—it’s just beating up your grass and calling it a day.
5. Could I just flip my blade to experiment with the cut or airflow?
Don’t experiment on your lawn’s health. A backwards blade destroys grass tips, invites disease, and strains your mower. Trust the engineered clockwise design; it’s the only way to get that clean, green, greedy look we’re after.
The Right Spin for a Healthier Lawn

The key takeaway is simple: your mower blade must spin counter-clockwise with the sharp cutting edge facing the mower deck. If the edge dulls, sharpen or replace the blade promptly to preserve that clean cut. Get this right every time you install a blade, and you’ll avoid tearing your grass, which is the foundation for a thick, green lawn that resists weeds and disease. It’s the difference between a clean shave and a ragged pull.
Getting this detail correct is a small act of responsible care for your green space. A sharp, correctly mounted blade creates less stress on each grass plant, leading to a lawn that uses water more efficiently and stays healthier with less intervention from you. There’s always more to learn, whether it’s the perfect sharpening angle for your soil type or how the season changes your grass’s needs.
References & External Links
- Do lawn mower blades turn clockwise or counterclockwise? – Quora
- Do I go clockwise or counterclockwise to remove this bolt? : r/lawnmowers
- Do Craftsman Self-Propelled Mower Blades Spin Clockwise?
- Which Way Do Mower Blades Go On? | ehow.com
- Lawnmower blade retaining nut – clockwise or anti?
Written by Ria Carrington. Ria is an avid lawn care enthusiast and advisor. No lawn is unsalvagable when Ria is at work. She has helped countless homeowners breath new life into their dying lawns. She has a B.Sc in Agriculture and brings practical advice combined with knowledge of plant science and her decade worth of hands on experience.