
Is Your Lawn Ready for Spring? Here’s Your Complete Care Guide.
You look at your lawn and wonder where to even start. Don’t worry, a great spring lawn comes from a simple, smart plan.
We will cover the essential spring cleanup, how and when to mow, a simple soil check, choosing the right fertilizer, and tackling weeds the smart way.
My advice comes from years of hands-on weekends with my own mower, figuring out what actually works and what just costs money.
At a Glance: Your Spring Lawn Care Key Takeaways
Think of this as your quick-start cheat sheet. Forget the calendar on your wall. Your lawn runs on soil temperature.
| Action | When (Soil Temp) | Pet & Pollinator Notes |
|---|---|---|
| Apply Pre-Emergent | ~55°F for 2-3 days | Choose granular formulas. Water in well and keep pets off until dry. |
| First Mow | After consistent green-up | Keep mower blades sharp for a clean cut that seals quickly and resists disease. |
| Early Spring Fertilizer | Cool-season: 50-55°F. Warm-season: 60-65°F. | Use organic or slow-release synthetic blends to avoid nutrient runoff into flower beds. |
| Spot-Treat Weeds | When weeds are young, actively growing | Use a selective, liquid herbicide. Apply on a calm, sunny day to avoid drift to clover or other flowering plants bees visit. |
| Core Aeration | For cool-season grass only, in early spring | Creates pathways for water and air, helping grass outcompete weeds naturally. |
Your main goal in spring is to help the grass grow so thick that weeds and disease struggle to find a home.
Timing Is Everything: When to Start Your Spring Lawn Care
Air temperatures lie. A warm 70-degree day in March can fool you, but the ground six inches down is still cold and asleep. Soil temperature is the truth-teller. You want to know when the ground is warm enough for grass roots to wake up and start feeding, and when weed seeds are about to germinate.
Here’s the easy way I check. I use a basic kitchen meat thermometer. Just push it into a few spots in the lawn, about 2-3 inches deep, in the late morning. Do this for a few days in a row. When it consistently reads in that magic 50-55°F range, it’s go-time for your first major steps.
For cool-season grasses (like Kentucky Bluegrass, Fescue, Ryegrass up north), this soil temp trigger happens in early spring. Think March or April. For warm-season grasses (like Bermudagrass or Zoysia in the south), wait longer until soils hit 60-65°F, which is often late April or May. It’s crucial to plant when the conditions are just right to get your lawn looking its best. Knowing the best time to plant grass seed in spring can make all the difference.
I get asked about specific states all the time. In Ohio or Colorado, aim for that 55°F soil temp, which often lands in early to mid-April. In Minnesota, it might be late April. The rule never changes: let the soil, not the date, make the call.
How Do I Know If My Grass Is Ready?
Beyond the thermometer, your lawn will show you. Look for a wave of consistent green color washing across the grass blades, not just a few random green shoots. The soil should feel firm, not soggy or frozen. Walk on it. If your foot sinks in and leaves a deep print, it’s still too wet and you should stay off.
Winter-stressed grass has a certain look. It might be thin, pale, or have a matted, grayish layer on top. This is often leftover dead grass, or “thatch,” from last year. Don’t panic. This is what we’re here to fix. Some areas, like my friend Patch in the shady corner, might still look mostly dormant while the sunny parts are green. That’s normal.
The First Step: Your Spring Lawn Care Inspection
Before you do anything, take a slow walk. I mean slow. Look at every part of your lawn. Get down on one knee. Feel it.
You’re looking for three things: damage, bare spots, and early weeds. Note any areas torn up by winter plows or salt damage along driveways. Find the thin spots where grass struggled last year. Look closely for tiny, unwelcome guests. Early spring weeds like chickweed or henbit will be small, green, and flowering.
This is also the day to check your partners in crime. For me, that’s firing up Max, my zero-turn, to listen for any odd sounds and check the oil. I run Sunny, the drip irrigation, zone by zone to check for leaks or clogged emitters. A spring inspection catches small problems before they ruin your whole season.
Cleaning House: How to Get Your Lawn Ready for Spring

Think of this as waking your lawn up from a long nap. You want to do it gently, not by blasting an air horn. Start with a good walk-around. I do this every year, coffee in hand, looking for winter’s leftovers.
Your first job is to clear the stage. Remove any fallen branches, stray toys, and matted piles of leaves. A light layer of leaves is fine, but thick mats block sunlight and trap moisture, which is an invitation for fungus. If you used a protective winter mulch on garden beds, gently pull it back now to let the soil breathe.
The first mow sets the tone for the whole season, so don’t get greedy and scalp it. Different grasses have different mowing height needs depending on grass type. Warm-season and cool-season varieties often require different targets, so know your grass type before mowing. Set your mower deck to its highest setting. For most cool-season grasses, that means leaving the grass about 3 to 4 inches tall. You’re just giving it a trim, not a buzz cut. Cutting too short stresses the grass plant and lets sunlight hit the soil, which is a green light for every weed seed waiting to sprout.
After that first mow, you might see areas where the grass looks flattened and tangled. This is called snow mold or just winter matting. Here’s where a little patience pays off. Take a flexible leaf rake-not a stiff garden rake-and gently fluff that matted grass. Use a light, upward pulling motion. You’re not trying to rip plants out. You’re lifting the grass blades so air and light can reach the crown, which is the growth point at the base of the plant. Be extra gentle in spots like my problem area, Patch. A heavy hand here just tears up good grass and makes room for more weeds.
Should I Dethatch or Aerate in Spring?
These two jobs get confused all the time, but they solve very different problems. Think of thatch as a tightly woven mat of dead stems and roots sitting on top of the soil. Aeration is about punching holes *into* the soil itself.
Dethatching is a aggressive process using sharp blades or tines to tear out that spongy thatch layer. You only need to dethatch if you have a real problem, which feels like a spongy carpet more than half an inch thick. For most lawns, especially if you mow regularly with a sharp blade, gentle spring raking is all you need. I save the power dethatcher for true emergencies, as it can be rough on your grass.
Core aeration, on the other hand, uses a machine to pull out small plugs of soil. It relieves compaction so water, nutrients, and air can reach the roots. To see if you need it, try pushing a screwdriver into your lawn. If it’s hard to get more than a couple inches in, your soil is compacted and aeration might be the cure.
Here’s my rule of thumb: For warm-season grasses like Bermuda or Zoysia, spring aeration is a great idea as they kick into growth mode. For cool-season grasses like Fescue or Kentucky Bluegrass, I hold off. The best time to aerate a cool-season lawn is in the early fall, when the grass is growing vigorously and can heal fast. Spring aeration can open the door for summer weeds. I learned this after aerating too early one year and spent all summer battling invaders in the perfect little holes I made. Now, Max and I tackle aeration in September. Also, think about how often to aerate. Most lawns benefit from aeration every 1-3 years, depending on soil compaction and wear.
Soil Health 101: Testing and Amending Your Foundation
Think of your soil as the kitchen pantry for your grass. You can buy the fanciest fertilizer on the shelf, but if the pantry itself is empty or locked shut, the grass can’t get to the food. Feeding the soil first is how you truly feed the grass, building a lawn that can withstand summer heat and bounce back from wear and tear. I learned this the hard way years ago, throwing down bag after bag of fertilizer with mediocre results until I finally looked at what was happening underground.
You need to know what’s in your pantry. That means a soil test. Don’t let that term intimidate you. It’s simpler than tuning up Max the mower.
You have two great options. First, a DIY test kit from the garden center. These are quick and give you a basic idea of your soil’s pH and major nutrients. They’re like checking your car’s oil with the dipstick. For a full diagnostic, I send a sample to my local university extension service every few years. It costs about the same as a bag of fertilizer. You dig small plugs from a few spots in your lawn, mix them in a clean bucket, and mail a cup of that soil away. In a week or two, you get a detailed report.
Reading the report focuses on two main things. The first is pH, a measure of how acidic or alkaline your soil is. Grass likes it mostly neutral. The second is the N-P-K ratio-that’s Nitrogen for green growth, Phosphorus for strong roots, and Potassium for overall health. Your test results will tell you exactly what your soil is missing, so you stop guessing and start fixing the real problems.
How to Fix Common Soil Problems Before Fertilizing
Let’s say your test comes back and your soil is too acidic, which is common in many areas. Grass struggles to absorb nutrients in acidic soil. The fix is straightforward: add pelletized lime. The test report will tell you exactly how many pounds per 1,000 square feet you need. Apply it with a spreader on a calm day, water it in, and let it work. It’s a slow adjustment, not an overnight fix, but it makes everything else you do more effective.
Another silent lawn killer is compaction. If your soil is packed down like a highway, water and roots can’t penetrate. You’ll see puddles after rain and thin grass. The cure is core aeration. I rent a machine every fall that pulls up plugs of soil about the size of your finger. Hearing the steady *thunk-thunk-thunk* as it works and seeing those plugs litter the lawn is one of the most satisfying jobs of the year. It creates instant channels for air, water, and fertilizer to reach the root zone.
For long-term health that lasts all season, nothing beats adding organic matter. After I aerate, I top-dress my lawn with a thin layer of finely screened compost. I use a simple compost I make myself from yard waste. As it washes down into those aeration holes, it introduces beneficial microbes and improves soil structure. Think of it like turning hard, dense clay into a softer, moister sponge that holds nutrients better. This isn’t a one-time fix, but an annual habit that builds quality soil year after year.
Weed Warfare: Smart, Safe Spring Weed Control
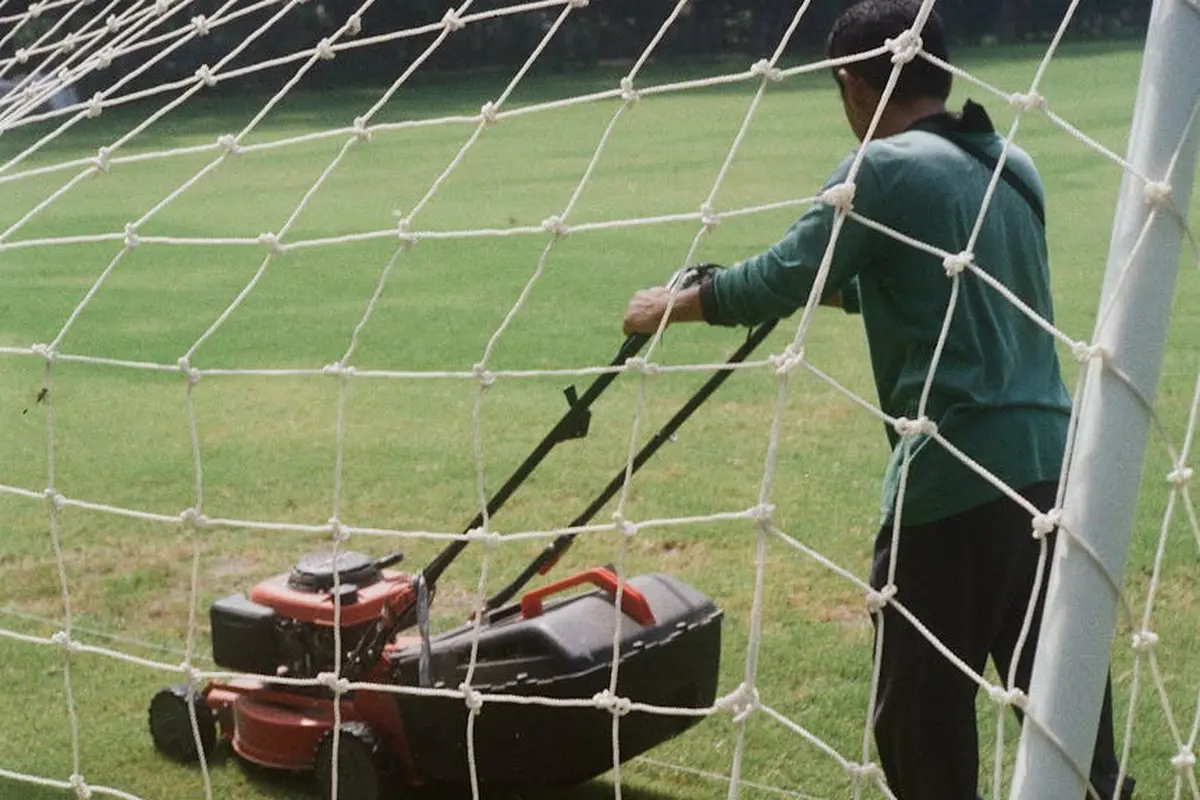
I don’t see weeds as the enemy. I see them as bullies that move in where your grass is weak. My fight in the shady corner I call Patch taught me that. Killing weeds is just one part of the job. The real goal is to make your lawn so thick and strong that weeds can’t get a foothold in the first place.
Your main tools are pre-emergent and post-emergent herbicides, and knowing the difference is your first tactical advantage.
Think of pre-emergent as a security guard. It stops weed seeds from sprouting. Post-emergent is the bouncer. It kicks out weeds that have already grown up and crashed the party. If you only use post-emergent, you’re always playing catch-up. A good pre-emergent plan in spring makes your whole summer easier.
My method is simple. I avoid blanketing my whole yard with chemicals. I use a one-gallon pump sprayer for targeted spot-spraying. This uses far less product, saves money, and is much safer for kids, pets, and the bees that visit my clover. Look for products clearly labeled as pet-safe once dry, and always follow the label to the letter.
Your Spring Pre-Emergent Game Plan
Timing is everything. Apply your pre-emergent when soil temperatures consistently hit 50-55°F. I check mine with a cheap meat thermometer at 7 AM, about two inches deep. If you see forsythia bushes blooming bright yellow, that’s nature’s signal your window is open.
Two common active ingredients do the heavy lifting. They work differently, so you can choose based on your needs.
- Prodiamine (often sold as Barricade): This is my go-to for long-lasting control. Think of it as a slow-release security guard that works a long shift. It can protect for up to 8 months, blocking crabgrass and many other weeds. It only prevents seeds, it doesn’t kill existing weeds.
- Dithiopyr (often sold as Dimension): This one is a versatile bouncer-and-guard. It prevents seeds and can kill young, small crabgrass (usually with 2 or fewer tillers). Its initial protection is shorter, so it’s great if you’re still dialing in your timing or want that extra early-season punch.
Here’s the big caution: most pre-emergents will also block grass seed. If you plan to overseed this spring, skip the pre-emergent or use a special product like mesotrione (Tenacity) that’s labeled for use at seeding. Otherwise, you’re wasting both money and seed.
What Weeds to Expect and How to Spot-Treat Them
Even with a good plan, some weeds sneak through. In spring, you’re likely to meet these three. Knowing their names helps you pick the right post-emergent bouncer.
| Weed | How to Spot It | Smart Treatment Tip |
|---|---|---|
| Dandelion | The classic yellow flower and puffball seed head. Its long taproot is the key to its survival. | Use a broadleaf weed killer with 2,4-D or a similar ingredient. Spray on a warm, calm day. It takes a week or two for that deep root to die. |
| Chickweed | A low, mat-forming weed with tiny white flowers and smooth, oval leaves. | This cool-season weed is often a sign of compacted soil. The same broadleaf herbicides work, but improving soil aeration helps in the long run. |
| Poa Annua (Annual Bluegrass) | Light green, clumpy grass with a distinctive seed head that looks like a tiny broom. | This is tricky. Pre-emergent is the best control. Pulling it by hand before it seeds is the safest post-emergent method, as herbicides that kill it can also hurt your good grass. |
Always identify the weed first, then choose a product labeled specifically for it. I keep a simple broadleaf weed killer for dandelions and chickweed, and my gloves handy for pulling anything else. Spot-spraying directly on the weed keeps your good grass safe.
A quick note on pests. You might ask, “What do you do if you have lawn pests in the spring?” Grubs or chinch bugs usually show up later, but stressed, weedy lawns are more inviting to them. The best spring pest control is a healthy lawn. Thick grass, proper mowing, and smart watering create an environment where pests struggle to get established. If you see unusual damage, get down on your knees, part the grass, and look for the bug itself before you treat anything.
Feeding Your Lawn: How and When to Fertilize in Spring
After you’ve cleaned up debris, dealt with weeds, and maybe overseeded those thin spots, your lawn is ready for its first real meal of the year. Think of fertilizing as the final step in your spring lawn tune up, not the first. Feeding too early can just fuel the weeds you’re trying to control.
Picking the right food is easier than you think. A simple soil test tells you exactly what your lawn is craving. It’s like a blood test for your soil. You’ll learn its pH and levels of key nutrients like phosphorus and potassium. Without this, you’re just guessing. My stubborn corner, “Patch,” taught me that. I kept throwing nitrogen at it, but the test showed the soil was too acidic. The grass couldn’t use any of the food I gave it.
Here’s my golden rule for spring feeding, go light. A “less is more” approach prevents fertilizer burn on your grass blades and stops excess nutrients from washing away into our waterways. More is not better. It’s just wasteful and can harm the environment.
Choosing the Best Spring Fertilizer for Your Grass Type
Grass type is everything. Feeding at the wrong time stresses your lawn.
Cool season grasses like Kentucky Bluegrass, Fescue, and Ryegrass wake up early. They want a light, balanced meal as they come out of dormancy to fuel green up. Their big growth feast comes in the fall. Climate shapes when they green up and how they perform. Comparing cool-season and warm-season grasses across climates helps guide lawn care decisions. Warm season grasses like Bermuda, Zoysia, and St. Augustine wait for consistent warmth. They shouldn’t get their main course until late spring or early summer, when soil temperatures are reliably above 65°F.
You also choose between synthetic and organic fertilizers. Synthetics are like a strong cup of coffee, fast acting and precise. But if you apply too much or before a heavy rain, they can “burn” the grass and contribute to runoff. Organics, like milorganite or corn gluten meal, are like a slow cooked meal. They feed the soil microbes, which then feed the grass slowly and steadily. They’re far less likely to burn and improve your soil’s health over time.
FAQ: What fertilizer do I use for different grass types? Start with a soil test. For most cool season lawns in spring, look for a balanced fertilizer with a lower first number (Nitrogen), like a 10-10-10 or one specifically labeled for spring use. For warm season grasses holding out for later, a fertilizer with a higher first number (like 20-5-10) is common for their summer feeding. The bag will always list the grass types it’s designed for.
How to Apply Fertilizer the Right Way
A spreader is your best friend here. It’s the difference between a uniform green and a striped, burned mess. I use a broadcast spreader for my main lawn and a small drop spreader for tight spots near my flower beds.
Here’s how to do it right:
- Calibrate your spreader. Check the fertilizer bag for the correct setting. Put a small amount in the hopper and practice on your driveway to see how wide it throws.
- Start by walking around the perimeter of your lawn first. This gives you a buffer zone for turning.
- Walk at a steady, normal pace in straight lines. Overlap each pass slightly so you don’t miss strips.
- Fill the hopper on a driveway or tarp. Never spill granules on the lawn itself.
When you’re done, water it in. Watering lightly after application moves the fertilizer off the grass blades and into the soil, which prevents burning and starts the feeding process. I set “Sunny,” my drip system, to run for about 15-20 minutes. Keep kids and pets off the lawn until it’s fully dry, usually 24-48 hours.
FAQ: What do I do if it rains after I fertilize? A light rain is perfect, it saves you from watering. A heavy, driving downpour right after you apply is a problem. It can wash the granules into piles or straight into the storm drain. If you see puddles washing fertilizer away, you may need to reapply lightly once things dry out. Otherwise, just let it be.
Repair and Replenish: Fixing Bare Spots and Overseeding

Spring is about repair, not renovation. For cool-season lawns like Kentucky bluegrass, fescue, and ryegrass, fall is the undisputed champion for major overseeding projects. The soil is warm, the air is cooling, and weed competition drops off. In spring, focus on fixing the bare and thin spots that winter left behind, not on trying to grow a whole new lawn.
Your Bare Spot First Aid Kit
That dog-run path or the spot where the snowplow piled up salt-damaged dirt needs attention now. Leaving it bare is an open invitation for weeds. Here’s my go-to method for patches smaller than a dinner plate.
- Grab a metal garden rake and scratch up the soil in the bare spot. You don’t need to dig deep, just break up the surface to create some texture for the seed to grab onto.
- Sprinkle your grass seed generously over the area. I use the same seed blend as my main lawn for a consistent look.
- Top it with a thin, quarter-inch layer of compost or peat moss. This keeps the seed moist, protects it from birds, and gives the seedlings a gentle nutrient boost.
- Water gently but consistently. The goal is to keep that top layer damp, not soggy, until the new grass is about an inch tall.
Think of it like helping a seedling sprout in a pot. You give it good soil contact, cover it lightly, and keep it watered. It’s simple, but it works. My shady friend, Patch, taught me that patience and consistent moisture are the real secrets here, not any magic product.
The Smart Way to Use Weed Control When Seeding
This is where many folks get tripped up. You put down fresh seed and then panic, thinking weeds will smother it. You might hear about a product called mesotrione (sold as Tenacity, Torocity, etc.). It has a unique trait: it can suppress many weed seeds while allowing grass seed to germinate. Mesotrione is a useful tool for a spring patch job, giving your new grass a 3-4 week head start against weeds.
But here’s the critical part. I see it pushed online as a universal weed killer. It’s not. Its best and safest use for a homeowner is exactly this scenario-applied at seeding time for a bare spot repair. It’s not for spraying willy-nilly over your entire established lawn every month. Used correctly in your repair mix, it’s a helpful ally. Used incorrectly, it’s a waste of money and can lead to other problems.
FAQ: How to Plant a Lawn in Spring
What if you’re starting a brand new lawn or doing a total renovation in spring? The rules change. You’re not just patching; you’re building from the ground up.
First, know it’s a harder road. You’ll battle heat and weeds all summer. If you can wait until fall, I strongly suggest it. If you must do it now, go all in:
- Kill or remove all existing vegetation. Tilling it under often brings up a million new weed seeds.
- Grade the soil so it’s level and slopes away from your house.
- Add compost and rake it smooth until the surface looks like a clean seedbed.
- Spread your seed evenly with a broadcast spreader, then lightly rake it in.
- Apply a starter fertilizer and consider using mesotrione as a weed suppressant at this time, following the label for new seeding rates.
- Water multiple times a day to keep the surface constantly moist. This is a non-negotiable, two-week commitment. New seed has no root system; it will die in hours if the surface dries out.
It’s a big job. My advice? For a whole lawn, fall is your friend. For those small, nagging bare spots this spring, the simple rake-seed-cover-water method will set you right.
Spring Into Maintenance: Mowing, Watering, and Monitoring
Now the real work begins. This is where your consistency pays off. Think of mowing not as a chore, but as the most frequent training session for your lawn.
The single most important rule for mowing is to never remove more than one-third of the grass blade height in a single cut. Scalping your lawn shocks it, opening the door for weeds, disease, and a weak root system. If your grass gets too tall, raise your mower deck and take it down over several days.
Here’s where you set your mower. I double-check Max’s settings every spring.
| Grass Type | Recommended Spring Height |
|---|---|
| Kentucky Bluegrass | 2.5 – 3.5 inches |
| Perennial Ryegrass | 2 – 3 inches |
| Tall Fescue | 3 – 4 inches |
| Bermuda Grass | 1 – 1.5 inches |
| Zoysia Grass | 1.5 – 2.5 inches |
Taller grass in spring shades the soil, which naturally helps suppress weed seeds trying to sprout. It also promotes deeper roots.
Watering for Strength, Not Laziness
Your watering goal is simple: train roots to go deep. Shallow, daily sprinklings teach your grass to be lazy and vulnerable to summer heat.
Water deeply and infrequently, aiming for about 1 to 1.5 inches of water per week, including rainfall. I use a simple tuna can on the lawn to measure how long it takes my sprinklers to deliver an inch. Water early in the morning to reduce evaporation and fungal disease.
This is Sunny’s time to shine. As soon as the threat of frost is gone, I give my drip irrigation lines a full check. I look for leaks, clean filters, and make sure emitters aren’t clogged. A twenty-minute inspection now prevents a crispy, brown lawn in July.
How to Care for Your Lawn in Spring: Your Ongoing Checklist
Spring lawn care isn’t a one-day event. It’s a routine. Stick to this simple list after your initial cleanup and feeding.
- Mow regularly, following the one-third rule.
- Leave the clippings on the lawn (they are free fertilizer).
- Water deeply only when needed, based on rainfall.
- Walk your lawn weekly. Look for discoloration, uneven growth, or new weeds.
- Keep your mower blade sharp. A dull blade tears grass, leaving ragged, brown tips.
That last point about walking your lawn is critical. You catch problems early. I found the first signs of a fungus in Patch just by noticing a slightly different shade of green on a Saturday walk.
How Lawn Care Plans Handle Changes Mid-Year
Everything you do in spring is about building a resilient lawn for summer. You’re not just growing grass, you’re growing a system that can handle stress.
The fertilizer you applied in spring fuels the growth that thickens your lawn, creating a living mulch that crowds out summer weeds. As temperatures climb, your focus must shift from promoting growth to managing stress.
This usually means stopping high-nitrogen feeds by late spring. Summer fertilizer, if used at all, should be a slow-release, low-nitrogen product or a potassium boost to aid drought tolerance. The best plan is often to let the lawn coast on its spring reserves. If you’re planning summer inputs or reseeding, our summer lawn fertilization seeding guide offers step-by-step instructions. It covers timing, nutrient choices, and how to seed for best establishment.
Your most important tool from June onward is observation. Adapt to the weather. During a dry spell, your deep-rooted grass will stay green longer. In a heatwave, raise your mower height another half-inch for extra shade. If you see footprints lingering in the grass, it’s time for a deep drink. Your lawn will tell you what it needs, you just have to learn to listen.
Common Spring Lawn Care Mistakes and How to Avoid Them
I’ve made my share of blunders over the years, and I’ve seen plenty from the neighbors. The goal isn’t a perfect lawn overnight, but a healthy one that gets stronger each season. Let’s walk through the most common trip-ups so you can sidestep them completely.
Mistake 1: Fertilizing Too Early
This is the big one. You see a sunny day in March and think, “It’s time to feed the lawn!” I’ve done it. The problem is, if the soil is still cold, the grass roots are mostly asleep and can’t absorb those nutrients.
That leftover fertilizer often just washes away with spring rains, polluting waterways and feeding the weeds in your flower beds instead of your grass.
The correction is simple: wait until your grass is actively growing and needs its first cut before you even think about fertilizer. For cool-season lawns, this is usually when soil temps are consistently in the 50s. A cheap soil thermometer is a smarter investment than an early bag of fertilizer.
Mistake 2: Cutting the Grass Too Short (Scalping)
It’s tempting to take the lawn down short so you can mow less often. I get it. But cutting off too much of the grass blade is like a major stress event. It shocks the plant, exposes the soil to sunlight (which wakes up weed seeds), and forces the grass to use all its energy just to regrow leaves instead of building deep roots.
You end up with a thin, weak lawn that burns out by summer.
Set your mower deck high for the first few cuts of spring, never removing more than one-third of the grass blade height at a time. Taller grass shades the soil, chokes out weeds, and develops a much more resilient root system to handle summer heat.
Mistake 3: Overwatering on a Timer
Setting the sprinkler system to water every other day because “that’s what you’re supposed to do” is a classic error. Grass doesn’t need a frequent sip. It needs a deep, infrequent drink that encourages roots to grow down, not stay lazy at the surface.
Shallow, frequent watering creates a lawn that’s dependent on you and more vulnerable to drought and disease.
Water deeply only when your lawn shows signs of needing it, like footprints that don’t spring back or a bluish-gray tint. When you do water, aim for about an inch at a time, which moistens the soil 6-8 inches down. This trains your grass to be tough and saves a ton of water.
Mistake 4: Ignoring a Simple Soil Test
Throwing products at your lawn without knowing what the soil actually needs is like taking medicine for a sickness you might not have. You could be adding too much of one thing or completely missing a key nutrient your grass is starving for.
This wastes your money and can even harm your lawn’s long-term health.
Get a basic soil test from your local cooperative extension office every few years. It’s inexpensive and tells you exactly what your soil pH and nutrient levels are. You might just need lime to balance the pH, which makes all the fertilizer you *do* use work much better.
Mistake 5: Using the Wrong Weed Control (The Nuclear Option)
Seeing a few dandelions and reaching for a broadcast “weed and feed” herbicide is the nuclear option. It kills a wide range of plants, not just the weeds, which can harm the soil life and pollinators we want to encourage. My shady Patch taught me that blanket spraying often misses the real issue, like soil compaction or poor grass variety for the spot.
For a healthier lawn and environment, spot-treat weeds with a targeted, pet-safe herbicide or, even better, pull them by hand after a rain when the soil is soft. Focus your energy on growing thick, competitive grass, which is the best long-term weed prevention you can buy.
Your Spring Lawn Care Schedule and Checklist
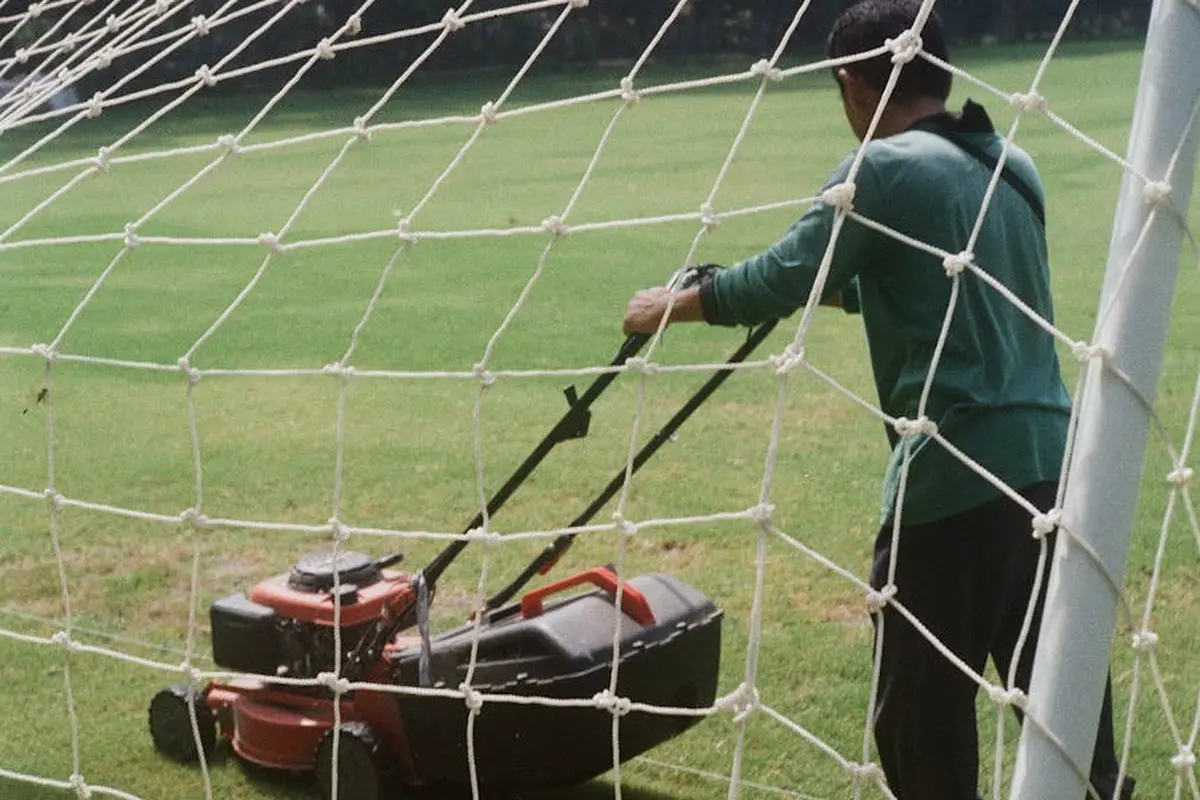
Think of spring lawn care in three simple phases. This isn’t a race. Your goal is steady progress, not a single perfect weekend. Tackle what you can, when you can. I’ve broken my own schedule more than once because a warm Saturday was better for a bike ride than dethatching, and the lawn survived just fine.
Early Spring: The Gentle Wake-Up Call
This is when the ground first thaws and soil temps start their slow climb from the 40s into the 50s (Fahrenheit). It’s time for observation and light cleanup.
- Assess and Clean: Pick up any sticks, winter debris, or dog toys that got buried under snow. I give Max (the mower) a wide berth on this first pass to avoid hidden surprises.
- First Mow: Mow high. Set your blade to the highest setting and just trim the tops off. This cleans up winter damage without shocking the grass.
- Apply a Pre-Emergent: If crabgrass and poa annua are your nemeses, this is your window. Apply when soil temps are consistently between 50-55°F for 3-4 days. A simple soil thermometer is your best friend here. Remember, if you plan to seed grass this spring, most pre-emergents will block that seed, too.
- Spot Spray Weeds: On a calm, 50+ degree day, spot-treat any perennial weeds like dandelions that are already waving at you. Use a selective, pet-safe herbicide in a sprayer for precision.
Jumpstarting growth now is less about pushing fertilizer and more about removing barriers. Clearing debris lets sunlight hit the soil, and that first gentle mow signals the grass to start growing laterally.
Mid-Spring: The Main Event
Soil temperatures are solidly in the 55-65°F range. The grass is actively greening up and growing. This is when you do the heavy lifting that pays off all summer. For seed to germinate well, the soil should be in the ideal germination range—roughly 60–65°F for cool-season grasses. At this temperature, you’ll see faster, more uniform germination and a strong start to the season.
- Core Aeration: If your soil is compacted (if water puddles instead of soaking in), this is your #1 task. Renting a core aerator is a workout, but worth it. Those little plugs left on the lawn look messy for a week, but they let air, water, and nutrients reach the roots. It feels like opening a window for your lawn’s roots.
- Soil Test & Fertilize: Don’t guess. Get a soil test from your local extension office. It tells you exactly what your lawn needs. Based on the results, apply a balanced, slow-release fertilizer. I prefer organic blends; they feed the soil life which in turn feeds the grass, like building a good pantry instead of just handing out snacks.
- Overseed Thin Areas: After aerating is the perfect time to overseed. The seed falls into the aeration holes, protected and in contact with soil. Keep the area damp (not soggy) for 2-3 weeks. This is how you fill in Patch’s territory for good.
- Set Up Irrigation: Give Sunny, the drip system, a check-up. Clear sprinkler heads, check for leaks, and adjust timers as the weather warms. Deep, infrequent watering encourages deep roots.
Late Spring: The Rhythm of Maintenance
Growth is in full swing. Your job shifts from major projects to consistent upkeep that keeps the lawn healthy and prevents problems.
- Mow Regularly: Never remove more than one-third of the grass blade height at a time. For most cool-season grasses, that means mowing at 3-4 inches. This shades the soil, conserves water, and crowds out weed seeds.
- Monitor Watering: As temperatures rise, your lawn will need about 1 to 1.5 inches of water per week from rain or irrigation. An empty tuna can placed on the lawn makes a perfect rain gauge.
- Second Pre-Emergent (Optional): If you used a shorter-lived product like dithiopyr in early spring, a follow-up application of prodiamine now can extend weed control into summer. Check the product label for timing.
- Keep an Eye Out: Scout for fungus (circular brown patches) or insect damage. Catching issues early makes them easy to manage.
Your Printable Spring Lawn Care Checklist
| Task | Early Spring | Mid-Spring | Late Spring | Done? |
|---|---|---|---|---|
| Clean up winter debris & assess lawn | ✓ | |||
| First mow (on highest setting) | ✓ | |||
| Apply pre-emergent herbicide* | ✓ | (Optional follow-up) | ||
| Spot-treat visible perennial weeds | ✓ | ✓ | ✓ | |
| Core aerate compacted areas | ✓ | |||
| Conduct a soil test | ✓ | |||
| Apply slow-release fertilizer | ✓ | |||
| Overseed thin/bare spots | ✓ | |||
| Service & adjust irrigation system | ✓ | ✓ | ||
| Mow regularly (never cut more than 1/3 of blade) | ✓ | ✓ | ||
| Water deeply (1-1.5″ per week) | ✓ | |||
| Monitor for pests & disease | ✓ | ✓ | ✓ |
*Skip if overseeding in spring.
The real secret to jumpstarting lawn growth in spring is matching your action to the soil’s temperature, not just the calendar. A warm March day might tempt you, but if the soil is still cold, the grass roots are asleep. Focus on cleanup early, feed and repair in the middle, and settle into a good mowing routine later. If you only get one thing done, make it the soil test. Knowing what your lawn actually needs is better than three bags of the wrong stuff. You’ve got this. Just take it one phase at a time.
Your Spring Lawn Questions, Answered
What’s the one simple rule for timing ALL my spring lawn tasks?
Forget the calendar date on your wall. Your lawn’s true schedule is written in soil temperature. Use a basic meat thermometer, push it 2-3 inches into the ground in the morning, and let those consistent readings (usually 50-55°F for cool-season grasses) tell you when to apply pre-emergent, fertilize, and seed.
I see lawn care ads everywhere. How do I hire a *good* spring service “near me”?
Don’t just hire the cheapest mow-and-blow crew. Look for a service that talks about soil temperature, pre-emergent timing, and offers core aeration-this shows they care about lawn health, not just a quick cut. Always ask for proof of insurance and get a detailed plan in writing before they start.
My neighbor in Ohio starts weeks before me in Minnesota. Who’s right?
You both can be! Ohio’s soil warms up earlier, so their mid-April tasks might be your late-April or early-May chores. The universal rule is to watch your local soil temp, not your neighbor’s calendar-Minnesota lawns wake up on their own stubborn schedule.
What’s the safest, most effective weed killer I can use in spring?
For existing weeds, a targeted liquid broadleaf herbicide with 2,4-D applied via spot-spraying is your best bouncer. For prevention, a granular pre-emergent like prodiamine applied at 55°F soil temp is your security guard-just remember, it will stop grass seed, too.
Everyone on Reddit says to overseed in fall. Can I ignore that and do it in spring?
You can, but it’s the hard way. Spring seeding battles heat and weeds, while fall gives seeds ideal conditions. Focus spring efforts on repairing bare spots; save a full lawn renovation for autumn when Mother Nature is on your side.
Your Spring Lawn Game Plan

For a thicker, greener lawn, time your first fertilizer application just as the grass begins its spring growth spurt. I always wait for that consistent green-up and use a slow-release blend to feed the roots without risk.
Keep your care responsible by choosing pet-safe products and leaving patches of clover for bees-it makes a difference. Lawn care is a continuous learning curve, so stay curious, adapt each season, and chat with neighbors about what’s working.
Deep Dive: Further Reading
- Spring Lawn Care Tips | ScottsMiracle-Gro US
- r/lawncare on Reddit: Spring Lawn Care Guide.
- Step-By-Step Spring Lawn Care Guide for a Perfect Lawn | TruGreen
- Spring Lawn Care Tips
Written by Ria Carrington. Ria is an avid lawn care enthusiast and advisor. No lawn is unsalvagable when Ria is at work. She has helped countless homeowners breath new life into their dying lawns. She has a B.Sc in Agriculture and brings practical advice combined with knowledge of plant science and her decade worth of hands on experience.