
How Do I Remove and Control Moss in My Lawn?
Seeing moss spread like a green carpet over your grass can make any homeowner sigh, but take a deep breath-this is a problem you can solve.
We will cover what causes moss to move in, how to remove it without harsh chemicals, and the smart, long-term changes that keep it away.
I’ve reclaimed my own lawn from moss more than once, learning which methods work and which just waste your weekend.
At a Glance: Your Moss Battle Plan
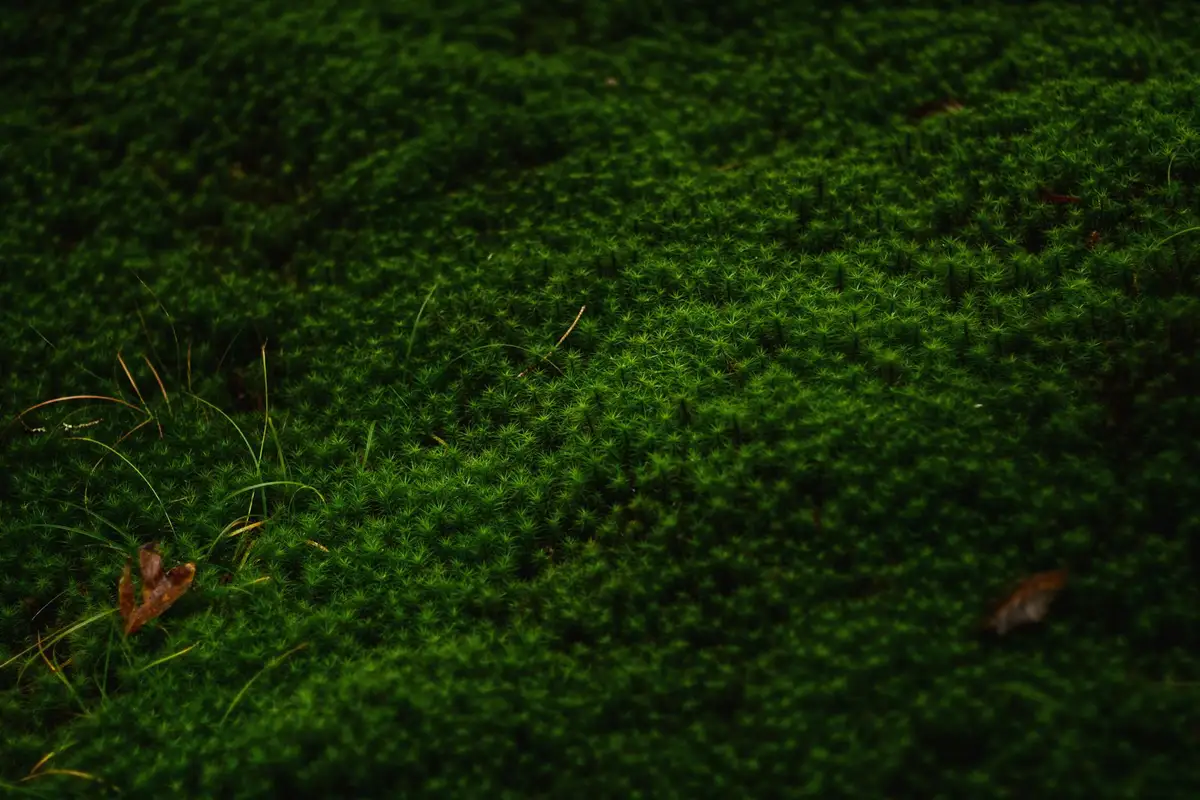
First, make sure you’re dealing with moss. It’s not a weed or a fungus. It’s a primitive plant that forms spongy green mats. It feels soft and cushiony underfoot, almost like a thin carpet. Healthy grass has individual blades you can separate; moss is a tangled mat you can often peel up in one piece.
Moss doesn’t just show up to ruin your day. It moves in because the environment is perfect for it and tough for grass. It loves these five things:
- Deep Shade: Where sunlight is scarce for most of the day.
- Poor Drainage: Soggy, waterlogged soil that never really dries out.
- Compacted Soil: Hard ground where grass roots can’t breathe or spread.
- Low Soil pH (Acidity): Soil that’s too sour for grass to pull in nutrients.
- Thin, Weak Turf: Grass that’s already struggling from any of the above.
Here’s your quick-start guide: look at your mossy area and match it to the most obvious cause. If it’s under a dense tree canopy, your fight is with shade. If the ground feels spongy and wet days after rain, poor drainage is your main foe. If the soil is hard as a rock, compaction is the issue. Most of us are dealing with a combo, but picking the biggest one tells you where to swing first.
Why Is Moss Taking Over My Yard?
Don’t think of moss as the villain. Think of it as a bright green flag your lawn is waving to get your attention. It’s a symptom, not the disease itself. Killing the moss without fixing the reason it arrived is a temporary fix. It’ll be back, probably in the same spot, by next season. I learned this the hard way with Patch, my shady corner. Sometimes moss signals deeper lawn issues—shade, drainage, or compacted soil. Diagnosing and repairing these common lawn problems can stop moss from coming back.
Shade: The Light Thief
Grass needs light to make food. Moss just needs moisture. In deep shade, grass gets thin and weak, and moss sees an opening. Do a simple check: watch the area over a full sunny day. If it gets less than 4 hours of direct sun, you have a shade problem. Pruning lower tree branches to let in dappled light can make a world of difference.
Compacted Soil: The Invisible Floor
This is a silent lawn killer. When soil gets packed down from foot traffic or heavy equipment, it squeezes out the air pockets roots need. Try the screwdriver test: take a long screwdriver and try to push it straight down into the soil in your mossy area. If you hit serious resistance after an inch or two, you’ve found compaction. Healthy soil should allow it to sink in 6 inches fairly easily.
Poor Drainage: The Eternal Puddle
Moss loves wet feet. Grass, especially common lawn grasses, does not. After a good rain, watch how water behaves. Does it pool and sit for hours? Does the ground feel like a soaked sponge? That’s a drainage issue. It often goes hand-in-hand with compaction, as hard soil can’t absorb water.
Soil pH: The Sour Spot
Most grasses thrive in soil that is slightly acidic to neutral. If your soil becomes too acidic (a low pH), grass can’t access nutrients in the soil, but moss doesn’t mind at all. A simple, inexpensive soil test kit from a garden center is your best first step. It removes the guesswork and tells you exactly what you’re working with.
Thin Turf: The Open Door
This is usually the final result of the other problems. Weak, thin grass simply can’t form a dense mat to shade the soil and crowd out invaders like moss. Improving the other conditions is what will ultimately let your grass thicken up and close the door on moss for good. It’s a slower fix, but it’s the permanent one.
The Best Way to Get Rid of Moss: Kill It and Remove It
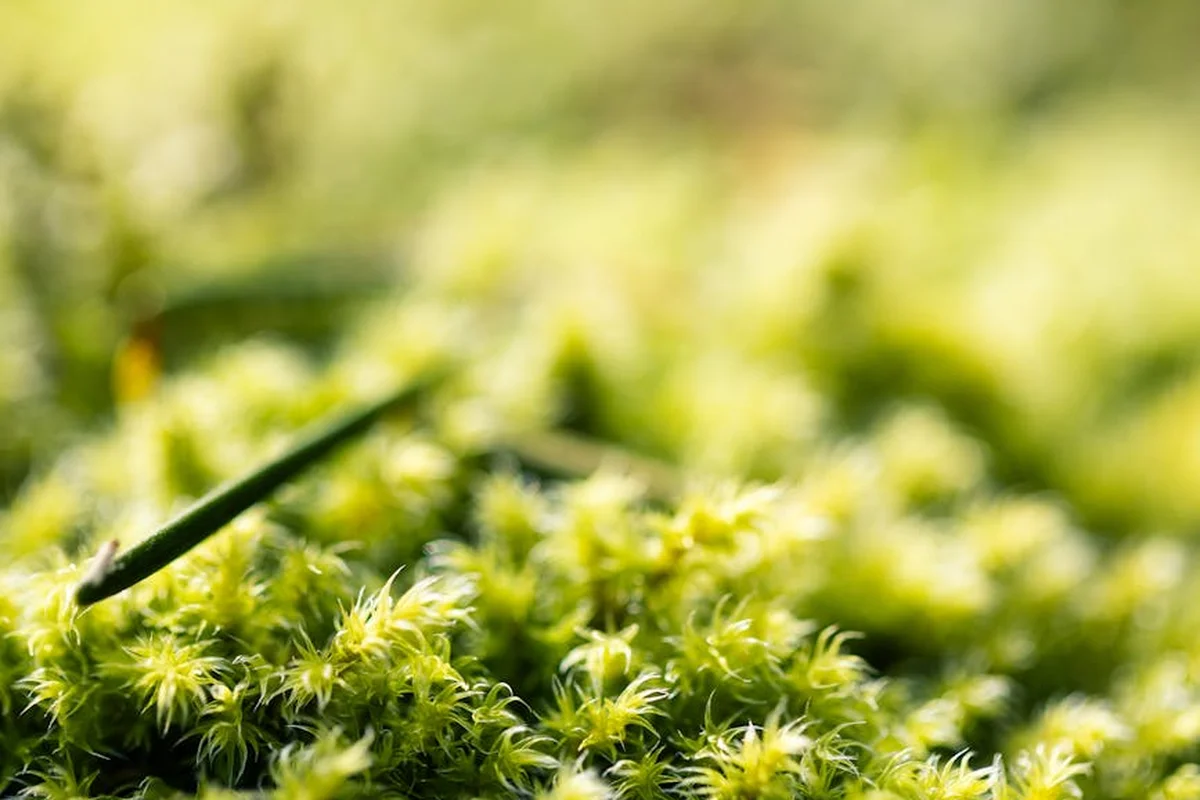
You have two main weapons against moss: chemicals and elbow grease. In my experience, you usually need both. A moss killer weakens and blackens it, making the physical removal much, much easier.
Chemical moss killers, typically iron-based (like ferrous sulfate), are very effective. They work by drying out the moss. You can find them as liquids you mix in a sprayer or as granular products for a broadcast spreader.
For the best and safest results, follow these steps when applying moss killer.
- Pick the right time. Apply during cool, damp weather, like a cloudy spring or fall day. The moss is actively growing then, and rain or dew helps the product soak in. Avoid hot, sunny, or windy days.
- Protect your space. Wet iron can stain concrete, brick, and siding. Sweep any granules off hard surfaces immediately. I also move my patio furniture and Sunny’s drip lines out of the splash zone.
- Apply carefully. For liquid, use a pump sprayer and coat the moss until it’s wet, not dripping. For granules, use a spreader and follow the bag’s rate exactly. More is not better.
- Keep pets and kids off the lawn until the product has completely dried.
Wait about 24 to 48 hours. The moss will turn a dark black or brown. Now it’s time for the real work.
Physical removal is where you reclaim your turf. I grab a stiff-tined steel rake or a specialized moss rake (which has sharp, curved tines). You slide the tines under the mat of dead moss and pull. There’s a crisp, tearing sound, and you lift up these satisfyingly thick, carpet-like sections.
Never add moss debris to your compost pile; it can contain spores and lead to more moss problems elsewhere in your garden. Bag it and dispose of it with your yard waste.
One question I get all the time: should I mow first or rake first? Mow first, but set the blade high. You want to just clip the grass tops. This gives you a clearer view of the moss and makes raking more efficient. Raking low grass is easier than wrestling a rake through tall grass to find moss.
Tools for the Job: From Your Shed to the Rental Center
Your tool choice depends on your budget, your lawn’s size, and how much sweat you want to invest.
- Steel Rake: This is the basic tool everyone has. It works for small patches. The effort is high, and it’s tough on your back for big areas, but the cost is zero if you already own one.
- Thatching Rake (aka Moss Rake): This is my go-to for dedicated moss removal. The sharp, curved tines are designed to dig in and lift moss cleanly. It requires effort but is more effective than a standard rake. You can find one for a reasonable price.
- Electric Dethatcher (Power Rake): This is a motorized tool with spinning tines that scalps the moss and thatch from the soil surface. It’s a fantastic labor-saver for medium to large lawns. The upfront cost to buy one is higher, but it’s a versatile tool for annual lawn care.
When people search for a “lawn moss removal machine,” they’re usually looking for a power rake or a heavy-duty dethatcher. Renting one for a day makes perfect sense if you have a large, moss-infested yard. It’s a moderate cost for a single project that saves you a full weekend of back-breaking raking.
Thinking about a “lawn moss removal service near me”? It’s a good option if time is more valuable to you than money. Costs vary widely but are typically based on your lawn’s square footage, how thick the moss is, and how easy your yard is to access with equipment. For a standard quarter-acre lot, you might compare the cost of a professional service to the combined cost of rental equipment, moss killer, and your entire weekend. Sometimes, DIY is worth it for the control and the satisfaction. Other times, writing a check is the right move.
Common Mistakes and How to Avoid Them
Fighting moss can feel like a never ending chore. I know the feeling. You bust your back one weekend, only to see green fuzz creeping back a month later. Usually, that means one of these common missteps is tripping you up.
Mistake 1: Just Raking or Just Killing
This is the big one. I see it all the time. You get fed up, grab a rake, and tear out every scrap of moss you can find. The lawn looks great for a week. But those tiny spores and leftover bits you missed? They’re already plotting their comeback.
Or, you spray a killer, watch the moss turn black, and call it a day. Now you have a mat of dead moss slowly decaying, which creates a perfect, acidic blanket for new moss seeds to settle into.
You have to break the cycle by doing both steps: kill the existing moss, then physically remove the dead material to expose clean soil for your grass to reclaim. Think of it like treating a wound. You disinfect it (kill the moss), then you clear away the dead tissue (rake it out) so healthy skin (your grass) can grow back.
Mistake 2: Applying Moss Killer in Full Sun or Heat
Most moss killers, especially the iron-based ones that are great for pet safety, work by desiccating the plant. They cause it to dry out and die. If you apply them on a hot, sunny day, two bad things happen.
First, the liquid can evaporate too fast, reducing how much the moss absorbs. Second, and worse, that rapid drying action can “flash” and stress your surrounding grass, leaving yellow or burnt spots. I learned this the hard way on a sunny corner a few years back.
Always apply moss control products on a cool, overcast day, or in the early evening when the sun is low. This gives the product time to work without harming your lawn, similar to when you apply lawn pre-emergent products for best results. Your grass will thank you.
Mistake 3: Ignoring the Underlying Cause
Moss isn’t the problem. It’s a symptom. It’s your lawn’s way of waving a white flag and telling you the growing conditions are better for moss than for grass. If all you do is kill and rake without changing the environment, you’re just pruning a weed. It will be back.
Moss thrives where grass struggles: in deep shade, on compacted soil where water pools, and in acidic, nutrient poor dirt. My problem area, “Patch,” taught me this. It was always soggy and dim.
Killing moss is a temporary fix; fixing the cause is the permanent solution. For compaction, core aeration is your best friend. For shade, consider pruning tree limbs to let in dappled light or switching to a shade tolerant grass seed. For wet soil, look at improving drainage.
Mistake 4: Confusing Peat Moss with Lawn Moss
This mix up happens more than you’d think. Someone hears “peat moss” and thinks it’s the enemy. Actually, it’s a helper. Lawn moss is a living weed that invades your turf. Peat moss is a dead, harvested soil amendment you buy in bags.
People search for “how to apply peat moss” when they mean “how to kill moss.” The goals are opposite. One improves your soil; the other removes a pest.
Peat moss is used to improve soil texture and moisture retention, often mixed into soil before seeding. Lawn moss is what you’re trying to eliminate. Don’t fight the wrong thing.
| Lawn Moss (The Weed) | Peat Moss (The Amendment) |
| Grows in mats on your lawn surface. | Comes dried in a plastic bag from a garden center. |
| You kill it and remove it. | You moisten it and mix it into your soil. |
| A sign of lawn problems. | A tool to fix soil problems. |
After the Moss Is Gone: Repair and Recovery
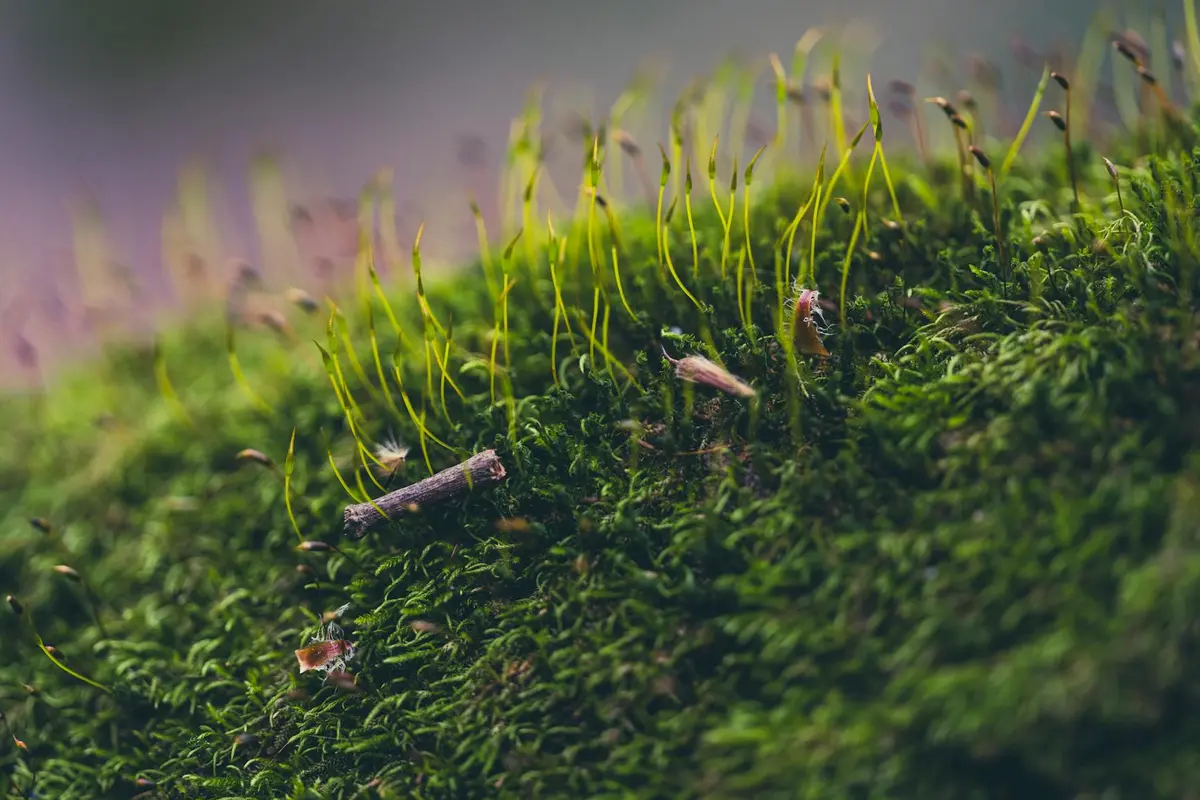
Great job clearing the moss. You’ve fixed the symptom. But now you have a patch of bare, damp dirt. That’s an open invitation for weeds to march right in, or for moss to return next season and laugh at all your hard work. Trust me, I’ve watched it happen in my own corner, Patch.
The real solution isn’t just killing the moss, it’s fixing the conditions that welcomed it in the first place and getting grass to grow there instead.
Three Steps to a Moss-Proof Lawn
Think of this as a simple, three-part recipe. You might not need every ingredient, but most mossy areas will benefit from the whole treatment.
1. Let the Ground Breathe (Core Aeration)
If your soil is compacted, water sits on top and grass roots suffocate. Moss loves that. Core aeration pulls out small plugs of soil, creating channels for air, water, and nutrients to reach the roots.
You can rent a core aerator for a weekend. The holes it leaves look a little funny for a week, but it makes a huge difference. Run it over the mossy area, especially if it’s a path or a spot where kids play.
Walking over freshly aerated soil feels soft and springy, which tells you the compaction is already easing.
2. Feed the Soil (Top-Dressing with Compost)
Moss often grows in thin, poor, or acidic soil. Grass needs rich food. Top-dressing means spreading a thin layer (about 1/4 inch) of screened compost over the area.
Use a rake to work it down into the aeration holes. This isn’t just fertilizer, it’s improving the soil itself. Good compost helps with drainage like a sponge and provides a gentle nutrient boost.
I use compost from my local garden center. It’s a simple, pet-safe way to build healthier ground from the bottom up.
3. Plant the Right Grass (Overseeding)
Now, for the most important part. Bare soil needs grass seed, and you need the right kind for a shady, moist area. Don’t just use the same bag from your sunny front yard.
Look for a shade-tolerant mix. Fine fescues are a champion for this. Varieties like creeping red fescue or hard fescue are tough, grow well in low light, and can handle the conditions that beat your old grass.
Overseeding this specific area is about choosing a grass that will naturally out-compete moss for space in the future. Scatter the seed evenly by hand or with a spreader, then lightly rake it so it has good contact with the soil and compost.
When to Do the Work
Timing is everything for seed to grow. The best times are early fall or spring when soil temperatures are ideal for germination and the weather is milder. Specifically for spring, timing can make all the difference in germination rates. The best time to plant grass seed in spring is a window you’ll want to plan around.
Early fall is my favorite. The warm soil and cool air give new grass a long period to establish strong roots before summer stress hits. Early spring works too, but you’ll need to be more diligent with watering as summer approaches.
After seeding, keep the area consistently damp (not soaked) for about two weeks until you see those bright green sprouts. Then you can ease back into a normal watering routine with Sunny.
How Do I Prevent Moss from Coming Back?
Clearing moss is just the first step. The real win is making your lawn a place where moss can’t get a foothold again. This means building a thick, healthy turf that out-competes it naturally. Every action you take should fix one of the problems we talked about earlier, especially after winter damage.
Mow Smarter, Especially in the Shade
In those shady spots, your grass is already struggling for light. Cutting it short is like rolling out the green carpet for moss. I keep my mower deck high in these areas, often at the top setting.
Taller grass blades capture more of the limited sunlight, which strengthens the roots and helps the turf spread to fill in bare patches. Think of it like this: you’re giving your grass a leg up in the fight. In my shady corner I call Patch, this simple change made a huge difference.
Aerate to Fix the Foundation
Compacted soil is a moss paradise. Those tiny roots can’t penetrate hard ground, but moss doesn’t care. You need to let the soil breathe.
Aerate your lawn every year, ideally in the fall for cool-season grasses, to relieve compaction and let water, air, and nutrients reach the roots. To truly improve and amend compacted lawn soil, add organic matter and balanced amendments as needed. This helps restore structure and promote healthier growth over time.
I love the job after aeration-the damp, loamy smell and the sight of all those little soil plugs on the surface. It’s like opening a window for your lawn’s root system.
Feed Your Lawn to Thicken It Up
A hungry, thin lawn is an invitation. Proper fertilization gives your grass the nutrients it needs to grow dense and vigorous. This isn’t about dumping a bunch of fertilizer down at once.
Follow a seasonal feeding schedule based on a soil test, which tells you exactly what your lawn needs to thrive and crowd out weeds and moss. A thick lawn is your best defense.
Manage Light and Water
Moss loves damp, dark places. We have to change that environment.
- Let in More Light: If possible, selectively trim tree branches or thin out shrubs to allow more dappled sunlight to reach the grass below. You don’t need full sun, just a bit more than before.
- Water Deeply, But Not Often: This is where my setup, Sunny, really shines. Drip irrigation or soaker hoses deliver water right to the root zone without leaving the surface constantly wet. I program it to water early in the morning, deeply, and then let the soil dry out a bit before the next cycle. Overwatering creates the perpetually damp conditions moss loves, so adjusting your irrigation habits is a powerful prevention tool.
When This Guide Isn’t Enough
Even with the best plans, sometimes a lawn problem is bigger than a weekend warrior project. I’ve been there, staring at a situation that makes my mower, Max, seem small. Recognizing your limits saves time, money, and your sanity.
There are a few clear signs that your moss issue is telling you to call for backup.
When DIY Hits Its Limit
First, think about constant sogginess due to severe grade. If a section of your lawn never dries out, and you can literally hear water squelch underfoot days after a rain, that’s a drainage issue no moss killer can fix. You’re fighting gravity. To tackle this, focus on how to improve lawn soil quality drainage. Small steps like aeration and organic amendments can help restore proper drainage and turf health.
Next, giant tree root systems. In my shady corner, Patch, the soil is a tangled mat of roots from an old oak. It’s like trying to garden in a basket of cables. If you can’t get a shovel more than two inches into the soil without hitting a root the size of your wrist, improving the soil itself becomes nearly impossible.
Finally, consider the scale. If moss blankets more than, say, fifty percent of your lawn, it’s not an invasion. It’s a takeover. That much moss is a loud, clear signal that your entire lawn environment is favoring it over grass. Tackling that piecemeal is a recipe for years of frustration.
Time to Call a Professional
This is when you bring in a pro with bigger tools and specific expertise. Here’s what they can do that you likely can’t:
- Core Aeration at Scale: They use industrial aerators that pull out deep, thick plugs of soil. This isn’t the rental unit from the big box store. It’s a machine that can truly relieve severe compaction and let your soil breathe again.
- Major Regrading: Fixing drainage often requires reshaping the land. They can regrade the soil to create a gentle slope away from your house and low spots, ensuring water flows where you want it to. This solves the root cause of the wetness that moss loves.
- Consulting on Renovation: For a complete moss takeover, a pro can give you a real plan. Should you kill everything and start fresh with better dirt? Is a different groundcover the smarter choice for that deep shade? They’ve seen it all and can lay out your options clearly.
A Smart Investment
I know calling a pro feels like an expense. But think of it as paying for a diagnosis. An hour with a knowledgeable landscaper or lawn care service can pinpoint your exact problem, saving you from buying five different products that won’t work. They can tell you if the issue is two inches down or two feet down. That targeted advice can save you a whole season of wasted effort and money, getting you and your lawn back on track faster.
My Patch’s Progress: A Real-World Example
Let me tell you about my own personal moss academy, a spot I call Patch. It’s a shady corner under a big oak where grass always struggled. Every spring, a spongy green carpet would appear, and for years I’d just rake it out, frustrated when it came right back. Sound familiar?
I finally got serious two seasons ago. Here’s exactly what I did, step by step.
Season one was all about diagnosis and changing the environment. I started with a soil test. No guessing. The results confirmed what I suspected: the soil was compacted and too acidic for good grass. My first move was to prune the lower limbs of that oak tree. It wasn’t a huge change, but it let in a few more hours of dappled light each day.
Next, I dealt with the moss itself. I chose an iron-based moss killer because it’s effective and a better choice for the soil and surrounding garden than harsh alternatives like peat moss or straw erosion mats. I applied it on a cool, dry day. Watching the moss turn black over the next week is strangely satisfying.
Once it was dead and dry, I got out my garden rake. This isn’t a light touch-up. You need to vigorously dethatch and rake out every bit of dead moss you can. It’s hard work. You’ll be left with what looks like a barren, sad patch of dirt. That’s okay. You’ve just cleared the canvas.
To fix the compaction, I ran my core aerator over the area. Those little plugs of soil pulled up smelled damp and loamy. This step lets air, water, and future nutrients actually reach the grass roots.
Season two focused on building strength from the ground up. Based on my soil test, I applied pelletized lime to gently correct the pH over time. Then, I overseeded with a shade-tolerant tall fescue blend. I kept that seed consistently moist for weeks, watering lightly with Sunny, my drip system, twice a day.
So, what’s the outcome? Is it a perfect, magazine-cover lawn corner? No. But the grass is winning. Thick fescue blades now cover about 80% of where the moss throne once sat. A little moss still tries to creep back at the very base of the tree in deep fall, but one quick spray and rake handles it.
Patch taught me patience and that moss control isn’t a one-step fix. It’s a short battle with a moss killer followed by the long campaign of growing healthy grass. You can absolutely reclaim your lawn. And when the grass is patchy or damaged, the next step is to repair those damaged areas and lay a solid foundation for growth. That means fixing bare spots, leveling soil, and reseeding as needed. Just take it one logical step at a time.
Your Moss Removal Questions, Answered
What’s the real cost difference between hiring a lawn moss removal service and doing it myself?
The cost is in your time versus your wallet. DIY means buying or renting tools and products, while a pro charges for labor and expertise-ideal if your weekend is booked or the problem is severe.
I’ve seen ‘moss removal lawn B&Q’ searches. What tools should I actually look for there?
Head straight for a sturdy thatching rake (sometimes called a moss rake) and an iron-based moss killer. While you’re there, grab a soil test kit; it’s the smart first step everyone skips.
Is a ‘lawn moss removal machine’ worth buying, or should I rent one?
Only buy an electric dethatcher if you’ll use it for annual lawn care. For a one-time moss battle on a big lawn, renting is the financially savvy move that saves your back.
Moss keeps coming back in the same spot. Am I missing a step in my DIY removal?
You’re likely just removing the moss, not fixing its welcome mat. After raking, you must aerate, improve the soil, and overseed with shade-tolerant grass to claim the territory for good.
How do I choose a good ‘lawn moss removal service near me’?
Look for a service that diagnoses the *cause* (like shade or drainage) and doesn’t just quote a kill-and-rake job. A pro who talks about soil health and grass varieties is worth their weight in green.
A Thicker Lawn Starts With Better Soil
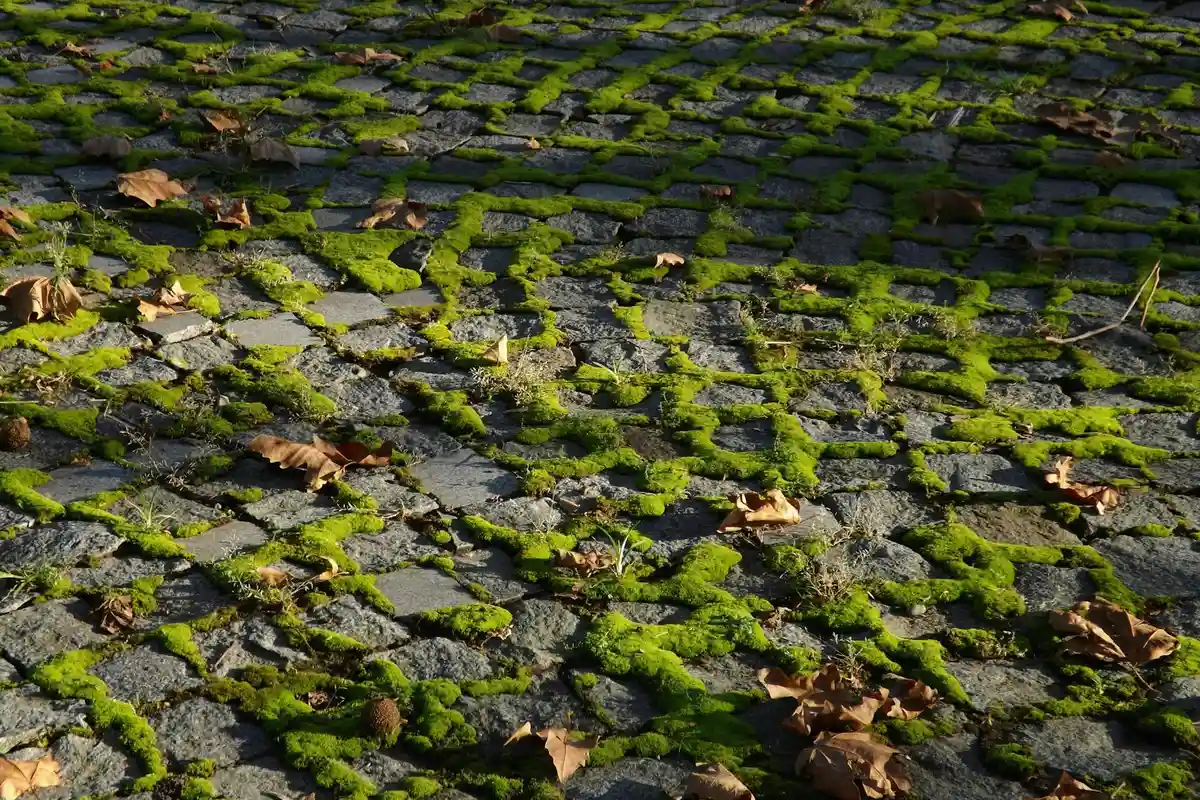
Stop fighting the moss and start fixing what it’s telling you. The single best thing you can do is improve your soil and light, because scraping moss away just opens a door for it to come right back unless the conditions change.
As you make those improvements, choose pet-safe moss killers and fertilizers that won’t harm the bees and butterflies that visit your space. I’ve learned that my lawn, just like Patch in the shady corner, teaches me more every season when I pay attention to what it’s showing me.
Relevant Resources for Further Exploration
- Moss in Lawns: Keep or Remove? | RHS Advice
- r/lawncare on Reddit: Advice for getting rid of moss
- How to manage moss in Oregon lawns | OSU Extension Service
Written by Ria Carrington. Ria is an avid lawn care enthusiast and advisor. No lawn is unsalvagable when Ria is at work. She has helped countless homeowners breath new life into their dying lawns. She has a B.Sc in Agriculture and brings practical advice combined with knowledge of plant science and her decade worth of hands on experience.