
How Do I Winterize My Lawn for Cold Weather? Your Money-Smart Plan
That first hard frost is coming, and your lawn needs a shield, not just a hope it survives until spring.
We will cover your last crucial mow, feeding the roots, aerating compacted soil, and clearing smothering leaves.
I’ve prepped my own lawn for five winters now, learning how to save cash and get results with Max, Sunny, and even stubborn old Patch.
Winter Lawn Prep: Your Quick Start Guide
Think of winterizing like tucking your lawn in for a long, restful nap. You want it cozy, well-fed, and free of anything that could cause trouble before spring. If you’re short on time, just focus on these five things.
Here is your quick action list.
- Final Mow Height: For your last cut or two, lower your mower deck. I set Max to about 2 to 2.5 inches. This helps prevent long grass from matting down under snow, which can lead to disease.
- Winter Fertilizer: Skip the high-nitrogen summer blends. Look for a “winterizer” fertilizer. The key is finding one higher in potassium (the third number on the bag). This strengthens the grass roots against freezing stress.
- Aeration Benefit: If you do one “extra” task, make it this. Aerating punches holes in the soil. It lets air, water, and that winter fertilizer reach the roots. It’s like opening the windows in a stuffy room for your lawn.
- Leaf Removal Importance: Never let a thick blanket of leaves sit all winter. It smothers the grass, creating a dark, wet haven for fungi. Rake or mulch them with your mower before the final cut.
- Irrigation Shutdown: If you have an in-ground system like Sunny, you must blow out the water lines before the first hard freeze. Water left inside can expand, crack pipes, and lead to a very expensive spring repair.
Getting these five steps done sets a strong foundation for a healthy lawn next year.
When Should You Start Winterizing? Timing Cues to Watch For
So, how do you know when to start? Forget just looking at the calendar. Your lawn and the weather give you clear signals.
The most reliable cue for cool-season grasses is soil temperature. When the soil at a 4-inch depth consistently drops to about 50-55°F, it’s your green light. You can check this with a simple meat thermometer. I start watching mine closely in late September, especially compared to warm-season grasses that thrive in higher temperatures.
Your eyes are a great tool, too. You’ll see the visual cue. The grass just stops growing like it did in September. You might go two weeks between mows instead of one. That’s the lawn telling you it’s shifting energy to the roots, which is exactly what you want to support.
Of course, timing shifts with your location. Someone in Phoenix overseeding with winter rye is working on a completely different schedule than a homeowner in Minnesota. The principle is the same: watch your local conditions, not a generic national guide.
Your goal is to finish the major tasks about 2 to 3 weeks before the ground typically freezes solid in your area. This gives the fertilizer time to be absorbed and the lawn a chance to settle in before the deep cold hits.
What You Need: Your Lawn Winterization Toolkit
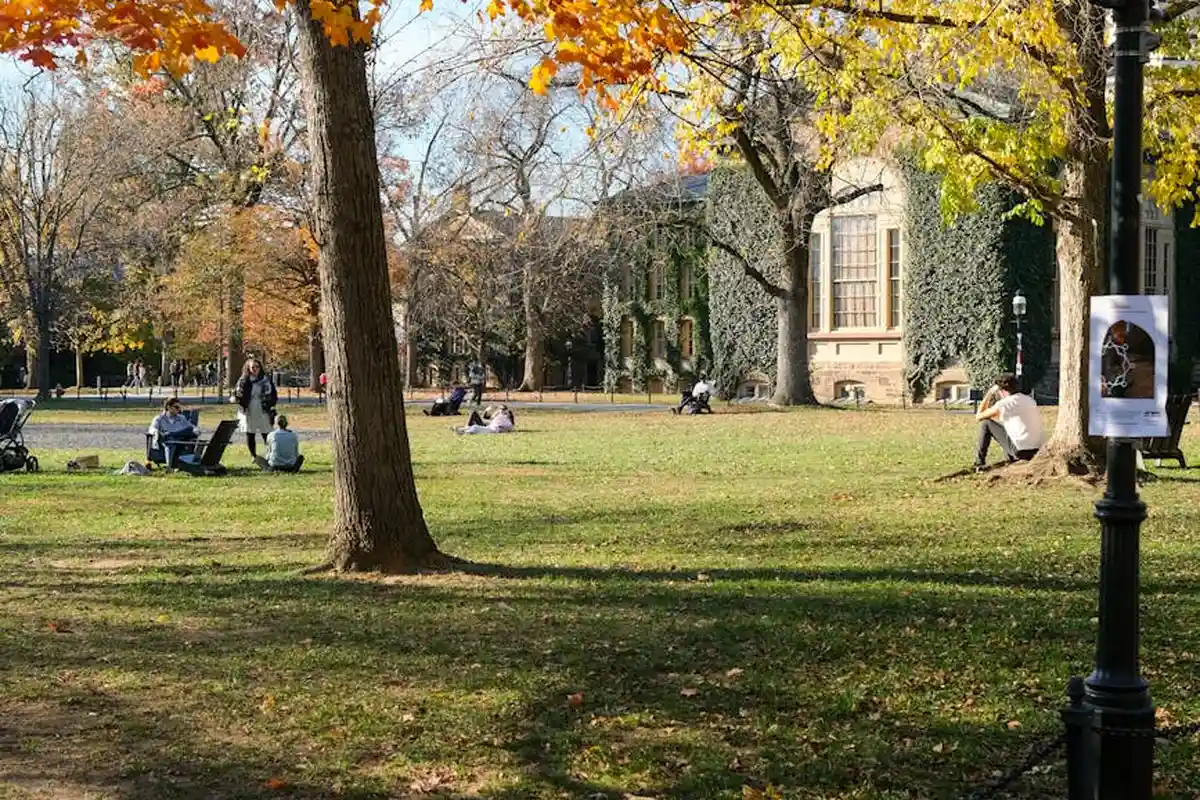
Getting your lawn ready for winter isn’t complicated, but having the right gear makes all the difference. Think of it as gathering your supplies before a big project, like securing your lawn mower for winter storage.
Here is your core list of tools and materials to have on hand.
- Your Mower: Trusty old Max, my zero-turn, is essential for that final, precise cut. A sharp blade is non-negotiable for a clean cut that heals fast.
- Lawn Rake or Leaf Blower: For the inevitable fall cleanup. A sturdy metal rake is my go-to for power, but a blower saves time on a bigger yard.
- Aerator: You can rent a core aerator from a garden center for a few hours. For a small lawn, a manual step-on tool works, but it’s a workout.
- Fertilizer Spreader: A simple broadcast spreader ensures your winter feed goes down evenly.
- Winter-Grade Fertilizer: Look for a product labeled as “winterizer” or with a higher last number (potassium) on the bag.
A few less obvious items will save you headaches later.
- Soil Thermometer: This little gadget tells you what’s really happening underground, which is key for timing some tasks.
- Markers for Sprinkler Heads: Bright flags or stakes. Before the ground freezes, mark where your irrigation heads are so you don’t hit them when raking or with early spring steps.
- Garden Hose for Irrigation Blowout: If you have an in-ground system, you’ll need an air compressor adapter hose to blow out the lines and prevent freeze damage.
On renting vs. buying: For most homeowners, renting a core aerator once a year makes financial sense. Buying one is a big investment for a tool you’ll use maybe one afternoon each fall. The cost of a rental is usually worth the perfect results.
How to Winterize Your Lawn in 5 Practical Steps
This isn’t about doing everything in one exhausting day. Spread these tasks over a couple of weekends. Each step sets up the next one for success, building a lawn that can shrug off the cold.
Step 1: The Final Mow – Getting the Height Just Right
For cool-season grasses like Kentucky bluegrass or fescue, aim for a final height of 2 to 2.5 inches. I set Max to 2.25 inches for that last pass.
You’ll hear the satisfying, crisp snap of the blades. Cutting your grass too short for winter is a common mistake that invites disease and frost damage to the crown of the plant. Long grass can mat down and foster mold, but too short leaves the roots exposed. That 2-2.5 inch range is the sweet spot.
So, should you cut your grass short for winter? My answer is a firm no. A slightly shorter cut than your summer height is fine, but scalping it is asking for trouble.
Step 2: The Fall Feed – Fueling Roots for Spring
This is your lawn’s most important meal of the year. Apply a winterizer or a slow-release fertilizer with a high potassium content (that’s the third number on the bag, like 24-0-10). Potassium is like an anti-freeze for grass, strengthening cell walls and roots. To keep things safe and effective, always follow the bag directions and local guidelines when fertilizing. In the next steps, we’ll share a quick guide on how to fertilize a lawn safely and effectively.
My simple application tips: calibrate your spreader according to the bag’s settings, apply it to damp (not wet) grass, and lightly water it in if rain isn’t expected within a day.
Should you fertilize your lawn before winter? Absolutely, yes. It’s a top-tier prep step that fuels the roots all winter for a explosive green-up in spring. I always look for pet-safe, pollinator-friendly options that won’t harm the good life in your soil. Fertilizing now is a key part of winter lawn care, nourishing roots through the cold months. Opt for a slow-release, pet-safe formula to support soil life and a strong spring bounce-back.
Step 3: Core Aeration – Letting Your Lawn Breathe
This is the process of pulling out small plugs of soil, about the size of your finger. The smell is fantastic, like damp, loamy earth. Those holes left behind are gold for your lawn.
Core aeration reduces thatch, allows water and the fertilizer you just applied to reach the roots, and gives roots room to grow deep before the frost sets in. If you have areas where the soil is hard and compacted, or has a spongy layer of thatch (I’m looking at you, Patch), this step is non-negotiable.
Step 4: Overseed and Outsmart Weeds
Right after aeration is the perfect time to overseed thin or bare spots. The seed falls into those open holes for perfect soil contact. Just scatter the seed, then keep the area moist for a couple of weeks.
Your other option here is a fall pre-emergent to block winter annual weeds like poa annua. This is where your soil thermometer earns its keep. Apply it when soil temps drop to around 70 degrees, which is the signal for those weed seeds to try and germinate.
Keep it simple: choose one. If your lawn is thin, overseed. If weeds were your main battle this year, apply the pre-emergent. Trying to do both at once usually means both fail.
Step 5: The Big Cleanup – Leaves and Debris
A thick, wet mat of leaves is a smothering blanket for your grass. It blocks all light and air. Think of a leaf-covered lawn like a wet sponge that can never dry out, which leads to snow mold and dead patches.
Should you remove leaves from your lawn in the winter? Yes, you should. But if the layer is light, you can simply mulch them with your mower a few times. They’ll break down and feed the soil. For heavy leaf drop, raking or blowing is necessary.
Also, take the time to rake up sticks, acorns, and pinecones. They can harbor disease over winter and become dangerous projectiles or jam up Max’s deck on your first spring mow.
Don’t Forget the Waterworks: Winterizing Sprinklers and Irrigation
This step gets overlooked every year. You put the mower away and forget about the silent partner that kept everything green: your irrigation system. A single hard freeze can turn hidden water into ice, and ice expands with enough force to crack pipes, valves, and sprinkler heads.
That spring repair bill for a split pipe under your lawn can easily run into the hundreds. A little prep now saves a massive headache later.
The goal is to get all the water out. For my drip system, Sunny, I just open the end caps and let it drain. For underground sprinkler lines, you need to blow them out with air, especially if you have invested in DIY lawn sprinkler systems.
Should You Hire a Pro or Do It Yourself?
I get this question a lot. If you have a large, in-ground system and don’t own a large air compressor (you need one that can sustain 50-80 PSI), hiring a pro is smart.
A professional winterization usually costs between $60 and $150, depending on your system’s size and location. Think of it as insurance. To find a good service, ask for recommendations at a local, independent garden center or look for licensed irrigators in your area. It’s a once-a-year investment that protects a system that costs thousands to install.
If you’re handy and want to tackle it yourself, follow this checklist carefully.
- Shut off the water supply. Find the main shut-off valve, often in your basement or a buried box near the street, and turn it off.
- Drain above-ground pipes. Open any manual drain valves on your backflow preventer and above-ground piping.
- Use an air compressor for the blowout. Connect it to the system using a proper irrigation blow-out fitting. Never use your home’s air compressor for this-you need continuous, high-volume air flow. Run each zone until you only see a fine mist coming from the sprinklers.
- Insulate the backflow preventer. Wrap it with foam insulation covers or towels and a plastic bag. This above-ground piece is the most vulnerable to freezing.
Winter Lawn Troubles: Spotting and Solving Common Issues
Your active work is done, but winter isn’t a time to completely ignore the lawn. Think of it as a monitoring period. A few quick checks during a thaw or after a big snow can reveal problems you can plan to fix in spring. These quick checks tie into practical lawn care maintenance tips you can use to prep for spring. Stay tuned for more simple steps to keep your lawn healthy through the seasons.
Preventing Snow Mold and Other Winter Diseases
You’ll notice this in late winter as the snow recedes. Look for circular patches where the grass is matted down, maybe with a crusty white or pinkish-gray color. It can look slimy at first. This is snow mold, a fungus that thrives under long-lasting snow cover on grass that was too tall or smothered by leaves.
Your best defense happened in the fall: that final mow at the right height and thorough leaf cleanup. By removing the dense, matted material, you denied the fungus its favorite home.
If you find some in spring, don’t panic. Gently rake the affected areas to fluff up the grass and help it dry out. It often recovers on its own once air and sun can reach the soil.
Managing Critters, Thatch, and Salt Damage
Take a walk on a sunny winter day. See those meandering trails pressed into the grass under the snow? Those are vole or mouse highways. They love the insulation of long grass and leaf piles. Keeping the lawn trimmed short in late fall removes their cozy cover and makes your yard less inviting.
Winter is also the perfect time to check your thatch layer. Stick your finger into the soil. If you feel a spongy, tight layer over half an inch thick between the green grass and the soil, plan to dethatch in the spring. This matted layer blocks water and air when the grass is trying to wake up.
For those near roads, salt spray and runoff are a silent killer. You might see brown, dead grass along your driveway or sidewalk in spring. If we get a warm spell in late winter, flush those areas with a long, slow soak from the garden hose to help dilute the salt in the soil before the grass breaks dormancy.
Your Winter Lawn FAQ: Smart Prep for a Greedy Spring
1. Is paying for a lawn winterization service really worth it?
If your time is limited or you dread the work, a pro service is a solid investment to ensure every step is done right. They protect your lawn’s potential so you can focus on fall activities, guaranteeing a thick, greedy comeback next year.
2. How urgent is sprinkler winterization, and what happens if I skip it?
It’s the most time-sensitive task-you must blow out the lines before the first hard freeze. Skipping it risks frozen, expanding water cracking your pipes, leading to a very costly repair bill come spring.
3. What’s the typical cost for professional sprinkler winterization?
Costs typically range from $60 to $150, mainly depending on the number of zones in your system. It’s a small annual fee compared to the thousands it can cost to repair or replace a system damaged by freeze.
4. How do I find a reliable sprinkler winterization company near me?
Ask for referrals at a local, independent garden center-they know who does quality work. These referrals can help you find and manage lawn care services more effectively. When you’re vetting options, consider how they handle maintenance, scheduling, and communication. For specific areas like Sussex County, DE, a quick search for “licensed irrigation contractor” will yield better results than just “lawn service.”
5. Can I winterize my sprinkler system myself?
You can if you have access to a large, high-volume air compressor (not a small home model) and follow a strict safety protocol. If you’re unsure, calling a pro is the smart, safe choice to protect your investment.
Your Lawn’s Winter Launchpad
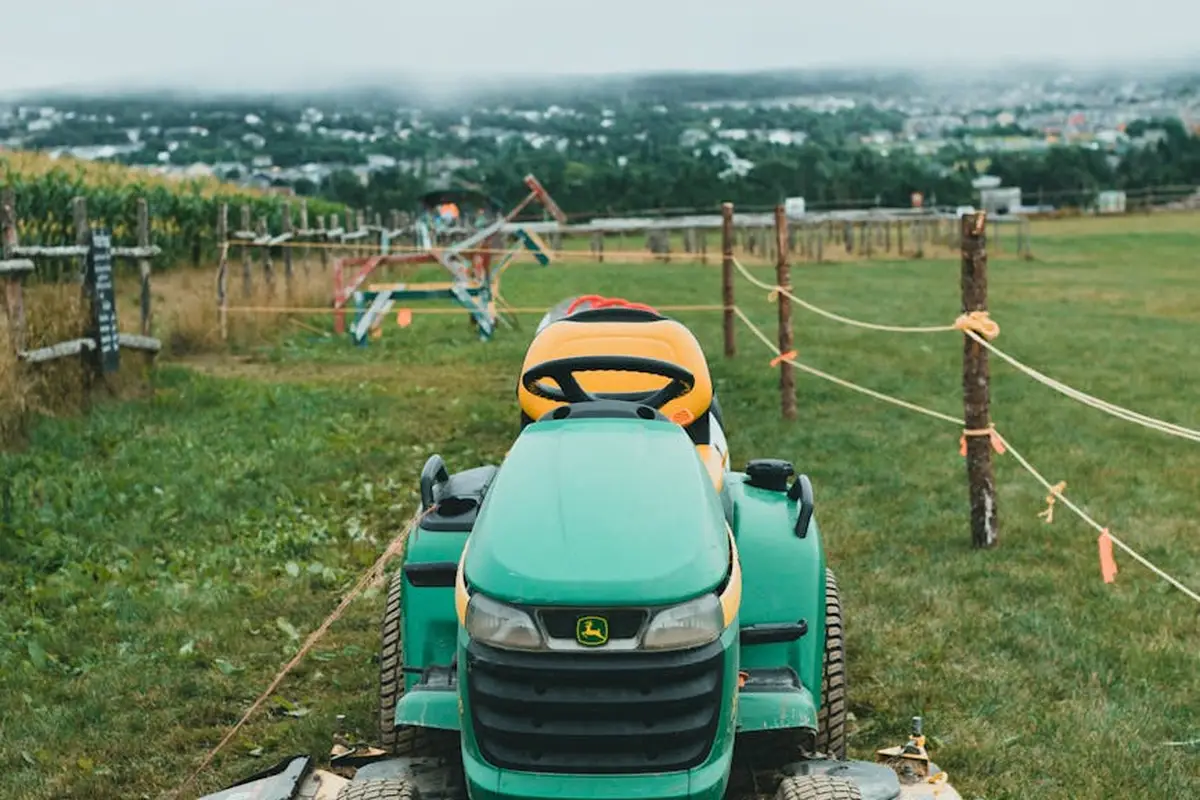
The single most valuable step you can take is that last, slightly shorter mow combined with a fall fertilizer feed. This simple combo pushes energy into the roots instead of the blades, giving your grass a strong foundation to survive the cold and explode when it warms up.
Remember, a great lawn is built on care that works with nature, not against it. I’m always learning from my own yard, from Max’s performance on wet leaves to what makes Patch finally thrive, and I encourage you to see each season as a chance to try one new, greener practice. That mindset helps you achieve a healthy, beautiful lawn you can enjoy year-round. Small, steady steps add up to big results.
Citations and Authoritative Sources
- r/lawncare on Reddit: What do I need to do to winterize my lawn?
- How to Winterize Your Yard: Essential Lawn Protection Tips | TruGreen
- How to winterize a lawn – 7 steps for lush grass year round
- Lawn Winterization: The Benefits Of Winterizing – Blue Duck Lawn Care
- Lawn Mower Winterization and Storage Guide | Stratford, WI
Written by Ria Carrington. Ria is an avid lawn care enthusiast and advisor. No lawn is unsalvagable when Ria is at work. She has helped countless homeowners breath new life into their dying lawns. She has a B.Sc in Agriculture and brings practical advice combined with knowledge of plant science and her decade worth of hands on experience.