
Can You Really Install a Lawn Sprinkler System Yourself?
Staring at a high professional quote can make you doubt a DIY sprinkler system. I found that with a solid plan, it’s a straightforward project that saves cash and gives you control.
We will cover mapping your yard, choosing the right sprinkler heads and pipe, the installation process from trenching to wiring, and simple maintenance checks.
I’ve run my own system with Sunny for years, adjusting it season after season to keep my lawn thick without wasting water.
What’s the First Step? Planning Your DIY Lawn Irrigation System
You might want to start digging right away. I get it. But trust me, an hour with a pencil now saves a whole weekend of frustration later. A good plan makes the physical work straightforward.
First, get the lay of your land. Grab a 100-foot tape measure or just pace it out (one pace is roughly 3 feet). Write down the key dimensions of your lawn areas. You’re not drafting blueprints, you’re making a usable map. Knowing your lawn’s size helps you measure the area for accurate care. This sets the stage for the next steps, where area measurements guide the care plan.
Next, sketch that map on a big piece of paper. Draw your house, driveway, and patios. Then mark every obstacle: trees, garden beds, that old oak stump. Don’t forget to mark “Patch,” that tricky shady spot that always dries out first, as a reminder to give it special attention later.
Now, find your water source. This is almost always an outdoor spigot. Your first and most important purchase is a pressure vacuum breaker, or backflow preventer. This device stops your lawn water from siphoning back into your home’s drinking water. It’s a non-negotiable safety and code item.
People often ask about the diy sprinkler system installation cost. It’s not one number. It depends on your lawn size (more pipe and heads cost more), whether you buy a kit or individual parts, and if you add a smart timer. A basic kit for a small yard might start around $200, while a large, custom system with a controller can reach $500 or more.
Before your shovel ever touches dirt, you have two critical calls to make. Check your local building codes about permits for irrigation work. Then, call 811 or your local utility locator service. They will come and mark public underground lines for free, preventing a very dangerous and expensive mistake. Wait for the marks. Then you can dig.
Gathering Your Gear: Required Tools and Materials
You don’t need a contractor’s trailer full of tools, but you do need the right ones. Here’s what you’ll use to bring your plan to life.
For digging and building, you’ll need:
- A trenching shovel (its long, narrow blade is perfect for the job)
- A PVC pipe cutter or a hacksaw
- A manual trenching tool (like a lawn edger) for clean lines
- Tape measure and a permanent marker
- A round-head shovel for wider spots
For the system itself, gather these components:
- PVC Pipes & Fittings: Schedule 40 PVC is the standard. You’ll need pipe, elbows, tees, and couplings.
- Sprinkler Heads: Get matched, efficient heads for uniform coverage. I use rotary nozzles on “Sunny,” my setup, because they water slowly and deeply, wasting less to wind and evaporation.
- Valves & Manifold: Valves control zones. The manifold is the central hub where they all connect.
- Timer/Controller: This is the brain. A basic dial timer works, but a smart controller can save water by adjusting for weather.
- Pipe Glue (PVC Cement) & Primer: These fuse the pipes together.
- Trench Stakes (or “Swing Joints”): These flexible connections protect sprinkler heads from your mower, Max.
You can buy everything separately, but a diy sprinkler system installation kit is a great start for most people. A kit typically includes pre-matched sprinkler heads, valves, a manifold, tubing, and fittings, taking the guesswork out of part compatibility. You often just supply the pipe, timer, and glue. It simplifies shopping.
Finally, safety gear is not optional. Wear sturdy gloves to protect your hands from dirt and pipe edges. Always wear safety glasses when cutting PVC or gluing-a fleck of primer in the eye will ruin your day.
How Do You Choose the Right Sprinkler Heads and Zones?
Picking parts feels overwhelming with all the options. Think of it like this: choosing between rotor and spray heads is like choosing between a garden hose with a fan nozzle and a soaker hose. They’re tools for different jobs.
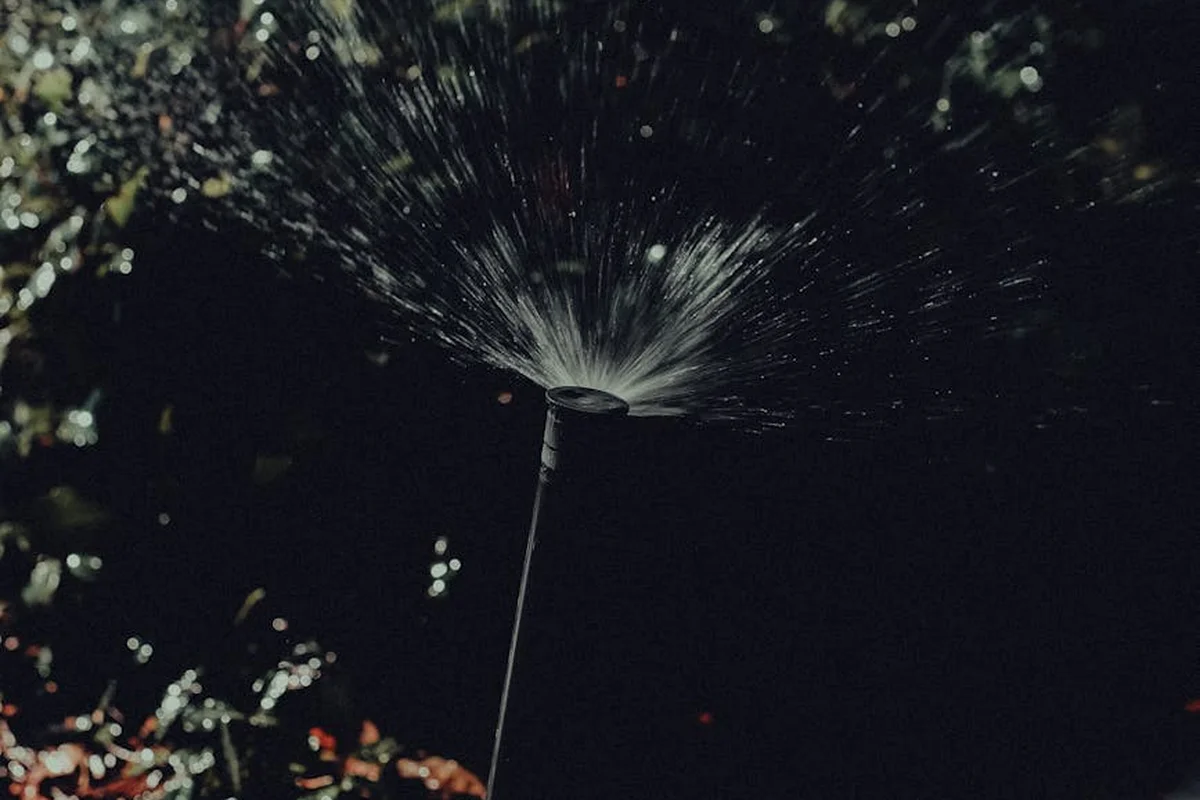
Spray heads pop up and deliver a fixed fan of water. They’re perfect for smaller, rectangular areas like front lawns or side yards. Rotor heads move, shooting a single stream back and forth. They cover large, open spaces like backyards with fewer heads.
Your real power comes from organizing these heads into smart zones. A zone is a group of sprinklers controlled by one valve. You group heads that need the same amount of water. My full-sun backyard is one zone. The shady side yard where Patch lives is another. Flower beds get their own zone on drip irrigation, like my setup “Sunny.” This way, nothing gets over or under-watered.
Within a zone, you must use matched precipitation rate nozzles. This means all the heads put down the same amount of water per hour. If one head applies water faster, you get dry spots next to soggy, wasteful puddles.
Finalize your plan on paper before you buy a single fitting. Your diy sprinkler system installation diagram is your roadmap. Common symbols are circles for spray heads, squares for rotors, and a ‘V’ for valves. Drawing it out helps you count parts and spot mistakes early.
The Main Event: Step-by-Step Installation
You have your plan and parts. Now for the satisfying weekend project. Take it one stage at a time.
Step 1: Trenching and Laying Pipe
Mark your pipe runs with spray paint. Then, it’s time to dig. Rent a trencher or use a sharp shovel. You need a trench about 8 to 12 inches deep. This protects pipes from frost and keeps them safe from my mower, Max.
Digging a straight, proper-depth trench is the most physical part, but it sets the stage for a system that works like “Sunny”-efficient and trouble-free for years.
Lay your PVC pipe in the trenches but don’t glue anything yet. Dry-fit all the elbows and tees. This is your last chance to make sure the puzzle fits. Once you’re happy, glue the joints. Use primer and cement, and give each joint a firm quarter-turn as you push the pieces together. Let the glue cure completely as the label says before you even think about water pressure.
Step 2: Installing Valves, Heads, and the Controller
Your valves are the traffic cops of the system. I build a simple manifold. Connect all your valves to a main PVC line and house them in a single, large valve box. This keeps everything accessible for future tweaks or fixes.
For the sprinkler heads, don’t connect them directly to the main pipe. Use a flexible polyethylene pipe called swing pipe. It lets you position the head perfectly at ground level and makes future height adjustments simple.
Wiring the controller is easier than it looks, especially if you use a modern battery-operated timer. Run multi-strand wire from the timer location to each valve. Each valve has two terminals. Connect one common wire to all valves, and a separate zone wire to each. No need for an electrician. Just follow the timer’s manual for a basic, reliable setup.
Step 3: The All-Important Test and Backfill
Do not backfill your trenches yet. First, flush the system. Screw a flush valve or just leave the sprinkler head ports open on one zone. Turn the water on briefly. Let the gush of water clear any dirt or PVC shavings from the pipes. Do this for every zone.
Now, screw in your sprinkler heads. Turn on the system zone by zone. Walk each zone. Look for leaks at connections and check that the spray pattern reaches the next head. This is called head-to-head coverage. Adjust any misaligned heads now.
Seeing each zone spring to life, throwing perfect arcs of water, is the payoff for your hard work. Once you’re sure everything works, you can backfill. Shovel the dirt back in, tamp it down gently with your foot, and move on to the next trench. The lawn will heal over it in no time. If any patches were damaged, now is the moment to plan a repair to fix damaged lawns and blend them with the surrounding turf. This careful touch helps ensure a uniform lawn once it recovers.
Keeping It Running: Your DIY Sprinkler Maintenance Schedule

Think of your sprinkler system like Max, my zero-turn mower. It needs regular tune-ups to stay reliable. A smart do it yourself lawn care program isn’t just about feeding and mowing, it’s about keeping your watering equipment in top shape so your grass gets the consistent drink it needs without waste.
I learned this the hard way one spring when I turned the water on too fast and blew a fitting. A little patience during maintenance saves a lot of headache later.
Routine Seasonal Upkeep
Your spring startup is all about a gentle wake-up call for the system after its winter nap. First, slowly open the main water valve just a quarter turn. Listen for the pipes to fill with a low rumble. Once pressurized, walk each zone. Look for geysers from broken heads or soggy spots from cracked pipes, common winter damage. Finally, pop up each sprinkler head and adjust the spray pattern so it hits the grass, not the fence.
During summer, give your system a monthly check-up. I do mine on the same weekend I edge. Look for three things:
- Leaks at the valve box or connections.
- Heads knocked out of alignment by the mower or kids.
- Clogged nozzles creating weak or uneven sprays.
For a clogged nozzle, just unscrew it, rinse it under the faucet, and poke out any grit with a toothpick. It’s a five-minute fix.
Fall winterization is non-negotiable if you get freezing temps, and it’s where the dry sprinkler installation concept pays off. You need an air compressor. Connect it to the system’s blow-out port. Run each zone until you see a fine, dry mist coming from the heads. That sound of rushing air means all the water is out, preventing frozen pipes from bursting. It’s like putting your garden hose away for the season, but for your whole underground network.
Common Repairs You Can Handle
Don’t fear a broken sprinkler head. It happens. To replace one, dig around it, unscrew the old head from the riser, and screw on a new one of the same model. Make sure it’s level with the soil. For a cracked pipe, a slip-fix coupling is your best friend. Cut out the bad section, slide this special coupling on, and tighten it. No glue needed. It’s a permanent, watertight fix.
If cleaning a nozzle doesn’t fix a poor spray, just replace it. They’re cheap and screw right in. Matching the nozzle type (like a 10-foot radius) is key for even coverage. For fine-tuning flow, a sprayer nozzle gpm tool can help you dial in the rate.
Now, a frequent question: should you disassemble parts for winter? If you properly blow out the system with air, you don’t need to. Everything can stay in the ground. Taking it apart every year is extra work and can wear out the threads.
Common DIY Sprinkler Mistakes and How to Avoid Them

We all make mistakes. I’ve watered my driveway more than once. Here are the big ones I see and how to sidestep them.
Poor head placement is a classic. It leads to watering concrete and wasting water. During planning, use a head layout template from the manufacturer. It shows the exact spray pattern. Lay it on your lawn diagram to visualize coverage before you dig a single hole.
Ignoring sun and shade differences will drown some grass and parch other. Zone shady areas separately from sunny ones. Grass in shade, like my problem area Patch, needs up to 50% less water. Your timer should reflect that. For lawn care in shady areas, adjust watering and mowing to match the reduced light. We’ll cover shade-specific tips next.
Gluing PVC pipe without a dry fit is a fast track to a redo. Always test-fit all pipes and fittings first. Make sure everything lines up perfectly, then apply the primer and cement. This “measure twice, glue once” approach saves time, money, and frustration.
Forgetting to adjust the timer with the seasons is maybe the most common error. Your lawn’s thirst changes. A seasonal lawn watering schedule helps you plan these adjustments year-round. A simple plan makes it easier to adjust the timer as the seasons change. Link this task to your do it yourself lawn care schedule. When you fertilize in spring, dial back the watering frequency compared to peak summer heat. In fall, reduce the runtime as growth slows. A smart timer saves water and keeps roots healthy.
When to Put Down the Shovel and Seek Professional Help
Look, I love a good DIY project. There’s a real pride in standing back and seeing a system you built yourself, like Sunny, quietly doing its job. But part of being a smart homeowner is knowing when a job is bigger than your tool belt. Calling in a pro for one tricky part isn’t a sign you failed. It’s a sign you’re smart enough to protect your investment-your time, your money, and your lawn.
If Your Water Pressure is Very Low or Your Property is Extremely Large and Complex
Your sprinklers need good pressure to work right. It’s like trying to take a shower with only a trickle of water. If you hook up a hose and the flow is weak, that’s your first clue. If your water pressure is consistently below 40 PSI, a DIY system will likely struggle to cover your lawn evenly, leaving you with dry patches and a lot of frustration. You can buy a simple gauge to test this at your outdoor spigot. Considering a DIY drip irrigation system for your lawn? You can tailor zones and flow to your yard to maximize efficiency.
Property size and shape matter, too. My yard has its challenges, like Patch in the shady corner, but it’s mostly flat and open. If your land is over an acre, or it’s a maze of steep slopes, gardens, and hardscapes, the design and trenching become a major engineering feat. A pro has the software and experience to zone it correctly from the start, saving you from a season of muddy spots and dead grass.
If You Encounter Major Issues Like Tapping the Main Water Line
Most DIY systems connect to a spigot or to your home’s water line after the meter, inside your house. Sometimes, the only good place to tap in is on the main line running from the street to your meter. This is the big red flag. Tapping into the main line before the meter is almost always illegal and certainly requires a licensed plumber, as it involves pressurised city water lines and often a permit. This isn’t a “watch a YouTube video” moment. Getting this wrong can lead to massive water bills, fines, or flooding your property.
If You Have Persistent Leaks You Can’t Locate or Fix
You’ve glued every joint, tightened every head, and you still have a soggy spot. I’ve been there. After a couple of reasonable attempts-digging up the suspicious area, checking for cracked pipes-the hunt can turn from a puzzle into a money pit. A professional has specialised listening equipment and smoke machines to find hidden leaks without digging up your entire lawn. They can pinpoint a leak under your driveway in minutes, a job that might take you weekends of guesswork.
Bringing in an expert for a specific, tough problem doesn’t erase all the work you did. You still planned the zones, ran the pipes, and installed most of the heads. Think of it like calling a mechanic to fix a transmission on a car you restored. You did the bodywork and the interior. Getting help with the one part that needs a special tool and twenty years of experience just makes the whole project a success.
Greedy Grass FAQ: Your DIY Sprinkler Questions, Answered
I see “dry sprinkler system” mentioned for winterizing. What is that, exactly?
A dry sprinkler system is just your standard system that you’ve properly emptied of water using an air compressor before freezing weather hits. Think of it as putting your entire garden hose to bed for the winter, so the pipes don’t burst and ruin your spring. If you encounter symptoms like leaks, uneven sprinkler coverage, or sudden pressure drops, quick troubleshooting can help you identify the issue before it escalates. Our irrigation system problems troubleshooting guide will walk you through common causes and fixes.
Is PVC pipe the best choice for a DIY system, or should I use something else?
For most homeowners, Schedule 40 PVC is the go-to because it’s durable, affordable, and easy to glue together. Trust me, it’s the reliable backbone that will last for years underground without corroding.
What’s the real cost difference between a DIY kit and buying parts separately?
A kit bundles matched parts for a set area, simplifying your shopping and preventing compatibility headaches. Buying separately gives you total control for a custom layout but requires more planning to ensure all your valves, heads, and fittings work together perfectly.
How critical is the installation diagram, and where can I find a good one?
Your hand-drawn diagram is your project’s roadmap-it prevents costly mistakes and lets you count parts before you buy. Search for a “diy sprinkler system installation pdf” from a reputable irrigation brand; they often include blank templates and symbols to make your plan pro-level.
Can I install a sprinkler system myself if I have no plumbing experience?
Absolutely. The process is more about careful planning, trenching, and following instructions for gluing PVC than complex plumbing. The most technical step is wiring the timer, which is straightforward with a modern plug-in or battery-operated controller.
Keeping Your Sprinkler System Happy for Years
The most important step is to test each zone thoroughly after installation, watching for dry patches or overspray that wastes water. A well-planned system you check every few weeks will keep your lawn thick and save you countless weekend headaches. Coupled with the right watering methods, it ensures optimal growth and health.
I always run Sunny in the early morning to conserve water and let the grass dry before bees start buzzing, making it safer for pets and pollinators. Your lawn will teach you what it needs, just like Patch taught me patience, so keep observing and adjusting as you go.
Deep Dive: Further Reading
- r/lawncare on Reddit: I want to install my own sprinkler system. Any advice would be great my appreciated!!
- Sprinkler System Installation Guide | Rain Bird
- Sprinkler System Installation in 10 Steps – This Old House
- How to Install an Underground Sprinkler System
- DIY Sprinkler System Install Project | Lawn Care Forum
- How to make a cheap, simple lawn sprinkler system – CNET
Written by Ria Carrington. Ria is an avid lawn care enthusiast and advisor. No lawn is unsalvagable when Ria is at work. She has helped countless homeowners breath new life into their dying lawns. She has a B.Sc in Agriculture and brings practical advice combined with knowledge of plant science and her decade worth of hands on experience.