
When Is the Right Time to Plant Grass Seed in Northern and Midwestern Lawns?
If you’re staring at your lawn, seed bag in hand, wondering if today’s the day, take a breath. Timing is everything, and getting it wrong means wasted cash and a patchy yard.
We will cover how soil temperature trumps the calendar, why late summer into early fall is your golden window, the simple prep work that makes seed stick, and how to care for those first tender blades.
I know this because I’ve tuned my planting schedule over seasons with Max the mower and Patch the weedy corner, finding what actually gives thick, green results.
At a Glance: Key Factors for Success
Planting grass seed feels simple, but getting it right comes down to three things most people overlook. Get these right, and you’re most of the way to a thick lawn.
The most important factor is soil temperature, not the temperature you feel on your skin.
Think of it like checking if a steak is done. You don’t guess by looking at the pan, you use a thermometer. Grass seeds germinate based on the warmth of the soil they’re nestled in, not the springtime air that can still get frosty at night. You want consistent soil temps between 50°F and 65°F for cool-season grasses. That climate distinction—cool-season versus warm-season grasses—depends on winter chill and summer heat. Matching the right type to your climate guides when you seed and how you maintain the lawn.
The type of grass you’re planting dictates your entire schedule.
You wouldn’t plant tomatoes at the same time as pumpkins. Your grass type has a built-in calendar, and we’ll cover that next.
Consistent moisture is non-negotiable for the first few weeks.
Those tiny seeds have no deep roots to seek water. If the top inch of soil dries out, germination stops. This is where my drip system, Sunny, becomes a hero, providing gentle, even water without washing seeds away.
You have two main windows to work with: early fall and early spring.
Early fall is the absolute best time. The soil is warm from summer, the air is cooling, and fall rains usually help. Weeds are slowing down, so your new grass gets less competition.
Early spring is a good second choice, but it’s riskier. You’re racing against summer heat and weeds that are waking up hungry.
Let me put it this way. Planting in spring is like putting a young tree in the ground just before a hot, dry summer. You’ll have to water it constantly, protect it from stress, and it might struggle to establish deep roots. Planting in fall is like giving that tree a full season of mild weather and rain to settle in before it has to face its first big challenge. The fall seed gets a stronger, easier start.
First, Know Your Grass: The Cool-Season Lineup
If you live in the Northern or Midwestern U.S., you’re almost certainly growing cool-season grasses. These grasses love the chill of spring and fall, and they’ll stay green later into the year. They might go dormant and brown during summer’s peak heat, but they bounce back when cooler weather returns. Picking the right seed for your region is crucial for a lush lawn. Choosing the right grass seed for your climate and soil will ensure your grass thrives.
There are four main players you’ll find in any store-bought mix. Most home lawns use a blend of these for better resilience. If one type struggles in a shady spot, another will take over.
- Kentucky Bluegrass: This is the classic lawn grass. It’s dark green, soft underfoot, and spreads by underground runners to repair itself. It loves full sun, handles foot traffic pretty well, and is a bit slow to germinate (14-30 days). I think it’s the prettiest, but it needs more water than some others.
- Fine Fescue: The shade and drought specialist. Its blades are thin and fine, giving a softer texture. It thrives in dry, shady areas where other grasses give up, and it germinates quickly (7-14 days). It doesn’t handle heavy play as well, making it perfect for that low-traffic side yard.
- Perennial Ryegrass: The quick starter. It germinates in just 5-10 days, making it great for fast coverage. It’s tough, handles traffic well, and has a shiny, medium-green blade. It’s often mixed in to “nurse” slower grasses like Bluegrass, providing quick cover while the others establish.
- Tall Fescue: The durable workhorse. Known for its deep roots and great drought tolerance, it has wider blades and grows in clumps. It handles heat, shade, and heavy use better than most. It germinates in 7-12 days. Modern “turf-type” tall fescues have a finer look than the old pasture varieties.
Quick Snapshot: Grass Types for Your Yard
| Grass Type | Sun Needs | Foot Traffic | Drought Tolerance | Best For |
|---|---|---|---|---|
| Kentucky Bluegrass | Full Sun | Good | Moderate | The classic, self-repairing front lawn that gets plenty of sun. |
| Fine Fescue | Shade to Part Sun | Fair | High | Dry, shady spots under trees or along north-facing fences. |
| Perennial Ryegrass | Full Sun to Part Shade | Excellent | Moderate | Quick cover, high-traffic areas, and overseeding for fast green-up. |
| Tall Fescue | Sun to Shade | Excellent | High | A durable, low-maintenance lawn that can handle kids, pets, and heat. |
The Golden Rule: It’s All About Soil Temperature
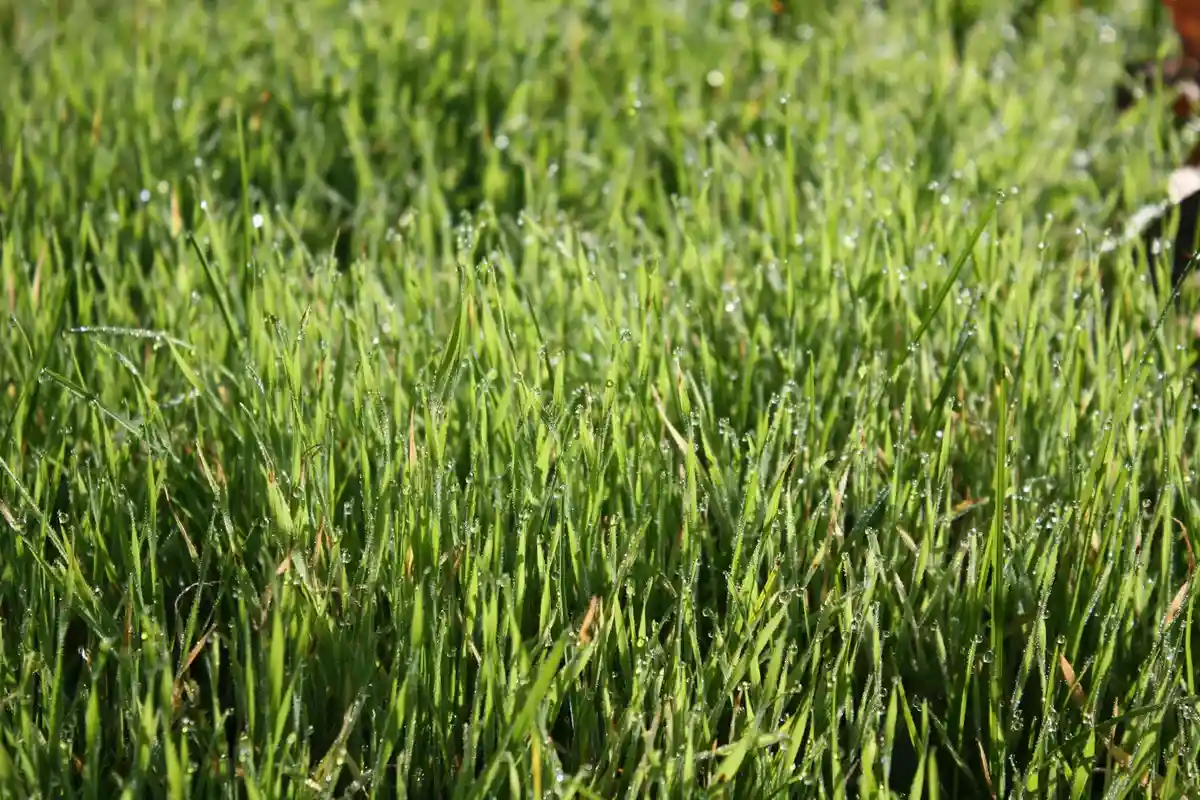
Forget the calendar on your wall. The single best way to know if it’s time to plant is to check your soil temperature. Think of grass seed like a tiny sleeper. It needs a cozy bed at the right temperature to wake up and grow.
Cool-season grasses like Kentucky Bluegrass, Fescue, and Ryegrass germinate best when soil temperatures are between 50 and 65 degrees Fahrenheit. Experimenting with temperature ranges for different grass seeds can be quite insightful.
To know for sure, you need a simple meat thermometer and two minutes in the morning. Push it about two inches into the soil in a few different spots, especially sunny and shady areas. Write down the numbers for a few days to get a consistent average.
Is it a good time to plant grass seed? If your soil is holding steady in that magic 50-65°F range, the answer is yes. You’ll often find this window opens when the air has that crisp, clean feel and you get regular, gentle rains. The ground smells damp and loamy, like fresh earth after a spring shower.
How Early Can I Plant Grass Seed? (The Spring Window)
Early spring means your soil has consistently reached about 50°F. A great natural sign is when the forsythia bushes in your neighborhood burst into their bright yellow bloom.
This early start gives seed a chance to grow before summer. But there’s a big risk. Young grass has shallow roots. The brutal heat and drought of July and August can cook it. I’ve lost a spring seeding to a surprise heatwave before, and it’s a frustrating lesson.
In places like Ohio or Illinois, this soil temperature target often hits in late March to mid-April. Check your own soil to be certain. Because of the summer risk, I use spring mostly for patching bare spots from winter salt damage or dog trails. It’s a repair job, not the best time for a full lawn renovation.
How Late Can You Plant Grass Seed? (The Fall Window)
For cool-season grasses, late summer to early fall is the champion season. This is when I plan any major seeding projects. The reasons are perfect. The soil is still warm from summer, which seeds love. The air is cooling down, which young grass prefers. Rainfall tends to be more reliable. And most summer weeds are slowing down, giving your grass room to take over. Pairing this seeding plan with a smart fertilization routine boosts establishment. Our summer lawn fertilization seeding guide covers timing, nutrients, and best practices to maximize seed success.
You want to aim for seeding at least 6 to 8 weeks before your area’s first average frost date. This gives the new grass enough time to establish strong roots before frost and cold set in.
How late in the year can you plant grass seed? My rule is firm. If you’ve missed that 6-8 week pre-frost window, it’s better to wait for spring. Planting too late means tender seedlings will face freezing temps and likely die. Patience wins here.
Seasonal Effects: Your Fall Seeding Checklist
A successful fall seeding is all about preparation and timing. Here’s a simple month-by-month guide I follow.
- August: Get a soil test kit. This tells you exactly what your dirt needs. Start watering your lawn deeply once a week if it’s dry, to wake up the soil biology. Order your grass seed.
- Early September: Mow your existing grass short. Dethatch if you have a spongy layer. Aerate compacted soil so seed and water can get down. Apply a starter fertilizer based on your soil test results. Spread your seed and keep the top inch of soil constantly moist, not soggy. This might mean light watering twice a day.
- October: As grass reaches about 3 inches, give it its first mow. Gradually reduce watering frequency but increase the amount to encourage deep roots. Apply a winterizing fertilizer (low nitrogen, high potassium) once the grass is well established.
There’s also a tactic called dormant seeding. You sow seed in late fall, after soil temps drop below 50°F, so it just sits until spring. The pro is that it germinates very early. The con is that some seed can be lost to birds or weather. I’ve used it on my problem area, Patch, with mixed results. It’s a roll of the dice, not my main plan.
Getting Your Ground Ready: Prep Work That Pays Off
You can nail the perfect planting date and buy the best seed money can buy. If your soil isn’t ready, you’re just wasting time and cash.
Getting the ground prepped properly is more critical than hitting a specific week on the calendar. Good seed needs good contact with good dirt. That’s it. Here’s how to make that happen.
1. Clear the Stage: Evict the Weeds First
Think of your lawn area like a garden bed. You wouldn’t plant tomatoes in a patch of thistles. You need a clean slate.
For a small area, I’ve spent a Saturday afternoon on my knees pulling every dandelion and clover from “Patch,” that stubborn corner by my shed. It’s slow, but it works.
For larger invasions, a targeted, pet-safe herbicide is the practical choice. Apply it, wait for everything to turn brown and die, then mow it down to the dirt. This step stops weeds from stealing water, sun, and nutrients from your baby grass seeds.
2. Mow Short and Clear the Thatch
Next, get “Max,” my zero-turn, out for a very low cut. Scalp the area down to about an inch or so. This lets you see what you’re working with and removes old grass blades that can block seed-to-soil contact.
Now, feel the ground with your fingers. If it feels spongy and you see a layer of dead, tangled stems matted at the soil line, you have thatch. A thatch rake or a power dethatcher will pull this junk up. Bag it and toss it.
Dethatching opens up the soil surface and lets water, air, and seed reach down where they need to go.
3. Loosen Up the Topsoil
This step is about breaking up that hard, crusty top layer. Grass roots are timid. They won’t push into soil that’s packed down like a parking lot.
For patches, I use a sturdy garden rake and really scratch up the top half-inch of dirt. For my whole front yard, I rent a core aerator once a year. It pulls out tiny plugs of soil and leaves holes for roots to grow into. It’s the single best thing I do for my lawn.
You just want to create a loose, crumbly surface. Imagine the difference between hard-packed brown sugar and fluffy, moist garden soil. Aim for the latter.
4. Level and Smooth Your Seedbed
Finally, take that same rake and drag it gently back and forth across the loosened soil. You’re filling in aeration holes and minor ruts, and creating a smooth, level surface.
Preparing a perfect seedbed is like making a tidy bed for a child-you want it clean, level, and comfortable, with no lumps or debris to cause problems.
A level bed ensures water doesn’t pool in one spot and drown seeds, or run off another spot and leave them dry. It also means you won’t be scalping high spots with your mower later.
The Non-Negotiable: Get a Soil Test
You can’t fix what you don’t know. A soil test is your cheat sheet. It tells you two main things: pH and nutrients.
Think of soil pH like your body’s temperature. If it’s too high (alkaline) or too low (acidic), your grass can’t “eat” the nutrients in the soil, no matter how much fertilizer you add. Most cool-season grasses want a pH just below 7, slightly acidic.
The test will also show if you’re low on big nutrients like Nitrogen (N) for green growth, Phosphorus (P) for strong roots, or Potassium (K) for overall health. It takes the guesswork out. You get the results, you buy exactly what the report says, and you apply it to your freshly prepped seedbed right before sowing. It’s the ultimate head start.
The Planting Process: More Than Just Throwing Seed

I’ve seen it too many times: a neighbor walking across their yard, flinging seed from a bag like they’re feeding chickens. That might work for the birds, but not for your lawn. Doing it right is simple, but it requires a little more care. Think of it like baking a cake, you need the right ingredients measured and mixed well.
Here’s how I tackle it, step by step.
- Prepare the Soil Bed
- Choose and Calibrate Your Spreader
- Sow the Seed Evenly
- Rake and Cover for Contact
Whether you’re fixing a patch or a whole yard, the seed needs a clean, loose place to land. Mow your existing grass as short as possible. Then, take a metal garden rake and aggressively scratch up the soil surface. You’re not digging a trench, just breaking through the thatch and top layer to create a welcoming bed. This step is what gives new roots a fighting chance.
The right tool prevents waste and ensures even growth. For large, open areas, I trust a broadcast spreader. It spins seed out in a wide, even fan. For tight corners, small patches, or areas near flower beds, a simple hand-crank spreader gives you the control you need. Always check the seed bag for the recommended rate, usually listed as pounds per 1,000 square feet. For most cool-season grasses like Kentucky Bluegrass or Tall Fescue, that rate is often between 3 to 5 pounds per 1,000 sq ft. Set your spreader accordingly and do a test run on your driveway to see the spread pattern. Understanding the right spreading method can improve coverage as much as the rate. We’ll cover popular methods—broadcast, drop, and hydroseeding—so you can choose the best spreading method for your lawn.
Fill your spreader and start walking. The key is overlap. Go north to south across your lawn, then make a second pass east to west. This cross-hatch pattern is the best way to avoid thin stripes and ensure every inch gets covered. For hand-seeding small spots, use a gentle, sweeping toss from low to the ground.
This is the secret most people skip. After the seed is down, take that metal rake again, flip it over to the flat side, and gently drag it across the seeded area. You’re not burying the seed, just working it into the top quarter-inch of soil. Good soil-to-seed contact is non-negotiable for germination. Finally, give it a very light blanket. A thin layer of straw (the kind that doesn’t have weed seeds) or peat moss helps keep the seed moist and protects it from birds. It should look like a dusting, not a mulch pile.
Should You Overseed or Start From Scratch?
This is the big question every homeowner faces. The answer depends on what you’re starting with. I learned this lesson the hard way in the spot I call “Patch,” where I tried to seed over a solid mat of weeds for three seasons before finally starting fresh.
Overseeding means spreading new grass seed over an existing lawn that’s looking thin, worn, or has small bare spots. It’s a refresh. Renovation (starting from scratch) means completely killing off the old lawn-weeds, grass, everything-and establishing a brand-new one. It’s a reset.
How do you choose? Ask yourself these questions:
- Is your current lawn more than 50% healthy, desired grass? If yes, overseed.
- Is it more than 50% weeds, bare dirt, or unwanted grass types? If yes, consider a full renovation.
- Are you dealing with severe soil compaction or grading issues? Renovation lets you fix the foundation.
- Do you need results fast for an event, or can you be patient? Overseeding is quicker; renovation is a season-long project.
The prep work is where these paths truly diverge. For overseeding, you mow short, rake hard, seed, and cover. For a renovation, you must first apply a non-selective herbicide to kill everything, then wait, then remove the dead material (dethatch or even till), amend the soil, level the ground, and *then* you can finally seed. It’s more work upfront, but sometimes it’s the only way to break a cycle of weeds and poor grass.
Babying Your New Grass: The First Crucial Weeks
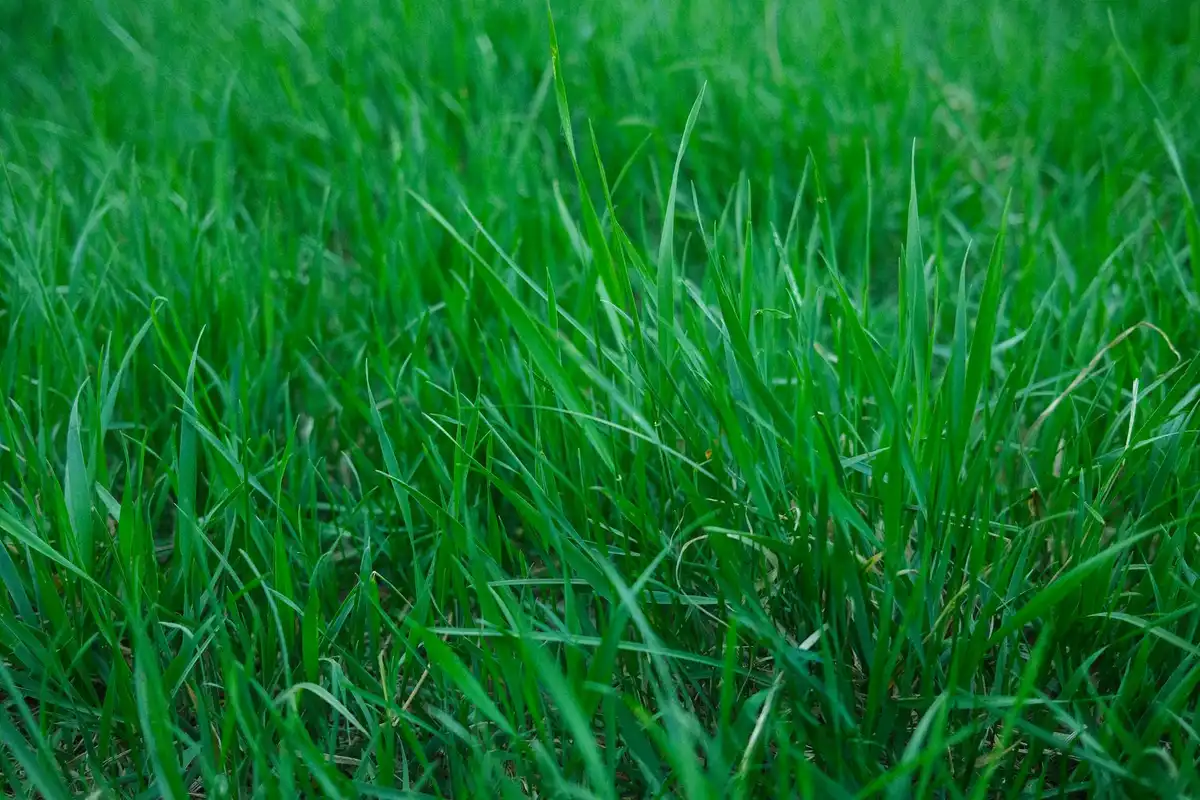
You got the seed down. Now comes the real work. The first few weeks after planting are the make-or-break moment for your new lawn. This is the stage where I see most good intentions fade away. Stay vigilant.
Your new full-time job is moisture manager. You must keep the top inch of soil constantly moist, like a well-wrung sponge, and never let it dry out. This is non-negotiable. Letting those tender seedlings dry out even once can wipe out your whole effort. I set reminders on my phone.
How do you know it’s moist enough? Try the sandwich bag test. Press the clear, plastic part of a sandwich bag flat against the soil in a few spots. Leave it for an hour. If you see good condensation on the inside, you’re golden. If it’s dry, it’s time to water.
Patience is your other new tool. Grass doesn’t pop up overnight. Here’s what to expect:
- Perennial Ryegrass: Quick starter, often in 5-10 days.
- Tall Fescue: Usually 7-14 days.
- Fine Fescues: Can vary from 7 to 21 days.
- Kentucky Bluegrass: The slowpoke, taking 14 to 21 days, sometimes longer.
That first mow is a proud moment. Wait until the grass is about one-third taller than your target mowing height. If you want a 3-inch lawn, let it grow to about 4 inches. Always use a sharp mower blade for a clean cut, and never remove more than one-third of the grass blade height in a single mowing. A dull blade will rip the young seedlings right out of the ground.
Hold off on heavy feeding. Your first fertilizer application should be a gentle “starter” fertilizer applied at seeding. The next feed should wait until after you’ve mowed the new grass at least 3 or 4 times. This gives the roots time to establish before pushing more top growth.
What If My Seed Isn’t Growing? Troubleshooting Tips
Don’t panic. I’ve been there with Patch, my problem corner. Let’s diagnose the usual suspects.
Birds ate it. If you see a lot of bird activity and the seed is simply gone from the soil surface, that’s your culprit. The fix is simple: spread a very thin layer of straw or use a lightweight seed blanket to cover the area. Re-seed if needed.
It washed away. Did you have a heavy rain right after planting? If seed is piled in low spots or against sidewalks, it washed. Gently rake the area to re-level it and spread new seed. Next time, use a tackifier or straw to help hold seed in place.
It dried out. This is the most common killer. If the soil surface was dry for even half a day during germination, the seeds are dead. You’ll see bare spots or nothing at all. The fix is to re-seed those areas and commit to a strict, light watering schedule.
It was planted too deep. Seeds need light contact with soil, not a burial. If you covered them with more than a quarter-inch of soil or compost, they might not have the energy to reach the surface. Rake the area lightly to expose some seed, or add a thin top dressing and try again.
Most failures come down to water, coverage, or patience. If you see patches, just spot-seed. Grass wants to grow. Sometimes it just needs you to correct one small thing.
Greedy Grass FAQ: Your Timing Questions, Answered
1. What’s the *exact* best week to plant grass seed in fall?
Mark your calendar for 6 to 8 weeks before your area’s average first frost. This is your golden window when warm soil meets cool, moist air, giving seed the perfect greedy start to build strong roots before winter sleep.
2. Can I plant grass seed in the summer if I water it a lot?
Don’t do it. Summer’s brutal heat will stress tender seedlings, and you’ll be fighting a losing battle against drought and weeds. If you must green up in summer, consider sod for an instant fix, but save your seeding effort and money for early fall.
3. How do I know if I’ve completely missed the fall planting window?
If your soil temperature is consistently below 50°F and frost is imminent, you’ve missed it. Save your seed for spring or consider dormant seeding, where you sow late so the seed germinates at the very first spring thaw.
4. My yard is part sun, part shade. Do I plant the same seed everywhere?
No-get greedy with the right seed for each spot. Use a sun-loving mix like Kentucky Bluegrass for full-sun areas and a shade-tolerant mix like Fine Fescue for under trees. This ensures every square foot gets the grass that will thrive there.
5. Is it ever worth planting grass seed in the spring?
Spring is your solid Plan B for fixing winter damage or bare patches. Just know you’ll need to baby it with more water to help it survive summer’s heat, and be ready to tackle more weeds competing for space in your greedy lawn.
Final Thoughts on Timing Your Spring Seeding
The best thing you can do is forget the calendar and watch your soil temperature. Get a simple probe thermometer and check it for a few mornings in a row. When it holds steady at 55°F, you’re in the safe zone for cool-season grasses. That simple step takes the guesswork out of the whole process, especially when you’re testing your grass seed before planting.
A great lawn is a long-term project that asks for a little attention each season. I’ve found that being kind to the soil and the pollinators living around it always pays back with a healthier, more resilient yard. There’s always more to learn, and I’m right there with you, figuring it out one season at a time. With steady, soil-friendly care, you can achieve a healthy, beautiful lawn. Small, season-long steps really add up.
Deep Dive: Further Reading
- Seeding and sodding home lawns | UMN Extension
- The Best Time to Plant Grass
- Timing Matters: The Best Seasons for Lawn Seeding Success
- Spring Grass Seeding May Fill In Bare Areas
- MN Lawn Seeding & Overseeding: Timing Tips for Spring
Written by Ria Carrington. Ria is an avid lawn care enthusiast and advisor. No lawn is unsalvagable when Ria is at work. She has helped countless homeowners breath new life into their dying lawns. She has a B.Sc in Agriculture and brings practical advice combined with knowledge of plant science and her decade worth of hands on experience.