
Is Your Old Grass Seed Still Good to Plant? A Simple Home Test
Staring at a leftover bag of grass seed and doubting if it will grow is a sure way to waste a Saturday and your money.
I’ll show you exactly how to check it yourself, covering the easy paper towel germination test, what your results really mean, and how to store seed properly for next season.
I’ve tested plenty of forgotten seed bags in my own shed to keep Patch thick without buying new.
At a Glance: Key Factors
Here is the fast version for when you are in a hurry. Save the details for later.
All grass seed gets old. Its ability to sprout, called viability, fades with time. It can expire, go bad, or simply lose its pep, but you shouldn’t always trust everything you hear about seed longevity. There are plenty of myths surrounding the expiration and germination rates of grass seed.
- Seed viability fades over time.
- You can test it. The two best ways are the Paper Towel Test and the Soil Test.
- How you store it is everything. Good storage is the number one way to make seed last.
Testing a small sample saves you time, money, and the heartbreak of a patchy lawn.
What Makes Grass Seed Go Bad? (The Science of Shelf Life)
First, “viability” is just a fancy word for a seed’s will to live. It means the tiny plant inside is still alive and can grow. When you ask if seed expires or has a shelf life, the answer is yes, but not like a carton of milk.
There is no hard date on the bag. Instead, three main enemies work together to kill that potential.
The Three Enemies of Your Seed
Think of a grass seed like a tiny, sleeping astronaut. It needs the right environment to wake up. These are the things that ruin its long nap.
- Moisture: This is the biggest killer. Humidity or a damp garage is a death sentence. Moisture wakes the seed up at the wrong time, it uses all its stored energy, and then it rots. I keep my seed in a sealed plastic tub with a few packets of silica gel desiccant, the stuff you find in new shoe boxes.
- Heat: Storing seed in a hot shed or attic cooks the life right out of it. A cool, stable temperature is key. My basement storage corner stays a consistent 60 degrees, and that is where Sunny’s spare parts live too.
- Age: Time itself takes a toll. Even perfectly stored seed slowly loses vigor. The embryo inside just gets tired.
How Long Does Seed Last?
With perfect, cool, dry, dark storage, most grass seed stays viable for 2 to 3 years. In typical garage conditions, you might only get one good season out of it, especially if it’s not protected from frost or cold temperatures.
The date on the bag is usually a “tested by” date for the seller, not an expiration date for you. Seed tested for that year had a high germination rate when packed. Your storage decides what happens next.
One more note, seed coatings like fertilizer or fungicide can sometimes trap moisture against the seed itself. This is why I prefer raw, uncoated seed for long term storage. It gives me more control.
I learned this the hard way with a bag of rye grass I left in the garage. By the next fall, it felt damp and clumpy. A paper towel test showed a 10% germination rate. That bag went straight to the compost.
The Instant Check: Spotting Bad Seed Without a Test
Before you get fancy with a test, do what I do with leftovers in the fridge. Give your seed a basic inspection. This takes thirty seconds and can save you a whole weekend of wasted effort.
Start with a good look. Pour a small handful onto a white plate or paper towel. Healthy seed has a consistent color, usually a tan or light brown, with a slight sheen. Bad seed looks off. You might see fuzzy patches of grey or white mold. The color can fade to a dull, lifeless grey. Seeds that look faded or dusty, like an old photograph, have likely lost their vigor. For grass, healthy seeds should germinate into seedlings that look uniform and bright green. Grass seedlings look like slender blades just starting to peek through the soil.
Next, take a sniff. Bring that handful close and breathe in. Good, viable grass seed smells clean and earthy, like a bag of potting soil. Bad seed tells a different story. A sharp, musty odor or a sour, almost mildewy smell means trouble. If your seed bag smells like the damp corner of a basement, trust your nose.
Finally, feel it. Run your fingers through the seeds. They should be dry and loose, flowing through your hand. If they stick together in damp clumps, that’s a major red flag. Moisture is the enemy of stored seed; it invites rot and kills the embryo inside.
So, how do you know if your grass seed is too old? Time alone isn’t always the judge. I’ve used two-year-old seed that was fine because it was stored well. But age combined with poor storage shows itself. That mold, that sour smell, those clumps-they are the visible decay that comes with time. If your seed fails the look-and-sniff test, a germination test is unlikely to save it. It’s better to start fresh with new seed. Your lawn, and your patience, will thank you.
Tools You’ll Need for a Germination Test
If your seed passes the quick check, the germination test tells you the real story. It’s not complicated. You probably have everything you need in a kitchen drawer right now.
For the classic paper towel test, gather these items:
- Paper towels: The plain, unbleached kind works best. You’ll need two or three sheets.
- Sealable plastic bags or plastic wrap: This creates a mini greenhouse to hold in moisture.
- A spray bottle: For misting the towels to keep them damp, not soaked.
- A marker: To label your bag if you’re testing more than one seed type. I’ve mixed up tests before, and labeling saves confusion.
- A warm spot: On top of the refrigerator, on a sunny windowsill, or in a consistently warm room (around 70°F is ideal).
For a more realistic soil test, which I sometimes do for extra confidence, you’ll also need:
- Small pots or seedling trays: Even plastic cups with drainage holes poked in the bottom work.
- A small bag of seed-starting mix: Don’t use soil from your garden. It can compact and might contain other seeds or fungi that skew your test.
Here’s the best part: you don’t need to waste your whole seed supply. For an accurate test, you only need a small pinch of seeds-about 10 to 20 from your bag. Just take them from the middle of the bag to get a good sample. This small sacrifice can prevent you from spreading a whole bag of duds across your yard.
How to Run a Paper Towel Germination Test (The Quick Check)
This is my go-to method for a fast answer. I keep a roll of paper towels and some sandwich bags in my garage shed just for this. It’s simple, but you have to pay attention to the details.
- Get a paper towel and dampen it. I mean damp, not dripping wet. Think of it like a wrung-out kitchen sponge.
- Spread a small sample of your seeds (20-30 is plenty) on one half of the towel. Give them a little space so you can see each sprout.
- Fold the other half of the towel over the seeds, like a seed sandwich.
- Slide the whole thing into a resealable plastic bag. Do not seal it all the way shut just yet.
- Here’s the Greedy Grass Pro Tip: Use a permanent marker to write the date and the seed type right on the bag-trust me, you will forget otherwise.
- Now seal the bag about 90% of the way, leaving a small corner open for a tiny bit of air flow.
- Place the bag in a consistently warm, dark spot. On top of the refrigerator or in a cupboard often works perfectly.
Check the towel every day. If it starts to look dry, use a spray bottle to mist it lightly. Never pour water in. You’ll see tiny white roots (radicles) poke out first. Count how many seeds sprout over 5 to 10 days—the exact time depends on your grass type. Grass seed sprout germination times vary by species and conditions. Knowing the typical germination window for your grass type helps you interpret your results. If you get 15 out of 20, that’s 75% viability, which is great.
Paper Towel Test Pros and Cons
- Pros: You get results fast, you can watch every single seed sprout with perfect clarity, and you only sacrifice a tiny pinch of your seed stash.
- Cons: This isn’t real dirt. Those little white roots are super fragile. If you try to move them to soil, they often don’t make it. It tells you if the seed is alive, but not how it will perform in your lawn.
How to Run a Soil Germination Test (The Real-World Trial)
This is the test I run when I’m serious about using old seed for a real project, like fixing a spot in “Patch’s” domain. It takes more patience, but it tells the true story.
- Find a small container-a disposable cup with a drainage hole poked in the bottom, a seedling tray, even a cleaned-out yogurt cup works.
- Fill it with a moist, seed-starting mix or a light potting soil. Do not use heavy clay from your garden.
- Plant your seeds at the depth recommended on the original bag. For most grasses, that’s about a quarter-inch deep. Just press them in lightly and sprinkle a whisper of soil over the top.
- Label the container clearly. Date, seed type, maybe even the brand.
- Place it in a spot with bright, indirect light. A windowsill is fine, but not in direct, scorching sun all day.
- Your only job now is moisture management. Keeping the soil consistently moist is the single most important factor for this test to work.
Think of your soil like a sponge. You want it to feel like a damp sponge that’s been squeezed out, not a sopping wet one dripping water, and definitely not a dry, crusty one. If your soil drains like a coffee filter, it’s too dry and sandy. Water gently with a spray bottle to avoid disturbing the seeds. In 10 to 21 days, you should see green shoots. The wait is longer, but the seedlings that emerge are already tough, having pushed through real soil.
Soil Test Pros and Cons
- Pros: This simulates exactly what the seeds will face in your yard, so the germination rate you see is the most accurate predictor of success. The seedlings that come up are robust and ready for life.
- Cons: It takes more time and a bit more setup. You’re also flying blind for a while-you can’t see the action happening under the surface, so you just have to trust the process.
What Your Test Results Mean (And What to Do Next)
You’ve done the test. Now you’ve got a paper towel with a few hopeful sprouts and a bunch of duds. It’s time to play lawn detective and figure out what those numbers mean for your weekend project.
First, let’s do the math. Count all the seeds you put on the towel. Now, count just the ones that sprouted. Take your sprout count, divide it by the total seed count, and then multiply by 100. That’s your germination rate percentage. If 8 out of your 20 seeds sprouted, you’ve got a 40% rate. Easy.
So, what’s a good score? For me, if the bag tests at 70% or higher, I’ll use it without a second thought. That seed still has plenty of life. It’s like finding a forgotten tool in the shed-a little dusty, but it works just fine. A rate between 50% and 70% is in the caution zone. The seed will grow, but you can’t trust it to perform as well as the label says.
This brings us to the big question: will old grass seed germinate at all? The answer is in your test. A low percentage, say 30% or less, is your proof that yes, some might grow, but not enough to be worth your time, effort, or soil. You’ll end up with a thin, patchy result that invites weeds. I’ve been there with a bag of fescue for “Patch” that tested at 15%. It wasn’t worth the gamble.
If your viability is low, you have a choice. You can adjust your seeding rate. If the seed is only 50% good, you need to use about twice as much to get the same number of living plants in the ground. A 50% germination rate means you should double your seeding amount or buy fresh seed for reliable results. It’s a simple fix, but it makes that “bargain” bag less of a deal once you do the math.
Which leads to the final question: what do you do with the truly old seed? Don’t just throw it in the trash. I add it to my compost pile. It gets hot enough in there that the seeds won’t survive to become a weed problem later. You can also shake it out for the birds. They’ll thank you, and nothing goes to waste.
Smart Storage: How to Keep Your Extra Seed Good for Next Season
You found a great deal on seed, or you just have half a bag left. The goal is to make sure it’s just as good next spring. How do you store grass seeds for later use? Follow one golden rule. In winter, proper grass seed storage keeps germination high and ready for spring sowing. Keep seeds dry, cool, and out of direct light for best results.
Think of grass seed like a cracker. You want it to stay crisp. The enemies are heat, moisture, and light. Your storage spot must be cool, dry, and dark. This is non-negotiable, especially since temperature plays a crucial role in grass seed health.
That hot garage or damp garden shed where I keep Max? It’s a seed killer. The temperature swings and humidity will steal that viability faster than you can say “germinate.” I learned this the hard way a few seasons back.
For the best protection, transfer your leftover seed to an airtight container. A plastic bucket with a gasket lid or a large glass jar works perfectly. Toss in a silica gel packet (the kind you get in new shoes or electronics) to soak up any stray moisture. It’s a cheap trick that makes a huge difference.
If you’re in a pinch, the original bag can work if you’re careful. Roll the top down tightly, squeeze out all the air, and seal it with strong tape or a heavy clip. Then, put that bag inside another container or a sealed plastic tub for an extra layer of defense. It’s a bit like putting Sunny, the drip system, to bed for the winter-a little prep prevents a big headache later.
Your Grass Seed Viability Questions, Answered
Is there a grass seed viability chart I can follow for different types?
Forget a one-size-fits-all chart-your storage conditions trump any generic timeline every time. Focus on the test, not a calendar; it’s the only way to know your specific seed’s strength.
If my seed has low viability, can I just plant more to compensate?
You can, but you must do the math: low germination means you need to spread much more seed to hit your target. Just know you’re gambling with coverage and might still get a greedy, thin lawn. That’s where planning the grass seed need for your lawn project comes into play. A good estimate helps you budget and avoid overplanting.
What’s the single best way to store leftover seed for next year?
Get it airtight and keep it cool. Seal your leftovers in a container with a silica gel packet and stash it in a basement or closet-your garage is a seed graveyard.
Should I bother testing cheap seed, or just buy new?
Always test. A five-minute check can save you hours of raking, sowing, and waiting, only to be disappointed. Your time and effort are worth more than a few bucks on a fresh bag.
Can I use old seed to overseed an existing lawn?
Only if it tests above 70%. Overseeding is about strengthening weak spots, and using weak seed is a surefire way to waste your effort and invite weeds into those bare patches. Reseed, overseed, and fix bare spots to restore density and vigor to the lawn. This approach directly targets weak patches and discourages weed growth.
Give Your Seed a Quick Check First
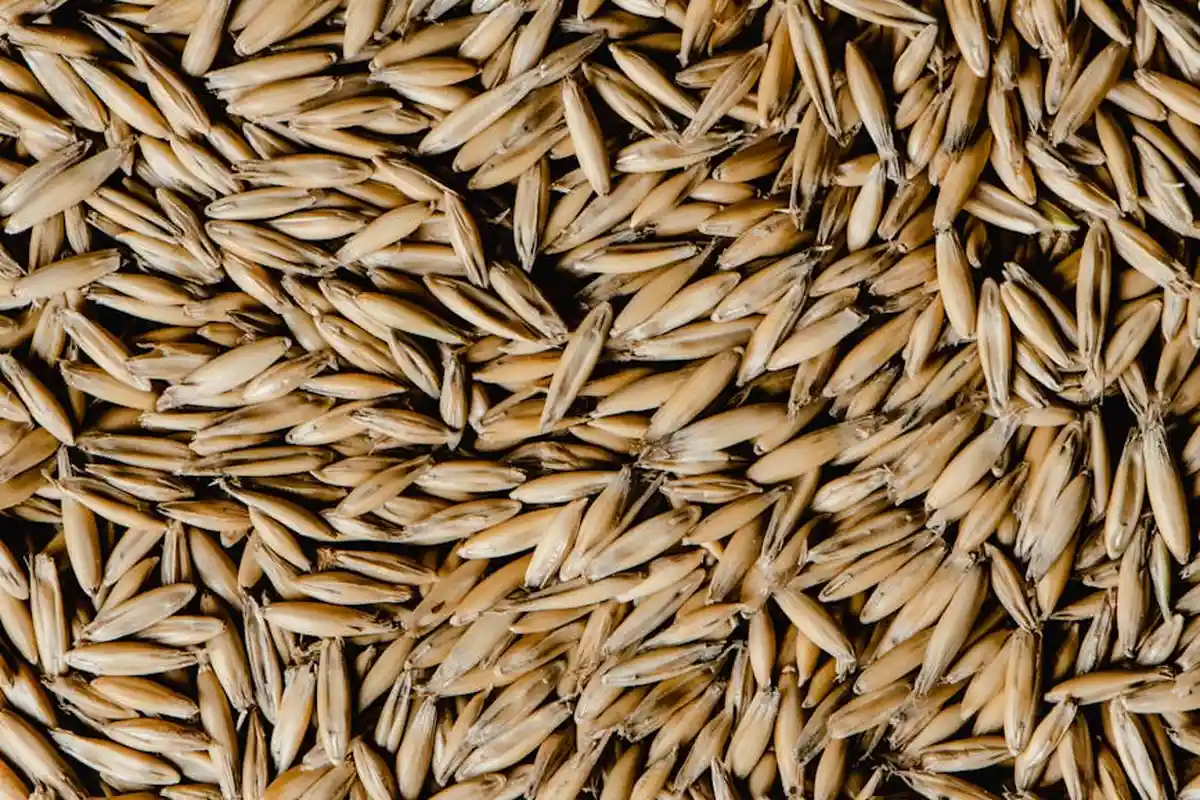
The best thing you can do is test that old seed before you spread it. A simple float test takes five minutes and saves you a whole season of disappointment. You’ll know exactly what you’re working with and can plant with confidence.
I always try to use every seed responsibly, which means not wasting money or resources on duds that won’t grow. That mindful approach, whether you’re choosing pet-safe fertilizers or planting pollinator-friendly clover, is what builds a healthier lawn over time.
Deep Dive: Further Reading
- How to Test Seed Viability | BBC Gardeners World Magazine
- How to Tell If Grass Seed Is Still Good
- How to Test Old Seeds for Viability – simply living well
- Southern Exposure Seed Exchange, Saving the Past for the Future
- How to Conduct a Seed Germination Test at Home
Written by Ria Carrington. Ria is an avid lawn care enthusiast and advisor. No lawn is unsalvagable when Ria is at work. She has helped countless homeowners breath new life into their dying lawns. She has a B.Sc in Agriculture and brings practical advice combined with knowledge of plant science and her decade worth of hands on experience.