
What is Lawn Scarification and When Should You Do It?
If your lawn feels spongy underfoot or looks thin despite your care, you might be dealing with too much thatch. Scarification is the fix, but timing it right saves you work and money.
We will cover what scarification actually does, the clear signs your lawn needs it, the best time of year to tackle it, and my simple steps to do it safely.
I’ve brought my own problem spot, Patch, back to life with this method, learning the hard way so you don’t have to.
At a Glance: Key Takeaways on Lawn Scarification
Think of this as your quick reference sheet before you get your hands dirty.
- Scarification removes thatch and moss to let your grass breathe, absorb water, and grow thicker.
- The best time is during active growth periods: early spring or early autumn for cool-season grasses, late spring for warm-season.
- It’s a proactive task, not an emergency fix. Look for signs like a spongy feel or poor drainage before starting.
- You’ll need a scarifier or dethatching rake, and about a weekend of time for prep, work, and cleanup.
What is Lawn Scarification and Why Does Your Lawn Need It?
In simple terms, lawn scarification is like taking a deep, sturdy comb and raking it through the very base of your lawn. You’re not just brushing the top. You’re pulling up all the dead material that’s settled in over the season.
A lawn scarifier is the tool that does this job. Its sharp, vertical blades spin and slice down into the thatch layer, pulling it up to the surface. It’s a different action from my mower, Max. Max cuts horizontally across the top. A scarifier works vertically, getting down into the stuff Max glides over.
The core purpose is to stop your lawn from choking itself. A little thatch is normal and can protect soil. But when it builds past half an inch, it becomes a barrier. Imagine your lawn is a carpet. A thatchy lawn is like a carpet with a thick, dense pad glued to the bottom. Water, air, and fertilizer just pool on top or get trapped, never reaching the soil and roots where they’re needed.
You don’t need to guess if you need it. Your lawn will tell you. Here are the signs I look for every fall and spring.
- Feel: Walk across your grass. Does it feel soft, spongy, or bouncy underfoot? That’s a classic sign of a thatch mat.
- Water: After you water or it rains, does water sit on the surface in puddles instead of soaking right in? That thatch layer is acting like a thatched roof.
- Sight: Get down on your knees and part the green grass blades. Do you see a tight, brown layer of dead stems and roots between the green and the soil? That’s your culprit.
What’s the Difference Between Thatch and Moss?
This is a common point of confusion. They often show up together, but they’re not the same thing.
Thatch is a mat of dead and living grass stems, roots, and runners (called stolons and rhizomes). It builds up naturally as your grass grows. It’s not alive, it’s just debris that hasn’t broken down yet.
Moss is a living, green plant. It doesn’t have roots. It loves damp, compacted soil and shade. It spreads like a green carpet, smothering grass. While scarification will rip moss right out, moss is often a symptom of other issues like low soil pH (acidity), poor drainage, or too much shade.
A quick test? Grab a handful of grass and give a gentle tug. If you pull up a interwoven, spongy brown layer along with the grass, that’s thatch. If you pull up a mat of soft, green plant material, that’s moss. Scarification handles the physical removal of both, but if moss keeps coming back, you’ll need to investigate the cause, like testing your soil’s pH.
When is the Best Time to Scarify Your Lawn? A Seasonal Guide
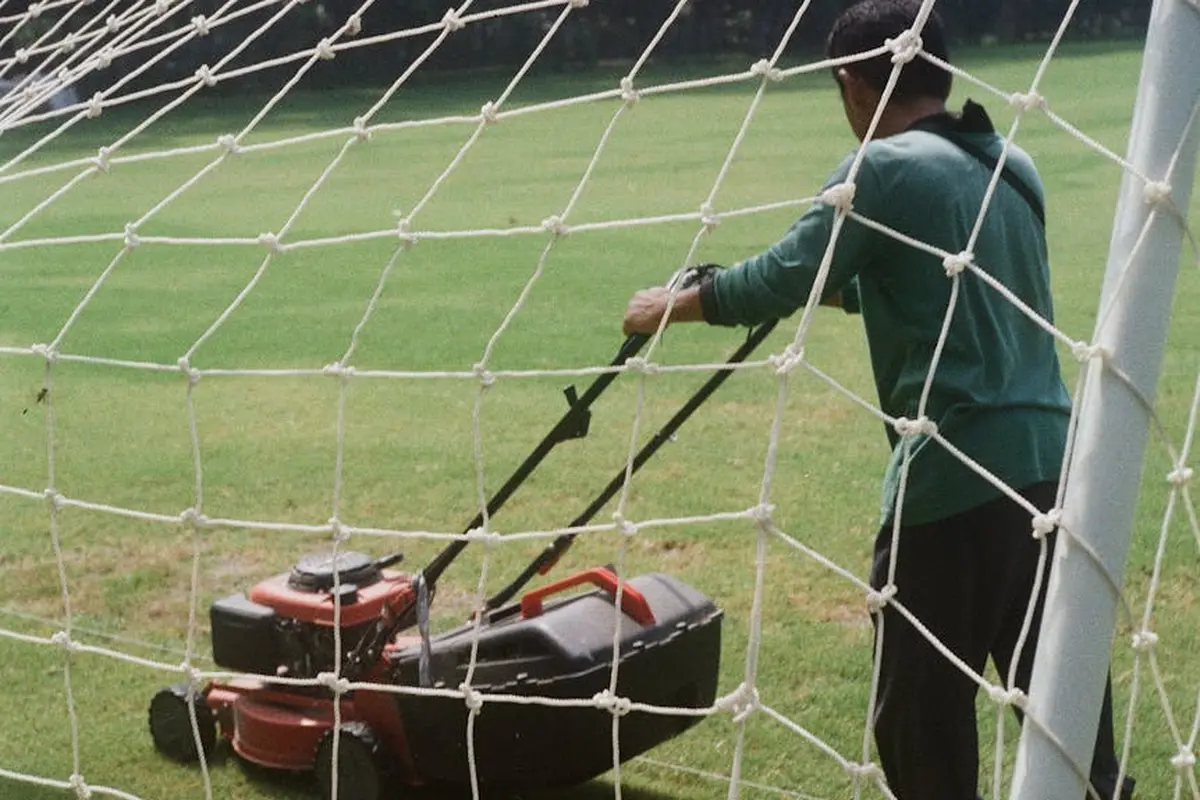
The short answer is it depends entirely on your grass and your weather. Get the timing wrong and you set your lawn back. Get it right and you give it a fresh start.
For cool-season grasses like tall fescue, Kentucky bluegrass, and ryegrass, you have two good windows. The first is early spring, just as the grass shakes off dormancy and starts growing with gusto. The second, and my personal favorite, is early fall. Some gardeners wonder about the best time to plant grass seed in spring, and timing matters for germination. When the soil warms and stays moist, you’re in the sweet spot for spring seeding.
For warm-season grasses like Bermuda, Zoysia, and St. Augustine, aim for late spring. You want to see the lawn fully greening up and growing actively, not just waking up.
My go-to tip is to watch the soil temperature, not just the calendar. For cool-season grasses, I wait until my soil thermometer reads a consistent 50-55°F. For warm-season grasses, I wait until the grass itself tells me it’s ready by putting on strong, visible growth. I find that planting seeds at the ideal temperature significantly improves germination rates.
Never scarify during a drought, a heatwave, or when the lawn is dormant and brown in winter. It’s like asking someone to run a marathon while they’re sleeping or dehydrated. The lawn needs all its energy to recover from the process.
Spring Scarification: Pros and Cons
Spring scarification acts like a deep clean for your lawn. It pulls out the matted layer of dead grass (thatch) and winter debris that can smother new shoots. This lets in more air, water, and sunlight to fuel a lush season ahead.
But there’s a catch. If you do it too early, a late frost can damage the tender grass you just exposed. If you do it too late, you stress the grass right before summer’s heat hits, slowing its recovery.
If you scarify in spring, do it early, and be ready to support your lawn immediately after. I follow up with a gentle, organic fertilizer and I always overseed any thin areas. This helps the lawn fill in quickly and compete against weeds.
Autumn Scarification: Why It Might Be Your Best Bet
For my cool-season lawn, fall is the champion season for scarification. The summer growth has left behind thatch, and the lawn is eager to grow thick before winter. Raking out that thatch creates the perfect seedbed.
The cooler air, warm soil, and typical fall rains are perfect healing conditions. There’s no brutal summer sun bearing down on the open soil. I’ve watched my lawn, especially that stubborn Patch in the corner, recover thicker and greener after a fall scarification.
Plan to finish scarifying and overseeding at least 6 to 8 weeks before your area’s average first frost. This gives the new grass roots enough time to establish firmly, ensuring a dense, resilient lawn the following spring. This ties into choosing the best time to overseed your lawn for optimal results.
Tools You’ll Need: From Basic Rakes to Power Scarifiers
You can’t fight a battle without the right gear. For scarification, your toolkit is simple: a tool to cut and pull, something to clean up with, and protection for yourself.
A scarifier is the main weapon. You might see it called a dethatcher or verticutter. It uses sharp, spinning blades or tines to slice into the thatch and lift it to the surface.
- Manual Scarifying Rakes: These are heavy-duty rakes with sharp, curved blades. They’re affordable and great for small lawns or problem spots like Patch. Be ready for a serious upper-body workout.
- Electric or Gas Power Scarifiers: These are machines, often walk-behind, that do the hard work for you. They’re a must for lawns over a few hundred square feet. My friend Max (the mower) doesn’t do this job, but these tools have the same kind of dependable, get-it-done vibe.
The key to using any scarifier is setting the correct blade depth. You want to cut into the thatch layer and just barely scratch the soil surface, not dig trenches into your root zone. I always do a test pass on a small, inconspicuous area first.
You’ll also need a sturdy leaf rake or garden rake to gather all the pulled-up debris, tough gloves, and some lawn bags. Always wear closed-toe shoes. And do a quick walk of the area first-there’s nothing like a hidden toy or stick to stop a power scarifier dead in its tracks.
How to Scarify Your Lawn: A Step-by-Step Weekend Project
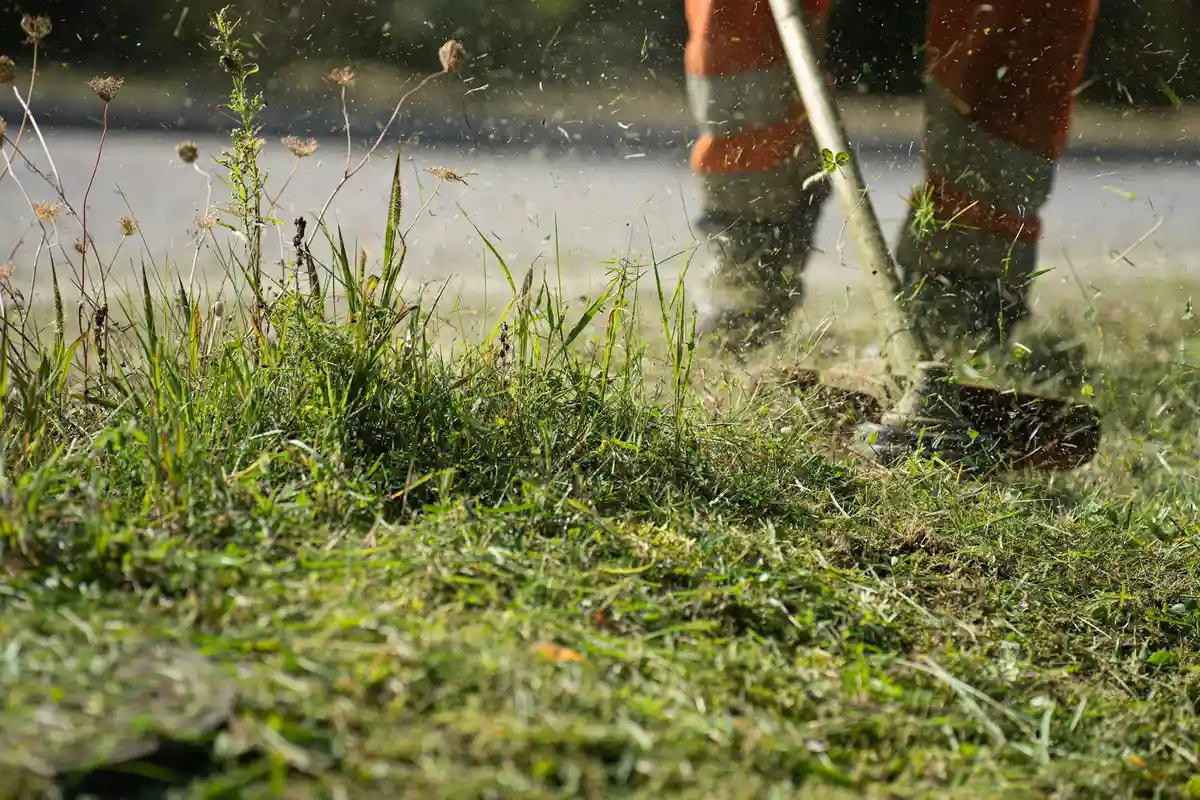
Scarifying looks aggressive, but it is a simple process. Think of it like giving your lawn a deep clean. Here is how to do it right in one weekend.
Step 1: The Pre-Game Mow
First, mow your lawn shorter than you normally would. I take Max down one more notch than his usual cut.
This step pulls the grass blades upright and exposes the thatch layer you are targeting. It is like getting a trim before a serious haircut.
Cutting the grass short first makes the scarifier blades much more effective at pulling up the matted thatch below.
Step 2: Check Your Soil’s Mood
Your soil moisture is critical. It needs to be just right.
Grab a handful. It should feel damp, like a wrung out sponge, not soggy or dusty dry. Working on muddy soil tears up roots and compacts everything. Scarifying bone dry soil is like dragging blades through concrete.
If it is too dry, I use Sunny the night before to give the lawn a good, deep drink. Damp soil lets the scarifier blades slice through thatch cleanly without damaging the lawn’s foundation.
Step 3: Set Your Blades (Start Gentle)
Do not crank the scarifier to its deepest setting right away. That is a common mistake.
For your first pass, use a shallow setting. The goal is to gently rake out the loose, surface thatch. After you see what comes up, you can make a second, slightly deeper pass if your thatch layer is very thick.
Going too deep on the first try can scalp your lawn and rip out healthy grass.
Step 4: The Main Event: Scarifying
Now, fire up the machine. Treat this just like mowing.
Go over your lawn in straight, overlapping lines. For the most thorough job, make a second pass going in a perpendicular direction, which is one of the best mowing patterns for lawn stripes. This crosshatch pattern ensures you do not miss any spots.
The machine will pull up an amazing amount of brown, tangled debris. That is your thatch, and it is exactly what you want to see.
Step 5: Clean Up is Non-Negotiable
This might be the most important step. You must rake up and remove all the debris you just pulled out.
Leaving that matted thatch on the lawn will smother the grass you just worked to help. It can also create a perfect home for pests and fungi.
Immediate cleanup gives your grass blades the light and air they desperately need right now.
Step 6: The Crucial Aftercare
Your lawn just had a workout. It needs a little TLC.
Water it lightly. This helps settle the soil and soothes the grass plants. Think of it as a cool drink after exercise.
This is also the perfect time to address bare spots. Overseed them with a grass mix suited to your sun conditions. For a pet-safe and pollinator friendly boost, I sometimes mix in a little microclover with my seed.
A light application of fertilizer can help fuel recovery, but let the lawn rest for a week before feeding it.
A Personal Tip from My Lawn
I always save my shady corner, Patch, for last. That area has weaker grass and needs a gentler touch.
I use the shallowest blade setting there and go slowly. Problem spots teach you patience and that a one size fits all approach rarely works on a real lawn.
The Seasonal Effect: Your Lawn Care Checklist Before and After Scarifying

Scarifying is not a one off task. It fits into your seasonal rhythm. Here is how I plan my year around it.
Spring: The Wake-Up Call
Early to mid spring is a prime time for many lawns. The grass is waking up and ready to grow.
- Scarify to remove winter thatch.
- Apply a light, slow release fertilizer.
- Overseed any thin areas from winter damage.
- Water regularly to help new grass establish.
Spring scarification clears the way for your lawn’s strongest growth season.
Summer: Focus on Maintenance
For most cool season grasses, avoid scarifying in the heat of summer. The stress from heat and potential drought is too much.
Your summer checklist is different.
- Focus on consistent mowing with sharp blades.
- Water deeply and infrequently, ideally with a system like Sunny.
- Spot treat any weeds by hand.
In some mild warm season grass regions, early summer can be a scarification window, but research your specific grass type first.
Autumn: The Gold Standard Timing
For my lawn, early fall is the best time. The soil is warm, the air is cool, and weeds slow down.
- Scarify to thin the thatch layer.
- If soil is hard, follow with core aeration.
- Overseed heavily. Germination conditions are perfect.
- Apply a fall fertilizer to strengthen roots for winter.
Autumn scarification, followed by seeding, sets your lawn up for a thick, resilient spring.
Winter: Plan and Observe
Let the lawn rest. Your job is to watch and learn.
- See how the lawn recovers from your fall work.
- Note where thin spots or moss still appear (I am looking at you, Patch).
- Use this quiet time to plan your next year’s scarification date and service your equipment.
How Often Should You Scarify?
Most home lawns do great with one scarification per year. I stick with my early fall schedule.
If you have a high maintenance grass type or a chronic thatch problem, you might need it twice a year, in spring and fall.
Let your lawn tell you what it needs. A half inch of thatch is a helpful cushion, but more than that starts to cause problems. Areas like Patch often show me first when it is time for another pass.
Scarification vs. Other Lawn Tasks: Aeration, Dethatching, and Verticutting

Lawn care has a lot of similar-sounding words. It’s easy to mix them up. Let’s clear the air on what scarification is, and isn’t.
Scarification vs. Dethatching: The Aggression Level
Think of dethatching as a careful combing and scarifying as a serious haircut. Dethatching uses flexible tines or blades to rake up loose, spongy thatch from the surface. You feel a tug, and you see a pile of brown debris. It’s perfect for a light annual clean-up.
Scarification is more aggressive. The blades are designed to cut into the soil surface, not just skim over it. You use a dethatcher for maintenance, but you bring out the scarifier to wage war on a thick, matted thatch layer that’s choking out your grass. If your foot sinks into a soft, spongy layer, that’s a job for the scarifier.
Scarification vs. Aeration: Different Tools, Different Goals
Here’s another common mix-up. Aeration is about solving a soil problem-compaction. It pokes holes to let air, water, and nutrients get down to the roots. You’re fixing what’s under the grass. This is the lawn aeration work—using an aerator to relieve compaction. By opening the soil, it improves air, water, and nutrient access to the roots.
Scarification is about solving a barrier problem-thatch. It cuts through and removes the dense mat sitting on top of the soil so new growth can reach the surface. These two tasks are perfect partners; scarification clears the runway, and aeration improves the destination. For the best results, I always scarify first to pull up the thatch, then run the aerator over the clean soil.
The Unique Job of Scarification
So what does scarifying do that the others don’t? It physically removes the blockade. Aeration improves conditions, but it doesn’t cart away the thatch. Dethatching grabs the loose stuff but won’t cut through a serious mat. Scarification is the only process that actively slices into and eliminates that physical barrier to seed, water, and fertilizer. It’s a reset for the lawn’s surface.
A Word on Verticutting
You might hear “verticutting” and wonder if it’s something new. It’s not. Verticutting is essentially another name for scarification. Sometimes it refers to machines with specialized, finer blades for precise work on certain grasses. The core action-cutting vertically into the thatch and soil-is the same.
The Power Combo: A Seasonal Reset Plan
For a lawn that looks tired, thin, and defeated by thatch, a combined approach in the fall works miracles. Here is my weekend plan for a full reset:
- Mow the lawn slightly shorter than usual.
- Run the scarifier to aggressively remove the thatch layer. Your lawn will look rough. That’s okay.
- Rake up and remove all the debris you’ve pulled up.
- Go over the area with a core aerator.
- Overseed with a quality grass seed suited to your yard.
- Apply a gentle, starter fertilizer and keep the area moist for the new seed.
This fall one-two punch of scarifying and aerating addresses both the surface barrier and the soil compaction, giving fresh seed the absolute best chance to thrive. It’s how I brought my own stubborn Patch back to life.
Your Lawn Scarification Questions, Answered
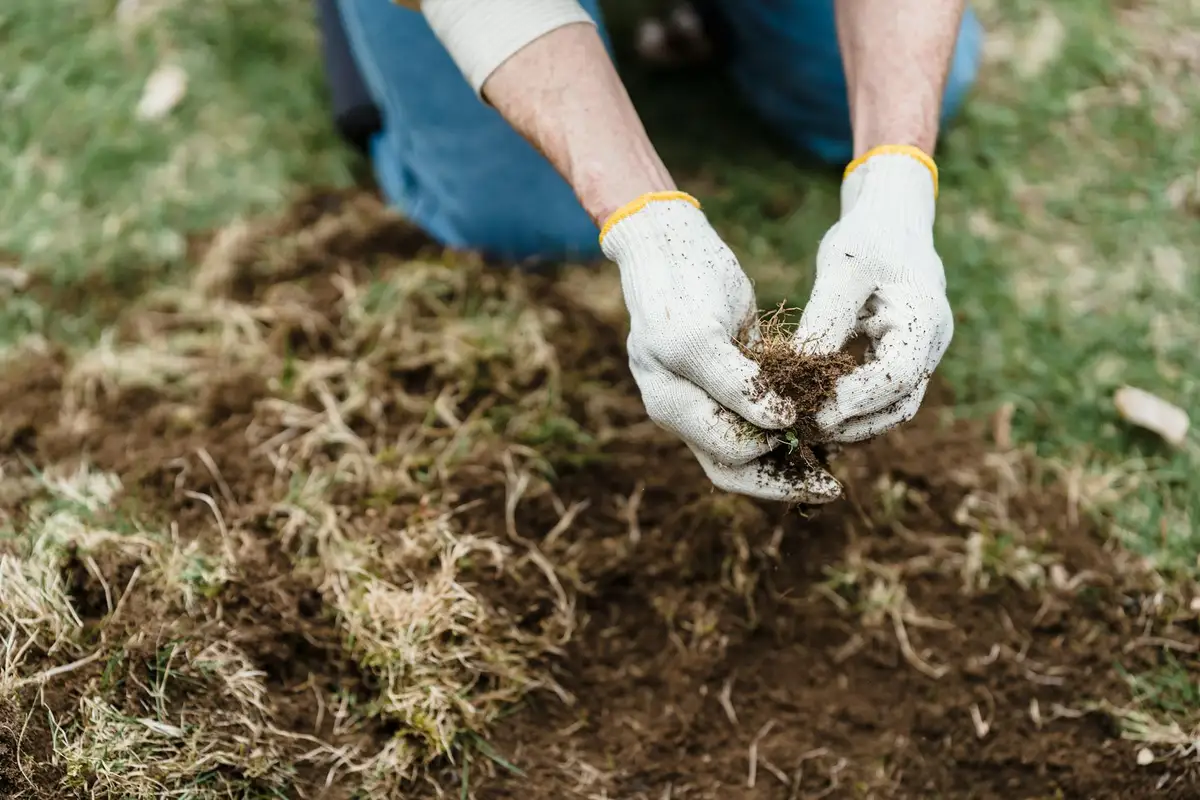
1. If my lawn looks green on top, why should I bother scarifying?
That lush green top can hide a choking layer of thatch underneath, preventing water, air, and food from reaching the soil. Scarifying removes that barrier so your grass roots can grow deep and your lawn gets truly greedy for nutrients.
2. Is spring or fall really better for scarifying my lawn?
For cool-season grasses, early fall is the gold standard because the perfect recovery weather helps new seed establish. Spring works if you do it early, but you risk stressing the lawn before summer heat arrives. It’s generally not recommended to plant grass seed during rainy periods, as excessive moisture can lead to seed washout and poor germination.
3. Can I just use my regular garden rake instead of a scarifier?
For a small area or a light touch-up, a heavy-duty dethatching rake will work, but it’s a serious workout. For most lawns, a powered scarifier is the efficient tool that gets deep into the thatch without breaking your back. That is a key part of lawn thatch removal and management. Regular maintenance helps your lawn breathe and stay healthy.
4. My lawn looks terrible after scarifying-did I ruin it?
No, you exposed the problem! It’s normal for your lawn to look thin and ragged immediately after; you’ve just stripped away the thatch mask. With proper aftercare like watering and overseeding, it will come back thicker and healthier.
5. How often does my lawn actually need this?
Most home lawns thrive with a single, annual scarification, ideally in the fall. However, if your lawn feels spongy or builds thatch quickly, a twice-yearly schedule (spring and fall) might be needed to satisfy its healthy greed.
Wrapping Up Your Scarification Project
Time your scarification for early fall when your grass is growing strong but the heat has eased. This one timing choice clears the way for thicker, healthier grass with minimal stress on your lawn.
I view my lawn as part of a bigger home for bees, birds, and my own family. Choosing responsible, gentle care is how we keep our yards vibrant and safe for everyone who enjoys them.
Citations and Authoritative Sources
- When to Scarify Lawn | How to Scarify a Lawn UK | Vonhaus
- r/lawncare on Reddit: In your experience, does scarifying a lawn actually promote growth?
- Scarifying your Lawn (Video) | BBC Gardeners World Magazine
- When is the best time to Rake or Scarify the Lawn?
Written by Ria Carrington. Ria is an avid lawn care enthusiast and advisor. No lawn is unsalvagable when Ria is at work. She has helped countless homeowners breath new life into their dying lawns. She has a B.Sc in Agriculture and brings practical advice combined with knowledge of plant science and her decade worth of hands on experience.