
How Do I Make and Use Fish Fertilizer for My Lawn and Garden?
You might worry that homemade fish fertilizer is a smelly, complicated mess, but I can show you a simple way to make a powerful plant food that saves you money.
We will cover why fish fertilizer works so well, my easy method for brewing it at home, how to safely apply it to your grass and garden beds, and smart tips to manage the odor.
I’ve used this exact recipe to green up my own lawn and finally get some life into that stubborn corner I call Patch.
At a Glance: Key Factors for Fish Fertilizer
Think of fish fertilizer as a slow-cooked meal for your soil. It doesn’t give your lawn a fast, synthetic jolt. Instead, it feeds the whole system and offers a more sustainable alternative to synthetic fertilizers.
It provides a solid mix of nutrients, especially nitrogen for green growth, along with phosphorus, calcium, and a host of micronutrients that bagged fertilizers often miss.
This slow-release feeding improves soil health over time by feeding the microbes and earthworms that keep your soil alive. Your lawn becomes more resilient, especially when you fertilize your lawn safely and effectively.
I have to be honest about the one big catch. The process involves breaking down fish. It will smell. Not like a fresh ocean breeze, but like a bait bucket left in the sun for a week. Plan for this, and you’ll be fine.
Once it’s fully processed and diluted for use, the odor fades quickly on the lawn. More importantly, it’s safe for pets and pollinators. I let my dog back on the grass as soon as it’s dry, and the bees keep right on working my clover—not like regular grass lawns.
Tools and Materials You’ll Need
You don’t need fancy gear. You likely have most of this already.
- A large, sealable 5-gallon bucket or food-grade barrel. This is your main vessel.
- Water. Rainwater is ideal, but tap water left out for a day works.
- Fish scraps. Heads, guts, and frames from cleaning your catch or the fishmonger are perfect. Whole small bait fish work too.
- A sturdy shovel if you choose the simple burial method.
- An old blender you won’t use for food again. This is for the emulsion method.
- Unsulfured molasses (optional). It feeds the good bacteria if you go the fermentation route.
For your own comfort, grab some rubber gloves and safety glasses. Trust me when you start blending.
Your most important “tool” is location, location, location. Pick a far corner of your yard, downwind from your house and any neighbor’s windows. This is non-negotiable. My spot is behind the shed, near Patch’s domain, where the smell can dissipate without causing an incident.
What Exactly Is Homemade Fish Fertilizer?
In simple terms, it’s plant food made by letting fish decompose and release their nutrients into water. You’re capturing all the good stuff-proteins, oils, and minerals-that plants and soil microbes love to consume.
You can make it a few ways, each with a different character.
- Fish “Tea”: This is the easiest method. You bury a container of fish scraps in the garden, let nature break it down for a few months, and then dig up the nutrient-rich liquid that collects. It’s passive and slow.
- Emulsified “Smoothie”: This is the fast, pungent method. You blend fish scraps with water into a liquid slurry. It’s ready to dilute and use in about a day or two. The smell is strongest with this one, but it’s quick.
- Fermented Hydrolysate: This is the advanced, low-odor method. You combine fish, water, and molasses and let it ferment for several weeks. The beneficial bacteria pre-digest the fish, making nutrients available and taming the smell.
Its nutrient profile is like a balanced, home-cooked meal for your lawn compared to the fast-food of high-number synthetic fertilizers. It definitely brings the nitrogen, which is the key driver for that thick, green carpet we all want. It also delivers a surprising amount of calcium, which strengthens grass cell walls and helps your lawn handle stress, be it from heat or my zero-turn, Max, taking a tight corner. It feeds the soil, and the soil feeds the grass. Milorganite lawn fertilizer benefits rates emphasize slow, steady release, helping you feed without risking burn or waste.
Why Bother Making Your Own? The Good and The Stinky
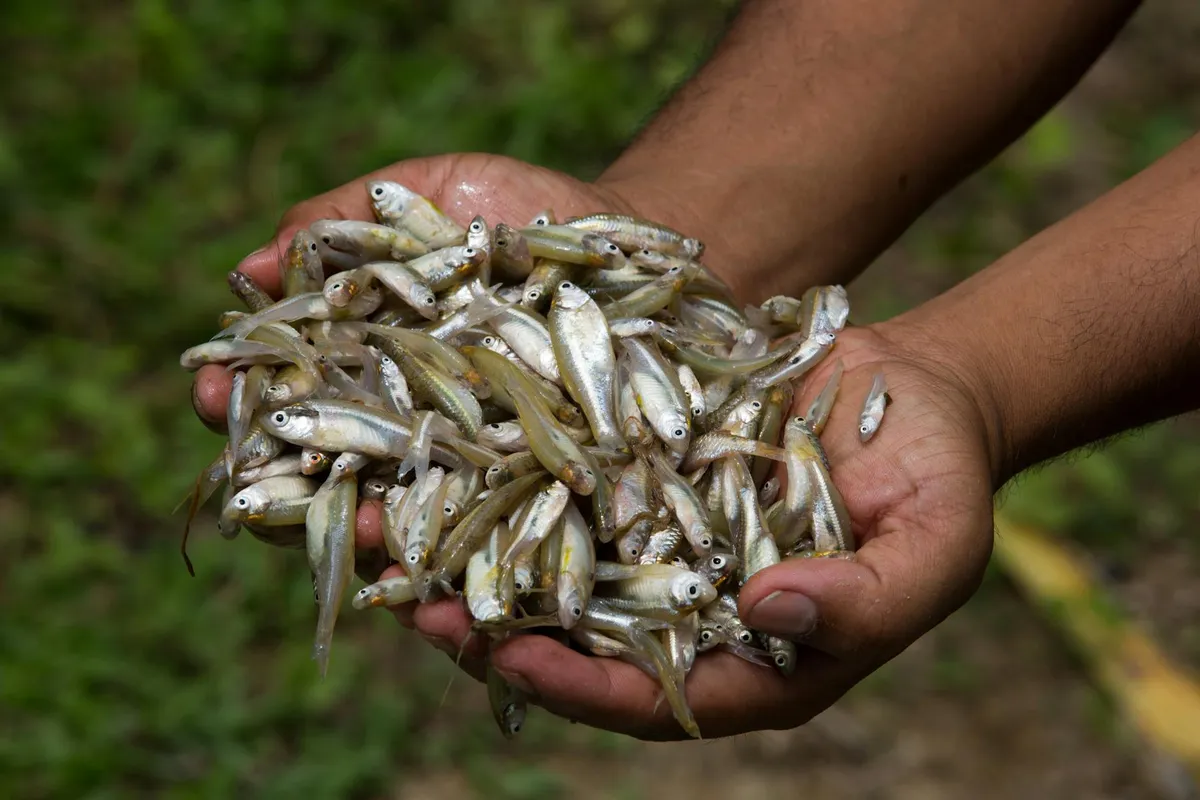
You can buy fish fertilizer off the shelf. I have a bottle in my shed. But making your own is a different game. It connects you to the cycle in your yard in a way a bottle never can. The benefits are real.
The pros are solid. It’s incredibly cost-effective, turning fish heads, guts, and frames from a cleaning session into a resource instead of waste. It’s superb for your soil’s biology, feeding the billions of microbes that make your dirt truly alive. This gentle, living food builds soil structure over time, unlike synthetic spikes that can fry your grass and microbes.
Now, the cons. We have to be honest. It smells during creation. We’re talking about decomposing fish, after all. It takes time to process, requiring patience. And yes, it can attract curious animals like raccoons or neighborhood cats during the making stage if not secured.
Think of synthetic fertilizer like an energy drink for your lawn. It gives a fast, visible jolt. Homemade fish fertilizer is more like a slow-cooked bone broth. It nourishes the whole system from the ground up, building resilience. You feed the soil, and the soil feeds the plant.
Greedy Grass Pro Tip
I always process mine near ‘Patch,’ my shady problem corner, well downwind from the house and any open windows. Using a bucket with a very tight lid is non-negotiable. After adding my scraps, I sprinkle a handful of finished compost or garden soil on top. This simple layer acts like a bio-filter and cuts the developing smell by half.
How Do I Make Fish Fertilizer? Two Simple Methods
So, how do you make fish fertilizer? You have two main paths, and your choice depends on your patience and your nose’s tolerance. Both work.
Method 1: The Simple Burial (The “Set It and Forget It” Approach)
This is my preferred method. It’s slow, quiet, and once the lid is on, it’s mostly out of sight and mind. The soil microbes do all the hard work.
- Gather fish scraps-heads, bones, skin, guts. Avoid any with heavy sauces or salts.
- Get a 5-gallon bucket with a lid. Drill a few small holes in the bottom.
- Place this bucket in a remote corner of your yard, maybe over a patch of bare soil you don’t care about.
- Add a 2-inch layer of ordinary garden soil or compost to the bucket’s bottom.
- Add your fish scraps. Cover them completely with another 4-6 inches of soil. Put the lid on tightly.
- Wait 2-3 months. Nature will break everything down.
- To harvest, lift the bucket. The rich, dark liquid that has leached out the bottom is your concentrated “fish compost tea.” Pour it off into another container.
This burial method dramatically minimizes odor and animal interest once the bucket is sealed, making it the most neighbor-friendly option. The resulting tea is mild and needs to be diluted with water (about 1 part tea to 10 parts water) before you use it.
Method 2: The Blended Emulsion (The “Quick Brew” for the Bold)
This is for when you have scraps and want to use a fertilizer fast. It’s immediate but intense. I only do this outside, and I warn my household first.
- Take your fish scraps. An old blender you dedicate to garden use is perfect for this.
- Add the scraps to the blender with an equal volume of water. Blend until it’s a smooth, gruesome slurry.
- Pour this slurry through a strainer or cheesecloth into a bucket to remove the solids. Compost those solids if you dare.
- This strained liquid is your raw emulsion. You must dilute it heavily right away for use: about 1/4 cup of emulsion per gallon of water.
- Apply it immediately to your garden soil (not directly on plant leaves). Do not store this mixture.
The smell during blending is potent and unforgettable-this is a strict outdoor-only task, and even then, pick a windy day. This creates a fast-use product that feeds plants quickly. It is not a concentrate you can store for later; use it all in one go.
How Do I Use Fish Fertilizer on My Lawn?
So you’ve got your fish brew ready. Now, how do you actually use it on your grass? The process is simple, but getting the details right makes all the difference. Think of it like feeding a pet-you want it to be nourishing, not overwhelming.
The golden rule is to always dilute fish fertilizer before it touches your lawn. Straight emulsion or tea is far too strong and can harm your grass and soil life. For a typical application, mix 1 part of your fish fertilizer with 10 to 20 parts water. I think of a 1:15 ratio as my “sweet tea” standard-it’s strong enough to be effective but gentle on the system.
For application, even coverage is your goal. I have two favorite tools for this:
- A hose-end sprayer. This is the fastest way to cover a large area. Just pour your diluted mix into the jar, set the dial, and spray.
- A large watering can. This is my go-to for smaller spots, like tending to “Patch,” my problem area. It gives you precise control.
Apply it to grass that is already slightly damp, either from morning dew or a light watering. This helps the soil absorb the nutrients more readily. Always aim for an early morning application. This gives the grass blades time to dry, minimizing any lingering odor and preventing the slim chance of sunburn on a hot day.
Timing your applications to your grass’s natural growth cycle is what separates a good feeding from a wasted one. For cool-season grasses like Kentucky Bluegrass or Fescue, the best windows are spring and fall when the grass is actively growing and can really use the food. For warm-season grasses, target late spring through summer.
How often should you do this? A solid rule is every 4 to 6 weeks during the prime growing season. I mark my calendar after an application as a reminder. Your lawn will tell you if it needs more-look for a deep green color and vigorous growth after a feeding. If it seems happy, stick to the schedule. A seasonal lawn fertilizer treatment schedule helps you time those feedings with the spring, summer, and fall growth cycles. In the next steps, you’ll find a simple seasonal schedule you can follow as you plan feedings.
How Do I Use Fish Fertilizer in My Garden?
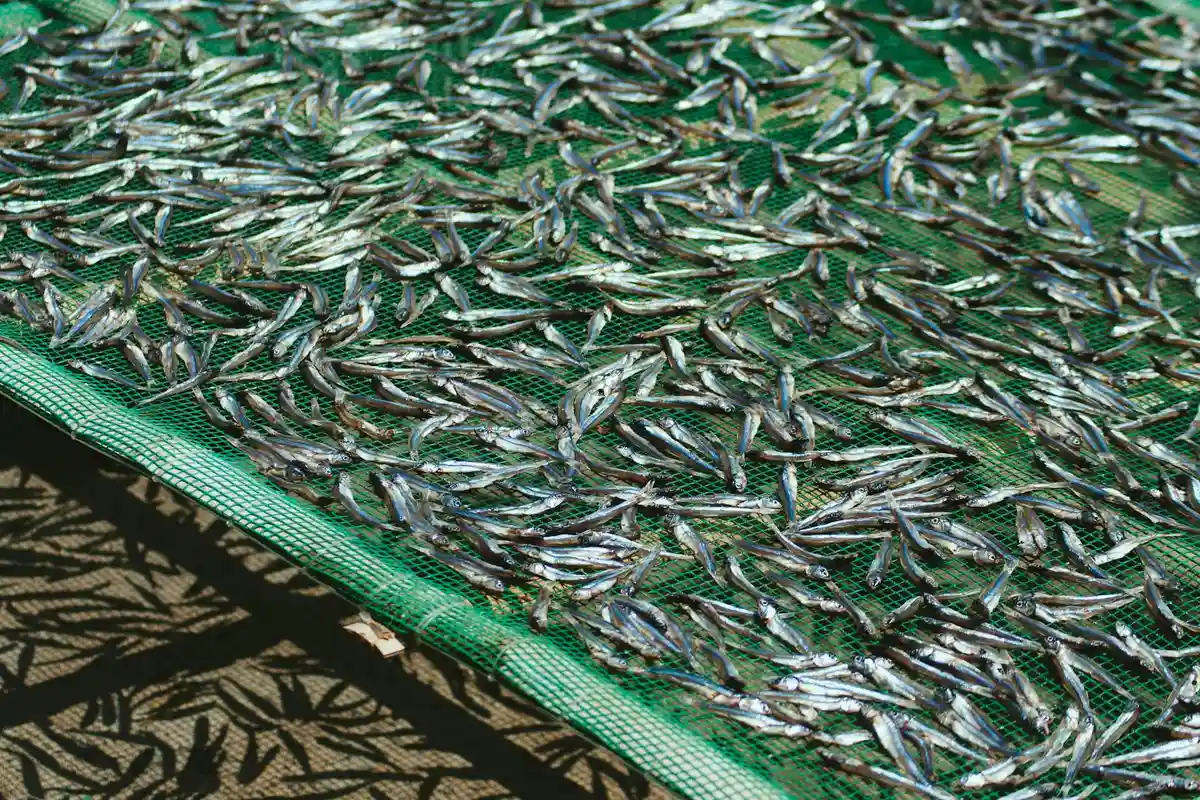
Your garden plants will absolutely thrive on fish fertilizer, but they don’t all drink from the same cup. Seedlings, established perennials, and hungry tomato plants all have different needs.
Tailoring the strength of your mix to the plant is the key to avoiding burn and getting incredible results. Here’s a simple guide I follow:
- Seedlings & Delicate Plants: Use a very weak solution, about 1 part fertilizer to 25-30 parts water. They’re just babies.
- Established Garden Beds & Shrubs: The standard 1:15 to 1:20 ratio works perfectly here.
- Heavy Feeders (Tomatoes, Peppers, Squash): These guys can handle a slightly richer meal. I use a 1:10 mix every few weeks once they start setting fruit.
Application in the garden is different from the lawn. You want to feed the roots, not the leaves. Pour your diluted mix directly onto the soil around the base of the plant, moving in a circle out to the drip line. Avoid splashing it on the leaves, especially in sunny weather, as this can cause fertilizer burn. Watering it in lightly after applying helps send those nutrients down.
Fish fertilizer is a superstar for container plants and houseplants, too. For these, I use an extra-gentle mix-about 1 part fertilizer to 40 parts water. It gives them a perfect, mild boost without any risk of salt build-up in the pot. My indoor ferns practically glow after their monthly fish tea. Knowing each plant’s fertilizer requirements helps keep a diverse collection healthy, and it guides you in choosing the right feeding routine for different species.
Now, a quick but important note. If you’re searching and come across questions like “how many fertilizer drops in a small fishtank with plants,” that’s a whole different world. You should never, ever use homemade or garden-grade fish fertilizer in an aquarium. It will pollute the water and harm your fish. That topic is for aquatic plant fertilizers, which are meticulously formulated to be safe in a closed water system. For outdoor lawns, a lawn fertilizer calculator helps you estimate the right amount to apply. It’s a quick way to keep lawn care precise and safe.
Troubleshooting and Managing the “Fishy” Factors
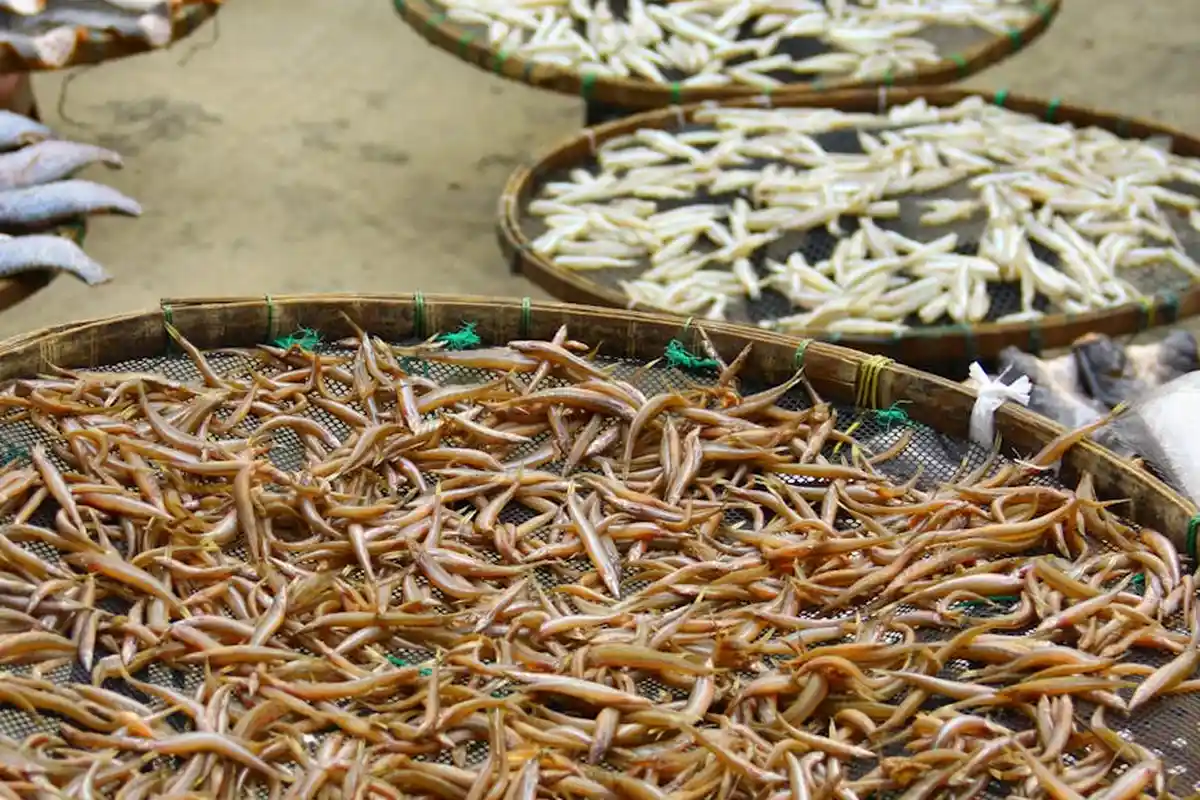
Let’s be honest. The smell is the elephant in the room, or rather, the fish in the bucket. A little odor means it’s working, but you don’t want it working against you with the neighbors.
Keeping the Scent in Check
The first rule is a tight lid. I use a 5-gallon bucket with a rubber gasket seal. If a whiff still escapes during storage, try this old trick: drop a few citrus peels (lemon, orange, or grapefruit) into the brew. They won’t hurt the process and can cut the sharpness of the smell. For a stronger solution, you can find deodorizing additives at garden stores, made just for compost teas and emulsions.
A good brew should smell like the ocean or damp forest soil, not like a forgotten lunch.
Unwanted Visitors: Flies and Critters
If you see flies buzzing, double-check your lid seal. For the burial method, make sure your container lid is screwed on tight and the burial spot is deep enough. The real key is application timing. Always water in your diluted fish fertilizer in the morning. The sun and soil activity help the scent break down quickly. By the time dusk rolls around and animals get curious, the smell has mostly faded.
Is It Still Good? Reading the Signs
Your nose is the best tool here. Success smells earthy, briny, and rich. Failure smells putrid, rotten, and foul. A failed brew often means not enough oxygen got to the mixture, letting the wrong bacteria take over. If it’s gone bad, don’t risk it. Bury it far from the house in a hole, or dispose of it. I learned this the hard way in Patch’s corner one year. Trust me, starting over is better than applying a toxic soup.
How Does Homemade Fish Fertilizer Stack Up?
You have options for feeding your lawn. Here’s how your homemade version measures up.
Versus Store-Bought Fish Emulsion
The bottled stuff is convenient. It’s consistent, and many brands work hard to minimize odor. You pay for that convenience. A gallon of quality fish emulsion can cost what it takes to make 30 gallons of your own mix. Homemade fish fertilizer wins on cost and control-you know exactly what’s in it, right down to the sardine.
Versus Synthetic Quick-Release Fertilizers
This is the big difference. Synthetic fertilizers are like a shot of espresso for your grass. They give a fast, green flush but can easily burn your lawn if over-applied. They feed the plant directly but do little for the soil life underneath. Homemade fish fertilizer is a slow, steady meal. It feeds the microbes and earthworms, which in turn feed your grass roots. It builds soil health season after season. For pet safety, the organic route is always my pick. That means choosing pet-safe products and applying them with proper timing. The goal is a healthy, pet-friendly lawn that kids and dogs can use safely. Synthetics often require keeping pets off the lawn for a period, but with a properly diluted fish application watered in, I’ve never worried.
The Bottom Line Value
Homemade fish fertilizer isn’t about instant perfection. It’s about the long game. You turn waste into garden gold for almost no cost. You build a resilient, living soil that holds water better and supports grass from the ground up. That’s a result you can’t buy in a bag.
Fish Fertilizer FAQ: Your Quick, Down-to-Earth Guide
1. Can I really make this with just a bucket and an old blender?
Absolutely. The bucket burial method is foolproof for a slow brew, while that retired blender is your ticket to a fast emulsion. Just commit that blender to garden duty forever after.
2. What’s the one rule I can’t forget when feeding my lawn?
Always, always dilute it first. Your grass wants a gentle sip, not a gulp-think 1 part of your fish brew to 15 parts water in a sprayer for even, greedy coverage.
3. My tomatoes are hungry. Should I give them the same mix as my lawn?
No, feed those heavy feeders a richer meal. Use a stronger 1:10 ratio for your tomatoes and peppers once they start fruiting to really fuel their growth.
4. How do I apply this without my yard smelling like low tide at a barbecue?
Apply your diluted mix in the early morning and water it in. The sun and soil microbes work fast to break down the scent, leaving just the benefits behind by afternoon.
5. I have leftover fertilizer. How do I store it without a stink?
Seal it in a lidded bucket with a tight gasket and keep it in a shady, out-of-the-way spot. Tossing in a few citrus peels can help neutralize any lingering odor until next time.
Bringing It All Together with Fish Fertilizer
Stick with a simple brew and apply it to damp soil during your lawn’s active growth periods. This consistent, gentle feeding builds resilient grass from the roots up, giving you that thick, vibrant carpet without the chemical rush.
Choosing fish fertilizer means you’re nurturing a lawn that’s safe for pets and pollinators, a responsibility I take seriously every time I fill Sunny’s tank. My own lawn, especially that tricky spot I call Patch, reminds me that learning never stops-your yard will guide you just as mine guides me.
Deep Dive: Further Reading
- Using Fish Emulsion As an Organic Fertilizer
- Fish fertilizer for my lawn – Gardening & Landscaping Stack Exchange
- Fish Fertilizer For Plants – When And How To Apply Fish Emulsion Fertilizer | Gardening Know How
- All You Need to Know About Fish Fertilizer
Written by Ria Carrington. Ria is an avid lawn care enthusiast and advisor. No lawn is unsalvagable when Ria is at work. She has helped countless homeowners breath new life into their dying lawns. She has a B.Sc in Agriculture and brings practical advice combined with knowledge of plant science and her decade worth of hands on experience.