
How Do You Stop Birds and Pests from Eating Your Grass Seed?
You just planted fresh seed, and now birds are treating your lawn like a buffet. I get it-that sinking feeling is why we’re here.
We will cover affective physical barriers, the best time to seed, choosing smarter seed types, and making your own safe deterrents.
I’ve battled this for years, saving seed and sanity with methods tested on my own grass, including the stubborn lessons from Patch.
At a Glance: Key Factors
You want a thick lawn, not a free buffet. Here are the most reliable ways to protect your seed investment, starting with the safest options for your family and the environment.
Combining two or three of these methods will always give you better results than relying on just one. It’s about creating enough small obstacles that pests move on to an easier meal elsewhere.
| Method | How It Works | Best For Deterring | Pet & Pollinator Safe? |
| Straw or Seed Blanket | A light physical cover hides seed and makes it hard to peck or dig. | Birds, squirrels, surface insects. | Yes. Use clean, seed-free straw. |
| Peat Moss or Compost Topdressing | A thin 1/4″ layer buries seed just enough to conceal it while letting it sprout. | Birds, ants, some mice. | Yes. Improves soil, too. |
| Strategic Timing & Watering | Seed just before a forecasted rain, then water lightly 2-3 times daily to speed germination. | All pests. Less time exposed means less time to be eaten. | Yes. The safest method of all. |
| Natural Repellents (e.g., Capsaicin) | Sprays made from hot pepper wax create a taste barrier mammals dislike. | Deer, rabbits, squirrels, sometimes birds. | Generally safe once dry, but keep pets off until then. |
| Floating Row Covers or Netting | A lightweight fabric barrier physically blocks birds and larger animals. | Birds, deer, rabbits. | Yes, if secured so small animals don’t get tangled. |
Why Do Birds and Pests Target Your Grass Seed?
It’s not personal. To wildlife, your freshly spread lawn seed looks like a giant pile of delicious, nutritious birdseed. Grass seed is packed with the carbs and proteins animals need, and it’s just sitting there, unguarded and easy to reach. This is a universal headache for homeowners, especially when you’ve put effort into starting a new lawn project. I’ve spent plenty of mornings staring at Patch, my problem area, wondering where all the seed went.
Let’s answer those common questions directly. Yes, birds absolutely eat grass seed. Sparrows, blackbirds, and pigeons are often the first to arrive. Yes, deer and rabbits will eat it, especially in suburban areas. Mice and voles will absolutely nibble on grass seeds, often carrying them off to store. Even ants can be a problem, as they’ll harvest the tiny seeds to feed their colonies.
As for your pets, the grass seed itself isn’t toxic if your dog eats a little. The real concern is the methods you might use to protect it. Always choose pet-safe repellents and physical covers over harsh chemical deterrents. This problem is 100% normal and 100% solvable with some simple, smart tactics.
Birds, Squirrels, and the Usual Suspects
These are your daytime raiders. You’ll see birds hop-scratching at the soil and squirrels digging little test holes. They’re opportunistic. A bare, seeded patch is an open invitation. The sound of seed hitting soil practically rings the dinner bell.
A light covering is your best defense here, making the seed visually and physically harder to get. I use a thin layer of peat moss, barely enough to color the soil. It’s like putting a tablecloth over a picnic. The seed is still there, germinating safely, but it’s no longer the most obvious snack on the block.
Deer, Rabbits, and Larger Grazers
These visitors do more than nibble. A deer walking across your seeded area can do as much damage as it eats. They’re driven by scent and ease. A taste-based repellent can be very effective here. I’ve had good results with capsaicin-based sprays. They create a burning sensation mammals avoid, but they don’t harm the animals.
Remember to reapply after heavy rain or watering. For rabbits, a short fence of chicken wire can be a simple, physical deterrent if you have a small, key area like a backyard renovation spot.
Tiny Troublemakers: Ants, Mice, and Insects
This is stealth theft. You might not see it happening. One day the seed is there, the next it’s gone, with no obvious culprit. Ants can carry away hundreds of seeds a day. Mice and voles will tunnel just under the surface, feasting as they go.
Keeping the seed bed consistently moist is a powerful tactic against these tiny pests. Watering lightly 2-3 times a day not only speeds up germination for you, it makes the seeds less appealing to move and harder for insects to cart away. A topdressing of compost also helps by creating a slightly more resistant layer they have to work through.
What About Your Own Pets?
Your dog or cat can be the most enthusiastic pest of all, rolling in the fresh soil or digging for fun. Beyond eating seed, their paws can displace it and compact the soil you just prepared.
The safest solution is temporary exclusion. I use simple garden fencing or stakes with string to block off the seeded zone until the grass is established. It’s a clear visual barrier for them and for you. If you use any repellent, even a natural one, check the label and keep pets off the area until it has fully dried to be safe.
Physical Barriers: Your Best Bet for Direct Protection
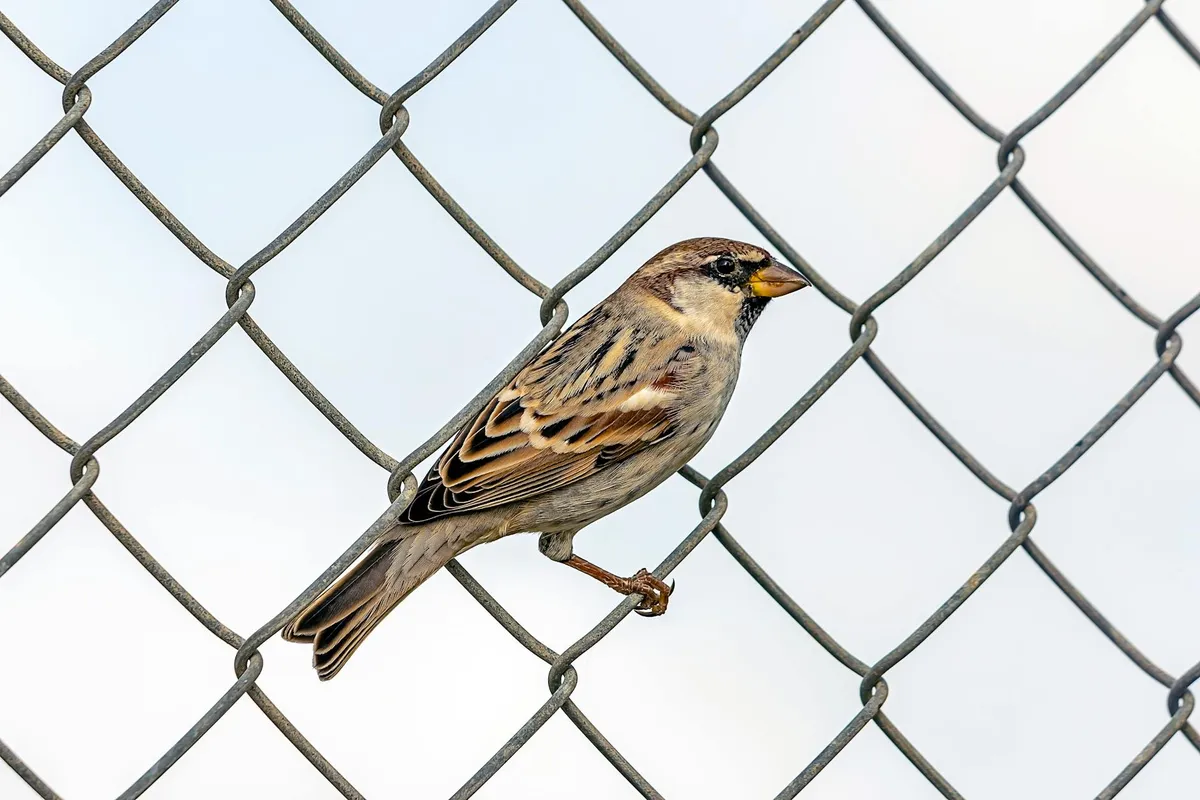
When birds are eyeing your freshly seeded lawn like a free buffet, a physical barrier is the most reliable way to stop them. It’s the difference between hoping they don’t come and knowing they can’t get through. I’ve tried all sorts of tricks, but for direct protection, nothing beats putting something between the seed and the sky.
You have a few good options, each with its own strengths. Netting is your top choice for bird-specific defense. Straw or light mulch helps hold moisture and hides seed. Erosion control blankets are fantastic for sloped areas. Specialized seed protection mats offer a clean, reusable solution.
The right barrier turns your lawn from a vulnerable snack into a secure growing zone.
Step-by-Step: Installing Protective Netting
Bird netting is lightweight, inexpensive, and incredibly effective. The key is installation. If it’s loose, birds will get underneath. If it’s too tight, it can damage new grass. Here’s how I do it over Patch, my problem corner.
- After seeding and lightly raking, unroll the netting over the entire area. Let it drape loosely.
- Secure the edges every 2-3 feet using landscape staples or U-pins. Push them all the way into the soil.
- For larger areas, use stakes in the middle of the netting to create a slight tent effect, preventing sagging.
- Check it daily. Once you see grass blades about an inch tall and poking through the netting consistently, it’s time to remove it. This is usually 2-3 weeks after germination.
- Pull up the stakes and gently roll up the netting. Slow and steady prevents you from pulling up tender new grass.
Leave the netting on too long, and the grass will grow into it, making a huge mess. Timing is everything.
Using Straw or Light Mulch as a Cover
Straw isn’t just for old-school scenes. A light layer of clean, seed-free straw (or pine straw) is a fantastic multi-tasker. It camouflages seed from birds, helps retain crucial soil moisture, and protects seeds from being washed away. A thin, light layer is the goal-you should still see about 50% of the soil underneath. That cover also helps protect new grass seed germination by moderating moisture and temperature. It gives seedlings a steadier start as they emerge.
I avoid heavy bales of hay, which often contain weed seeds. Straw is better. Simply shake it out over the seeded area by hand. It will naturally break down as the grass grows. For cost and effort, it’s hard to beat. A single bale covers a large area for a few dollars.
For the “grass seed protective layer” question, this is it. Never use plastic sheeting. It will cook your seeds, prevent water and air from getting in, and guarantee failure.
When to Consider Landscape Fabric or Mesh
Specialized products like seed protection mats or jute mesh are a step up in cost and control. These are perfect for high-traffic pet areas or spots where erosion is a real worry. They let water and light through but block birds and cushion footfalls.
Commercial covers are simple: unroll, stake down, and forget. They biodegrade over a season. DIY burlap is a great, cheap alternative. Just be sure it’s natural, untreated burlap. Soak it, lay it over the seed, and secure the corners. It acts like a professional erosion blanket.
Consider these for frost protection, too. On a night when a surprise frost is predicted, a frost blanket or even an old bedsheet laid over your seeded area can protect tender sprouts. Just remember to remove it in the morning.
Scare Tactics and Natural Repellents
Barriers are a direct block, but sometimes you need to mess with a pest’s head. Scare tactics and repellents work by making your lawn seem scary, dangerous, or just plain unappealing. They’re less foolproof than a net, but great for supporting your main defense or dealing with clever animals.
Motion and Sound Devices: A Practical Guide
Motion-activated sprinklers are my favorite here. They work for birds, cats, dogs, and deer. When an animal crosses the sensor, it gets a surprising but harmless spray of water. Place it so it covers the approach to your seeded area. The brand I use has a battery that lasts all season.
Reflective tape or old CDs dangling from stakes can create flashes of light and noise that spook birds. Ultrasonic devices emit a high-frequency sound pests hate, but people and pets can’t hear. If you use a sound device, put it on a timer so it only runs during daylight hours, keeping the peace with your neighbors.
These tools work best when you move them every few days. Animals are smart and will realize a stationary plastic owl isn’t a threat.
Pet-Safe Natural Repellents You Can Make or Buy
I always advocate for pet-safe and pollinator-friendly methods. Many commercial granular repellents use smells like coyote or fox urine (synthetic) to scare off smaller mammals. They’re generally safe once dry but always read the label.
For a DIY option, a light dusting of cayenne pepper over the seeded area can deter squirrels and some birds. The capsaicin irritates them. It needs reapplication after rain or watering. Blood meal is a double-duty organic fertilizer and repellent, but its smell can also attract some dogs.
The key with any powder or granule is to use it sparingly. You want to deter pests, not harm worms, soil life, or beneficial insects visiting other plants in your yard.
Keeping Cats and Dogs Out of the Seeded Area
Our own pets can be the biggest culprits. For dogs, scent repellents with citrus or vinegar can mark the area as uninteresting. You can train them to avoid the spot with consistent guidance. A short, temporary garden fence is the most effective physical barrier.
For neighbor cats, the motion-activated sprinkler is the king of deterrents. Laying chicken wire flat on the soil (before seeding) makes it an uncomfortable place to dig or lounge. The grass will grow right through it.
Consistency is your ally with pets-combine a physical boundary with a scent they dislike for the best results. It protects your seed and keeps your furry friends from rolling in something they shouldn’t.
Smart Seeding: Timing and Seed Choices
Picking the Perfect Planting Window
The time you sow seed matters as much as the seed itself. Think of birds and pests as having a predictable lunch schedule. Your goal is to lay out the buffet when they aren’t looking.
For cool-season grasses, early fall is the golden ticket. The soil is still warm for germination, but the frantic bug and bird activity of spring and summer has slowed down. I aim for late August to mid-September. For warm-season grasses, late spring is your window, once the soil is reliably warm and you’ve checked the best time to plant grass seed in spring.
Even the time of day helps. I always seed in the late afternoon. This gives the seeds a whole cool, damp night to start settling into the soil before the morning sun brings out the first hungry scouts. Seeding in late afternoon or early evening gives your seed a crucial head start against dawn’s early foragers.
Understanding Treated or Coated Grass Seeds
You’ll see seeds labeled as “coated” or “treated.” This isn’t a gimmick. Many of these coatings use natural compounds, like tannins, that make the seed taste bitter to birds and squirrels. The seed isn’t poisoned; it’s just made unappetizing.
It’s like putting hot sauce on your fries to keep your friend from eating them. The wildlife takes one bite and moves on, completely unharmed but no longer interested. These coatings often contain a little fertilizer too, giving the seed a nutrient boost right where it needs it. Bird-resistant seed coatings are a safe, effective first line of defense that works by taste, not toxicity.
I use them in Patch, my shady problem area, because the slower germination there makes seeds vulnerable for longer. It just makes sense.
Managing Weather Risks: Frost and Heavy Rain
Timing your seeding right is the best frost protection. If you seed in early fall, the young grass should be established well before the first hard freeze. The real danger is a surprise late frost right after you’ve sown. Understanding how grass seed survives frost and cold can guide your seed choice. This knowledge helps you tailor your aftercare for better establishment.
If that forecast hits, a very light, breathable cover can help. An old bedsheet or a special frost cloth laid loosely over the area traps just enough warmth. Never use plastic; it blocks air and creates a soggy, moldy mess. I learned this the hard way years ago, creating a slimy patch that smelled awful.
For heavy rain, the worry is washout. The fix is good seed-to-soil contact. After spreading seed, I go over the area lightly with a rake or a roller. This presses the seed into the dirt, so a downpour is less likely to carry it all into your driveway. Pressing seed into the soil with a rake is your best insurance against it washing away in a storm.
Common Lawn Care Mistakes When Protecting Grass Seed
Over-Seeding and Wasting Money
When birds eat seed, the gut reaction is to throw down more. Resist it. Spreading seed too thickly is a waste of money and creates bigger problems. Crowded seedlings fight for light and water, leading to weak, thin grass. All that extra, uncovered seed also becomes an even bigger beacon for every pest in the neighborhood.
Follow the recommended rate on the bag. It’s science, not a suggestion. I once got overzealous near my driveway, and it took two extra seasons of work to correct the thin, weedy mess that resulted. More seed does not mean more grass; it often means a weaker lawn and a bigger pest buffet.
Poor Barrier Installation That Hurts Germination
Physical barriers like netting or straw can work, but only if installed with a light touch. Netting pulled drum-tight is a hazard for birds and prevents you from watering properly. Straw piled on like a thick blanket blocks sunlight and suffocates new growth.
The right way is gentle. Lay bird netting loosely so it can be pegged down but billows slightly. Use only a thin, barely-there layer of clean straw. You should still see plenty of soil underneath. Think of it as a light blanket, not a winter coat. A good barrier protects without smothering; you should always see soil through your straw or netting.
Using the Wrong Products at the Wrong Time
This is a critical moment for your lawn’s future. Using harsh chemical pesticides or weed killers near new seed can stop germination in its tracks or harm the pollinators you want to encourage.
Never apply a standard weed-and-feed or insecticide to a newly seeded area. If you must protect the area from insects, look for products specifically labeled as safe for new seedlings, and always opt for pet-safe and pollinator-friendly options. Your goal now is nurturing life, not eliminating it. The seeding period is a time for growth, not chemical control; harsh products will stop your grass as quickly as any weed.
I keep Max, my mower, and Sunny, the irrigation, far away from the new seed area until the grass is ready for its first cut. When it’s time for that first mow, set the blade high and take off only a light swipe. This first cut should be gentle and brief to let the seedlings establish. Patience and the right gentle practices are the only products you need at this stage.
Recommended Products and Tools for Seed Protection
I’ve watched flocks descend on a freshly seeded area like it’s a buffet. You rake, you seed, you water, and then you see the first signs of life… only for it to vanish overnight. It’s maddening. Protecting your seed isn’t about declaring war on nature, it’s about smart, temporary measures. Your goal is to create enough of a hassle so pests move on, giving your grass the few critical days it needs to settle in. Let’s look at the tools that make that happen.
Barriers and Covers: What to Look For
Physical barriers are your first and most reliable line of defense. Think of them as a temporary fence around your investment.
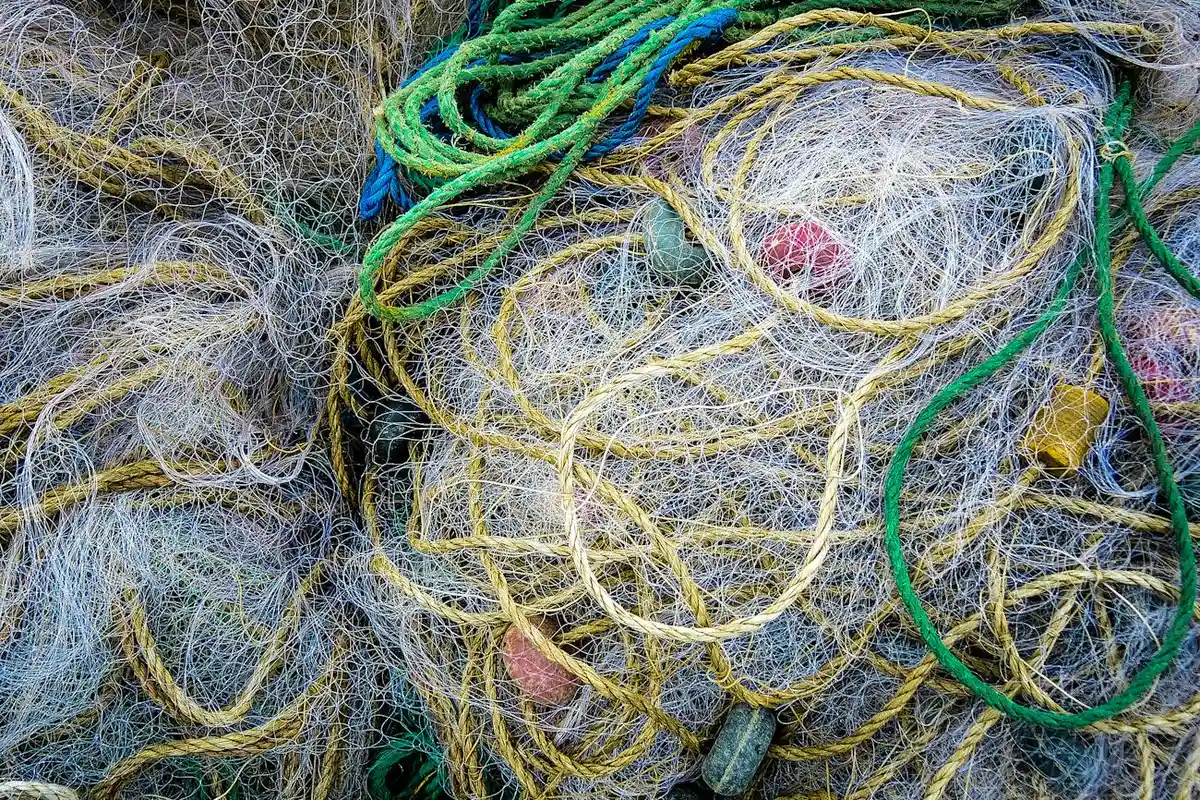
Protective Netting: This is my go-to for larger areas. You roll it out over the seeded soil and pin it down with landscape staples. Look for netting labeled as UV-resistant so it doesn’t brittle and snap in a week of sun. The mesh should be small enough to block birds but large enough to let light and water through. The real test is in the removal. Choose a netting that’s easy to lift without snagging and pulling up your new seedlings. I usually remove it once the grass is about an inch tall.
Biodegradable Seed Blankets (Erosion Mats): These are fantastic for sloped areas or ‘Patch,’ my problem corner. They do two jobs at once: they shield the seed and hold soil in place. You want a blanket that’s breathable and made from natural materials like straw or coconut coir that will decompose. Avoid anything too thick or plastic-based, as it can smother the seed and create a moldy mess.
For a DIY cover, a very light topping of weed-free straw (just a dusting, not a layer) can work. It’s cheaper but less precise; too much blocks light, too little does nothing. Store-bought blankets are more consistent and often include a bit of starter fertilizer right in the mat.
Repellents: Electronic and Natural Types
When a physical cover isn’t practical for the whole yard, repellents can help change the environment.
Motion-Activated Deterrents: These are great for larger lawns. A motion-activated sprinkler, like a Scarecrow, is surprisingly effective. It waits, it senses movement, and it gives a startling burst of water. They work on everything from birds to deer. The downside is setup; you need a hose hookup and to adjust the sensitivity so it doesn’t go off every time a leaf blows.
Simpler options include reflective tape or old CDs hung from stakes. The flashes of light and noise in the wind can scare birds away. It’s a low-cost DIY trick, but its effectiveness can wear off as birds get used to it.
Natural Repellent Granules: These are scent-based products you sprinkle around the seeded area. Common ingredients are putrescent egg solids or capsaicin (from hot peppers). Always, and I mean always, check the label for a “pet-safe” designation if you have dogs or cats that go outside. These granules need reapplication after heavy rain or watering, so they require more attention than a set-and-forget net.
Soil and Seed Treatments That Help
Sometimes the best protection is built right into your routine.
Starter fertilizer is a must, but some brands now include a gentle, natural bird repellent. It’s a smart two-in-one step. More importantly, ensure perfect seed-to-soil contact. When seed is just sitting on top of hard soil, it’s an easy snack. I run my rented roller over the area after seeding, pressing those seeds into the dirt where they’re harder to find and more likely to sprout.
You can also find pre-coated grass seeds. These have a thin, tacky coating that makes them less palatable and helps retain moisture. They’re more expensive, but for a small repair job, the convenience can be worth it. If you’re planning a repair, you might explore buy grass seed types to pick the best blend for your lawn. Different grass seed types vary in germination and maintenance, so a quick comparison helps.
Remember, these treatments are supporters, not replacements. Pair them with a physical barrier for the strongest defense. Your job is to stack the odds in favor of your grass, not the local wildlife.
Your Grass Seed Protection Questions, Answered
Can I use plastic sheeting to protect my grass seed?
Absolutely do not use plastic. It will smother your seed, block water and air, and cook any sprouts in the sun, guaranteeing a failed patch.
What’s the best protective cover if I have dogs?
Use a sturdy, biodegradable erosion control blanket staked down tightly. It physically blocks digging paws while letting grass grow through, and it’s much safer than loose netting that can tangle.
Do I need to protect the seedlings from frost, or just the seed?
Protect the seedlings. Fresh sprouts are tender; if a hard frost is forecast after they’ve emerged, cover them overnight with a breathable frost cloth or an old bedsheet, removing it in the morning.
What’s better: a seed blanket or just straw?
A seed blanket is better for slopes and high-traffic areas as it won’t wash or blow away. Straw is a great, cheap option for level ground if applied thinly-you should still see 50% of the soil.
How do I stop my own dog from eating the grass seed?
Temporary fencing is your surest bet. Combine that with a light scent deterrent like citrus around the perimeter to make the area less interesting to them.
Final Thoughts on Protecting Your Seed
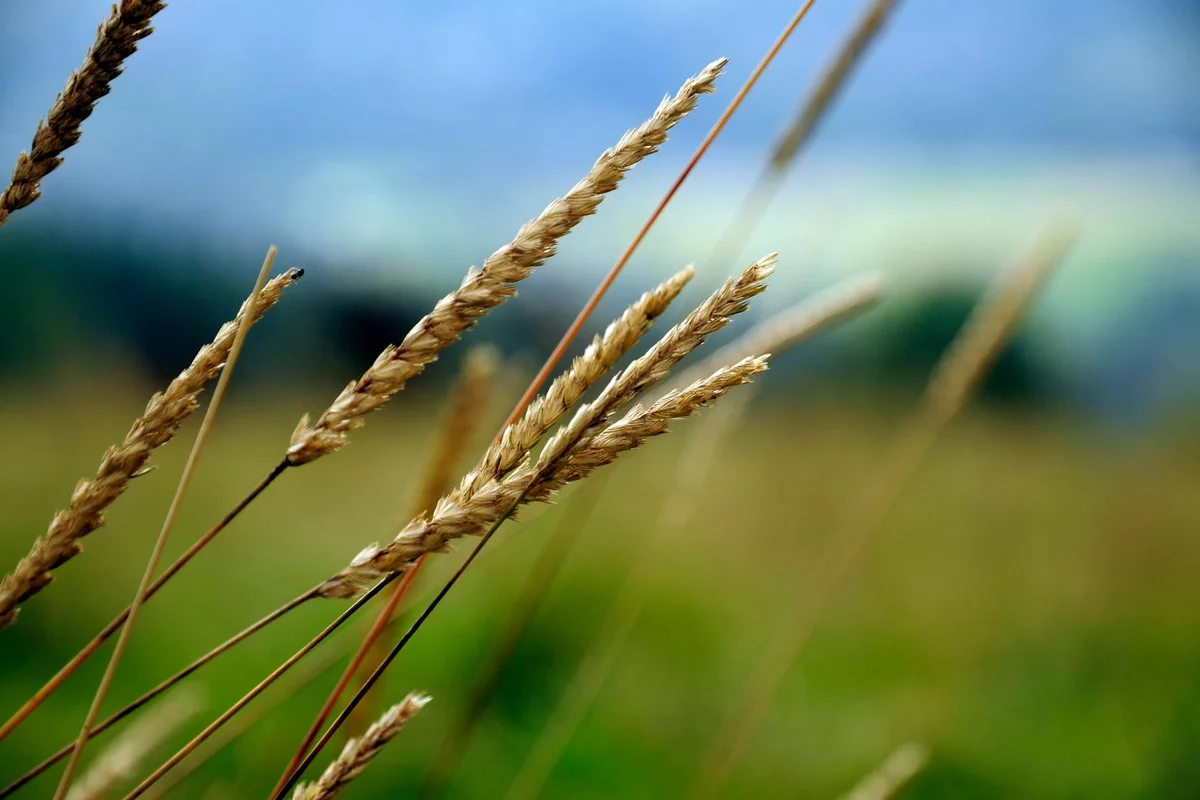
The single most effective move is to cover that seed right after you spread it. A light layer of straw or a germination blanket makes it invisible to birds and shields it from harsh sun. This simple step gives your grass the best chance to sprout without becoming a free buffet.
Good lawn care is about working with your local environment, not fighting it. Observing what visits your yard teaches you how to protect your grass responsibly, creating a thicker lawn that’s safe for everyone who enjoys it. Mindful lawn care also reduces environmental impacts like runoff and water use.
Expert Resources and Citations
- r/lawncare on Reddit: How the hell do you keep birds from eating your seed after overseeding?
- Bird Control for Lawn Care & Grass Seed
- r/lawncare on Reddit: When I overseed, how do I prevent birds eating the seed that’s spread please?
Written by Ria Carrington. Ria is an avid lawn care enthusiast and advisor. No lawn is unsalvagable when Ria is at work. She has helped countless homeowners breath new life into their dying lawns. She has a B.Sc in Agriculture and brings practical advice combined with knowledge of plant science and her decade worth of hands on experience.