
How Do I Cover and Protect New Grass Seed for Optimal Germination?
You’ve done the hard work of seeding, and now you’re staring at that bare patch, wondering if the birds or the next rain will undo it all. I get that nervous feeling every time, but a proper cover is your simple, money-smart fix for peace of mind and a thicker lawn.
This guide breaks it down into practical steps, covering why skipping cover is a gamble, how to choose between straw, mats, and topdressing, the right technique to apply it, and the crucial watering balance to hit next.
I’ve tested every method on my own lawn, from failed experiments with Patch to successful overseeding with Max, so you don’t have to waste time or cash figuring it out.
At a Glance: Key Factors for Seed Success
Before we get into the weeds (bad joke, sorry), here’s my cheat sheet. Do these four things right, and you’re most of the way there.
- Soil Contact is Non-Negotiable. Every single seed needs to be nestled into the soil, not just sitting on top of it.
- Your Cover Must Be Light and Breathable. Think of a thin blanket, not a winter comforter. It should let light and air through.
- Moisture is Your Number One Job. If the seed and the top quarter-inch of soil dry out, germination stops. Your life now revolves around keeping it damp.
- Patience is Part of the Process. You can’t rush it. Don’t walk on it, don’t fiddle with it. Just protect it and keep it wet.
Do Grass Seeds Really Need to Be Covered?
Yes. You absolutely should cover your grass seed. Anyone who says otherwise probably enjoys reseeding the same spot three times a season.
Think of an uncovered grass seed like a potato chip left out on the kitchen counter. It’s going to get stale, brittle, and unappealing real fast. Wind dries it out. Sun bakes it. The second a rain shower hits, it washes into a pile in your gutter or a low spot. Birds see it as a free buffet. A cover protects that vulnerable seed while it does its most important work.
A proper covering does three critical jobs for your new seed: it locks in moisture, buffers soil temperature, and acts as a physical shield.
First, moisture. This is the big one. A seed needs to absorb water to wake up and start growing. Without a cover, morning dew evaporates by 9 AM on a sunny day. A light layer of straw or peat moss acts like a sponge, holding that moisture against the seed for hours longer.
Second, temperature. Spring and fall soils can swing from warm days to chilly nights. A cover acts as a buffer, like a layer of mulch in a garden bed. It keeps the seed’s environment a little more stable, which it loves.
Third, protection. I’ve watched a flock of sparrows decimate a freshly seeded area in one afternoon. A cover hides the seed. It also prevents a hard rain from carving little gullies through your precious topsoil and washing all your effort (and money) away.
Now, is there an exception? Technically, yes. Some professional-grade perennial ryegrass blends are coated to hold moisture and can be surface-sown. But for 99% of us homeowners sowing Kentucky bluegrass, fescue, or even common ryegrass, the rule is simple: cover your seed. It’s the difference between a thick stand of grass and another lesson from my friend, Patch.
Tools and Materials You’ll Need
This isn’t just about throwing down a blanket. Doing it right means having a few key things ready before you even open the seed bag.
- Quality Seed: The star of the show. Don’t cheap out here.
- A Good Rake: For loosening the top layer of soil so seed has a place to nestle.
- A Lawn Roller (or Your Feet): To press the seed firmly into contact with the soil. Good seed-to-soil contact is non-negotiable.
- Your Watering System: This is Sunny’s time to shine. A consistent sprinkler or your drip lines are what keep the whole operation alive.
- Your Cover Material: The protective layer we’re here to talk about.
Getting the ground ready is just as important as what you put on top of it. If the seed isn’t in good contact with damp soil, no cover in the world will save it. Once your seed is down and pressed in, the next big choice is what to cover it with.
The Seed Cover Showdown: Picking Your Champion
Every cover has its personality. Some are fussy, some are messy, some are perfect for that tricky spot like Patch. Let’s line them up and see which one fits your lawn’s situation.
Straw (The Old Reliable)
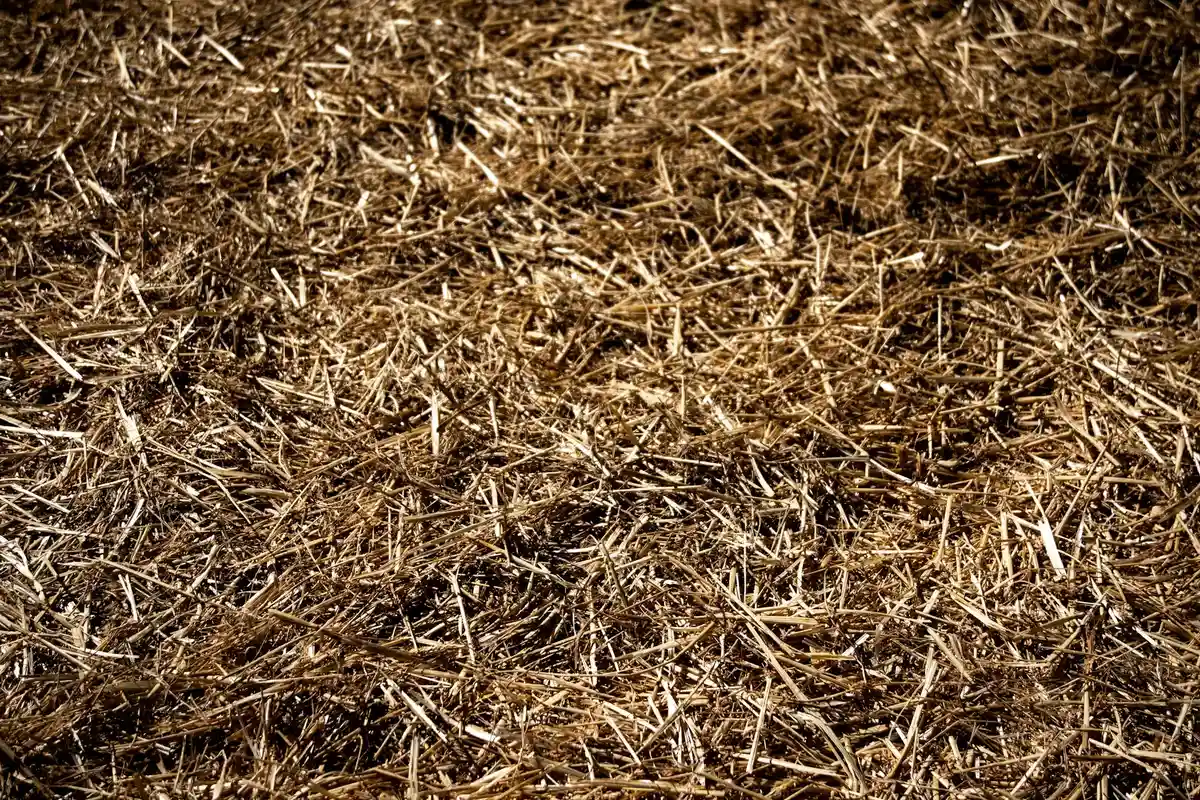
This is the classic for a reason. It’s lightweight, breaks down over time, and lets light and water through.
- Pros: Inexpensive, easy to spread, provides good erosion control.
- Cons: Can look messy, often contains weed seeds (if you get the wrong kind), and you have to rake it up later.
- Best For: Large, sunny areas where erosion is a concern.
Always buy weed-free wheat straw, not hay. Hay is for feeding animals and is packed with grass and weed seeds you don’t want. Straw is the dried stalks left after harvest. For erosion-prone sites, peat moss straw erosion mats cover can help stabilize soil and reduce runoff.
Apply it so lightly that you can still see about 50% of the soil underneath. A fluffy, thin layer is the goal. Once your new grass is about 3 inches tall, you’ll need to gently rake the leftover straw off.
Peat Moss (The Moisture Master)
Can you put peat moss over grass seed? Absolutely. It’s a champion at holding water right where your seeds need it.
- Pros: Superb moisture retention, gives a neat, finished look, and is generally weed-free.
- Cons: Can form a dry, crusty layer that repels water if it dries out completely. It’s also acidic and its harvest raises environmental concerns for some.
- Best For: Small repair areas or gardens where precise moisture control is worth the extra cost and care.
My tip is to moisten the peat moss in a wheelbarrow before spreading it. Apply the thinnest possible layer, just enough to shade the soil. Think of it like a damp, brown veil, not a blanket.
Compost (The Nutrient Booster)
If you can get it, finely screened compost is my top-shelf choice. It protects, retains moisture, and feeds the baby grass its first meal.
- Pros: Adds organic matter and nutrients, improves soil structure, excellent moisture retention.
- Cons: Can be expensive for large areas. Low-quality compost can introduce weeds or have a chunky texture that smothers seeds.
- Best For: Homeowners who want to give their new lawn the best possible start, especially in nutrient-poor soil.
You must use compost that is labeled “weed-free” and has a fine, almost soil-like texture. Avoid using compost from your backyard pile unless you’re 100% sure it got hot enough to kill all weed seeds.
Grass Clippings (The Free Option, Used Wisely)
Can I use grass clippings to cover grass seed? Yes, but the rules are strict. I’ve seen more people smother their seed with this “free” option than succeed. Grass seed needs a proper lawn project to thrive.
- Pros: Free, readily available, and breaks down quickly.
- Cons: Very easy to apply too thickly, can form a hot, rotting mat that kills seedlings, and can introduce herbicides if your donor lawn was recently treated.
- Best For: A tiny spot repair where you can control the application perfectly.
The clippings must be bone-dry, and you must apply a whisper-thin layer. If you can’t see the seed and soil clearly underneath, you’ve used too much. Never use clippings from a lawn treated with weed killers in the last few mows.
What About Dirt, Potting Soil, or Plastic?
Let’s clear up these common questions fast.
Dirt or Topsoil: A firm no. Covering seed with a layer of soil is too heavy. It will block light and often prevent the delicate seedlings from pushing through. You want a cover, not a burial.
Potting Soil: This is a maybe, but it’s a waste of money for a lawn. It’s designed for pots, not for spreading over your yard. It works in theory but offers no real advantage over compost and costs much more. Understanding lawn soil composition purpose helps you target amendments for drainage, pH, and nutrients. That context makes potting soil even less appealing for lawns.
Clear Plastic: Rarely, and with major caution. Some use it in early spring to warm up cold soil faster. You must remove it the instant you see the first green sprout. Leave it on for just an hour too long on a sunny day, and you’ll cook every seedling. It’s a high-risk tactic I rarely recommend.
The 4-Step Process: From Bare Ground to Green Sprouts
I used to overcomplicate this. Now I break it into four simple jobs you can tackle over a weekend. Do them in order, and you set your new grass up to win.
Step 1: Prep the Bed Like You Mean It
Good seed needs good contact with soil. Don’t just toss it on hard, packed dirt. Grab a garden rake and scratch the surface thoroughly. You’re not digging a trench, just creating a rough, loose texture for the seeds to nestle into. Think of it like giving the soil some “tooth” for grip.
As you rake, pull out any bigger rocks, old roots, or clumps of dead grass. Your goal is a surface that’s smooth, loose, and level. Walking over it should feel soft, not lumpy. A level bed prevents water from pooling in one spot and washing your seed into another.
Taking ten extra minutes here to get the surface right prevents a month of headaches later.
Step 2: Seed, Then Feed (If Needed)
Now for the main event. Use a spreader, whether it’s a broadcast spreader for large areas or a handheld one for Patch’s corner. Follow the seeding rate on the bag. More seed is not better; overcrowded seedlings will fight each other and die. You want an even, consistent scatter.
This is also the time for a starter fertilizer if your soil test calls for it. A starter feed gives those first roots a gentle boost. Remember, this fertilizer is food for the seed, not a cover to protect it. That’s the next, and most important, job.
Step 3: The Gentle Art of Covering
This is the step most folks skip, and it’s the secret. A light cover holds moisture, protects from birds and sun, and prevents washouts. My go-to is a thin layer of weed-free straw or peat moss.
Spread it so you can still see about 50% of the soil underneath. I call this the “see-through” test. If you’ve completely buried the dirt, you’ve used too much. Once it’s down, gently press it into contact with the soil. You can use the flat back of your rake or take a very light pass with a half-full lawn roller. You’re just tucking the seeds in, not smothering them.
The right cover acts like a protective blanket, locking in the moisture and warmth seeds need to wake up.
Step 4: Watering is Everything
The cover helps, but you are the rainmaker. This is non-negotiable. For the first two weeks, your only job is to keep the top inch of soil consistently damp, like a wrung-out sponge.
That means light, frequent watering. I set Sunny (my drip system) for short cycles, or I hand-water mornings and late afternoons. If you see puddles forming, you’re using too much force and risk washing seeds away. If the surface looks dry and light in color, you’ve waited too long.
Adjust for rain. A good soaking shower means you can take a break. A light drizzle doesn’t count. Use your finger to check. If it feels cool and damp just below the surface, you’re on track.
Inconsistent watering is the number one reason for patchy germination or complete failure.
Common Lawn Care Mistakes and How to Avoid Them
We’ve all been there. Here’s how to sidestep the usual problems that pop up after seeding.
Washout in Corners and Slopes
Water runs downhill, taking your expensive seed with it. On slopes, don’t rely on straw alone. Use straw wattles (those rolled-up tubes) or a biodegradable mesh netting pinned over the seed. They break up the water flow and hold everything in place.
Also, check your sprinklers. Make sure the heads aren’t blasting a jet of water directly onto seeded areas. A gentle spray or mist is what you want.
The Bird Buffet Problem
Birds see fresh seed as a free meal. A proper light cover is your first and best defense, hiding the seed from sight. For extra protection, use simple, pet-safe tricks. I’ve had luck with strips of reflective tape fluttering in the breeze, or a temporary layer of lightweight garden netting pegged a few inches above the ground. This helps keep birds and other pests from eating the grass seed. Implementing these strategies can successfully stop birds eating grass seed and promote healthy lawn growth.
Scare tactics work for a day or two, but a physical barrier is more reliable.
No Germination: The Silent Treatment
You watered, you waited, and nothing came up. It’s frustrating. Usually, the cause is one of three things: seeds were buried too deep by a heavy cover, the soil temperature was too cold or hot for that grass type, or you had big gaps in your watering schedule.
This is why the covering step matters so much. A proper cover maintains even moisture and temperature, fixing two of the three big issues right away. If you suspect the soil is too cold, patience is your only tool.
Dealing with a Late Frost
A surprise frost after your grass sprouts can make your heart sink. If frost is forecast, you can lay a frost cloth or an old lightweight blanket over the seedlings. Understanding how grass seeds survive frost and cold can help you tailor protection and timing. Different grasses tolerate frost differently, so choosing hardy seed can improve survival. Remove it once the sun comes up and temps are above freezing.
Avoid using plastic sheeting. It traps too much moisture and can cook your grass if the sun hits it. The good news is, a light frost on already sprouted grass usually isn’t a death sentence if it thaws slowly with the morning sun. The seedlings might look wilted at first but often bounce back. Especially if you’ve taken the time to prepare and winterize your lawn for cold weather.
Your Top Grass Seed Cover Questions, Answered
Should I cover grass seed with leaves from my yard?
Absolutely not. Whole leaves mat together into a soggy, impenetrable blanket that blocks light, air, and water, smothering your seed before it has a chance. For a greedy lawn, use a proper, breathable cover like straw or compost instead.
I’ve got peat moss. What’s the one critical step before I spread it?
You must pre-moisten it in a wheelbarrow or bucket first. Dry peat moss is hydrophobic, meaning it repels water and can form a crust that your delicate seedlings can’t push through, defeating the whole purpose.
Why is covering seed with plain dirt from my yard a bad idea?
Garden soil or dirt is too dense and heavy, creating a barrier that blocks light and often prevents sprouts from emerging. Your cover should be light and breathable-think of it as a protective veil, not a burial.
How long can I safely leave clear plastic over my seed?
Only until you see the very first hints of green sprouting. Remove it immediately, as the trapped heat under plastic on a sunny day will literally cook your new seedlings in hours, wiping out your progress.
A frost is coming after my grass has sprouted. What now?
Don’t panic. Gently lay a frost cloth or lightweight breathable blanket over the seedlings overnight for insulation. Remove it once the morning sun warms things up, and those greedy little sprouts will usually bounce right back.
Keep Your New Lawn On Track
The single most important step you can take is to put a light, breathable blanket over your seed. A thin layer of peat moss or straw locks in moisture and shields those vulnerable seeds from birds and sun, giving them the safe start they need.
Remember, a healthy lawn is a responsibility; choose pet-safe materials and watch for pollinators as your new grass establishes. Your lawn, like my friend Patch, will teach you more each season if you pay attention to what works. Try a few simple lawn care maintenance tips—mowing at the right height and consistent watering—to keep the grass thriving. These practical steps make your lawn easier to care for and safer for pets.
Sources and Additional Information
- r/lawncare on Reddit: Covering grass seed after overseeding
- Does Grass Seed Need to Be Covered? Find Out Here
- Does grass seed need to be covered? – Grass Seed Online
- Will Grass Seed Germinate Faster if Covered? | Swell Seed – Swell Seed Co.
- Top Dress Seedling Cover & Growth Accelerator – Grass Seed Mulch
Written by Ria Carrington. Ria is an avid lawn care enthusiast and advisor. No lawn is unsalvagable when Ria is at work. She has helped countless homeowners breath new life into their dying lawns. She has a B.Sc in Agriculture and brings practical advice combined with knowledge of plant science and her decade worth of hands on experience.