
What’s the Best Fertilizer for Blueberries and Berry Bushes?
Are your berry bushes more leafy than fruitful, or just not thriving no matter what you try? The right fertilizer fixes that, and I’ll show you how to pick it without overspending.
We’ll walk through what makes berry fertilizer different, how to read a bag label for the right mix, the best times to feed your plants, and simple ways to keep costs down.
I’ve fine-tuned this approach over seasons in my own yard, getting big harvests from small investments.
At a Glance: Key Factors for Healthy Berries
Think of soil pH like a key for your berry bushes. If the key doesn’t fit, nothing else works. For blueberries, raspberries, and blackberries, that key is acidic soil.
Your absolute first job is to get the soil pH between 4.5 and 5.5, or your plants simply cannot eat the fertilizer you give them. This is the non-negotiable rule. Everything else is secondary. Make sure you lime your lawn if the pH is too low.
Once the pH is right, you need the right food. Berry bushes prefer a gentle, balanced meal. You’ll often see fertilizers labeled with an NPK ratio like 10-10-10 or 12-12-12. That’s a good, all-purpose balance for most berries. The numbers mean it has equal parts Nitrogen (N) for leaf growth, Phosphorus (P) for roots and fruit, and Potassium (K) for overall plant health.
Organic versus synthetic is a personal choice. I lean toward organic options like well-rotted manure, bone meal, or specific berry mixes. They feed the soil life, which in turn feeds your plants slowly and steadily. Synthetic fertilizers work faster, but they can be like a sugar rush. For long-term soil health, organic builds a better foundation under your bushes.
Timing is your final piece. You feed twice a year. The first meal is in early spring, just as the leaf buds start to swell. This fuels new growth. The second is right after you’ve picked the last berry. This helps the plant recover and set buds for next year. Missing these windows is like skipping breakfast before a long day.
First Things First: Test Your Soil and Fix the pH
Before you even look at a bag of fertilizer, you need to know what you’re working with. You must test your soil’s pH. It’s easy and takes minutes.
Grab a home soil test kit from any garden center. Here’s how it works:
- Collect a few spoonfuls of soil from under your berry bushes, digging down a couple of inches.
- Mix it with the distilled water and powder from the test kit in the little tube.
- Wait for the color to change, then match it to the chart.
If your pH reads 6.0 or above, it’s too high. Your berries are locked out of their own pantry. Now you need to lower it. The most reliable way is with elemental sulfur. It’s like adding a pinch of lemon juice to a recipe that’s too bland. It works slowly, feeding soil microbes that create the acidity you need.
You can also use peat moss. When you plant new bushes, mix a lot of peat into the hole. For existing plants, spread a one-inch layer on the soil surface as mulch. It will slowly acidify the area as it breaks down and you water it in.
Fertilizing without fixing a high pH is pointless, like trying to water a plant you’ve locked in a dark closet. The water is there, but the plant can’t use it. This is the fundamental step that answers searches for the ‘best fertilizer for blueberries in Georgia’ or anywhere else. The regional “best” fertilizer doesn’t matter if your soil chemistry is wrong.
Adjusting pH is a slow process. It can take a full season. Be patient. Test again next year. Once you’re in that sweet acidic zone between 4.5 and 5.5, then you can start talking about the perfect fertilizer. You’ve unlocked the door. Now you can set the table.
Choosing Your Berry Fuel: NPK and Types Explained
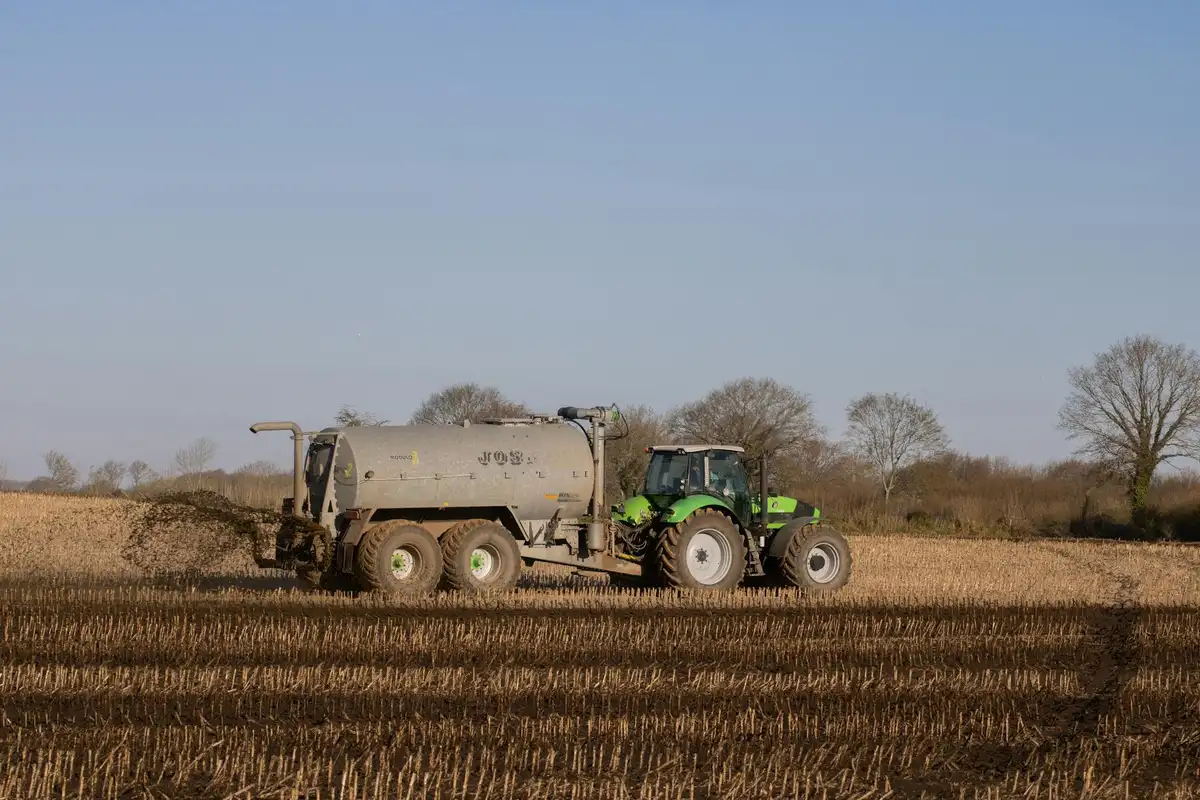
Think of a fertilizer label like a food label for your plant. Those three big numbers are the NPK ratio. They tell you the percentage of three key nutrients by weight: Nitrogen (N), Phosphorus (P), and Potassium (K). Those numbers guide how you feed your plants, and you’ll often pick a bag by its NPK ratio to match their needs. Different growth stages may require different NPK profiles.
For berries, you need a balance, but each part plays a different role.
- Nitrogen (N): The Leaf & Stem Maker. This pushes lush, green, leafy growth. Too much, and your bush becomes a giant salad factory with few berries.
- Phosphorus (P): The Root & Bloom Booster. This is critical for strong root development and flower production. It’s the secret to more blossoms, which turn into more berries.
- Potassium (K): The Overall Health & Fruit Toughness. Think of this as the plant’s immune system and fruit quality control. It helps the plant handle stress (like drought or cold) and builds sweeter, sturdier fruit.
For most established blueberry and berry bushes, you’re looking for a fertilizer where the first number (Nitrogen) is not the highest, something like a 4-3-4 or a 2-3-3 ratio works beautifully. It feeds everything without going overboard on leaves.
Granular vs. Liquid: The Slow Feast or the Quick Snack
You have two main delivery methods, and I use both for different jobs.
Granular fertilizers are your slow-release, long-term feeders. They’re little pellets or granules you sprinkle around the base of the bush and lightly scratch into the soil. They break down with water and time, feeding the plant steadily over weeks or months. This is my go-to for the main spring feeding. It’s set-it-and-forget-it (well, almost). I treat it like a foundation.
Liquid fertilizers are fast-acting and get to work immediately. You mix them with water and apply them to the soil or leaves. This is your quick fix. For lawns, liquid fertilizer works quickly to green up the turf and improve color. It’s especially useful when your lawn needs a fast, visible boost during the growing season. I might use a liquid fish emulsion if a plant looks pale and needs a rapid green-up during the growing season, or to give a young plant a gentle boost after planting. Liquids are great for a targeted response, but their effects fade quickly, so they’re not a replacement for your main granular feed.
The Organic Route: Building Soil Health First
This is where I encourage most home growers to start. Organic fertilizers feed the soil, which in turn feeds your plant. They release nutrients slowly as microbes break them down, which mimics nature and is very hard to mess up.
- Compost & Aged Manure: This is gold. Working a few inches of good compost into the soil each spring adds a wide spectrum of nutrients and improves soil structure. It’s the best all-around food and conditioner you can give.
- Cottonseed Meal: A fantastic, slow-release acid-loving plant food. It has a nice NPK ratio around 6-2-1 and helps maintain the acidic soil blueberries crave. I often use this as my granular feed of choice.
- Specialized Berry Mixes: Brands like Espoma make great organic blends like “Berry-tone.” These are convenient because they’re pre-mixed with the right NPK and often include beneficial soil microbes. They take the guesswork out.
Organic options build resilient soil over time, which means healthier plants that are better at resisting pests and drought. It’s a patient strategy that pays off every year.
A Note on Synthetic Fertilizers
Synthetic, or chemical, fertilizers are concentrated and fast-acting. They have their place, especially if you’re correcting a severe nutrient deficiency confirmed by a soil test.
But you must be cautious. It’s very easy to over-apply synthetics, which can “burn” tender roots with salts and cause rapid, weak growth that attracts pests. If you use them, follow the label directions to the letter-using less is often safer than using more. Water them in thoroughly immediately after application.
My personal rule? I stick with organics for the main course. They’re safer for the soil life, for my pets, and for the bees buzzing around the blooms. I only consider a synthetic if a plant is really struggling and needs an immediate, precise correction, and even then, it’s a calculated move.
How to Fertilize Blueberry Bushes: A Step-by-Step Guide
Getting the food to your blueberries at the right time and in the right way is the difference between a decent harvest and a bucketful. I learned this the hard way a few seasons back when I got overeager and fed mine too early. Let’s get your timing right.
The First (and Most Important) Feeding
The absolute best time to fertilize is in early spring, right as those little leaf buds start to swell and look fuzzy. It’s not when you see the first robin, and it’s definitely not when there’s still snow on the ground. Wait for the plant itself to tell you it’s waking up.
Apply fertilizer just as the buds begin to swell in early spring; this feeds the roots as they become active and supports the coming flush of growth.
Where to Put It
Never dump fertilizer right against the main stem. Blueberry roots spread out wide and shallow, like a pancake under the soil. The “drip line” is your target zone. Imagine where water would drip off the outermost leaves if it rained. That circle around your bush is where the hungry feeder roots are waiting.
I use a small garden trowel or my hands to spread the granules in that zone, keeping them a good 6 inches away from the base.
How Much to Use
Forget “a handful.” That’s how you end up burning roots or underfeeding. For a mature, established bush, I use a standard measuring cup. A good starting point is one cup of a balanced, granular, acid-loving plant food per mature bush. For younger bushes (1-2 years old), start with a half-cup.
Measure your fertilizer with a cup, not your hand, to avoid the root burn or nutrient deficiency that guessing can cause.
Watering It In: The Sunny Method
This is where my drip irrigation setup, Sunny, earns its keep. Dry fertilizer sitting on top of dry soil is useless. You need to water it in thoroughly. If you have a soaker hose or drip system, run it for about 30-45 minutes. The goal is to get the soil moist to a depth of 6-8 inches, moving those nutrients down to the root zone without washing them away. If you’re using a hose, use a gentle shower setting and water slowly at the base.
You want the ground to feel like a damp, wrung-out sponge afterward, not a soggy mess.
The Second, Lighter Boost
After you’ve picked the last berry of the season, usually around late summer, your bushes are tired. They’ve spent all their energy on fruit production. A light second feeding helps them recover and set buds for next year. Use about half the amount you used in spring-so, roughly a half-cup for a mature bush.
A light feeding after harvest replenishes the bush’s energy for next year’s buds without pushing excessive late growth.
A Critical Warning on Timing
This is the rule I learned from my mistake: never fertilize blueberries late in the fall. Fertilizing too late prompts the plant to send out tender, new shoots. These new branches won’t have time to “harden off” before the first frost hits, and they will die back. You’re weakening the plant for next year. Stick to the two-feed schedule: spring and post-harvest. After that, let the plant wind down naturally for winter.
What About Strawberries, Raspberries, and Blackberries?
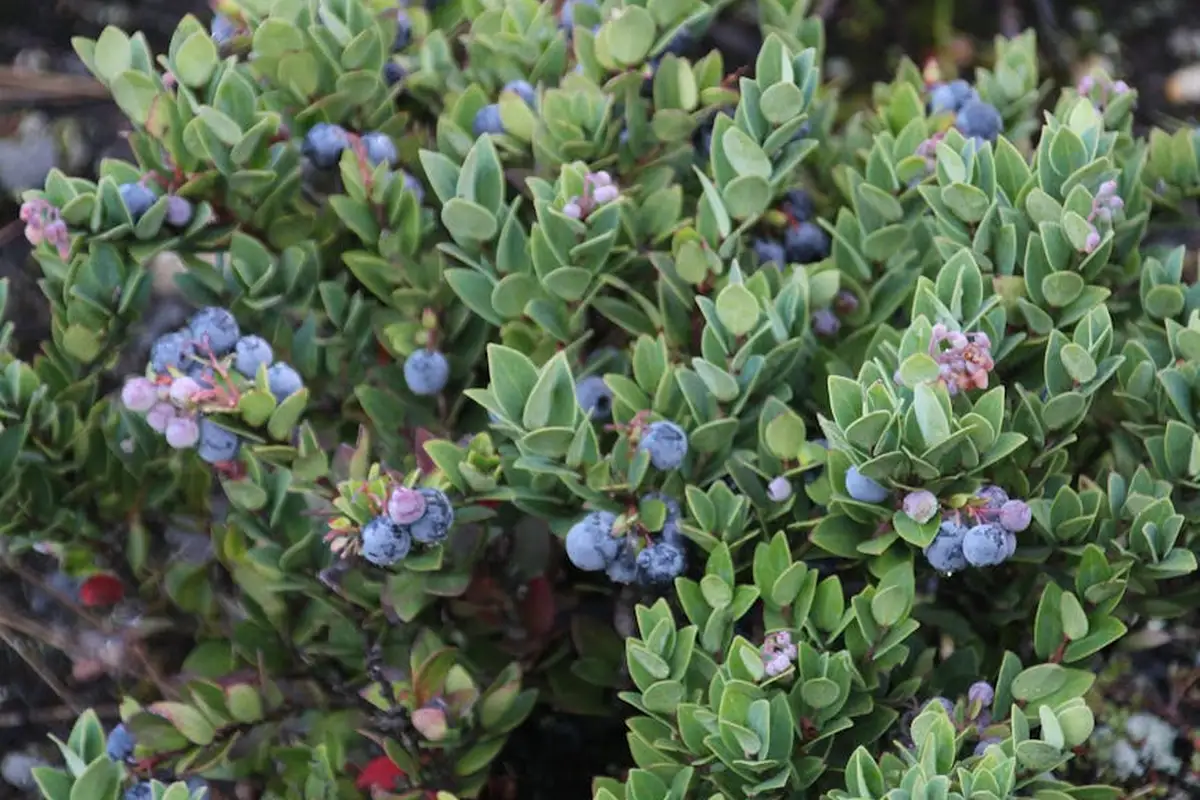
You’re not alone if you’re wondering how to feed these other favorites. Blueberries get all the acidic soil hype, but your other berry plants are hungry too. The good news is they’re often less demanding than their blue cousins.
Let’s start with how to fertilize raspberries and blackberry bushes. Both are vigorous growers that appreciate a steady, balanced meal. I use the same simple routine for my thornless blackberry canes and red raspberry patch.
Feed raspberries and blackberries in early spring as new growth starts, and again about six weeks later when they’re in a heavy growth phase.
I’ve had great results with a balanced, all-purpose fertilizer like a 10-10-10. You can also use a formula slightly higher in nitrogen (the first number) for more leafy growth, but balanced works fine. Just scatter it in a ring around the base of the plants, keeping it off the crowns and canes, and water it in well. This approach is effective for a variety of plants, including trees and ornamental shrubs.
How do their needs compare to blueberries? They’re far less fussy about pH. While blueberries demand acidic soil, raspberries and blackberries are happy in a wider, more neutral range. They still need that balanced feeding, but you won’t be constantly amending the soil with sulfur. Think of blueberries as the high-maintenance athlete with a specific diet, while raspberries and blackberries are the reliable workhorses that just need good, consistent fuel.
For how often to fertilize strawberries, it depends on where they live. In garden beds, I feed twice: once in early spring as the plants wake up, and again right after the final harvest for June-bearing types to help them rebuild for next year. For strawberries in containers, they need more frequent, lighter feedings because nutrients wash out faster. I use a half-strength liquid fertilizer every two to three weeks during their growing season.
And since we’re talking about the garden neighborhood, how do you fertilize rhubarb? It’s a common companion and a heavy feeder. I treat my rhubarb patch like a compost magnet. In early spring, I work a few shovels of finished compost or well-rotted manure around each crown. That’s usually enough for the whole season. It loves that rich, organic matter to fuel those massive, tart stalks.
Feeding Strawberries for a Sweet Harvest
Do strawberry plants need fertilizer? Absolutely, yes. Without it, those June jewels get smaller and fewer each year. The plant uses a huge amount of energy to produce all that sweetness, and it needs to replenish.
Their schedule is straightforward. For my June-bearing strawberries, I make two key applications. The first is in early spring, just as the new leaves begin to unfold. The second, and just as important, is right after I’ve picked the last berry of the season. This post-harvest feeding helps the plants develop strong runners and stores energy for next spring’s flower buds.
I recommend a balanced, lower-strength fertilizer to avoid burning their shallow roots and delicate crowns.
Something like a 5-5-5 or a 10-10-10 used at half the rate listed on the bag works perfectly. I gently scratch it into the soil between plants and follow with a deep watering. It’s a simple step that keeps my patch productive and prevents it from becoming a sad, sparse mat of leaves.
Common Berry Fertilizing Mistakes and How to Avoid Them
I get it. You see your berry bushes looking a little sad, and you want to give them a big meal to cheer them up. I’ve been there. But feeding berries is more like a careful diet plan than an all-you-can-eat buffet. A few wrong moves can set your plants back a whole season. Let’s walk through the big slip-ups I’ve seen (and made) so your bushes can thrive.
Mistake 1: Guessing on pH
This is the number one rule for blueberries, and it matters for all berries. Blueberries need acidic soil. If your soil is neutral or sweet, the plants literally can’t take up the food you’re giving them, no matter how good your fertilizer is. It’s like locking the fridge.
Imagine your soil is a coffee filter. If the filter is the wrong shape (the wrong pH), the water and nutrients just run right through without the plant getting a drink. The only way to know for sure is to test your soil; don’t guess, test. A simple home test kit from the garden center works. For a few dollars, you’ll know exactly what you’re dealing with.
If your soil isn’t acidic enough, you can gently adjust it. I use elemental sulfur or an acid-loving plant fertilizer a few weeks before my main feeding. It’s the essential first step that makes everything else work.
Mistake 2: Over-Fertilizing (Burning Roots)
More is not better. I learned this the hard way with a raspberry patch years ago. I got eager, poured on a heavy dose of a fast-release fertilizer, and gave the plants the equivalent of chemical root burn. The leaves browned at the edges, and growth just… stopped.
With berry bushes, the “less is more” rule is your best friend, so always follow the label rates carefully. Those rates are calculated for safety. I always lean toward the lower end of the recommended amount, especially with young plants.
Opting for a slow-release, organic fertilizer is a safer bet for us weekend gardeners. It feeds the plant gently over time, much like a slow-drip IV, instead of a shock to the system. Your plants will grow steadily without the risk of burn.
Mistake 3: Fertilizing at the Wrong Time
Timing is everything. Feeding at the wrong moment wastes your effort and money. It can push tender new growth at a time when the plant should be hardening off for winter, making it vulnerable to frost damage.
The safest schedule is to stick to the spring and post-harvest feeding windows. Your first feed should be in early spring, as the buds just begin to swell but before they fully leaf out. This gives them energy for that initial burst of growth and flowering.
The second, lighter feeding comes right after you’ve picked the last berry of the season. This helps the plant recover from the hard work of fruiting and store energy for next year. For blueberries, that’s it. For everbearing raspberries or blackberries, you might do a third light feed in early summer. Never fertilize in late fall.
Mistake 4: Putting Fertilizer Directly Against the Crown/Stem
It seems logical to put food right at the base of the plant, but it’s all wrong. The most active roots that absorb water and nutrients are out at the drip line, which is the circle on the ground under the outermost reach of the branches.
Dumping fertilizer against the main stem can scorch the crown and damage the bark. You should always spread the fertilizer out at the drip line, where the feeder roots are actually waiting to eat.
Here’s how I do it. I picture an imaginary dinner plate on the soil, centered on the plant’s main stem. I keep my fertilizer outside of that plate. I gently scratch a granular feed into the top inch of soil in that outer ring, then water it in well. This gets the food directly to the roots that need it, safely away from the plant’s vulnerable center.
Special Care for Potted Berries
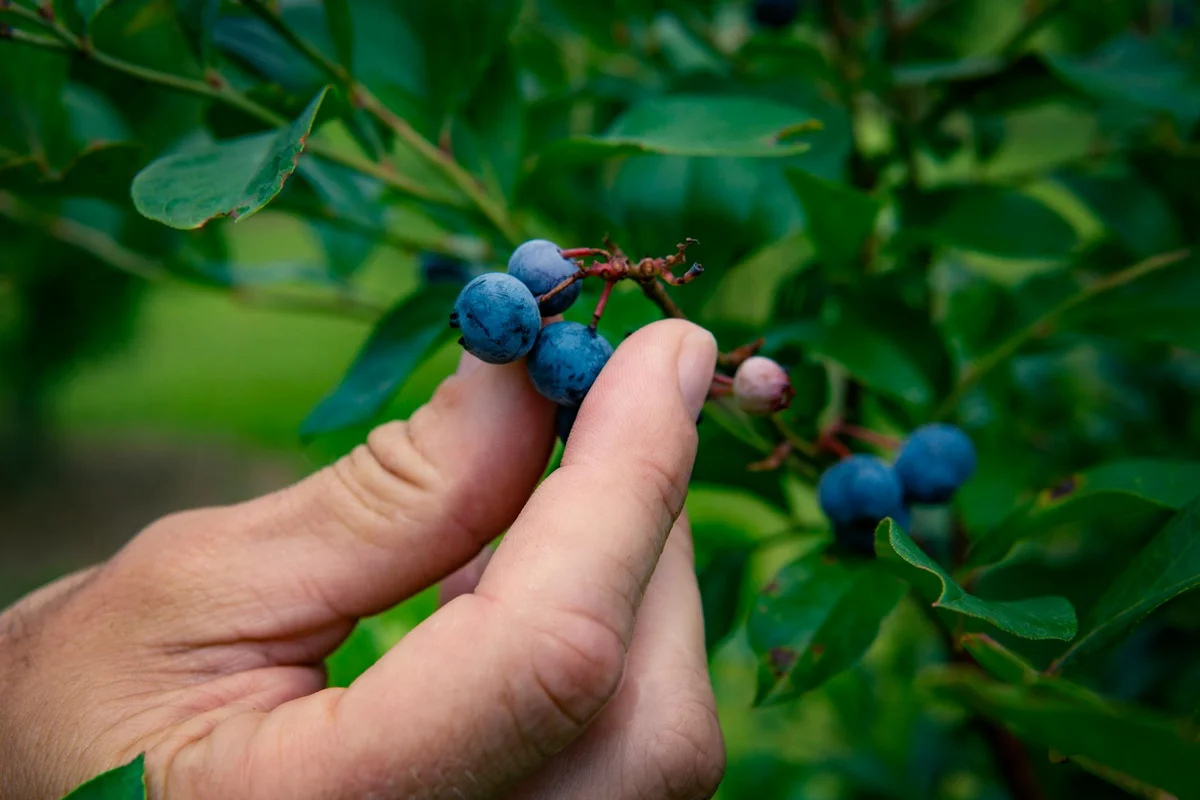
Let’s talk about blueberries in pots. This is a smart move if your soil is heavy clay or you just don’t have the garden space. But caring for them is different. It’s like the difference between my main lawn and that stubborn Patch in the shady corner. Each needs its own specific game plan.
So, what’s the best fertilizer for blueberries in pots? The short answer is a gentle, consistent one. Pots change everything. Your plant is living in a limited world, and that changes how you feed it.
Why Pots Demand a Different Feeding Schedule
Think of your potted blueberry’s soil like a really good coffee filter. Every time you water thoroughly (which you should), some nutrients wash right out the bottom with the drainage water. This is called leaching.
In the ground, roots can spread out to search for food. In a pot, they hit a wall. Because nutrients wash out so easily, container plants need more frequent feeding, but with lighter, gentler doses. A single heavy feeding in spring can burn the roots and then be gone by summer, leaving your bush hungry.
Building a Steady Diet for Container Berries
Forget the “one and done” approach. Your potted blueberries thrive on a steady diet. You have two excellent options, and both should be labeled for acid-loving plants like azaleas, rhododendrons, or blueberries.
My preferred method is a water-soluble, liquid fertilizer. It’s fast-acting and easy for the plant to use immediately. I mix it at half the recommended strength and apply it every two to three weeks during the growing season (spring through summer). It’s like giving your bush a constant, light snack. This method pairs perfectly with my drip system, Sunny, ensuring a consistent feed with every watering.
The other great choice is a controlled-release or slow-release granular fertilizer. These are tiny prills coated in a polymer that releases nutrients slowly over 3-4 months with watering and temperature. You mix them into the top layer of soil in spring, and they do the work for you. It’s a fantastic, low-maintenance option, especially when combined with proper spring lawn fertilizer application.
Whether you choose liquid or granules, the goal is the same: avoid feast or famine. A constant, gentle supply of nutrients keeps the leaves green and supports a better berry set.
The Non-Negotiable First Step: Acidic Potting Mix
Here’s the most critical part, and you have to do this from day one. You must plant your blueberry in an acidic potting mix formulated for acid-loving plants. No regular garden soil or all-purpose potting mix.
Blueberries need acidic soil (a pH between 4.5 and 5.5) to access nutrients properly. Even the perfect fertilizer won’t work if the soil pH is wrong. The plant simply can’t use it. Using the right mix from the start sets the foundation. It’s like prepping your lawn bed before laying sod. You can tweak things later with specific soil amendments, but starting right makes everything easier.
Get a bag labeled for azaleas or camellias, or look for one that lists peat moss as a primary ingredient. Plant your bush in that, and your feeding program will actually work.
Recommended Product Categories to Look For
I spent years overcomplicating this. You walk down the garden center aisle and see fifty bags, all promising the world. For your berry bushes, you can cut through the noise by focusing on these four reliable categories. Think of them as tools in your shed, each with a specific job.
Category 1: Acid-Loving Plant Fertilizers (Granular, Slow-Release)
This is your workhorse, the Max of my fertilizer shed. If you only get one type of feed for your blueberries, make it this one. These are granular fertilizers specifically formulated for plants that crave acidic soil, like azaleas, rhododendrons, and of course, blueberries.
The “slow-release” part is key. Imagine it’s like a energy bar that dissolves slowly, giving your bushes a steady, gentle meal over several months instead of one big sugar rush. This prevents burning the roots and feeds them exactly how they like it, from spring through summer.
I use a granular, slow-release acid-loving fertilizer as my main feed every spring, and it keeps my bushes happy and productive with minimal fuss. You just sprinkle it around the drip line (where the branches end), scratch it lightly into the soil, and water it in. It’s simple and effective.
Category 2: Balanced Organic Berry Fertilizers
If you’re working on building healthier soil for the long haul and want to keep things natural, this is your category. These are often labeled specifically for blueberries or berries and are made from things like feather meal, alfalfa meal, or bone meal.
They feed the plant, but they also feed the soil’s microbiome, which is a fancy way of saying they help create a living, healthy ecosystem for your roots. They’re great for anyone with kids or pets who play near the garden, as they’re typically very safe.
Organic berry fertilizers build soil health over time and are a fantastic, pet-safe choice for the patient gardener focused on long-term results. They often have a more balanced NPK (like a 4-3-4), which is perfect for maintaining berry bushes without pushing excessive leafy growth.
Category 3: Water-Soluble Fertilizers for Containers or Quick Green-Up
This is your quick-action tool. Think of it like Sunny, my drip system, delivering a direct drink of nutrients. You mix these powders or liquids with water and apply them directly to the soil or foliage.
They are perfect for potted blueberry bushes because nutrients leach out of containers faster. If a bush looks pale and needs a fast pick-me-up during the growing season, a water-soluble feed can provide it. Use a water-soluble, acid-loving formula for a fast nutrient boost, especially for container-grown blueberries that need more frequent feeding. Remember, this is a short-term solution, not your main course.
Category 4: Soil Acidifiers (Like Sulfur) to Pair With Fertilizer
This isn’t a fertilizer, but it’s the most important partner it can have. If your soil pH is too high (alkaline), your blueberries literally cannot use the nutrients in any fertilizer you apply. It’s like locking the pantry.
Elemental sulfur is the most common and reliable soil acidifier. It works slowly, so you apply it in early spring or fall. Granular sulfur is easy to spread. I’ve used it to help out Patch, my problem area, when a soil test showed the pH was off.
Applying granular sulfur based on a soil test result is the single best way to ensure your blueberry bushes can actually absorb the fertilizer you give them. It’s a foundational step.
How to Read a Fertilizer Label for Berries
Don’t let the bag confuse you. You’re looking for two things.
First, the NPK numbers. For established blueberries, you don’t want a lot of nitrogen (the first number). A high nitrogen fertilizer (like a 20-10-10) will give you lots of leaves but fewer berries. Look for a more balanced or lower-first-number ratio.
- A good standard: Something close to a 4-3-4 or 2-1-1 ratio.
- For acid-loving blends: Often a 10-5-5 or similar.
Second, look for the magic words. Phrases like “For Acid-Loving Plants,” “For Blueberries & Azaleas,” or “Contains Sulfur to Lower pH” tell you the manufacturer formulated this with your berries’ specific needs in mind. That’s the label you grab.
Troubleshooting: Reading Your Bush’s Leaves
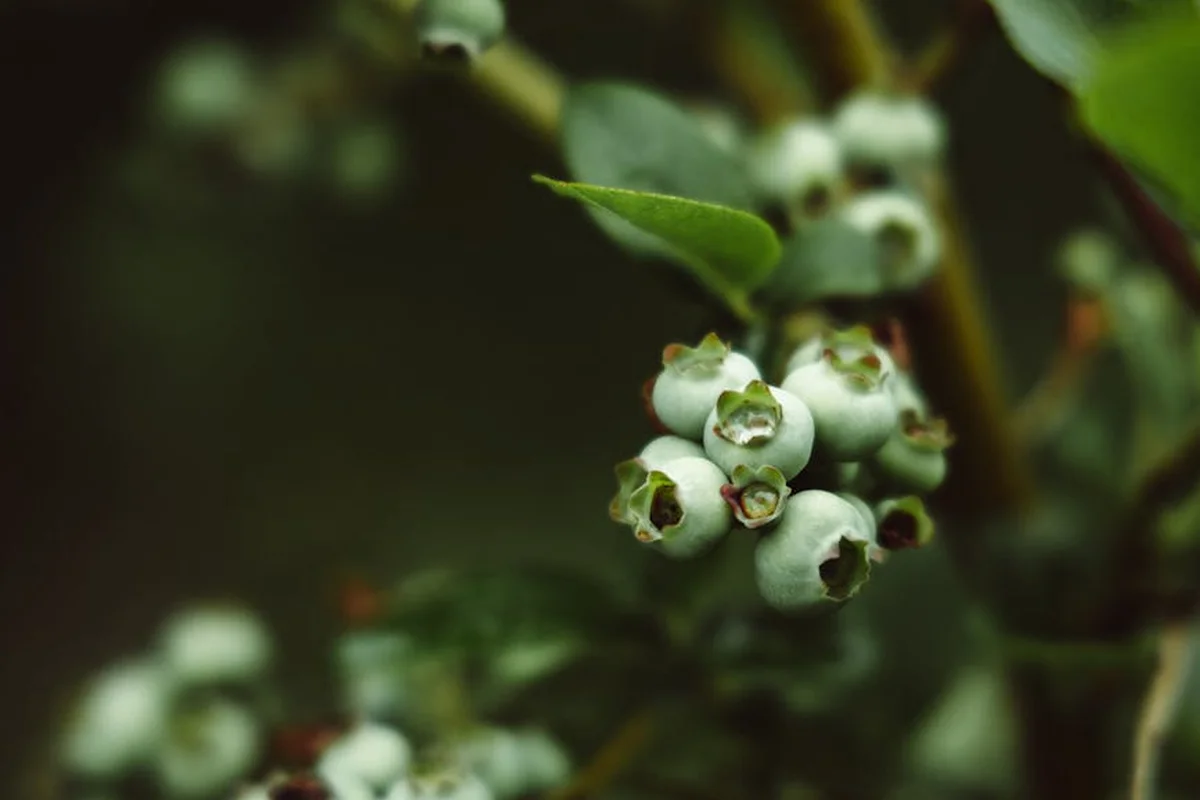
Asking what the best fertilizer is can be a little like asking what the best mower is. The answer depends entirely on what you’re working with. For me, the real question isn’t about a product on a shelf. It’s about what your specific blueberry bushes are telling you they need, along with understanding the fertilizer requirements of healthy plants.
You get to know the personality of your lawn, like that shady spot I call Patch. Your berry bushes are no different. They communicate through their leaves and growth.
When Your Bushes Are Hungry: Signs of Deficiency
Blueberries are acid-loving plants with specific needs. If the soil isn’t right, they can’t use the nutrients that are there, even if you fertilize.
The most classic cry for help is yellow leaves with dark green veins. This is called chlorosis. It usually means an iron deficiency, but the root cause is almost always soil that’s not acidic enough. The pH is too high, locking the iron away.
Other signs your plants are running on empty include stunted, slow growth and canes that just don’t seem to fill out. You might also see very poor fruiting, with small berries or just a handful where you expected a bounty.
If the leaves are yellow but the veins are green, test your soil pH before you do anything else. Adding more fertilizer to the wrong pH is like pouring gas into a car with a locked fuel door.
When You’ve Been Too Generous: Signs of Over-Fertilization
More is not better. I learned this the hard way years ago with my lawn, and it’s doubly true for sensitive plants like blueberries. Pushing for rapid growth can backfire spectacularly.
Look for leaf burn, where the edges or tips of the leaves turn brown and crispy, as if they were scorched. You might see sudden wilting or drooping shortly after feeding, which is a sign of fertilizer salt burn on the roots.
Finally, watch for excessive, lush leafy growth with very few flowers or berries. The plant puts all its energy into leaves at the expense of fruit. You get a beautiful, green bush that’s all show and no production.
Burned leaf edges and lots of leaves with no berries are your bush’s way of saying you’re pushing it too hard. It needs a steady, balanced diet, not a feast.
So, what’s the best fertilizer? The one that fixes the problem you actually see. It’s the amendment that corrects your pH, or the gentle, acid-forming food that addresses a specific lack without going overboard. Listening to your plant is the first and most important step. Explore the best fertilizer for plants, flowers, and vegetables to match your garden’s needs. A well-chosen blend can support blooms and harvests alike.
Your Berry Fertilizer Questions, Answered
I’m growing blueberries in pots. Do I feed them the same way?
No, potted blueberries need a different, gentler strategy. Use a half-strength liquid fertilizer for acid-loving plants every two to three weeks during the growing season to replace nutrients that wash away.
Does the “best” fertilizer change depending on where I live, like in Australia or New Zealand?
The core principles-acidic soil and balanced nutrients-are universal. Your local “best” is simply the product that helps you achieve and maintain that low soil pH, which is your non-negotiable first step everywhere.
Can I just grab a berry fertilizer from Walmart or a big box store?
Absolutely, as long as you read the label first. Look for a granular, slow-release formula labeled for acid-loving plants or blueberries specifically; the store name on the bag matters far less than the ingredients inside.
What’s the deal with “best fertilizer for blueberries” in Stardew Valley?
In the game, Basic Fertilizer boosts crop quality, which is a fun simplification. In your real yard, think of getting your soil pH right as permanently unlocking that quality boost for every harvest to come. No amount of fertilizer will help if your soil is off balance.
My leaves are yellow but my soil pH is correct. Now what?
If your pH is between 4.5 and 5.5, a yellow plant might need a targeted nutrient boost. Try a liquid, water-soluble fertilizer for acid-loving plants for a quick green-up, as it delivers nutrients in an easily absorbed form.
Final Thoughts on Feeding Your Berry Bushes
The best thing you can do is test your soil first, then pick an acidic fertilizer made for berries. Getting the soil right means your plants can actually use the food you give them.
Stick with organic or slow-release options when you can. Your soil life and local pollinators will thank you. Remember, a great yard comes from paying attention and learning a little more each season. The sweet taste of those homegrown berries makes every bit of care worth it.
References & External Links
- r/pnwgardening on Reddit: Is there a good fertilizer that I can use blueberry bushes and hydrangea?
- Suggested Fertilizer Practices For Blueberries | Soil Nutrient Analysis Laboratory | College of Agriculture, Health and Natural Resources | University of Connecticut
- A Tasty Task: Fertilizing Blueberries and Blackberries
- Buy Liquid Blueberry Fertilizer for Sale Online | Perfect Plants
- Amazon.com : Blueberry Fertilizer – Liquid Plant Food for Bigger Berries, Better Fruit Production & Stronger Root Development, 8 oz : Patio, Lawn & Garden
- 6 Best Fertilizers for Blueberries to Increase Your Yield – Gardening Products Review
- Amazon.com : Blueberry Fertilizer 10-10-10 NPK – Enhanced with Ammonium Sulfate for Optimal Growth, Rich Berries, Strong Roots – Eco-Friendly, Balanced Feed for Blueberry Bushes (5/10/15/20 lbs) (5.0, Pounds) : Patio, Lawn & Garden
Written by Ria Carrington. Ria is an avid lawn care enthusiast and advisor. No lawn is unsalvagable when Ria is at work. She has helped countless homeowners breath new life into their dying lawns. She has a B.Sc in Agriculture and brings practical advice combined with knowledge of plant science and her decade worth of hands on experience.