
What Are the Best Natural and Chemical Grub Control Methods for Lawns?
Finding loose, brown turf that peels back like old carpet is a sure sign grubs are at work. You can stop them, and I will show you how, from gentle fixes to stronger solutions.
We will cover how to check for grubs, your top natural options, the chemical products that work, and the right time to apply them.
I have dealt with grubs in my own grass, using both approaches to protect the lawn without wasting money.
At a Glance: Your Grub Control Game Plan
Think of grub control like maintaining Max, my zero turn mower. A little regular care prevents a big, messy breakdown later.
Timing is the single most important factor in grub control, and getting it wrong means wasted effort. Apply preventive treatments in late spring or early summer, before eggs hatch. Use curative treatments in late summer or early fall, when grubs are small and actively feeding near the surface.
Your two main choices are preventive and curative treatments.
- Preventive: Stops grubs before they start eating. It is like putting on sunscreen before going outside.
- Curative: Kills grubs after you already see damage. It is like treating a sunburn.
A thick, healthy lawn grown with deep roots from good practices is your first and best defense against grub damage. Grubs struggle to harm grass that is firmly established. I focus on this with Sunny, my drip system, to keep the lawn strong all season.
Both natural and chemical methods have their place. Your choice depends on the size of the problem and your lawn care values. If you’re leaning toward organic options, our organic lawn care guide offers practical steps. It helps you choose the right natural methods for your lawn.
How Do I Know If I Have Grubs in My Lawn? (And Do They Kill Grass?)
A grub is just a beetle larva. Imagine a plump, white, C shaped worm living in your soil that will turn into a June bug or Japanese beetle. That is your culprit.
Your lawn will tell you if grubs are there. You need to look for the clues.
The classic sign is brown patches that feel spongy underfoot and peel back from the soil with almost no effort, like lifting a corner of loose carpet. You might also see more birds, skunks, or raccoons tearing up the turf at night. They can smell the grubs.
Do not guess. Do the simple “tug test” to know for sure. Here is how I do it.
- Pick a spot at the edge of a suspicious brown area.
- Get a good grip on a section of grass.
- Pull upward gently. Healthy grass should resist.
- If a section of turf lifts away easily, look at the soil underneath. You will see the white grubs curled up among the roots.
Grubs can kill grass, but only when there are too many of them, usually more than five to ten per square foot. They chew through the roots, so the grass cannot drink water or eat nutrients. It simply starves and dies. A few grubs in a healthy lawn are not a death sentence.
Animals digging are a clear symptom of a grub problem. Squirrels or skunks make a mess, but they are pointing you to the real issue underground. Fix the grubs, and the animals will usually lose interest.
The Natural Path: Organic Grub Control Methods
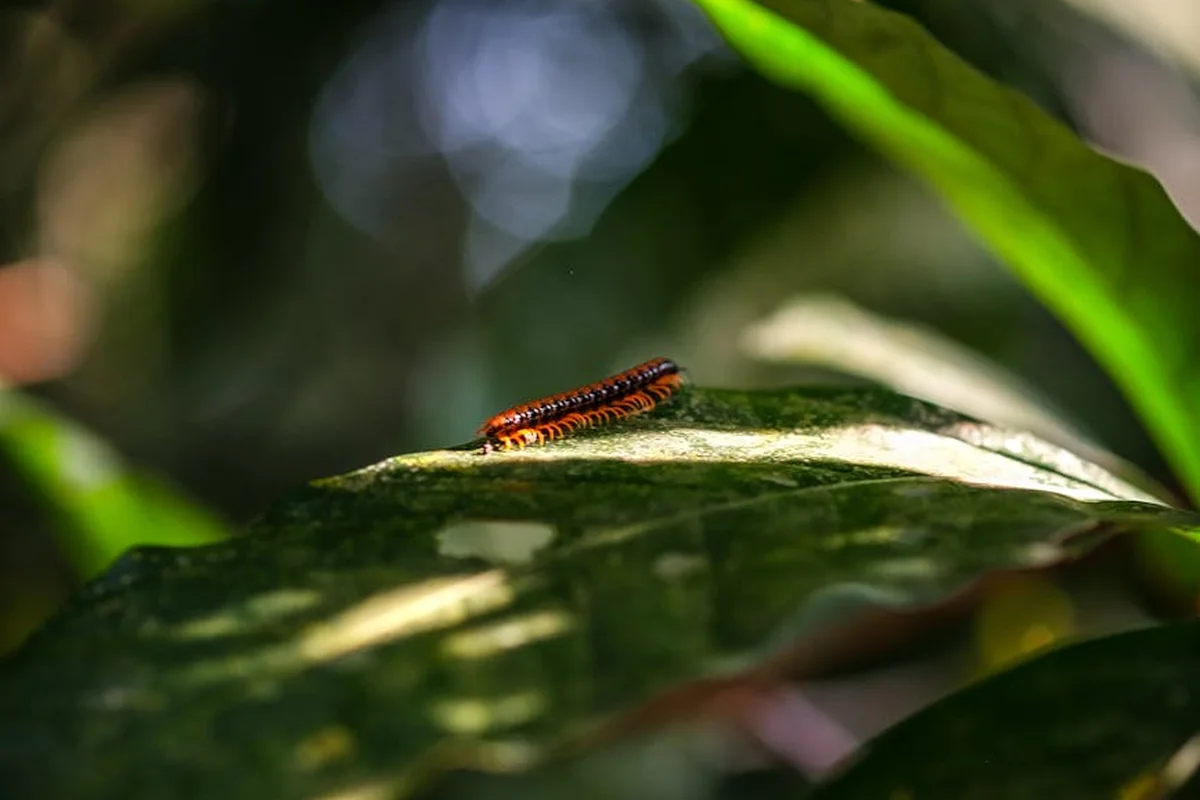
Think of this less as a weekend project and more like building a good neighbor in your soil. You’re not just killing pests, you’re recruiting allies. It’s about supporting the beneficial organisms that naturally keep common lawn pests in check. By nurturing a healthy soil ecosystem, you tap into natural, lasting pest control. This is the patient, long-term game that makes your lawn more resilient every year.
Milky Spore: The Long Game Specialist
This is my favorite example of a smart, targeted strategy. Milky Spore isn’t a poison, it’s a naturally occurring bacteria (Bacillus popilliae) that specifically infects Japanese Beetle grubs.
Here’s how it works. You apply the powder to your lawn. Grubs eat the bacteria as they munch on grass roots. Inside the grub, the bacteria multiply and produce spores, turning the grub a milky white color (that’s the name). When that grub dies, it releases billions of new spores back into the soil, ready for the next generation.
The key here is the build-up. This isn’t a one-season knockout punch. It can take two to three years for the spore population to reach levels that provide consistent, dramatic control. But once it’s established, it can last for decades. Apply it in a simple grid pattern when soil temperatures are above 60°F, usually in late spring or early fall. Then, let nature’s tiny army go to work.
Beneficial Nematodes: The Microscopic Hunters
If Milky Spore is a specialized sniper, beneficial nematodes are the search-and-destroy teams. These are microscopic, worm-like organisms that are harmless to you, your pets, and your plants. The Heterorhabditis bacteriophora (Hb) species is the one you want for grubs.
You buy them live, usually mixed in a sponge or gel. You mix them with water and spray or water them into the lawn. This is where timing is everything. They need two things to survive and hunt: warm soil (above 60°F) and consistent moisture. I apply them in the evening on a day I’ve already run Sunny, my drip system, so the ground is damp and will stay that way overnight.
They swim through the film of water between soil particles, find a grub, and enter its body. Inside, they release bacteria that kills the grub. The nematodes then feed and reproduce, sending out a new generation of hunters.
Treat nematodes like the living creatures they are. They need the right conditions immediately upon application, or your money quite literally goes down the drain.
Smart Cultural Practices: Your Daily Defense
Your daily habits can make your lawn a less inviting place for beetles to lay eggs. Think like a beetle for a minute. There are simple, chemical-free ways to keep lawn pests under control. Let’s explore how everyday care can reduce beetle activity without chemicals.
Adult beetles look for moist, soft soil to lay their eggs in mid-summer. If your lawn is bone-dry and a little tough at that critical time, they might just move on to your neighbor’s lush, overwatered carpet. I ease off watering in late July and August, letting the grass show a little stress. It teaches the roots to grow deeper, and it tells beetles to look elsewhere.
Also, welcome the birds. Robins and starlings are grub-eating machines. A birdbath or a few native shrubs for cover turns your lawn into their favorite diner. I see them as my free, feathered aeration and pest control service, and I don’t mind the trade-off.
Weighing the Organic Approach
Let’s be clear about what you’re signing up for.
The pros are significant. These methods are completely safe for pets, kids, and pollinators the moment they’re applied. They build life in your soil instead of depleting it. They often provide multi-year control, making future problems easier to manage.
The cons require honesty. Organic control is almost always slower. You are managing a population, not eradicating one overnight. It can also be pest-specific. Milky Spore only works on Japanese Beetles, not other grub types like June Beetles or Asiatic Garden Beetles. In a severe, active infestation, you might feel like you need faster help. That’s okay. Sometimes the best strategy uses both paths.
The Chemical Path: Synthetic Grub Control Ingredients
Sometimes, the natural path needs a backup plan. If you have a serious grub invasion or a history of them, a targeted chemical treatment is a valid choice. The key is using the right type at the right time. Think of it like medicine: you take a flu shot before winter (preventive), not after you’re already sick in bed (curative).
The entire chemical strategy hinges on timing, which breaks down into two clear categories: preventive and curative.
Preventive vs. Curative: Know Your Mission
Preventive products are your early warning system. You apply them before grubs are big enough to cause damage, typically in late spring to mid-summer. They target the tiny, newly hatched larvae. Curative products are your emergency response. You use them when you already see grub damage-spongy, browning turf that peels back like old carpet-usually in late summer or fall. They’re formulated to kill larger, established grubs.
Common Active Ingredients, Explained Simply
Don’t let the long names scare you. Here’s what they do.
- Chlorantraniliprole (e.g., GrubEx): This is a top-tier preventive. I think of it as a stealth agent. Grubs ingest it as they feed on roots, it stops their muscles from working, and they quietly starve. It’s very low toxicity to bees and birds when applied as directed.
- Imidacloprid (e.g., Merit, many store brands): Another strong preventive. It works on the grub’s nervous system. It’s been around a long time and is very effective, but you must be more mindful of application near flowering weeds to protect pollinators.
- Trichlorfon (e.g., Dylox): This is the classic curative “fast-kill” option. It works on contact and ingestion, taking out pesky, large grubs in just 1-3 days. Because it works fast, the timing is less critical than with preventives.
Granules or Liquid: Picking Your Tool
You’ll find these ingredients in two main forms.
- Granules: This is the most common format for homeowners. You apply it with a broadcast or drop spreader, just like fertilizer. The goal is even coverage-missed spots are safe zones for grubs. I always make two passes at right angles to each other to avoid streaks.
- Liquids: These are often concentrated and mixed with water in a sprayer. They can be good for targeted spot treatments on problem areas. For large lawns, a tow-behind or professional sprayer is needed for uniform application.
No matter the format, watering the product into the soil immediately after application is non-negotiable. This activates the chemical and gets it down to the root zone where grubs live. About a quarter to a half inch of water is usually perfect.
The Golden Rule: Read the Label. Twice.
This is the most important step, and I’ve learned it the hard way. The label is the law. It tells you the exact application rate for your lawn size, the best time of year to apply, and specific safety instructions. One product might need application in June, another in August. Guessing can waste your money and make the treatment useless.
Weighing the Pros and Cons
Let’s be honest about what you’re signing up for.
- Pros: Synthetic controls are fast, reliable, and offer long-lasting protection (especially preventives). When used correctly, they provide a strong defense for a high-value lawn.
- Cons: There is always a risk of affecting non-target insects if applied carelessly. They require precise timing to be effective. And, they don’t address the underlying conditions that might attract beetles to lay eggs in your lawn in the first place.
I’ve used a preventive on my front lawn, which gets the most beetle traffic, while relying on beneficial nematodes and healthy soil in the back. It’s about choosing the right tool for each job on your property, much like employing various tactics in integrated pest management.
When Is the Best Time to Apply Grub Control?
Timing is everything. I learned this the hard way one summer when I treated for grubs in August, only to find my efforts were mostly wasted. Getting this right is simpler than you think. It all revolves around the life cycle of the beetle and what you’re trying to do: prevent damage or cure an active problem.
Think of it as a simple two-track calendar: one path for stopping problems before they start, and another for fixing an active infestation.
The Preventive Track: Late Spring to Early Summer
This is your main defense. You apply a preventive product before the grubs hatch and start munching on your grass roots.
The golden rule is to apply when your soil temperature consistently hits 55-60°F. Don’t worry, you don’t need a fancy probe. I just check a reliable local soil temp website. This warmth signals to the adult beetles that it’s time to lay eggs in your lawn.
By applying a preventive product in this window, you create a protective barrier in the soil that kills the young grubs as they hatch and before they can grow large enough to cause real harm.
For most regions, this window is late May through early July. It’s a perfect weekend task after you’ve finished an early season mow with Max.
The Curative Track: Late Summer to Early Fall
This is the rescue mission. If you missed the preventive window or you’re seeing damage-spongy brown patches that peel back like loose carpet-you need a curative product.
The best time for this is from late August into early fall. At this point, the grubs are young, relatively small, and actively feeding near the surface. They are most vulnerable.
Curative products work on contact, so you need the grubs to be present and actively feeding for the treatment to work effectively.
Applying later in the fall, when the grubs burrow deep to survive the winter, is like shutting the barn door after the horse has already eaten half your pasture.
Why Missing the Window is a Big Deal
Apply a preventive product in the fall? It won’t work. Those products are designed to break down over time and stop the hatch. The hatch is already long over.
Apply a curative product in the spring? Also ineffective. The surviving grubs from last year are about to pupate into beetles. They stop feeding, making them hard to kill, and then they just fly away to lay more eggs.
Missed timing means wasted money, time, and continued lawn damage. It’s the most common mistake I see.
Your Simple Annual Grub Control Plan
Based on what you choose, here’s how to build your year.
If you go the natural route (like milky spore or beneficial nematodes):
- Your plan is about building long-term defense. Apply milky spore according to package directions, often in the spring or fall when soil is moist. It can take a few seasons to establish. For nematodes, apply them in the late afternoon or on a cloudy day in late summer when grubs are present and soil is warm (above 60°F). Water them in well. Patience is key here, much like dealing with my shady friend, Patch.
If you use a chemical preventive (like imidacloprid or chlorantraniliprole):
- Mark your calendar for late spring.
- Start watching soil temperatures. When they hit that 55-60°F sweet spot, it’s go-time.
- Apply the product, then water it in with about a half-inch of irrigation from Sunny to move it into the soil zone. This single application protects for the entire season.
If you need a chemical curative (like trichlorfon or carbaryl):
- At the first sign of damage in late summer, confirm you have grubs by pulling up a square foot of damaged sod.
- If you find more than 5-10 grubs, apply the curative product immediately.
- Water it in thoroughly. The damaged grass areas will need overseeding in the fall to recover.
Pick one track and stick to its schedule. Consistency turns a confusing chore into a simple, automatic part of your lawn care routine.
How to Repair Lawn Damage After Grubs Are Gone
You’ve won the battle against the grubs. Now comes the part where you nurse your lawn back to health. I’ve been here. You look at those thin, brown, or even bare patches and just want to fix them now. The single most important thing you can do right now is be patient and let your grass recover at its own pace.
Think of your grass roots like a patient after surgery. They need rest and consistent care. Keep up with your regular, deep watering schedule to encourage the remaining roots to grow deeper. And, as hard as it is, try to keep the kids, the dog, and your own foot traffic off the most damaged areas. That turf is weak, and compaction is the last thing it needs.
Reseeding Those Ugly Bare Patches
For areas where the grass is completely gone, you’ll need to reseed. This isn’t just tossing seed on hard dirt. You’re creating a perfect little nursery bed for new grass. Proper soil prep is the foundation for successful lawn seeding, improving seed-to-soil contact and moisture uptake. When you prepare the soil correctly, you boost your chances of a lush, even lawn.
- Loosen the Soil: Use a hand rake or garden fork to break up the top inch or two of soil in the patch. You want it loose and crumbly, not hard-packed. If the soil feels like dusty powder, mix in a thin layer of compost.
- Pick Your Seed: Match the seed to your existing lawn type if you can. For quick coverage in a small patch, a quality “sun & shade” mix is a safe bet. Always check the label for weed seed content-aim for 0.0%.
- Seed and Cover: Spread the seed evenly by hand. Lightly rake it in so it has good contact with the soil. Then, cover the patch with a thin layer of straw or, my preference, a biodegradable erosion blanket. This keeps the seed moist and in place.
- Gentle Watering is Key: You must keep the seedbed consistently damp, like a wrung-out sponge. This means light watering, maybe two or three times a day, for the first two weeks. A strong blast from the hose will just wash your seed and work away.
The Big Picture Recovery: Aeration and Overseeding
Fixing patches is a spot treatment. To get your whole lawn thriving again, you need a broader plan. For cool-season grasses, your golden opportunity is early fall. For warm-season grasses, aim for late spring.
This is when I schedule a date with a core aerator. That machine pulls out plugs of soil, creating holes across your lawn. Core aeration relieves compaction, lets air and water reach the roots, and gives new grass seed a perfect place to germinate. After running the aerator, your lawn will look messy for a few days, but those soil plugs break down quickly.
Immediately after aerating, overseed the entire lawn. The seed will fall into those open holes, protected from birds and drying out. Follow with a gentle watering schedule, just like with the patches. This one-two punch is the fastest way I know to turn a thin, struggling lawn into a thick, resilient carpet. It’s important to follow proper care techniques for lawn aeration and overseeding.
Feeding for Steady Recovery
Your lawn is in recovery, not a sprint. You want to encourage strong root growth, not a sudden, sugary burst of top growth that attracts more problems.
Avoid high-nitrogen “weed & feed” type products right now. Instead, look for a balanced, slow-release fertilizer. A product with an N-P-K ratio like 10-10-10 or 8-4-4 provides steady nutrition. The phosphorus (the middle number) is especially helpful for supporting new root development in your seedlings and recovering grass.
Apply it according to the label directions, usually after seeding or aeration, and water it in well. This gives your grass the steady diet it needs to rebuild its strength from the ground up, without the stress of a growth spurt.
Recommended Grub Control Product Categories
Choosing the right product feels overwhelming when the bags all look the same. The secret is to first know your mission: are you stopping future grubs or killing the ones chomping on your lawn’s roots right now? Your answer decides the aisle you walk down.
Chemical Preventives (The “Stop Them Before They Start” Option)
These are your long-term security system. You apply them before grubs hatch, creating a protective barrier in the soil that kills the young larvae as they feed. They’re incredibly effective for stopping a problem you haven’t seen yet.
The best modern preventives use an active ingredient called chlorantraniliprole; it’s highly effective against grubs but has a very low risk for pets, birds, and pollinators when applied as directed. I look for this on the label.
You apply these granules in late spring to mid-summer, timing it so the product is in the soil before the eggs hatch. I usually do this job on a calm evening after mowing with Max. You’ll find these granular products at any big box store, garden center, or online.
Chemical Curatives (The “They’re Here, Get Them Out” Option)
This is for when you’ve peeled back a patch of dead turf and seen those plump, white C-shaped grubs wriggling. You need a fast-acting solution.
Look for curative granules containing trichlorfon or carbaryl. These work on contact and through ingestion to eliminate active grubs. They’re your rescue team.
Apply curatives in late summer or early fall when the grubs are young, small, and feeding closest to the surface for the most effective kill. Water them in immediately. These are also widely available at hardware stores and garden shops. Just remember, these are for active infestations, not future prevention.
Natural & Biological Options (The “Working with Nature” Path)
If you prefer to avoid conventional chemicals, you have two powerful allies. They work more slowly but can become a permanent part of your lawn’s ecosystem. By encouraging beneficial insects that prey on lawn pests, you can build a natural defense for your turf. This approach keeps your lawn’s ecosystem in balance and reduces chemical needs.
Milky Spore Powder
This is a naturally occurring bacteria (Paenibacillus popilliae) that specifically targets Japanese Beetle grubs. The grubs eat the spores, which multiply inside them and eventually kill them, releasing billions more spores back into your soil.
Milky Spore is a long-term investment; it can take 2-3 years to fully establish in your soil, but once it does, it provides grub control for up to 20 years. You apply it as a powder on your lawn. You’ll often need to look for it at specialty organic garden centers or order it online.
Beneficial Nematode Kits
These are microscopic, worm-like organisms that are deadly to grubs but harmless to everything else. You mix them with water and spray them onto your lawn, where they seek out and infect grubs.
The key is using the right type (Heterorhabditis bacteriophora are best for grubs) and applying them correctly-to moist soil, in the evening or on a cloudy day, as UV light harms them. I’ve applied them using my Sunny drip system’s water source. Like Milky Spore, you’ll typically find nematode kits online or at specialty stores.
Matching the Product to Your Problem
So, how do you choose? It comes down to two questions.
- What’s my situation? No damage yet but worried? Go with a granular preventive like chlorantraniliprole. Seeing spongy, brown turf that pulls up like a rug? You likely need a curative.
- What’s my philosophy? Want a set-it-and-forget-it chemical barrier? The preventives are your match. Committed to building a natural, biological defense? Start a program with Milky Spore or nematodes.
You can even combine approaches. I use a preventive in the buffer zone around my garden beds for absolute surety, but I’ve been introducing Milky Spore near Patch, my shady problem area, to build up natural resistance over time. The right tool is the one that fits your lawn’s specific need and your comfort level.
FAQ: Your Top Grub Control Questions, Answered

What exactly does “grub control” mean for my lawn?
Grub control is simply stopping beetle larvae from chewing through your grass roots, either by preventing them from hatching or killing them after they’ve started. Think of it as protecting your lawn’s dinner plate so it stays thick and greedy.
When is the absolute best time to apply grub killer?
Mark your calendar: apply preventive products in late spring when soil hits 55-60°F, and use curative treatments in late summer or early fall when grubs are small and hungry. Missing these windows is like watering your lawn with a sieve-pointless and wasteful.
Is a product like Triazicide effective against grubs?
Only if it’s formulated for grubs-check the label for active ingredients like trichlorfon or carbaryl, as some Triazicide versions target surface insects. Always match the product to your mission: prevention or quick cure.
What should I look for when buying grub control at Home Depot?
First, know if you need preventive (like chlorantraniliprole) or curative (like trichlorfon) control, and start by measuring your lawn size to estimate the area you’re treating. Then grab a granular bag for even coverage. Don’t just eyeball it; read the label to get the right rate and timing for your lawn’s square footage.
How can I find reliable grub control services near me?
Start by asking for referrals at local garden centers or from neighbors with lush lawns. Hire licensed pros who assess your soil and grub count first, because a tailored plan beats a blanket spray every time.
Choosing Your Path to a Grub-Free Lawn
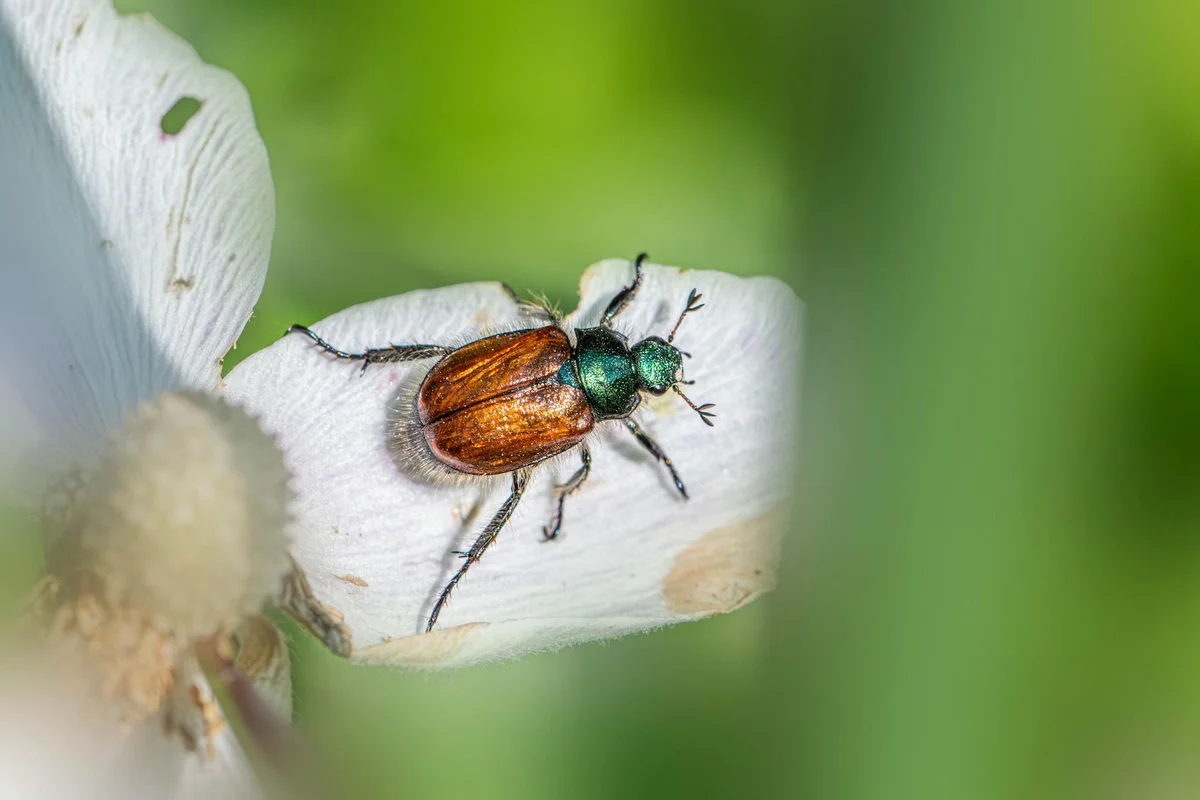
The most effective plan combines a smart preventative step in summer with attentive scouting each fall. Start with beneficial nematodes or a preventative chemical like chlorantraniliprole for long-term defense, then be ready to spot-treat any breakthrough infestations with a short-lived curative product.
Being a good lawn caretaker means respecting the little ecosystem under your feet. I’m always learning from Patch, Max, and Sunny, and I encourage you to keep observing your own yard and adapting your care for a healthier, more resilient result.
Research and Related Sources
- How to choose and when to apply grub control products for your lawn – Turf
- White Grub Control in Turfgrass – Wisconsin Horticulture
- Grub Control: How to get rid of grubs in the lawn
- How do I treat for grubs in my lawn? | Extension
- Lawn Grubs: How and When to Kill Them
- How to Get Rid of Grubs | Lowe’s
Written by Ria Carrington. Ria is an avid lawn care enthusiast and advisor. No lawn is unsalvagable when Ria is at work. She has helped countless homeowners breath new life into their dying lawns. She has a B.Sc in Agriculture and brings practical advice combined with knowledge of plant science and her decade worth of hands on experience.