
How Do I Sharpen and Balance My Lawn Mower Blade?
That ragged, torn look on your grass isn’t just ugly, it’s a sign your mower blade is dull and hurting your lawn. Sharpening it yourself is a straightforward fix that saves you a service call and keeps your grass healthy.
Let’s get your mower cutting cleanly again. We will cover safe removal, choosing your sharpening tool, the filing technique, how to check balance, and secure reinstallation.
I’ve kept the blade on my mower, Max, razor-sharp for five seasons, and I can teach you my weekend routine.
Why a Crisp Cut Beats a Ragged Tear Every Time
Think about cutting a piece of paper. Sharp scissors give you a clean edge. Dull ones just mash and tear the fibers, leaving a fuzzy, ragged mess. Your lawn mower blade works the exact same way on your grass. If your blade is dull, it’s time to remove and replace it. In the next steps, you’ll learn how to safely remove and replace lawn mower blades.
A sharp blade slices through the grass blade cleanly. This is a quick, clean injury that the plant can seal up and recover from fast. A dull blade doesn’t cut. It whacks the grass, bending and tearing it before finally ripping it off. That ragged tear is like an open wound, making it harder to repair damaged lawns.
That ragged tear stresses the grass, causes the tip to turn brown, and makes the lawn more vulnerable to disease. It’s why your lawn can look dull or have a grayish cast a day after mowing with a blunt blade.
I notice it instantly with Max, my mower. After a fresh sharpen, he doesn’t just sound better-with a cleaner, crisper *snap* from the deck-the lawn itself looks brighter and feels smoother underfoot. The cut is so uniform it looks striped even before I make a pass back the other way.
Balancing the blade is part of this tune-up. A blade that’s heavier on one side spins unevenly. This causes vibration you can feel in the handles. Over time, that shaking wears out spindle bearings and other parts. A balanced blade lets everything spin true, protecting your machine.
The Telltale Signs Your Blade is Begging for a Tune-Up
You don’t need a mechanic’s ear or a magnifying glass. Your lawn and mower will tell you plainly. Here’s what to watch, listen, and feel for.
Your lawn’s appearance is the biggest giveaway. Walk your property right after mowing. Look closely at the individual grass blades. Are the tips clean and sharp, or are they shredded, frayed, and white? That fraying is the “paper tear” in action. You might also see an uneven cut where some patches are taller, or brown tips appearing across the lawn a day later.
The sound of your mower changes. A sharp blade spinning fast creates a distinct, sharp whirring sound as it cleanly slices. A dull blade makes a louder, labored roar or a fluttering sound, like it’s struggling to push through the grass. Max gets a grumpy, lower growl when his blade is past due.
You’ll feel it in your hands and arms. A mower with a sharp blade glides. It doesn’t fight you. If you’re pushing a walk-behind and feel new resistance, or the mower seems to bog down in grass it used to handle easily, the blade is likely dull and tearing instead of cutting.
Check what’s left behind. Excessive clippings left on the lawn surface, even when you’re not cutting too much off, can be a clue. A dull blade mashes the grass, leaving more debris and “grass dust” on top instead of letting the clippings fall neatly back down to the soil. This can hamper grass healing and growth.
When in doubt, do the simple tear test. Pick a single, fresh blade of grass from your lawn and try to cleanly slice through it with the edge of your mower blade (with the mower off and disconnected, of course). If it slices easily, you’re probably okay. If it smushes or requires a sawing motion, it’s time for a sharpening. It’s the quickest, most honest check you can do.
Gathering Your Gear: The Sharpener’s Toolkit
Before we touch a blade, let’s get our gear in order. I learned this the hard way after chasing a roll of shop towels around the garage while holding a dirty blade. Having everything on hand makes this a 20-minute job, not an afternoon scavenger hunt.
You don’t need a pro mechanic’s shop, just a simple, organized workspace. Here’s your complete shopping list, broken down by category.
-
The Non-Negotiable Safety Kit
- Heavy-duty work gloves (leather is great)
- Safety goggles that fit snugly
- A sturdy workbench or picnic table
Always wear the gloves and goggles. A spinning blade or a metal shard doesn’t care if you’re almost done.
-
Essential Hand Tools for Removal & Sharpening
- A wrench or socket set that fits your mower’s blade bolt (usually 1/2″ or 5/8″)
- A vise or a strong C-clamp to hold the blade steady
- A good quality mill bastard file (a 10- or 12-inch single-cut file works perfectly)
This is the classic, quiet way to do it. The file’s rasp is a sound I associate with a well-kept shed.
-
Your Balancing Act Equipment
- A dedicated blade balancer (a simple, cone-shaped tool)
- Or, the classic DIY method: a long nail, a hammer to drive it into a stud, and a level surface
An unbalanced blade shakes your mower apart, so this step is as important as the sharpening itself.
-
Power Tool Options (For When You’re Feeling Efficient)
- Bench Grinder: The fastest method if you have one, but it’s easy to overheat the blade.
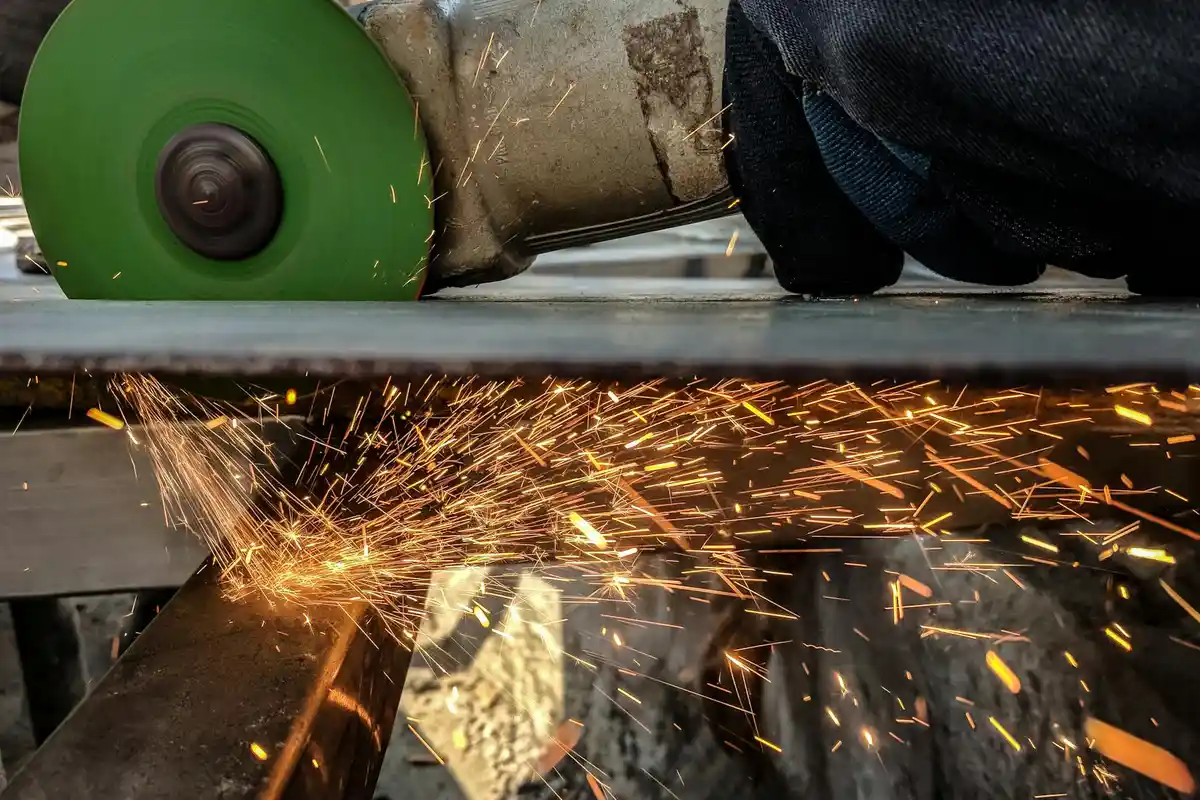
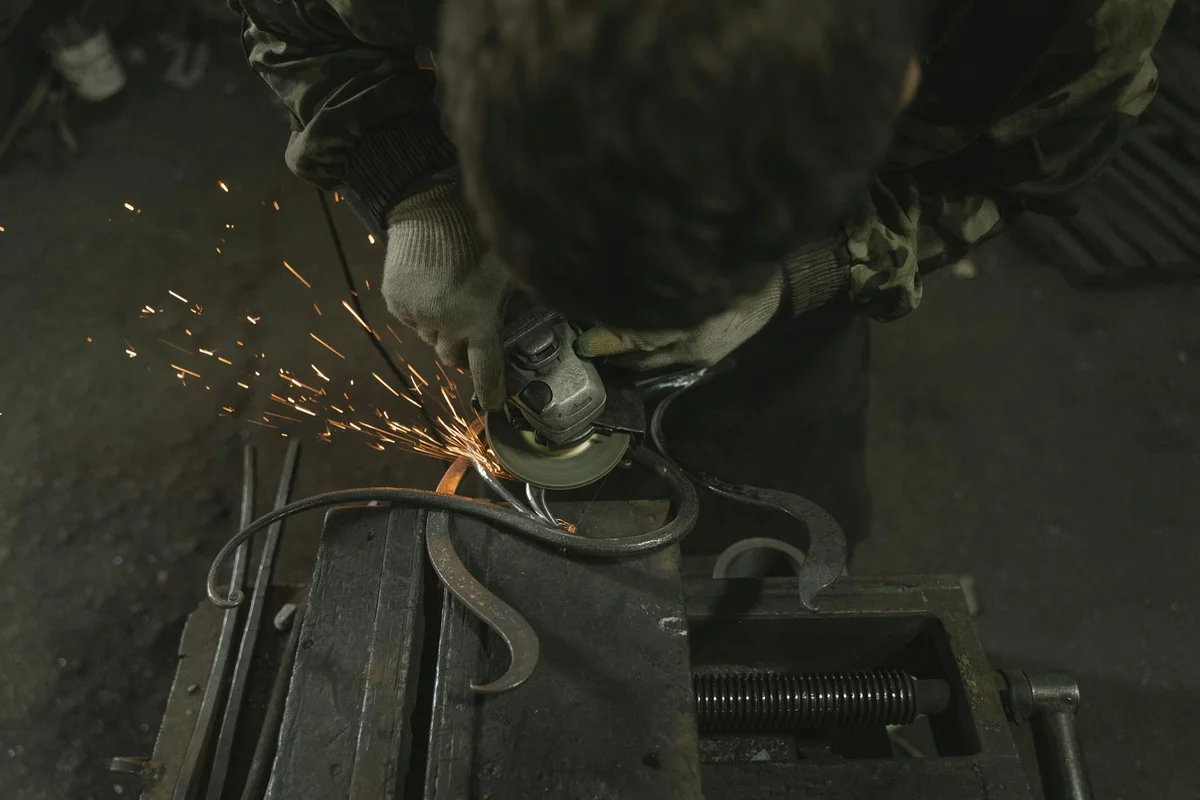
- Angle Grinder with a flap disc: My occasional go-to for badly nicked blades, but it requires a very steady hand.
- Rotary Tool (like a Dremel): Good for touch-ups, but it can take a while for a full sharpening.
I usually stick with the file for Max’s blades. It’s meditative and harder to mess up.
-
The Clean-Up Crew
- A stiff wire brush (an old dish brush works in a pinch)
- Clean rags or paper towels
- A bucket of soapy water or a degreaser spray
Scraping off the caked-on grass juice and dirt lets you see the blade’s true edge and makes balancing more accurate.
Safety First: Non-Negotiables Before You Spin a Wrench
Let’s be clear before we even touch a blade. Mowers are not toys, and a sharpening job can go from simple to serious in a heartbeat if you skip the basics. I treat my zero-turn, Max, with a lot of respect, and that starts with shutting him down completely.
The single most important thing you will do is disconnect the spark plug wire. Pull that boot right off the plug and tuck it somewhere safe where it can’t accidentally bounce back on. I’ve seen a mower deck lurch to life from a bumped key switch with the blade off, and it’s a heart-stopping moment you do not want.
Your hands and eyes are next. I wear a sturdy pair of work gloves. They protect my fingers from the blade’s edge and give me a better grip. Safety glasses are a must. When you’re filing or grinding, tiny, hot metal shavings fly everywhere. Getting one in your eye will ruin your weekend project fast.
Now, let’s talk about securing your work. A wobbly mower or a spinning blade is a recipe for a bad cut. I always lift my mower deck and slide solid wooden blocks under the frame so it can’t drop. When the blade is off, I clamp it firmly in a bench vise. If you don’t have a vise, find a way to wedge it immovably against a workbench. This isn’t just about a good sharpening angle, it’s about keeping your fingers.
I learned the hard way about securing things. Early on, I was trying to loosen a stubborn blade bolt by stomping on a wrench for leverage. The mower rocked, my foot slipped, and I came down hard on the deck. I was lucky it was just a bruised shin and a lesson learned. Now, everything gets blocked and chocked before I apply any serious force. A few extra minutes of setup prevents a world of hurt.
The Heart of the Matter: Your Step-by-Step Guide

This isn’t just about making a cut. A sharp, balanced blade is a healthy practice for your lawn. It slices grass cleanly instead of tearing it, which helps the plant recover faster and resist disease. Think of it like a clean paper cut versus a jagged rip. Let’s get your mower, whether it’s old reliable like my Max or a shiny new model, cutting its best. Part of that care is adjusting the cutting height to suit the season and grass type. A small height tweak can prevent scalping and encourage a denser, healthier lawn.
Step 1: Removing the Blade Safely and Smartly
First, disconnect the spark plug wire on a gas mower or remove the battery from an electric model. This is your non-negotiable safety step. It prevents any chance of the motor kicking on.
Tilt the mower onto its side. For gas mowers, always tilt it so the air filter and carburetor side is facing up. This keeps gas and oil from flooding where they shouldn’t be.
Now, block the blade from spinning. I wedge a scrap piece of 2×4 between the blade and the mower deck. This lets you put real muscle into loosening the bolt without the blade just turning. Use the correct size socket wrench, not an adjustable wrench that can strip the bolt.
Once the bolt is off, note exactly how the blade was facing before you lift it out. I often snap a quick picture with my phone. This makes reassembly foolproof.
With the blade out, take 30 seconds to wipe down the mounting area on the mower deck. Clean any packed grass and grit off the bolt threads and the washer. A clean start makes everything easier later.
Step 2: The Sharpening Stroke – Techniques That Work
Clamp the blade securely in a vise or with C-clamps to a solid workbench. Your goal is to follow the factory bevel, the existing angle on the cutting edge. Don’t try to invent a new angle.
If using a hand file, use long, smooth strokes moving away from the blade’s body toward the edge. Apply even pressure. Work on one cutting edge until it’s sharp, then do the exact same number of strokes on the opposite edge. This consistency is key for balance later.
How do you check for sharpness? Look down the edge. A dull edge will look rounded or shiny. A sharp edge will have a clean, defined line. You can also gently drag your thumbnail across the edge (not along it). A sharp blade will catch or shave a tiny bit of your nail.
What if your blade has nicks from hitting a rock or a sidewalk edge? You need to grind them out. For minor nicks, use your file or grinder to carefully remove metal from the entire cutting edge until the nick disappears, keeping the angle consistent. You’re not just fixing the spot, you’re reshaping the whole edge evenly. For a badly bent or deeply gouged blade, replacement is the safer choice.
Greedy Grass Pro Tip: If using a power grinder, use light pressure and dip the blade in water often to avoid overheating, which softens the metal. That “bluing” color you see is a sign of lost temper. If you see it, you’re pushing too hard. Let the tool do the work.
Step 3: The Balancing Act – Why It’s Not Optional
After sharpening, you must balance the blade. An unbalanced blade spins unevenly. It feels like a wobbly tire on your car, sending vibrations through your entire mower.
You can buy a simple cone balancer for a few dollars. Or, use a DIY method: find a nail, screw, or drill bit that fits snugly through the blade’s center hole. Suspend it horizontally between two level surfaces.
The rule is simple: if one end dips down, it’s heavier. You need to remove a tiny bit more metal from the cutting edge on that heavier side.
Take the blade down, give the heavy end a few more careful file strokes on the *backside* (the non-beveled side) of the blade tip, and test again. Repeat until the blade hangs perfectly level. This patience saves your mower. Those vibrations from an unbalanced blade are a direct attack on the spindle bearings, and replacing those is a weekend project nobody wants.
Step 4: Reattaching for a Perfect Finish
You’re on the home stretch. Place the freshly sharpened and balanced blade back onto the mower spindle, ensuring it’s oriented exactly as it was before. That photo you took is your guide.
Hand-tighten the mounting bolt first. Then, use your wrench to tighten it firmly. If you have a torque wrench and can find your mower’s specification (often in the manual), use it. If not, a good rule is to tighten it 1/4 to 1/2 turn past “hand-tight” with a standard wrench. You want it very snug, but you’re not trying to shear the bolt.
Before you reconnect the spark plug or battery, give the blade a slow, manual spin with your hand. Listen and look. It should rotate freely without touching or scraping any part of the mower deck. This is your final safety and alignment check to ensure the blade rotates in the correct direction.
Reconnect your power source. You’re ready for a test run. The difference in sound and cut quality will be immediately obvious. Your grass will look cleaner, and your mower will thank you with a smoother, quieter ride.
Sharpening Showdown: File, Grinder, or Rotary Tool?
Once the blade is off the mower, the real work begins. I’ve seen people get stuck right here, wondering which tool is the “right” one. The truth is, the best tool is the one you have and feel comfortable using. Let’s compare your main options.
The Hand File: The Patient Master’s Choice
This is the old-school method, and it’s how my dad taught me. You’ll need a good quality single-cut bastard file. It’s slow, quiet, and gives you ultimate control.
I keep a file in my shed for quick mid-season touch-ups. If I hit a rock with Max and put a small nick in the edge, I can often file it right out without taking the blade off. It’s perfect for that.
- Pros: Inexpensive, quiet, zero risk of overheating the metal, fantastic for beginners to learn the blade’s angle.
- Cons: Requires serious elbow grease. Sharpening a badly dulled blade from start to finish can feel like a workout.
The hand file teaches you the angle and feel of a sharp edge better than any power tool. If you’re new to this, start here. You’ll appreciate the speed of power tools later.
The Bench Grinder: The Powerhouse for Big Jobs
This is my go-to for a full, serious sharpening session at the start of the season. It’s mounted to your workbench, has a coarse and fine wheel, and makes short work of dull steel.
The key with a grinder is control and patience. You must keep the blade moving. Resting it in one spot for even two seconds can overheat the metal, causing it to lose its temper (think of it as making the steel soft). You’ll see the metal turn a blueish color-that’s bad. Dip the blade in water frequently to keep it cool.
- Pros: Fast, efficient, and gives a very consistent edge if you’re careful.
- Cons: Can remove too much metal quickly if you’re heavy-handed. The high-pitched whine isn’t neighbor-friendly.
A bench grinder is like a professional chef’s knife sharpener-incredibly effective but demanding respect. Let the tool do the work; don’t force the blade into the wheel.
Angle Grinder or Rotary Tool: The Quick-Fix Specialists
These are the versatile tools you might already own. An angle grinder with a flap disc or a rotary tool (like a Dremel) with a sharpening bit can tackle this job.
I use my angle grinder when a blade has several deep nicks that would take forever with a file. They’re powerful. The challenge is maintaining a steady hand to get that factory-beveled edge, not a rounded one. It’s easy to create an uneven edge if you’re not practiced.
- Pros: Extremely fast for removing material. Great for repairing badly damaged edges.
- Cons: Harder to control for a perfectly balanced, consistent edge. Sparks flying everywhere is a given.
Think of these like a kitchen immersion blender-amazing for specific, rough tasks but not always the most precise tool for the finish work. They get you 90% of the way there fast.
How to Pick Your Weapon
So, which one should you grab? Match the tool to your situation.
- For beginners or a light touch-up: Go with the hand file. You’ll learn the skill without risk.
- For a seasonal deep sharpening on a standard blade: The bench grinder is your champion.
- For fixing a blade with rock damage or if it’s your only power option: An angle grinder or rotary tool will work. Go slow, check your balance often, and focus on keeping the angle flat.
Your goal isn’t sparks and speed. Your goal is a clean, sharp, and balanced edge that makes your mower’s job easy. Any of these tools can get you there.
New Blade Mystery: Do They Come Sharpened from the Factory?

You pull a shiny new blade from the box. It looks sharp, but is it mow-ready sharp? Let’s solve this.
The short answer is yes, most new lawn mower blades are sharpened at the factory. But here’s the real talk. That factory edge is often a basic, one-size-fits-all grind. It’s like buying a brand new car. It runs, but a precise tune-up makes it purr. If you want crisper cuts, you might sharpen or replace your lawn mower blade.
Think of a factory-sharpened blade as “good enough,” but a quick hone with a file can turn it into a surgeon’s scalpel for your grass. For a crisp, clean cut that doesn’t tear or stress the turf, giving that new edge a little personal attention is a smart move. I’ve pulled new blades off the shelf that felt dull to my thumb. Quality control isn’t perfect. Pair that edge with smart mowing technique—proper height and even passes—to prevent tearing. These blade-care tips fit into a broader lawn mowing guide we’ll link in the next steps.
Inspecting Your New Blade’s Edge
Before you bolt it on, take 60 seconds to inspect. Put on a glove and carefully run your thumb across the cutting edge (not along it). Feel for any rough spots or burrs. Look for nicks or a rounded-over edge. A truly sharp blade will have a clean, defined bevel.
I check every new blade, even the expensive ones. Just last season, I found a small burr on a replacement for Max. A few passes with a file smoothed it right out. This simple step prevents a jagged first cut.
The Non-Negotiable: The Balance Check
This is critical, even for a brand new blade. An unbalanced blade causes a violent vibration. This shakes your mower apart, wears out the spindle bearing, and gives you a wavy, uneven cut.
Checking balance is simple and doesn’t require special tools. Find a nail, a screwdriver, or a dedicated blade balancer. Slide the center hole onto your balancing pin. If one side consistently dips toward the floor, it’s heavier. That blade is out of balance.
I’ve seen new blades pass the visual test but fail the balance test. It happens. Never skip this. A balanced spin means a smooth, quiet ride for Max and a level cut for your lawn.
Why Bother Sharpening Something New?
You could bolt it on and go. The lawn will get cut. But for the Greedy Grass standard, that’s settling. Starting with a perfectly sharp blade sets the tone for the whole season.
It ensures every single grass blade is sliced cleanly from the first mow. A clean cut heals faster, loses less moisture, and is less vulnerable to disease. A dull or imperfect edge shreds the grass tip, leaving a frayed, brownish end. Your lawn looks hazy, not crisp.
Taking ten minutes to verify the edge and balance guarantees peak performance from day one. It’s a small investment for a massive return in lawn health and appearance. You give your grass the best possible start, and you protect your mower from unnecessary wear. That’s a win-win.
When to Wave the White Flag: Sharpening vs. Replacing
I’ve sharpened my share of blades. Most times, a good sharpening brings Max back to his old, efficient self. But sometimes, you pick up that blade, look it over, and just know it’s time to retire it. Fighting with a blade that’s past its prime is a waste of a Saturday.
Here are the clear signs it’s time for a replacement, not another session with the file or grinder.
The Blade is Worn Down Too Thin
A sharp blade still needs some beef behind the edge. Think of it like a kitchen knife. If you sharpen it a hundred times, the metal behind the edge gets thinner and weaker. On a mower blade, this thin section is called the “land.”
When this land gets too narrow from repeated sharpenings, the edge becomes fragile. It will bend, fold, or chip the second it hits a twig or pine cone. If the cutting edge looks more like a fragile foil than a sturdy wedge, its structural integrity is gone. That’s your first major sign.
You Spot Deep Damage
Small nicks happen. But some damage is too severe to fix properly. You need to look for three things:
- Deep Cracks: Especially near the center hole or at the ends. A crack is a stress point waiting to fail completely. Never run a cracked blade.
- Bends That Won’t Straighten: A slight bend you can hammer out on a block of wood is one thing. A major taco-shaped bend or a kink means the metal’s grain is compromised. It will never be truly balanced again.
- Large, Gashed-Out Sections: If a rock took a half-inch chunk out of the blade, removing that much metal to re-shape it will throw the balance off completely.
It’s Simply Shrinking
This is the most common, sneaky reason for replacement. Every time you sharpen, you remove metal. Over years, the blade gets shorter and narrower. I keep an old, worn-out blade in my shed just to show folks the difference.
Use this simple rule: if the blade’s width from the cutting edge back to the body is reduced by more than a quarter, it’s done. You can check with a tape measure. A new blade might be 2.5 inches wide at the tip. If yours is now under 1.9 inches, it’s not moving enough air to lift the grass for a clean cut, and it’s time for a new one.
The Effort vs. Cost Calculation
Let’s be honest about time and money. A standard replacement blade for a residential mower often costs between $15 and $40. Is an hour of your time-disconnecting the spark plug, wrestling the blade off, sharpening, balancing, and reinstalling-worth saving that $20?
For a slightly dull blade, absolutely. It’s satisfying and cheap. But if the blade has major damage or is paper-thin, you’ll fight for every inch. You might spend two hours trying to file out a huge gash, only to have the blade vibrate because you can’t balance it perfectly.
When the damage is bad, replacement isn’t a defeat; it’s the smart, efficient choice that gets you back to mowing faster. I keep a spare, sharpened blade on hand for this exact reason. When I find a bad one on Max, I swap it in five minutes and order a new spare. No lost weekend.
Knowing Your Limits: When to Hand It Over to a Pro
Listen, I love a good DIY project as much as the next homeowner. There’s real pride in doing it yourself. But with mower blades, stubbornness can cost you. It’s not about skill, it’s about smart resource management.
Knowing when to pass the job to someone else isn’t a defeat. It’s the mark of a savvy lawn keeper who values their time, their mower, and their fingers.
Signs You Should Make the Call
A few clear scenarios mean it’s time to find a professional. Trust me, I’ve been in each of these spots.
- You lack the tools or confidence. If you don’t own a sturdy wrench, vise, or file, buying them for one job often costs more than the service. If the thought of handling the blade makes you nervous, listen to that feeling.
- The blade has severe damage. We’re talking major bends, deep gouges from rocks, or chunks missing from the tips. Trying to fix a pretzel-shaped blade is a battle you’ll likely lose.
- Your time is more valuable right now. Some weekends are for family, not grinding metal. If your schedule is packed, outsourcing this one task keeps your lawn on track without the stress.
Max, my zero-turn, once hit a hidden paver. The blade didn’t just dull, it warped. I knew right then my bench grinder wasn’t the right tool for that fix.
Finding a “Sharpen Mower Blades Near Me” Service
Finding a good sharpening service is easier than you think. A quick search for “sharpen mower blades near me” will point you in the right direction, but here are the best local spots to check first, including Greedy Grass.
- Small Engine Repair Shops: These are the true experts. They sharpen blades daily and can spot other issues you might miss.
- Local Hardware Stores: Many offer seasonal blade sharpening. It’s convenient, especially if you’re already there for other supplies.
- Independent Lawn Services: Ask the crew that does your neighbor’s yard. They frequently have a sharpening setup and may do it for a fair price.
Bring them the blade alone, not the whole mower, to save money and time. Just make sure it’s clean and the mounting hole is clear of debris.
DIY Cost vs. Pro Service: The Real Math
Let’s break down the real cost, because it’s not just about dollars.
| DIY Approach | Professional Service |
| Your time (30-60 minutes). | Their time (usually a 24-48 hr turnaround). |
| Wear on your tools (files, grinders wear out). | Their industrial equipment. |
| Risk of an imperfect edge or imbalance. | Guaranteed sharpness and balance. |
| Potential for injury if done incorrectly. | Safety is their responsibility. |
For most standard sharpening jobs, a pro charges between $10 and $20 per blade. For that, you get a perfectly balanced, factory-sharp edge. When you factor in your time and effort, that’s often a fantastic deal.
For complex issues like a major bend or a severely chewed-up blade, a professional with the right machinery is always the safer choice for your mower’s health.
The Bottom Line for Your Bottom Blade
Doing it yourself is rewarding and gives you full control. I encourage it when you have the right setup. But there’s zero shame in handing off a tricky, dangerous, or time-consuming task.
Knowing the difference keeps your mower deck humming smoothly and your hands safely away from unnecessary risk. Your lawn just wants a clean cut-it doesn’t care who provides it.
Sharpen & Balance: Your Quick-Hit FAQ
Can I really use my Dremel to sharpen the blade?
Yes, a rotary tool like a Dremel works for touch-ups, especially for small nicks. Just be patient-it’s slower for a full sharpening, and maintaining a consistent angle with a small tool takes a steady hand.
Where’s the best place to find a “sharpen mower blades near me” service?
Skip the big-box stores and call your local small-engine repair shop first-they’re the true experts. Many independent hardware stores or lawn care services also offer it; just bring them the clean, removed blade to save time and money.
Is sharpening with an angle grinder a good idea?
An angle grinder is a powerful fix for badly nicked or damaged blades, making it very fast. However, its aggressive nature makes it easy to overheat the metal or create an uneven edge, so it demands control and frequent cooling dips in water.
What’s the best way to handle a blade with several nicks?
For multiple nicks, use a bench grinder or file to gently reshape the entire cutting edge until they disappear, keeping your strokes even. Don’t just grind the nick itself; you must remove metal from the full length of the edge on that side to maintain balance.
Can I sharpen the blade without taking it off the mower?
Technically yes, but I never recommend it. You simply cannot achieve a safe, even, and balanced edge while it’s attached, and you’re putting your hands dangerously close to the deck. The five minutes it takes to remove it properly is non-negotiable for a quality job and your safety.
Your Next Mow: Sharp and Smooth

Sharpen and balance your mower blade at least once a season for a clean cut that keeps grass healthy. I make it a quick habit with Max, and my lawn rebounds faster, staying thick and green.
This simple act of care is a win for your yard and the environment, supporting stronger grass that needs less water and chemicals. I’m always picking up new tips, and I hope you’ll keep learning with me to make our lawns safe for pets and pollinators alike.
Related Guides and Information
- How To Sharpen Your Lawn Mower Blade
- Lawn Mower Blade Sharpening Guide | Milford, DE | Equipment Dealer
- Sharpening Lawn Mower Blade at Tractor Supply Co.
Written by Ria Carrington. Ria is an avid lawn care enthusiast and advisor. No lawn is unsalvagable when Ria is at work. She has helped countless homeowners breath new life into their dying lawns. She has a B.Sc in Agriculture and brings practical advice combined with knowledge of plant science and her decade worth of hands on experience.