
Bermuda Grass: When and How Do You Plant and Fertilize for a Healthy Lawn?
If you’re worried about timing or wasting money on your Bermuda grass, you can stop stressing. Getting this right is simpler than you think, and I’m here to walk you through it.
We’ll break it down simply, covering the exact best time to plant, choosing between seed or sod, preparing your soil correctly, the ideal fertilization schedule, and selecting the right fertilizer for thick, resilient growth.
I’ve learned this through five summers of hands-on care with my own lawn, figuring out how to get lush results without overspending.
At a Glance: Key Factors for Bermuda Success
Getting Bermuda grass right is a lot like baking bread. You need the right ingredients (your soil), the right heat (steady warmth), and the right timing (late spring to early summer). Miss one, and you’ll get a disappointing result.
If you focus on these five things, you’ll be miles ahead.
- Soil Warmth: This is non-negotiable. Bermuda seed or sod needs the ground to be warm, not just the air. We’re talking consistent soil temperatures of 65°F or higher. A single hot weekend won’t cut it. I wait until nighttime lows are consistently in the 60s. You can use a soil thermometer or check a local university extension website for tracking.
- Soil Prep: Don’t just throw seed on hard ground. Bermuda needs a loose, welcoming bed. Break up any compaction. I go over the area with a core aerator, which feels like giving the soil a deep breath. For new areas, till the top 4-6 inches and rake it smooth, removing rocks and old roots.
- Planting Depth: Bermuda seeds are tiny. They need light to germinate. If you’re seeding, barely rake them into the soil. Think of covering them with a layer no thicker than a dime. If you’re laying sod, just ensure it has full contact with the soil underneath.
- Nitrogen-Heavy Fertilizer: Bermuda is a hungry grass, especially for nitrogen. The first number on a fertilizer bag (like 20-5-10) should be high. Apply a starter fertilizer at planting, but choose one labeled as pet-safe to keep your furry friends secure while your lawn establishes.
- Low Mowing: This is where Max, my zero-turn, really earns his keep. Bermuda thrives when cut short. Once established, you’ll mow it between 1 and 2 inches high. This encourages it to spread sideways and thicken up, forming that dense, carpet-like turf it’s famous for.
Is Bermuda Grass a Good Choice for Your Lawn?
Bermuda is a superstar for some yards and a total mismatch for others. Its personality is strong, so let’s see if it fits yours.
First, the good stuff. Bermuda grass is tough as nails. It recovers from damage quickly, making it perfect for yards where kids and dogs are constantly playing. Once established, it’s incredibly drought-tolerant. Its deep roots let it find water when other grasses give up. And it absolutely loves the sun, soaking it up to grow thick and green.
Now, the trade-offs. That toughness comes with an invasive nature. It will happily spread into flower beds and sidewalks if you let it. It goes fully dormant and turns brown after the first hard frost, so you’ll have a tan lawn all winter. Most critically, it needs full, direct sun for most of the day. It will thin out and struggle in shade.
Ask yourself these three questions:
- Does my lawn get at least 6-8 hours of direct, unfiltered sun daily?
- Am I okay with my lawn being brown and dormant from late fall through early spring?
- Can I commit to mowing every 5-7 days during its peak summer growth?
If you answered “yes” to all three, Bermuda could be your grass. If you have shady areas, consider a different grass for those spots. For a sunny, high-traffic area where you want a resilient carpet, it’s very hard to beat Bermuda grass.
Getting the Timing Right: When to Plant Bermuda Grass

You might see a date circled on the calendar, but that’s not the boss. Soil temperature is. Bermuda grass seed won’t wake up until the soil, about 2 inches deep, is consistently 65°F or warmer.
Checking this is easier than you think. I use a basic meat thermometer. Push it into a few damp spots in your lawn at mid-morning, wait a minute, and take a reading. Do this for a few days in a row. When it holds steady at 65°F or above, you have your green light.
If you don’t have a thermometer, use your eyes. Plant when the spring weeds in your yard, like dandelions or henbit, are already growing strong and green. If the trees are still bare, you’re too early.
Here’s the key connection: the perfect time to plant Bermuda is also the perfect time for its first meal of the year. You broadcast the seed and apply your starter fertilizer in the same weekend. This gives the new grass the energy it needs to push out strong roots right from the start.
Prepping Your Dirt Canvas: Soil Work Before Planting
This is the part everyone wants to skip. Don’t. Laying a good foundation is the single biggest factor for a thick, healthy lawn. Think of it like building a house. You wouldn’t start putting up walls on a shaky, uneven slab.
Step 1: The Soil Test
This is a doctor’s check-up for your dirt. It tells you exactly what’s missing so you don’t waste time or money guessing. You can get a cheap DIY kit from a garden center, but for a few more dollars, I send a sample to my local university extension office. Their report is much more detailed.
For Bermuda grass, you’re aiming for a soil pH between 6.0 and 7.0, which is just slightly acidic to neutral. If your soil is too acidic (a low pH), the grass can’t use the nutrients in the soil, no matter how much fertilizer you add. The test will tell you if you need to add lime to raise the pH.
Step 2: Amending and Leveling
Once you know your soil’s health, you can feed it. No matter if your soil is heavy clay or sandy, adding a 1 to 2-inch layer of compost and working it in is the best thing you can do. This is like a big, healthy breakfast for your grass roots. It helps sandy soil hold water and helps clay soil drain better.
Next, walk your lawn and look for bumps and dips. A bump might just scalp the grass when Max goes over it. A dip will collect water and drown the roots. Use a leveling rake or a long 2×4 to pull soil from high spots into low spots. Your goal is a smooth tabletop.
If the ground feels hard as a rock, you need to loosen it up so roots can breathe and water can sink in. For a small area, a garden fork to aerate works. For a whole lawn, I rent a core aerator once a year. It pulls up plugs of soil and is the best fix for compaction. If you’re starting from bare dirt, a light tilling can help mix in that compost.
How to Plant Bermuda Grass: Seed, Sod, or Plugs?
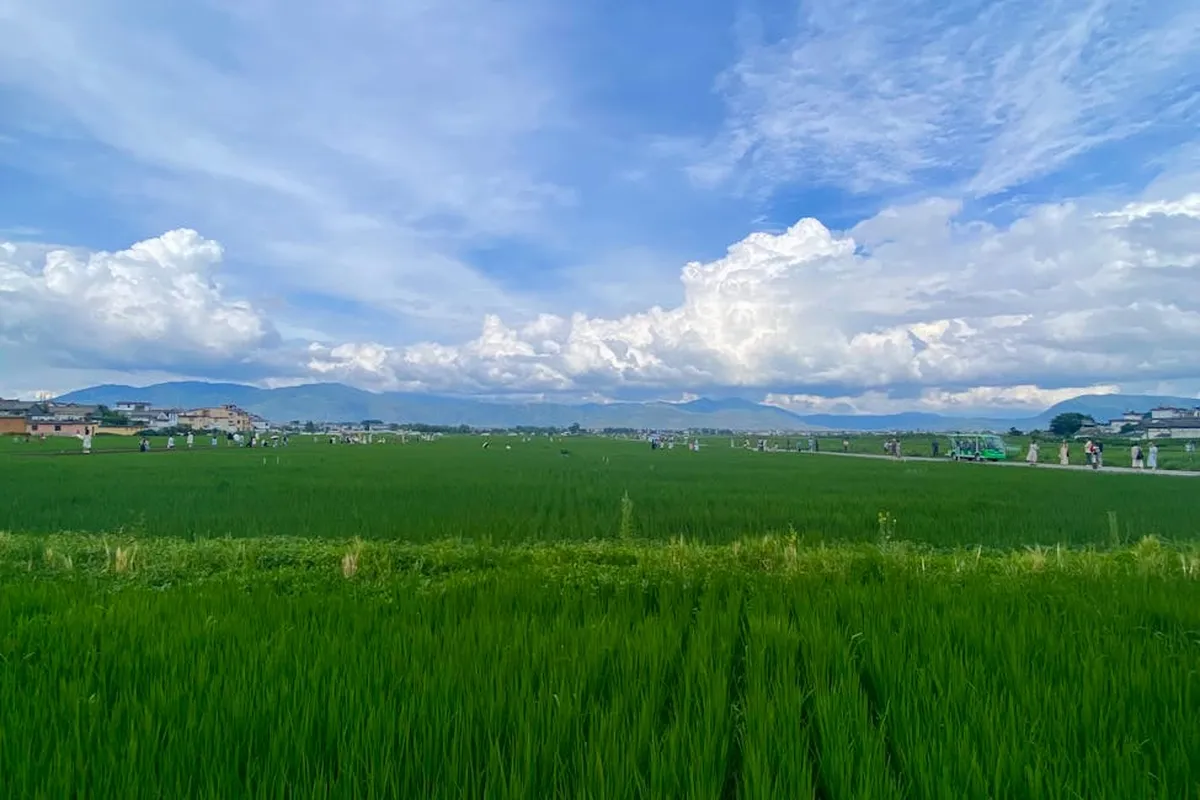
Your first big choice is how to get the grass into the ground. I’ve used all three methods in different spots, and each has its place. Your budget, timeline, and how much sweat you want to invest will decide it.
Think of it like this: seed is a slow, steady investment; sod is the instant upgrade; and plugs are the strategic patch job that asks for patience.
Planting Bermuda from Seed
This is how I filled in the bare spots after I finally won the battle with Patch. You need patience and a watchful eye on your watering.
First, gather your tools. You don’t need anything fancy:
- A broadcast spreader (for even distribution)
- A stiff garden rake
- A lawn roller (a water-filled drum from the hardware store works perfectly)
The seeding rate is critical. For common Bermuda grass, aim for 1 to 2 pounds of seed per 1,000 square feet. Check your seed bag, as some improved varieties have different application rates.
Seed-to-soil contact is non-negotiable. Those tiny seeds can’t just sit on top of dry thatch. After spreading, I use the back of my rake to gently scratch the seed into the top quarter-inch of soil — not too deep — just like the experts suggest when planting grass seeds. Then, I roll the area with the water-filled drum. This presses the seed firmly into the moist soil, giving it the best chance to germinate.
Now comes the part you can’t mess up: watering. For the next 10-14 days, your goal is to keep the top inch of soil constantly damp. Not soggy, not dry. Think of a wrung-out sponge. You’ll need to water lightly 2-3 times a day. Once you see those first green sprouts, you can start to taper off to deeper, less frequent watering.
Laying Bermuda Sod or Plugs
If you want a lawn now, sod is your answer. Plugs are fantastic for repairing a damaged area or slowly expanding a good section of grass.
Site prep is the same for both. The soil should be slightly moist before you start, like freshly turned garden soil. I run Sunny, my drip system, for a short cycle the morning I plan to lay sod.
For sod, lay it like a bricklayer would. Stagger the joints so no seams line up. Butt the pieces tightly together without overlapping them. Walk on it or use your roller to ensure good root contact with the soil below.
For plugs, spacing is key. Planting them 12 inches apart (center to center) is a common and effective pattern. They will spread and fill in the gaps over the growing season.
The first two weeks are all about helping the roots “knit” into your native soil. Water new sod or plugs deeply immediately after planting. For the next 10-14 days, water daily (twice daily if it’s very hot and dry) to keep the root zone moist. You should be able to lift a corner of the sod after a week and see fresh white roots starting to reach down.
What Fertilizer is Best for Bermuda Grass?
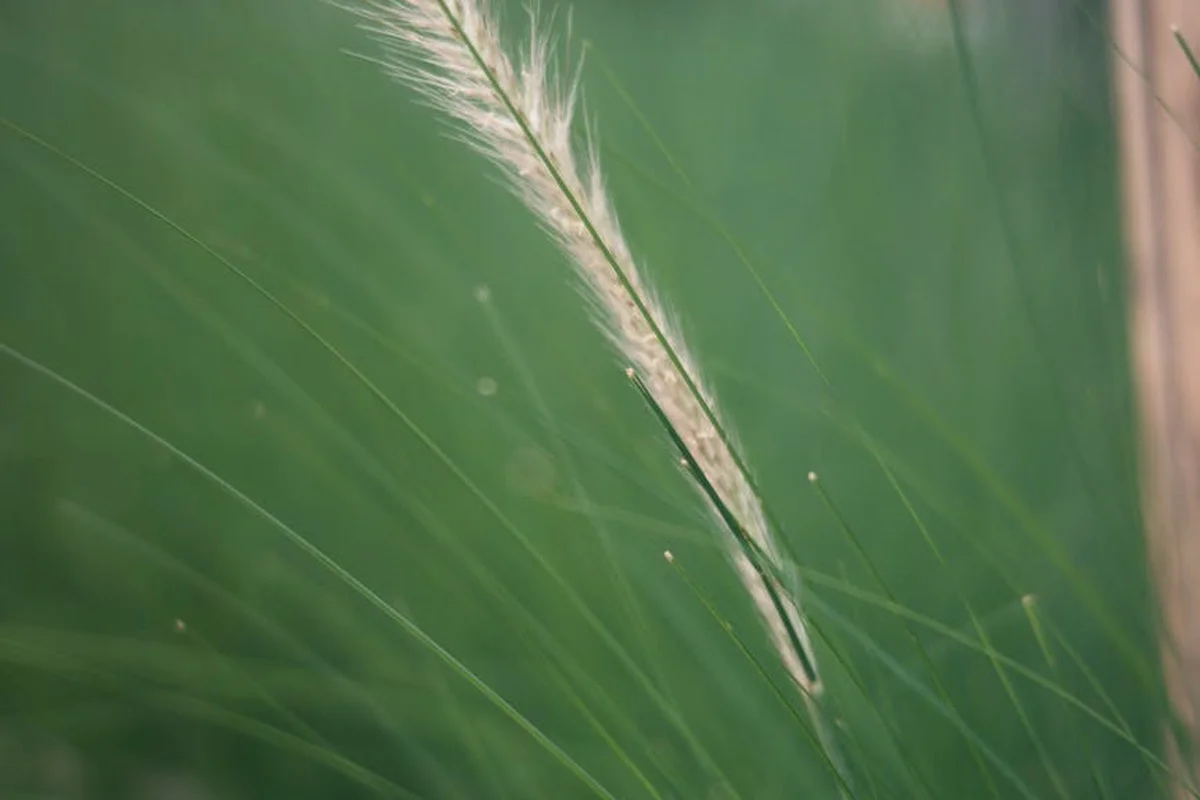
Bermuda grass is a greedy feeder. It loves nitrogen and grows fast when fed well. But you have to feed it the right way, at the right time. If you’re planning to plant and grow Bermuda grass seed, start with good soil and adequate moisture to help it establish. From there, targeted feeding will keep the lawn lush as it matures.
First, let’s decode the bag. Those three numbers are the N-P-K ratio. I think of it like a balanced meal for your lawn.
- Nitrogen (N) is the main course. It fuels the deep green color and the vigorous, leafy growth you love.
- Phosphorus (P) is for strong bones, or in this case, roots. It’s crucial for getting new grass established.
- Potassium (K) is for overall health and hardiness. It helps the grass handle stress from heat, cold, and foot traffic.
Starter Fertilizer for New Grass
When you’re planting seed, sod, or plugs, your first feeding is special. Use a starter fertilizer that is higher in phosphorus, like a 10-20-10 formula. That middle “20” number gives young roots the boost they need to dig deep and anchor your new lawn. If you’re unsure how to choose lawn starter fertilizers, look for a product with a strong phosphorus emphasis to support root growth. Apply it at the time of planting according to the bag rate.
Maintenance Fertilizer for an Established Lawn
Once your Bermuda is rooted and growing, its diet changes. Bermuda is a nitrogen hog, so your main feedings should focus on that first number. I prefer a high-nitrogen, slow-release fertilizer. It feeds the grass steadily over 6-8 weeks, preventing a big surge of weak growth and reducing the risk of burning.
Now, about that 13-13-13 fertilizer. Is it good for Bermuda? It’s not bad, but it’s often not ideal long-term. It’s a balanced meal. Bermuda usually wants a bigger helping of nitrogen over the summer. A 13-13-13 can work for a spring or fall feeding, but you might see better color and growth with a formulation where the first number is significantly higher than the others during peak season.
Here’s a simple, effective feeding schedule I follow:
- Late Spring (as grass fully greens up): A light feeding to kickstart growth.
- Summer (every 6-8 weeks): Steady nitrogen with a slow-release formula. This is when Bermuda does its heavy growing.
- Early Fall (about 6 weeks before first frost): A potassium-focused feeding (look for a higher last number, like a winterizer). This builds hardiness for the dormant season, with little to no nitrogen.
How and When to Apply Fertilizer
The how matters as much as the what. Always calibrate your spreader according to the product’s bag label to avoid streaking or burning your lawn. I learned this the hard way one summer, leaving tiger stripes that took weeks to fade.
Apply fertilizer to dry grass, ideally before a forecasted rain or right before you plan to water. Then, use Sunny to water it in deeply. This moves the nutrients into the root zone where they’re needed and prevents the granules from sitting on the blades and causing burn.
My final warning: don’t feed too late. Applying high-nitrogen fertilizer in late fall pushes tender new growth that will be killed by frost, wasting your effort and weakening the lawn. Stick to that final potassium-only feeding to help it sleep tight for winter.
Your Seasonal Bermuda Grass Care Checklist
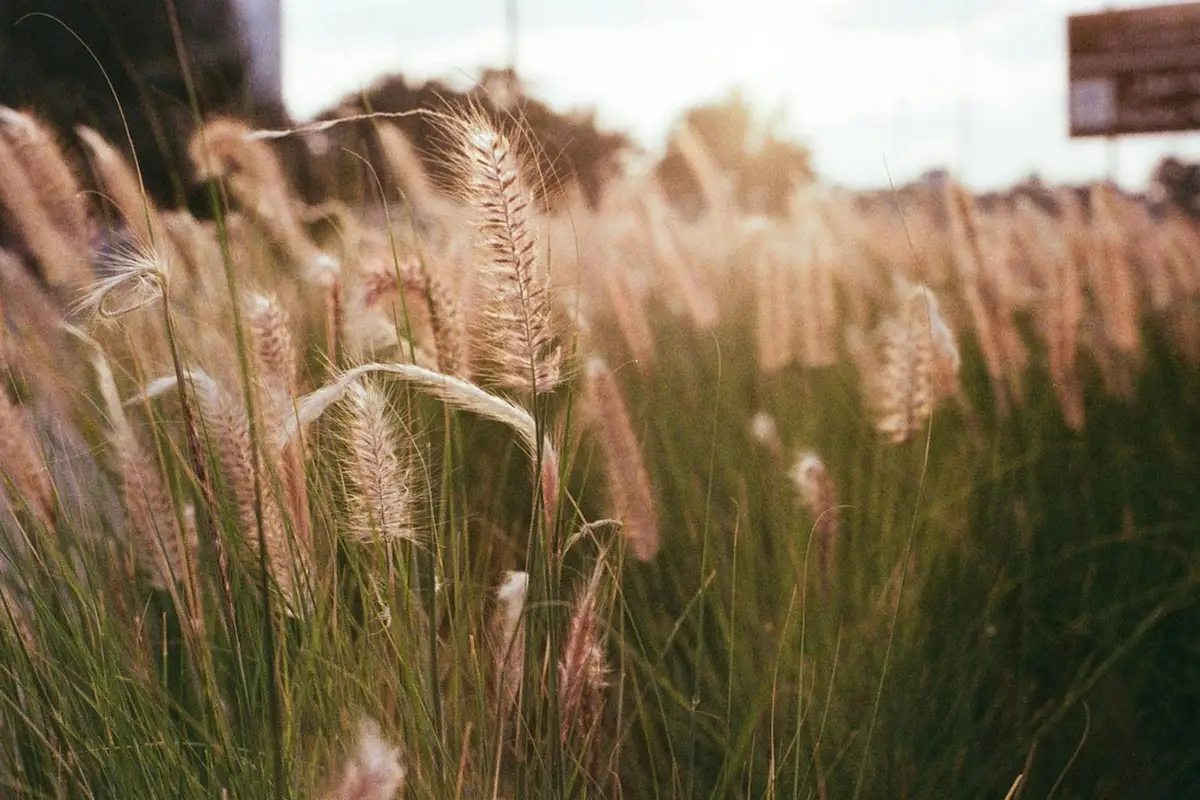
Think of your lawn like a pet that naps all winter. It needs a gentle wake-up, a busy summer schedule, a calm bedtime routine, and peace during its hibernation. This checklist keeps you on track.
Spring (Wake-Up)
This is your launch window. Get it right, and your summer is easy. Get it wrong, and you’ll be chasing problems.
First, watch your soil temperature. When it holds steady above 65°F, your Bermuda is waking. I use a cheap meat thermometer. Push it in the soil at 9 AM. If it’s warm, it’s time.
Your first job is to mow low, really low, to scalp off the dead, tan winter grass and let sunlight hit the soil. This shocks some folks. You might think you’re killing it. You’re not. You’re giving it a clean start. Set Max to about 1 inch and take a pass. Bag those clippings.
Next, pre-emergent. If you’re not planting new seed or sod, this is your best defense. Apply it right after that first low mow, before weeds think about sprouting.
Finally, fertilizer. Wait. Don’t feed a sleepy lawn. Let it turn fully, completely green first. That’s its signal it’s ready to eat. Then, give it its first meal of the year.
Summer (Peak Growth)
Bermuda in summer is a beast. It wants to grow, spread, and soak up sun. Your job is to guide that energy.
Mowing becomes a rhythm. You might see me on Max twice a week, keeping the height between 1 and 2 inches. Frequent mowing encourages it to grow thick and sideways, not just tall. It’s the secret to a carpet-like lawn. Tuning the mower’s cutting height is part of keeping that rhythm. Adjusting it as seasons change helps maintain that 1 to 2 inches look.
Watering is simple: deep and infrequent. Think of Sunny, my drip system. It runs longer, but fewer days. This trains the roots to dig deep for water, making your lawn drought-tough. A good rule? When you walk on it and the blades don’t spring back, it’s thirsty. Want to explore best lawn watering methods? We’ll cover the top options in the next section.
Fertilize every 6 to 8 weeks. It’s like keeping the pantry stocked during a growth spurt.
Fall (Wind-Down)
The goal shifts from growing to strengthening. You’re preparing the grass for its winter nap.
Apply your last fertilizer, but make it potassium-rich. Look for a higher last number on the bag (like 0-0-20). This final meal of potassium is like giving the grass a good winter coat, hardening it up for the cold.
Start raising your mowing height gradually with each cut. An extra half-inch gives the plant more leaf to absorb the last bits of fall sun.
As growth visibly slows, cut back on watering. You’re helping it ease into dormancy, not encouraging a last-minute growth sprint.
Winter (Dormant)
Your lawn is tan and asleep. Your job is protection and planning.
Keep fallen leaves and branches off it. A mat of wet leaves can smother the grass and invite disease.
Avoid heavy traffic, especially when there’s frost. Frozen grass blades are brittle and snap easily, damaging the crown of the plant underneath.
This is your quiet time. Plan for next year. Order soil test kits. Service Max. Sketch out where “Patch” might need some extra help. Winter is for thinking, so spring is for doing.
Recommended Products for Your Bermuda Lawn
Walking down the lawn care aisle is overwhelming. Let’s simplify it. Here’s what you actually need, and why.
Fertilizer Types
Not all plant food is the same. Picking the right type for the job saves you money and grief.
- Slow-Release Granular Nitrogen Fertilizer: This is your workhorse for summer. The nitrogen is released slowly over weeks, feeding the grass steadily without causing a wild, weak growth spurt that attracts bugs.
- Organic Starter Fertilizer (for planting): If you’re laying sod or seeding, use this. It’s gentle and often contains nutrients like phosphorus that help new roots get established fast without burning them.
- Liquid Iron Supplement: Want a deeper green without pushing crazy growth? This is your secret. It greens up the grass like fertilizer, but it’s not food. Great for a color boost before a party or when you want to look good but slow down growth as fall approaches.
Soil Amendments
You can feed the grass all you want, but if the soil isn’t right, it’s a waste. Think of these as fixing the dinner plate before you serve the meal.
- Compost (bulk or bagged): This is magic in a bag. Top-dress your lawn with a thin layer in spring or fall. It feeds microbes, improves soil structure (whether your soil is a hard clay sponge or a sandy coffee filter), and holds moisture.
- Pelletized Lime (to raise pH): Most soils tend to get acidic over time. If a soil test says your pH is low, lime sweetens the soil, making the nutrients you apply actually available to the grass roots.
- Elemental Sulfur (to lower pH): Less common, but if your soil is too alkaline, this gently acidifies it. Always test first. Never guess with pH.
Tools of the Trade
The right tool makes the job a joy. The wrong one makes it a chore.
- Broadcast Spreader: For applying fertilizer and granules evenly. A patchy application gives you a striped, uneven lawn.
- Soil Test Kit: Don’t skip this. It’s not complicated. This simple kit tells you exactly what your soil needs, so you don’t buy things you don’t.
- Core Aerator: You can rent one. Once a year, it pulls small plugs of soil out, relieving compaction and letting air, water, and nutrients get down to the roots. Your lawn will sigh with relief.
- Sharp Mower Blades (for Max!): A dull blade tears grass, leaving ragged, brown tips that look bad and stress the plant. A sharp blade makes a clean cut. It’s the easiest upgrade for a healthier, better-looking lawn. Max deserves sharp blades.
Your Bermuda Grass Questions, Answered
What’s the absolute latest I can plant Bermuda grass and still expect it to take?
Your cutoff is about 90 days before your area’s average first fall frost. Planting later robs those greedy roots of the warm-season growth they need to establish and survive winter. Don’t be tempted by a late-summer sale; wait for next spring instead.
Is a 13-13-13 fertilizer a good choice for my Bermuda lawn?
It’s an okay balanced meal but not the ideal summer feast. Your greedy grass really craves more nitrogen, so opt for a formula where the first number is significantly higher for your main growing season feedings.
How often should I water newly planted Bermuda seed?
For the first two weeks, water lightly 2-3 times daily to keep the top inch of soil constantly moist like a wrung-out sponge. Once you see green sprouts, transition to deeper, less frequent watering to encourage those roots to chase moisture down.
Can Bermuda grass ever adapt to a little bit of shade?
No, it won’t “adapt”-it will simply thin out, struggle, and invite weeds. It’s a greedy, full-sun grass that needs every minute of those 6-8 hours of direct light. If you have shade, plant a different grass type there.
Should I overseed my dormant, brown Bermuda lawn with ryegrass in the fall?
Only if you must have a green winter lawn and are ready for the extra work and competition. That annual ryegrass will fight your Bermuda in spring; you’ll have to kill it off to let your greedy grass wake up and reclaim its turf.
Your Bermuda Grass Game Plan

Get your Bermuda grass in the ground when the soil is consistently warm, like in late spring, and feed it with a balanced fertilizer every few weeks as it grows. This consistent start and steady nutrition are what build a lawn that feels thick and resilient underfoot.
A healthy yard is a shared space, so I choose pet-safe, pollinator-friendly products every time. Stay open to adjusting your approach as you learn, and share what works with your neighbors-it makes our whole community greener.
Deep Dive: Further Reading
- How To Properly Fertilize Bermuda Grass Lawns
- How to Fertilize Your New Bermudagrass Seed Lawn – Nature’s Seed
- Bermudagrass Home Lawn Management Calendar – Texas A&M AgriLife Extension Service
- Bermudagrass Yearly Maintenance Program | Home & Garden Information Center
- Bermuda Grass Lawn Care | Lawn Doctor
Written by Ria Carrington. Ria is an avid lawn care enthusiast and advisor. No lawn is unsalvagable when Ria is at work. She has helped countless homeowners breath new life into their dying lawns. She has a B.Sc in Agriculture and brings practical advice combined with knowledge of plant science and her decade worth of hands on experience.