
How Do You Grow a Thick, Green Lawn That Lasts?
You want a lush, inviting yard, but thin grass and bare spots keep getting in the way. I get it, and I’m here to tell you that dense, green turf is absolutely possible.
This guide walks you through the straightforward, money-smart steps. We will cover building healthy soil, watering the right way, mowing for thickness, and choosing pet-safe fertilizers.
I’ve honed this approach over years of weekend work with my mower Max and irrigation system Sunny, learning what truly works.
At a Glance: Key Factors for a Lush Lawn
When my lawn looks thin or ‘Patch’ starts acting up, I run through my personal checklist. Forget complicated formulas. A great lawn comes down to five things.
- Soil Health. This is your foundation. Everything else depends on it.
- Correct Grass Type. The right grass for your sun, shade, and climate will thrive with less fuss.
- Smart Mowing. Never cut off more than one-third of the grass blade in a single mow.
- Deep Watering. Water less often but for longer, so moisture soaks deep into the root zone.
- Timed Feeding. Fertilize when your grass is actively growing, not when it’s stressed or dormant.
Get these five things right, and your lawn has no choice but to grow thick and green. We’ll start with the most important one.
Start with the Ground Under Your Feet: Soil Health
Think of soil like a house’s foundation. You can have the best materials, but a house built on sand will fail. Your grass is the same. Great soil supports roots, holds water and food, and lets the lawn breathe. Bad soil fights you every step.
The first thing I do with any new problem area is test the pH. You can get a simple kit from any garden center for a few dollars. It’s easy. Just follow the instructions, usually involving soil, water, and a test capsule.
You’re aiming for a pH between 6.0 and 7.0, which is slightly acidic to neutral, where grass roots can best access nutrients. If your soil is too acidic (low pH), it needs lime to raise the pH. If it’s too alkaline (high pH), it needs elemental sulfur. Both come in bags you spread with a broadcast spreader, just like fertilizer. Water it in afterward.
Next is organic matter. This is the secret sauce. It turns hard, lifeless dirt into soft, crumbly soil that roots love. My favorite method is top-dressing with compost.
I get a yard of compost, pile it on the lawn about a quarter-inch thick, and use a stiff rake to work it down through the grass. It’s a workout, but it feeds the soil and doesn’t harm the existing grass. The worms will do the rest, pulling it down into the earth.
If your soil is hard as a brick, water pools on top, or your lawn feels spongy with thatch, it’s time to aerate. I rent a core aerator once a year. The machine pulls up plugs of soil, leaving holes across the lawn. Those holes let air, water, and that compost you just spread reach the roots. There’s a fantastic, damp, earthy smell when you’re done, the smell of a lawn that can finally breathe.
How Do I Fix “Bad Dirt” for a Thick Lawn?
You don’t need to tear everything out and start over. For 90% of lawns, amending the soil you have is the best path. It’s less costly, less work, and you keep your existing grass. Here is my four-step plan.
- Test. Don’t guess. Get that soil test to know your pH.
- Aerate. Run the core aerator over the problem area. More plugs are better.
- Top-Dress. Spread a thin layer of quality compost or screened topsoil over the aerated lawn.
- Rake. Gently rake the material so it fills the aeration holes and contacts the soil.
This process feeds biology, improves structure, and fixes compaction without a full renovation. A full renovation means killing everything, tilling, and starting from seed or sod. It’s a big job. Amendment is the smarter, gentler approach for a homeowner. Do this in the fall or spring when grass is growing strong, and you’ll be shocked at the difference in one season.
Choose the Right Grass for Your Life and Climate

Think of your lawn like a pair of jeans. You wouldn’t wear heavy denim in the middle of summer or lightweight khakis in a snowstorm. Your grass has a comfort zone, too. Picking the right one is your single biggest step toward a thick, green turf that doesn’t fight you every weekend.
Grasses are split into two main families based on the weather they love most.
Cool-Season vs. Warm-Season: What’s the Difference?
Cool-season grasses, like tall fescue and Kentucky bluegrass, thrive when the air is crisp. Their prime growing seasons are spring and fall. They stay green through winter in many areas but can turn brown and go dormant (take a nap) during the peak summer heat if they get stressed. Climate matters: cool-season and warm-season grasses respond differently to heat and cold. Understanding these differences helps you tailor your lawn to your climate. If your winters are cold and your summers are mild, you’re likely in cool-season country.
Warm-season grasses, like Bermuda and Zoysia, come alive in the heat. They green up in late spring, grow like crazy in summer, and then turn a golden brown after the first hard frost in fall. They’re built for sunshine and warmth. If your summers are long, hot, and humid, a warm-season grass is built for your climate.
A Simple Regional Guide to Grass Types
Here’s a quick look at common grasses and where they perform best. This isn’t a perfect map, but it’s a reliable starting point.
| Your General Region | Grass Types to Look For | What to Expect |
|---|---|---|
| North / Northeast / Pacific Northwest | Tall Fescue, Kentucky Bluegrass, Perennial Ryegrass | Lush, green spring & fall. May need extra water in summer. |
| Transition Zone (Middle of the country) | Tall Fescue, Zoysia, Bermuda (with care) | A tricky area. Tall fescue handles the swing, while warm-season grasses need time to establish. |
| South / Southeast / Southwest | Bermuda, Zoysia, St. Augustine, Centipede | Heat-loving champions. They spread to create a dense mat and handle drought better once established. |
Solving the Shady Spot Problem
Every lawn has a “Patch.” Mine is a corner under an old oak tree where grass has always struggled. I used to blame the soil, but the real issue was light, or the lack of it. Throwing standard grass seed into deep shade is a recipe for thin, weak turf.
For those stubborn areas, you need a shade-tolerant variety. For cool-season lawns, fine fescues (like creeping red fescue) are your best friend in the shade. They don’t need as much sun. For warm-season lawns, St. Augustine and certain types of Zoysia handle filtered light better than sun-thirsty Bermuda.
The lesson from Patch is simple. Don’t fight the shade, work with it. Choosing a grass bred for lower light means less frustration and a much better chance of that area filling in thickly.
Getting this first choice right sets everything else up for success. The right grass for your climate and your yard’s specific conditions will use water efficiently, resist pests better, and recover quickly from mowing. That inherent strength is the true foundation of a thick, green turf that looks great with less struggle.
The Golden Rule of Mowing: How to Cut for Thickness
Here’s the one rule I follow every single time I step onto my lawn: never cut more than one-third of the grass blade’s height. This isn’t just a suggestion. It’s your lawn’s most basic defense.
Cutting too much at once is like a bad haircut that scalps the scalp. You expose the lower stems and soil to harsh sun. This shocks the plant, turning it from green to a sad, pale yellow. More sun on the soil is an open invitation for weed seeds to sprout. It also forces the grass roots to shrink, making your lawn thirsty and weak during a dry spell.
Your mower’s height setting is its most important control. Set it and forget it for the season. Here’s a good starting point for common grasses:
- Kentucky Bluegrass & Perennial Ryegrass: 2.5 to 3.5 inches
- Tall Fescue: 3 to 4 inches
- Fine Fescues: 3 to 4 inches (they love the shade even more)
Taller grass shades the soil, chokes out weeds, and grows deeper, more resilient roots.
A dull mower blade doesn’t cut grass. It tears it. I check my blades on Max at least once a season. You can see the difference. A sharp blade leaves a clean, crisp edge that heals fast. A dull blade leaves a ragged, frayed tip that turns white and brown. Those frayed ends lose more water and are an easy entry point for disease.
I almost never bag my clippings. Those short bits of grass you leave behind, often referred to as grass clippings after mowing, have a fancy name: grasscycling. They are mostly water and will vanish into the turf in a day or two. As they break down, they return a steady, small amount of nitrogen and other nutrients right back to the soil. It’s free, gentle fertilizer that also helps build healthier soil over time.
There’s a real satisfaction in the methodical passes with Max, watching the clean stripes appear and knowing you’re doing it right. The lawn looks cared for instantly, and you’ve set it up to be stronger next week.
How Can I Make My Lawn Thicker Just by Mowing?
Mowing correctly doesn’t just trim what’s there. It tells the grass how to grow. When you leave enough blade, the plant can still photosynthesize effectively. It has the energy to do more than just survive. It can invest in spreading.
For bunch-type grasses like tall fescue, this means sending up new side shoots right at the base, a process called tillering. For spreading grasses like Kentucky bluegrass, it means sending out underground stems called rhizomes. These rhizomes travel under the soil and pop up as a brand new grass plant, filling in bare spots naturally. Mowing tall is the simple signal that tells your lawn it’s safe and has the resources to expand and thicken up.
I make a point to change my mowing pattern every single time. One week I’ll go north-south, the next week east-west, maybe diagonally after that. If you always roll in the same tracks, you gradually compact the soil in those lines. You also train the grass blades to lean over in one direction, creating a grain that makes the lawn look flat and thin. Changing direction stands the grass up straight for a cleaner cut and encourages more upright, dense growth. It’s the easiest way to avoid creating your own problem spots.
Watering Wisely: How to Keep Your Lawn Green Without Waste
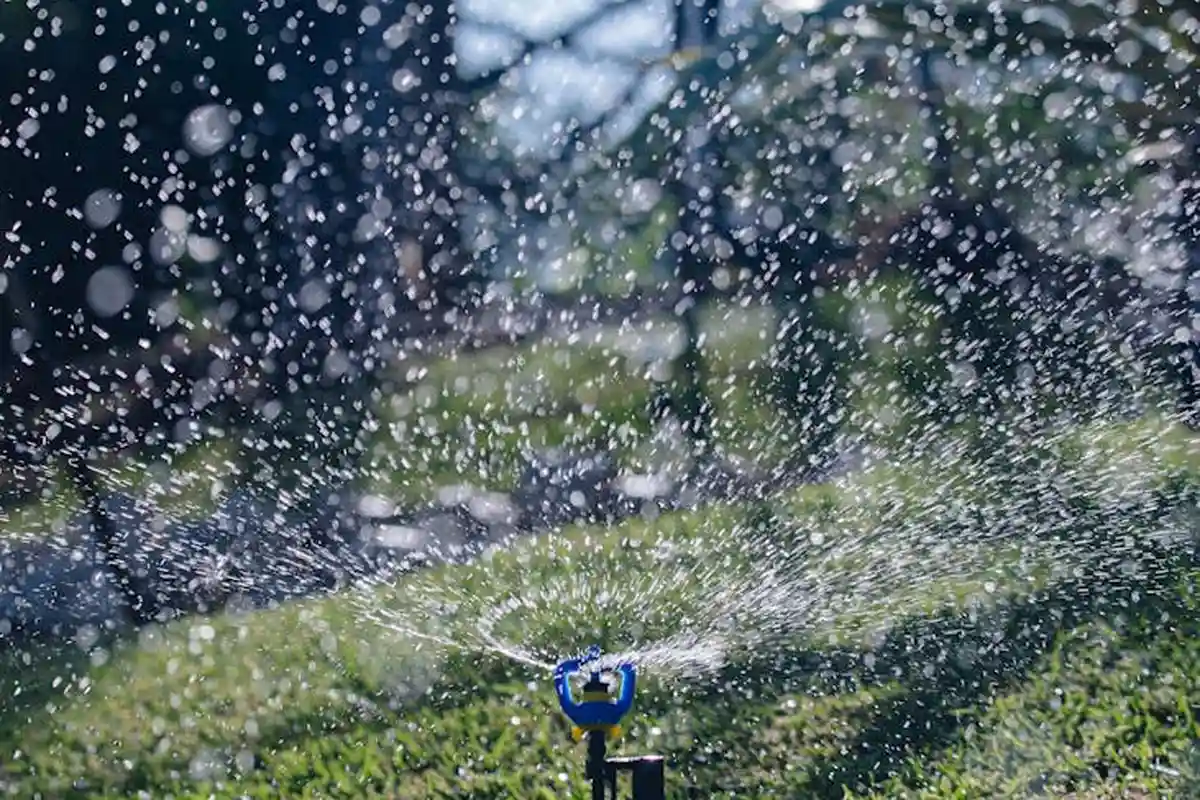
Think about how you feel when you’re truly thirsty. You want a long, cool drink, not a dozen tiny sips. Your grass feels the same way.
The golden rule is simple: water deeply, but not often. Giving your lawn a good, long soak one to three times a week is far better than a daily sprinkle.
Deep watering trains the grass roots to grow down into the soil, searching for moisture and building a drought-resistant foundation. Shallow, daily watering keeps the roots lazy and sitting right at the surface, where the first sign of sun bakes them dry.
How to Measure “Deep” Watering
You’ve probably heard “one inch of water per week.” But what does that look like in your yard? You don’t need a fancy gauge.
Grab a few empty tuna cans or shallow containers from your recycling bin. Place them around your lawn in the sprinkler zones.
Turn on your sprinklers and let them run. Check the cans every 15 minutes. When most of them have collected about an inch of water, you’re done. Make a note of how long that took. That’s your magic number for each watering session.
The Best Time to Water
Timing is everything. The absolute best time to water your lawn is in the early morning, just before or as the sun comes up.
There’s less wind to blow the water away and the sun is mild, so very little water is lost to evaporation. More water soaks in where your roots can drink it.
Watering in the early morning also gives the grass blades time to dry off during the day, which significantly reduces the risk of fungal diseases that thrive in cool, damp conditions overnight. Watering in the evening is an open invitation for fungus.
How Your Lawn Tells You It’s Thirsty
Your lawn has a language. Learn to read it, and you’ll never over or under-water again.
- Footprint Test: Walk across your grass in the late afternoon. If your footprints stay visible on the lawn for more than a few minutes, the grass is low on water and has lost its “spring back.”
- Color Change: A well-watered lawn is a vibrant green. As it gets thirsty, it takes on a bluish-gray tint.
- Blade Behavior: Watch the individual grass blades. When they start to fold in half lengthwise or curl, they’re trying to conserve moisture.
A Quick Note on Sunny and the Lawn
In my garden beds, ‘Sunny’ my drip irrigation system is the hero. It delivers water slowly and directly to plant roots with zero waste. For a lawn, that method isn’t practical.
Your lawn sprinklers are like a gentle, widespread rain shower. The goal is the same as Sunny’s-efficiency-but the method is different. You’re aiming for that even, inch-deep soak across a large area, which a good sprinkler system set on a timer can achieve perfectly.
Feeding Your Lawn: How to Green Up Your Grass Safely
Think of fertilizer as your lawn’s meal. You can’t just guess what’s for dinner. The right food at the right time makes all the difference between a thin, yellowing lawn and that thick, green carpet you want.
First, let’s crack the code on the bag. You’ll see three numbers like 24-0-6 or 10-10-10. This is the N-P-K ratio. The first number (Nitrogen) is for green, leafy growth-it’s the main ingredient for that lush color. The second (Phosphorus) helps roots, and the third (Potassium) supports overall plant health and stress resistance.
Choosing the right blend isn’t a guessing game. I learned this the hard way with Patch, my stubborn shady corner. I threw down a high-nitrogen feed, but it barely responded. That’s because the real issue was in the soil itself.
That’s why a simple soil test is your smartest first move. It tells you exactly what your soil is missing, so you don’t waste money on fertilizer it doesn’t need. You can get a kit from your local cooperative extension office. It’s like getting a prescription instead of grabbing random medicine off the shelf.
Once you know what to feed, choose how to feed it. I always recommend slow-release fertilizers. They work like a time-release pill, providing a steady stream of nutrients over weeks. This prevents that sudden, unhealthy surge of growth and, more importantly, it drastically reduces the risk of burning your grass. Quick-release fertilizers can scorch a lawn on a hot day, setting you back weeks.
Timing is everything. You feed cool-season and warm-season grasses on completely different schedules because they grow at different times.
| Grass Type | Key Feeding Times | Simple Rule of Thumb |
|---|---|---|
| Cool-Season (Kentucky Bluegrass, Fescue, Ryegrass) | Early Fall (Most Important), Late Spring | Feed when it’s cool, in spring and fall. Go light in summer heat. |
| Warm-Season (Bermuda, Zoysia, St. Augustine) | Late Spring through Summer | Feed when it’s actively growing and green, from late spring to early fall. |
No matter what product you choose, safety for your family and the local ecosystem isn’t optional. Always look for fertilizers marked as pet-safe and pollinator-friendly. After I apply any granular product, I make sure Sunny, my drip system, gives it a thorough watering to wash the granules off the grass blades and into the soil. I keep my dog inside until the lawn is completely dry. It’s a simple step that gives everyone peace of mind. There’s a pet safe lawn fertilization guide that covers product selection and timing to make this easier to implement. It helps translate safety tips into practical steps for your yard.
What’s the Best Natural Way to Fertilize My Lawn?
If you prefer a more hands-on, soil-building approach, natural options are a great path. They feed the soil, which in turn feeds your grass. The results can be incredibly resilient, but you need patience.
Your main choices are:
- Compost Top-Dressing: A thin layer of screened compost spread over the lawn. It adds organic matter, improves soil structure, and provides a gentle, broad-spectrum nutrient boost. It smells like a healthy forest floor.
- Organic Meal-Based Fertilizers: Products made from things like feather meal, bone meal, or soybean meal. They break down slowly, feeding soil microbes and releasing nutrients gradually.
- Leaving Grass Clippings: This is the easiest free fertilizer you have. Don’t bag them. As clippings decompose, they return a significant amount of nitrogen and moisture right back to the soil.
So, how does natural stack up against synthetic? Let’s be honest about it.
The big pro for natural fertilizers is long-term soil health and safety; they build your soil’s ecosystem from the ground up. You’re far less likely to have runoff issues, and they’re inherently safer for pets and pollinators once applied. The cons are cost and speed. They are often more expensive upfront and work slower. You won’t see that “pop” of green in 48 hours. It’s a marathon, not a sprint.
Synthetic fertilizers are like a strong cup of coffee for your lawn-fast, predictable results. But they don’t improve soil structure on their own. My approach is a blend. I use organic options to build the soil’s foundation and may use a trusted, slow-release synthetic to address a specific need shown by a soil test. It’s about working with what your lawn tells you it needs. It’s a balanced approach.
Your Seasonal Lawn Care Checklist
A thick lawn doesn’t happen in a weekend. It’s a steady effort through the seasons. Forget calendar dates-your grass and soil will tell you when it’s time. Think of this as your year-round playbook.
Spring: The Wake-Up Call
This is about setting the stage, not forcing a sprint. I watch for the first solid week where daytime temps stay above 50°F.
- Test Your Soil. This is non-negotiable. A simple kit from the garden center tells you exactly what your grass needs. It’s like getting the recipe before you start baking.
- Apply a Pre-Emergent if You Need To. For crabgrass and other annual weeds, apply when soil temperatures hit a steady 50-55°F for a few days. I use this free online soil temp map to check. If you plan to seed heavily in the fall, you might skip this.
- The First Mow is a Trim, Not a Scalping. Set Max to the highest setting. You’re just taking off the winter tips to let sunlight in. Cutting too low now invites weeds and stresses the roots.
- Feed with a Slow-Release Fertilizer. After that first mow, apply a balanced, slow-release nitrogen feed. It feeds the grass steadily for weeks without causing a wild, weak growth spurt.
- Spot-Seed Bare Patches. Rake the area bare, scatter seed, keep it damp. It’s a quick fix. Save the big overseeding project for fall.
Spring is for gentle encouragement, not heavy renovation. Let the lawn wake up at its own pace.
Summer: The Stress Manager
Heat and drought are the enemies now. Your job is to help the lawn survive and defend itself.
- Mow High and Leave the Clippings. Raise your mower blade. Taller grass shades the soil, conserves water, and chokes out weeds. Those clippings are free fertilizer as they decompose.
- Water Deeply, Not Frequently. I set Sunny to run early in the morning, long enough to get water 6 inches down into the soil. This trains roots to grow deep. Light, daily sprinklings create shallow, weak roots.
- Use a Light, Summer-Formulated Feed. If you feed, use a low-nitrogen, high-potassium fertilizer. Potassium strengthens grass against heat and drought stress. Avoid heavy nitrogen-it burns grass and promotes disease.
- Spot-Treat Weeds, Not the Whole Lawn. A bottle of pet-safe weed killer and a small sprayer are your best friends. Hit the individual weeds. Blanket spraying herbicides in summer heat hurts your grass more than it helps.
- Accept Some Dormancy. Cool-season grasses like fescue will naturally go brown and dormant in a heatwave. It’s not dead. Reduce foot traffic, hold off on mowing, and let it rest. It will green up when cooler temps return.
Summer lawn care is about defense. Protect your grass from the elements and avoid any major projects.
Fall: The Prime Time for Progress
This is the most important season. The soil is warm, the air is cool, and weeds are slowing down. It’s your chance to make huge gains.
- Dethatch if You Need To. If your lawn feels spongy, you might have a thatch layer over half an inch thick. A stiff rake or a rental dethatcher opens up the surface so water and nutrients can reach the soil.
- Core Aerate. For compacted soil, this is the best thing you can do. The machine pulls out plugs of soil, creating channels for air, water, and roots. I do this right before overseeding so the seed falls into the holes.
- Overseed Like Your Lawn Depends On It. For cool-season grasses (fescue, bluegrass, ryegrass), early fall is prime overseeding time. For warm-season grasses (Bermuda, Zoysia), late spring is better. Use a quality seed blend, spread it thickly over prepared soil, and keep it moist for two weeks.
- Apply Your Main Fertilizer. A fall fertilizer feeds the roots, not the blades. This builds massive energy reserves for a strong spring green-up. It’s the most important feeding of the year.
- The Final Mow. As growth slows, gradually lower your mower height for the last one or two cuts of the year. A slightly shorter winter height helps prevent matting and snow mold.
Fall is your investment season. The work you do now pays off with a thicker, greener lawn next spring.
Common Lawn Care Mistakes and How to Avoid Them
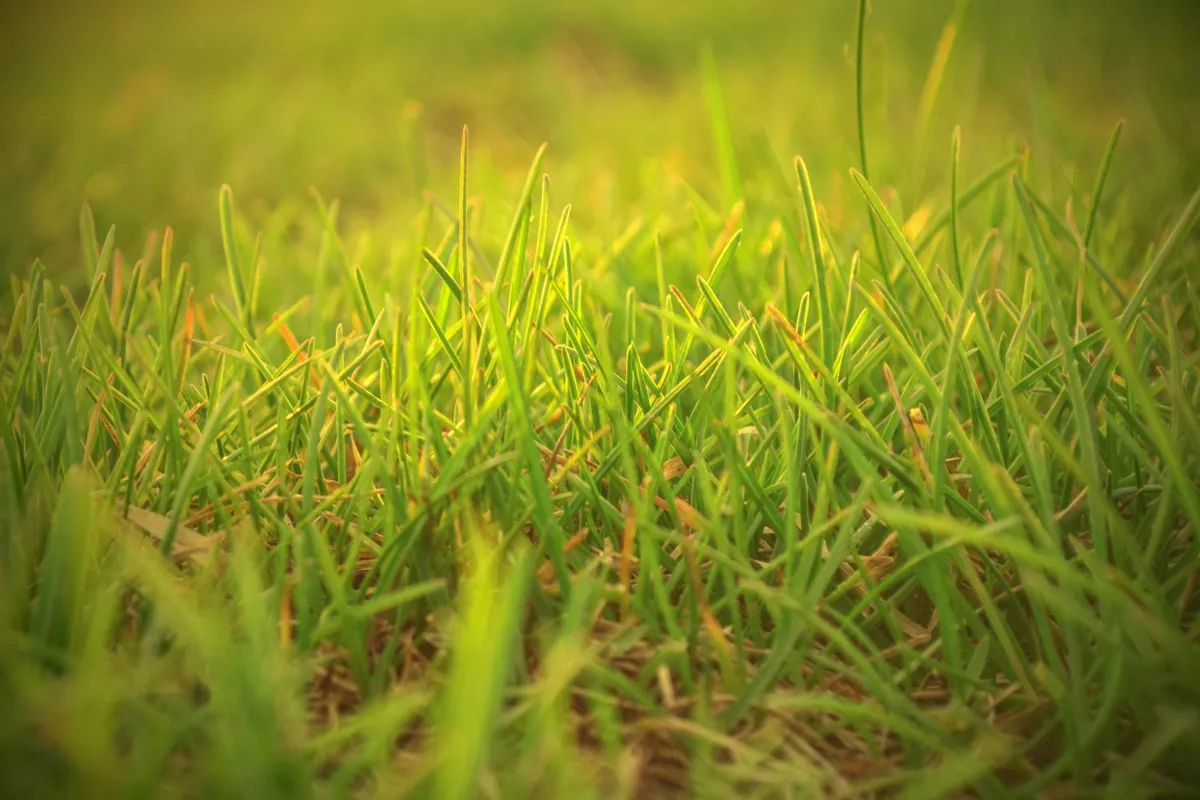
I’ve made more than my share of lawn care blunders. It’s how you learn. Here are the big ones I see all the time, and more importantly, how to fix them for good. Think of this as a cheat sheet to skip the hard lessons I had to learn.
| Mistake | Why It Hurts | The Fix |
|---|---|---|
| Mowing Too Short | Scalping the lawn shocks the grass, weakening the roots. Short blades can’t capture enough sunlight to grow strong, leaving room for weeds and crabgrass to move in. It also stresses the plant, making it less resistant to heat and drought. | Raise your mower deck. For most cool-season grasses, aim for 3 to 4 inches tall. I keep Max set at 3.5 inches all season. Taller grass develops deeper roots and naturally shades out weed seeds trying to sprout. Never cut more than one-third of the grass blade in a single mowing. |
| Watering Daily and Shallowly | Light, daily sprinklings train grass roots to stay lazy and shallow near the surface. When real heat hits, that shallow root system dries out fast, turning your lawn brown and thirsty. | Water deeply, but infrequently. I run Sunny, my drip system, just 1-2 times per week, giving the soil a long, slow soak. Your goal is to moisten the soil 6-8 inches down. Put out a tuna can while you water; when it’s full, you’re done. This encourages roots to chase water deep into the ground, building a resilient lawn. |
| Over-Fertilizing | More is not better. Excess fertilizer can burn the grass, pollute local waterways with runoff, and create a surge of weak, leafy growth that’s prone to disease. It’s like feeding your lawn only candy. | Follow the label and get a soil test. I test my soil every other year to see what it actually needs. A soil test tells you exactly which nutrients are missing, so you can feed your lawn a balanced meal instead of just guessing. Apply fertilizer at the recommended rate, usually in the early fall for cool-season grasses. |
| Ignoring Soil Health | You can’t grow great grass on bad dirt. Compacted, lifeless soil feels hard underfoot and suffocates roots. Water pools on top or runs off instead of soaking in where it’s needed. | Core aerate and add organic matter. I aerate my lawn every fall. The plugs it pulls out look messy, but they let air, water, and nutrients reach the roots. Top-dressing with a thin layer of compost after aeration is like giving your soil a vitamin shot; it feeds the microbes that keep your lawn healthy from the ground up. My problem spot, Patch, improved dramatically once I focused on the soil, not just the grass. |
| Applying Weed Killer at the Wrong Time | Spraying when it’s too hot, too windy, or when weeds aren’t actively growing is a waste of product and can harm your grass. Herbicides need to be absorbed by the weed to work, and stressed plants won’t cooperate. | Time it right and spot-treat. The best time to kill broadleaf weeds like dandelions is on a calm, mild day in late spring or early fall when weeds are actively growing. I only spray the individual weeds I can see, never the whole lawn, to protect pollinators and minimize chemical use. For grassy weeds like crabgrass, a well-timed pre-emergent in early spring is a far better strategy than trying to kill it later. |
When to Call In the Pros: Thinking About Lawn Services
I love doing the work myself. There’s a real satisfaction in hearing the crisp hum of Max’s blades on a Saturday morning. But I also have a job, a house to maintain, and other hobbies. Time is a resource, just like water or fertilizer. The big trade-off between DIY and hiring a service comes down to your own time, your comfort with the work, and the size of your wallet.
A DIY approach saves money and gives you direct control. You learn your lawn’s every mood. You also shoulder all the responsibility for mistakes, the cost of equipment, and the hours of labor. A professional service trades your money for their time, expertise, and commercial-grade tools. They can often spot a problem, like early signs of a fungus, that you might miss.
When It Might Be Time to Pick Up the Phone
For most regular mowing and feeding, you can handle it. But some jobs are a different beast. Here’s when I’d seriously consider calling a pro:
- Major Lawn Renovation: Killing off an entire lawn and starting from bare dirt, or doing a massive scale overseed on a huge property. The logistics, soil prep, and seed/water timing are intense.
- Persistent Disease or Severe Insect Infestation: If you’ve tried a few targeted treatments and that brown patch just keeps spreading, a pro can diagnose it fast and apply the right cure. This saves your grass and prevents a bigger, costlier problem.
- Core Aeration on Large Lawns: You can rent a walk-behind aerator. Doing a half-acre with one feels like a marathon. A service with a ride-on tractor aerator can complete the job in an hour, achieving better results because they’re not exhausted.
- You Simply Don’t Have the Time (or Desire): This is a perfectly valid reason. If weekends are for family, travel, or rest, hiring out the work protects your peace. A reliable service means your lawn stays healthy without becoming a source of stress.
Choosing a Service: Looking Past the Green Truck
You might search for “think green lawn service reviews” or look for complaints online. That’s smart. Here’s what to dig for when vetting a company.
Always verify they are licensed and insured. This protects you if a worker gets injured on your property or if their truck damages your driveway. Any reputable company will provide proof.
Get everything in a clear, written contract. It should list exactly what services are included (mowing height, edging, blowing clippings), how often they come, and the total cost. Beware of vague promises.
Ask about their approach to pollinators and pets. A good service will have clear answers. Do they avoid spraying near flowering weeds when bees are active? Do they use pet-safe fertilizers and provide clear guidelines for when it’s safe to re-enter the lawn? Their answers tell you a lot.
Prioritize open communication. You should have a direct contact, not just a dispatcher. If you notice an issue with Patch, your shady problem area, you should be able to text a picture and get a reasoned response on the next steps.
Walking through these points does two things. With the knowledge from this article, you can now confidently manage your lawn’s seasonal needs on your own. Or, if you decide to hire help, you can have an informed conversation with a service provider. You’ll know the right questions to ask to ensure your lawn-and your investment-are in good hands.
Your Thick Lawn Questions, Answered
What’s the #1 thing I can do to get a thicker lawn quickly?
Focus on your mowing height. Raising your mower blade to 3-4 inches instantly forces grass to grow denser to shade its own roots and crowd out weeds. Different grass types have different optimal mowing heights. Knowing your grass type helps tailor the height for best results. It’s the fastest, free adjustment you can make.
Is “lush” just a fancy word for a thick lawn?
Pretty much-it’s the best synonym. A “lush” lawn means it’s not just thick, but also healthy, green, and vibrant because the soil and care are right. Aim for lush, and thickness follows.
How do I pick a lawn service that actually knows their stuff?
Skip the generic sales pitch and ask them specific questions about mowing height, soil health, and pet-safe products. A true expert will talk about root depth and soil tests, not just a green spray schedule.
Should I trust online reviews for lawn companies?
Use them as a starting point, but dig deeper. I look for detailed reviews that mention long-term results and how the company handles problems, not just one-off “looks great” comments. Then, get a written plan from them.
What if I have an issue with a lawn service bill or result?
Communication is key. Contact them directly with clear photos and dates, referencing your contract. A reputable company will work to make it right; if they don’t, that’s a major red flag about their service.
Keeping Your Lawn Lush
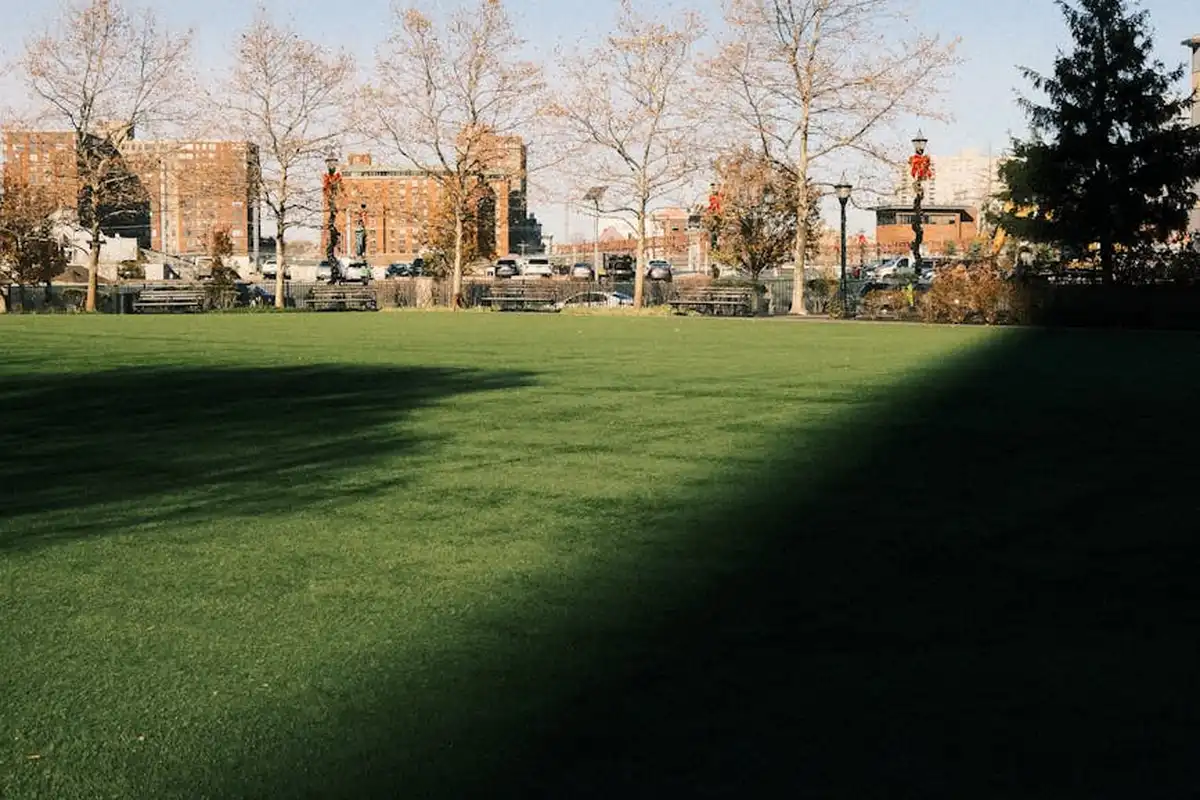
The best path to a thick, green lawn isn’t a secret product. It’s the simple, regular habit of mowing high and watering deeply. Think of your lawn like a favorite plant: consistent, gentle care builds health far better than any weekend heroics ever could. Get those two things right, and you’ve already won most of the battle.
As you enjoy the results, remember that a truly great lawn works with nature. I choose pet-safe fertilizers and spot-treat weeds to protect the bees visiting my clover. Your lawn is a living part of your home’s ecosystem, and a little thoughtful care makes it a beautiful, resilient space for everyone.
References & External Links
- How to Get a Thicker Lawn and Keep It!
- How Can I Make My Grass Thicker and Greener?
- How to Make Your Lawn Green and Thick | 7 Tips | Green Roots Organic
- VIDEO: 7 Ways to Get Thicker, Greener Grass: Pro Lawn Care Tips in MD
- Ways to Get Thicker and Greener Grass | Muskegon Lawn Care
- How to Thicken Your Lawn
- r/lawncare on Reddit: Give me your best tip to thicken up the lawn
Written by Ria Carrington. Ria is an avid lawn care enthusiast and advisor. No lawn is unsalvagable when Ria is at work. She has helped countless homeowners breath new life into their dying lawns. She has a B.Sc in Agriculture and brings practical advice combined with knowledge of plant science and her decade worth of hands on experience.