
Is Your Lawn Mower Too Slow? How to Modify and Speed It Up
If your mower drags through the grass and wastes your precious weekend time, a few smart tweaks can have it running quicker and smoother.
We will cover blade sharpening for a cleaner cut, basic engine tuning, tire pressure adjustments, and safe, budget-friendly upgrades to boost your mower’s performance.
I’ve spent years tuning up my own mower, Max, learning which modifications deliver real results without empty spending.
At a Glance: What Really Makes Your Mower Faster
You want to zip across the yard and finish faster. I get it. Feeling like you’re crawling is frustrating. The good news is, you have four main paths to more speed, and they all work together.
- Engine Health: More consistent power means better acceleration and hill climbing.
- Blade Upgrades: A sharp, efficient blade cuts cleaner, reducing drag on the engine.
- Wheel Modifications: Larger diameter wheels cover more ground per revolution.
- Steering Improvements: Smooth, tight controls let you make turns without slowing down as much.
Regular maintenance is the absolute foundation for any speed gain you try to achieve. Think of it like training for a race. You wouldn’t run a marathon without hydrating first. My mower, Max, felt sluggish last spring. A simple tune-up with a new air filter, spark plug, and fresh oil made it pull like it was five years younger. That basic care restored the power it already had.
So, how fast can a riding lawn mower go? Most are governed by the factory for safety, often topping out between 5 to 8 mph. Our goal isn’t to turn your mower into a race car, but to help it reach and hold its top designed speed efficiently, without struggling. A well-tuned mower at 6 mph will finish a job quicker and cleaner than a choked-up mower limping along at 4.
Gather Your Gear: Tools You’ll Need for the Job
You don’t need a garage full of pro tools. You likely have most of this already. Here’s your starter checklist.
- Socket set and wrenches (to remove the blade and deck covers)
- Spark plug socket (usually included in a basic set)
- Blade balancer (a simple, inexpensive cone balancer works perfectly)
- Safety glasses (non-negotiable)
- Work gloves
For more advanced steps like wheel changes or precise bolt tightening, a torque wrench is helpful. A drill with a wire brush attachment can make cleaning rust off spindles much easier. The point is, you can start with the basics in the list above and make a significant impact.
Before you touch a single bolt, put on your safety glasses and gloves. Always disconnect the spark plug wire before working near the blade. Your owner’s manual is also a key tool. Keep it handy for your model’s specific torque specs and diagrams.
Safety First: The Non-Negotiable Rules Before You Start
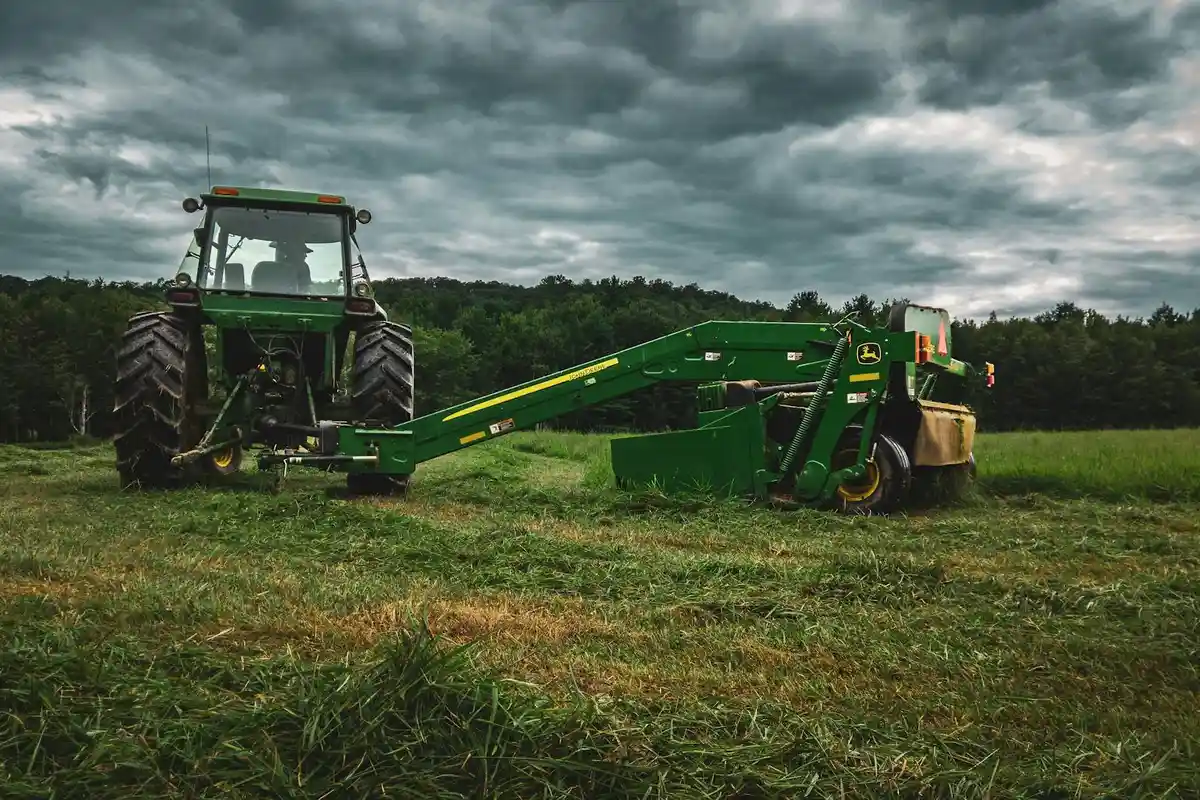
You want to get moving faster, and I get it. I’ve felt that urge when Max is sputtering and the sun is setting. But trust me, the most important performance upgrade you can make is between your ears. Rushing leads to mistakes, and mistakes with machinery are no joke.
Think of these rules like putting on your seatbelt. You don’t question it, you just do it. Every single time.
- Disconnect the spark plug wire. This is rule number one. An unplugged spark plug is like taking the batteries out of a noisy toy. It’s the only way to be absolutely sure the engine can’t possibly start while your fingers are near the blade. Wrap the end of the wire back on itself so it can’t accidentally flop back and make contact.
- Drain the gas or run the tank dry. Gasoline is volatile and a huge fire risk. You don’t want fuel sloshing around if you’re tipping the mower to work on the blade or deck. For short work, just run it dry. For winter storage or longer projects, siphon it out.
- Work on a dead-level, solid surface. A concrete driveway or garage floor is perfect. Grass can hide dips and cause the mower to shift or tip. You need stability.
Here’s my pro tip, especially for riding mowers: chock the wheels. Even with the parking brake set, a mower can roll. Before you get underneath, slide a sturdy block of wood or a dedicated wheel chock behind a rear tire. It’s a cheap insurance policy that lets you focus on the wrench in your hand, not the two-ton machine over your head. That’s one piece of the broader lawn mower safety tips you should follow. A quick review of the full safety checklist before maintenance can prevent surprises.
The Foundation: Basic Tune-Ups for Immediate Gains
If you’re asking how to make your lawn mower go faster, start here. This isn’t about fancy parts or risky hacks. It’s about restoring what your mower already has. A neglected engine is a lazy engine. These steps clear the cobwebs and let it breathe and pump freely, which translates directly to more consistent power and better speed across your yard.
Think of it like this: you wouldn’t run a marathon after a big meal while breathing through a cloth mask. Your mower feels the same way about dirty filters and old oil.
Air Filter & Spark Plug Swap
These two parts are the lungs and the heartbeats of your engine. They’re cheap, easy to change, and make a world of difference.
Locate the air filter housing-it’s usually a black plastic box on the side of the engine. Unclip or unscrew the cover. Pull out the filter. If it’s paper, hold it up to the sun. Can you see light through it? If not, it’s clogged. If it’s foam, is it saturated with dirt and oil? A dirty filter starves the engine of air. It’s like trying to run a sprint while breathing through a tiny straw; your mower simply can’t get the oxygen it needs to make full power.
Next, find the spark plug. It’s a short, ceramic-tipped component with a thick wire running to it. Use a proper spark plug socket from a basic wrench set to gently unscrew it. Look at the electrode at the tip. Is it black and sooty? Is the gap huge? A worn plug gives a weak, inefficient spark. A fresh one gives a strong, clean burn every time. Match the new plug’s number exactly to your old one or your manual’s recommendation, screw it in by hand until snug, then give it a final gentle quarter-turn with the wrench.
Fresh Oil and Fuel System Check
Old oil turns to sludge. It gums up the engine’s internals, creating friction and robbing power. Changing it is the single best thing you can do for engine longevity and pep.
Here’s the simple process:
- Run the mower for a few minutes to warm the oil (it drains faster).
- Disconnect the spark plug wire (see, it’s a habit now).
- Place a drain pan under the mower’s oil drain plug or tip point.
- Remove the fill cap/dipstick and let the old oil drain completely.
- Replace the drain plug, and refill with the exact type and amount of oil your manual says. Usually, it’s a standard SAE 30 or 10W-30 for small engines. Don’t guess.
Now, for the fuel. Gasoline goes stale faster than you think, especially the ethanol-blended kind. It leaves behind gummy varnish that clogs the tiny passages in your carburetor. Always use fresh fuel from a busy gas station, and for anything going into the mower’s tank, add a fuel stabilizer like STA-BIL. It’s a few dollars that prevents hours of frustrating carb clean-out later. If your mower has been sitting with old gas, drain it completely and start fresh. You’ll often hear an immediate improvement in how smoothly it starts and runs.
Engine Power: Smart Upgrades Beyond the Basics

This is where we move past maintenance into the realm of performance tuning. If you’re asking, “how can I upgrade my lawn mower engine for more speed?”, these are the paths to explore.
I need to be straight with you. Some of these modifications can void a manufacturer’s warranty. They can also put extra stress on an older engine. I advocate for smart, informed choices over drastic changes.
Understanding (and Adjusting) the Governor
Think of the governor like a thermostat for your engine’s RPMs. It’s a mechanical or electronic speed limiter. Its job is to protect the engine from over-revving and to maintain a consistent speed under load, like when you hit a thick patch.
With careful, small adjustments, you can coax a bit more power from your mower for those tougher jobs. On many residential mowers, you’ll find an external adjustment arm connected to the throttle by a spring. Turning a screw or moving the arm a notch or two can increase the governed speed.
The key is patience. Make a tiny adjustment, test it, and listen. The engine should sound strong, not frantic. Extreme changes will lead to a shortened engine life, excessive vibration, and potential failure. This isn’t about making a race mower; it’s about optimizing what you have.
Upgrading the Exhaust System
Engine performance is about the whole cycle: air and fuel in, exhaust out. A less restrictive exhaust lets the engine expel spent gases more easily, which can improve power and efficiency.
For a homeowner, this usually means replacing the stock muffler with a performance model designed for small engines. It’s a straightforward bolt-on project for many mowers.
The clear trade-off is noise; a freer-flowing exhaust is almost always louder. Before you order one, consider your neighborhood’s peace and your own ears. The extra decibels might not be worth the modest power gain for a Saturday morning cut.
Blade Performance: Cutting Your Way to Efficiency
Never underestimate the blade. Its condition is directly tied to your mower’s speed and health. A sharp blade cuts cleanly, reducing drag so the engine doesn’t labor. A dull blade tears and shreds, making the mower work harder and go slower. Regular sharpening or replacing the blade keeps cuts clean and the engine running smoothly.
You can feel the difference. A sharp blade makes a crisp, slicing sound. The grass tips look clean and heal faster. A dull blade makes a whirring, tearing noise and leaves behind a frayed, whitish tip that’s an open door for disease.
The Critical Skill of Sharpening and Balancing
This is non-negotiable maintenance. Here’s my process, honed over years with Max.
- Safety First: Disconnect the spark plug wire. Tip the mower on its side (with the air filter side up to prevent oil leaks).
- Remove the Blade: Use a block of wood to wedge the blade in place, then use a socket wrench to loosen the bolt (usually reverse-threaded).
- Sharpen: I use a file or bench grinder, following the original cutting angle. The goal is to remove nicks, not reshape the blade. Sharpen equally on both ends.
- Balance It: This is the step people skip. Hang the blade on a nail or use a balancer. An unbalanced blade causes destructive vibration that can wreck your mower’s spindle bearings. File a bit more metal off the heavier end until it hangs level.
- Reinstall: Torque the bolt back down tightly with your wrench and re-connect the spark plug wire.
Choosing High-Lift or Mulching Blades
When you look to upgrade your lawn mower blade, you have options beyond the standard stock blade.
A high-lift blade has more pronounced curves (wings) along its back edge. This creates stronger suction, pulling grass upright for a cleaner cut and lifting clippings efficiently into the bagger. If you bag often, this upgrade can let you mow faster without clogging.
A mulching blade is designed with extra curves and often longer cutting edges to keep grass clippings circulating under the deck longer, chopping them into tiny pieces that feed the soil. It’s great for health, but can bog down in very tall, wet grass. When comparing mulching blades to standard blades, you’ll see the clippings are handled differently. That contrast helps explain why some lawns benefit more from one type than the other.
Before you buy any blade, you must check your mower deck’s compatibility. Match the length, center hole shape, and mounting pattern. For a quick reference, see our lawn mower parts compatibility guide. The wrong blade won’t fit or could be dangerous.
Rolling Faster: Wheel, Hub, and Steering Upgrades

Thinking about bigger wheels or sharper steering isn’t just for looks. These two things work together. When you want to move faster, you need a setup that feels planted and predictable. A wobbly wheel or sloppy steering at higher speed turns a time-saver into a white-knuckle ride.
Here’s the basic math: bigger wheels cover more ground per revolution. If your engine spins at the same RPM, larger tires will technically give you a higher top speed. But there’s a trade-off-you might lose some low-end pulling power, or torque, which you feel when climbing a slight hill or pulling out of a damp spot. You also need to make sure bigger tires won’t rub against the mower deck or frame. It’s a balance.
Swapping to Larger, Smoother Tires
I looked into this for my own mower, Max. The stock tires were fine, but they had a deep, knobby tread meant for maximum grip. On my flat yard, that tread was just creating extra drag, like running in hiking boots instead of sneakers.
The main benefits of going up a size or switching treads are straightforward.
- Speed & Smoothness: A larger diameter tire travels farther with each turn. Paired with a low-profile, turf-friendly tread, you get less resistance and a smoother, faster roll.
- Traction: A wider tire can put more rubber on the ground, which helps on slopes or in dewy grass.
The downsides are just as real.
- Potential Torque Loss: Your engine has to work harder to turn a bigger wheel from a stop. If your yard has any incline, you might notice the mower feels a bit more sluggish pulling away.
- Installation Hassle: It’s not just a simple swap. You need the right lug pattern, correct inflation, and sometimes new hub assemblies. It’s a Saturday project, not a five-minute fix.
My advice? If your main goal is efficiency on a relatively flat lawn, switching to a smoother-tread tire in your current size is a great first step. You’ll feel the difference with less effort.
Improving Steering Response
Confidence at speed comes from control. Before you buy anything, start with a simple check-up. Over a season, linkages get loose and joints get dry.
Park on a flat surface, engine off. Grab the steering levers (or wheel) and gently wiggle them. Feel for any side-to-side play or a vague, disconnected feeling before the wheels actually start to turn. That’s slack in the system.
- Tighten Loose Linkages: Many steering rods have threaded ends with locknuts. A quarter-turn tighten can remove a surprising amount of slop.
- Lubricate Joints: Find the pivot points and grease fittings. A few drops of lubricant can make steering feel fluid again instead of stiff and jerky.
If you’ve done the basic maintenance and still want razor-sharp handling, aftermarket steering kits are the next level. These often include stronger linkages, higher-quality pivot bearings, and sometimes even adjustable tension settings. They replace the entire steering assembly for more precise, immediate control. It’s a more involved upgrade, but it makes the mower feel like an extension of your arms, which lets you mow efficiently without second-guessing your turns.
Lighting the Way: Installing Lawn Mower Headlights
Let’s be honest, sometimes the only time to mow is after the sun goes down. This upgrade is pure function. It’s about seeing that fallen branch, the edge of your driveway, and making sure your neighbors see you. It’s a safety and convenience mod first.
The process is simpler than you might think. Modern LED kits are bright, energy-efficient, and designed for DIY installation.
The heart of the job is choosing a 12V LED light bar or pod kit and connecting it to a power source. For most riding mowers, that source is your battery. The steps are generally the same.
- Choose Your Lights: A small, slim LED light bar or a pair of pods is plenty. Look for something rated for outdoor, vibration-resistant use.
- Find Mounting & Power: Scout a spot on your front frame or dash. You’ll need to run wires back to the battery. Use zip ties and loom to keep everything neat and protected from debris.
- Connect to the Battery: The kit will have a red (positive) wire and a black (negative) wire. Connect red to the positive battery terminal and black to the negative.
- Add a Switch: You don’t want the lights on all the time. Install a simple toggle switch on your dash in-line on the positive wire so you can control them.
Here’s the pro tip that saves your electrical system: always use an in-line fuse. This is non-negotiable. Place a fuse holder on the positive wire close to the battery terminal. If anything ever shorts out, that $2 fuse blows instead of frying your wiring or mower electronics. It’s the cheapest insurance you can buy.
With lights on, you gain those precious extra evening minutes. You’ll hear the steady hum of the engine, see the crisp line between cut and uncut grass in your beam, and get the job done safely. It’s one of the most satisfying upgrades you can do.
Setting Realistic Expectations: How Fast is Safe & Sane?
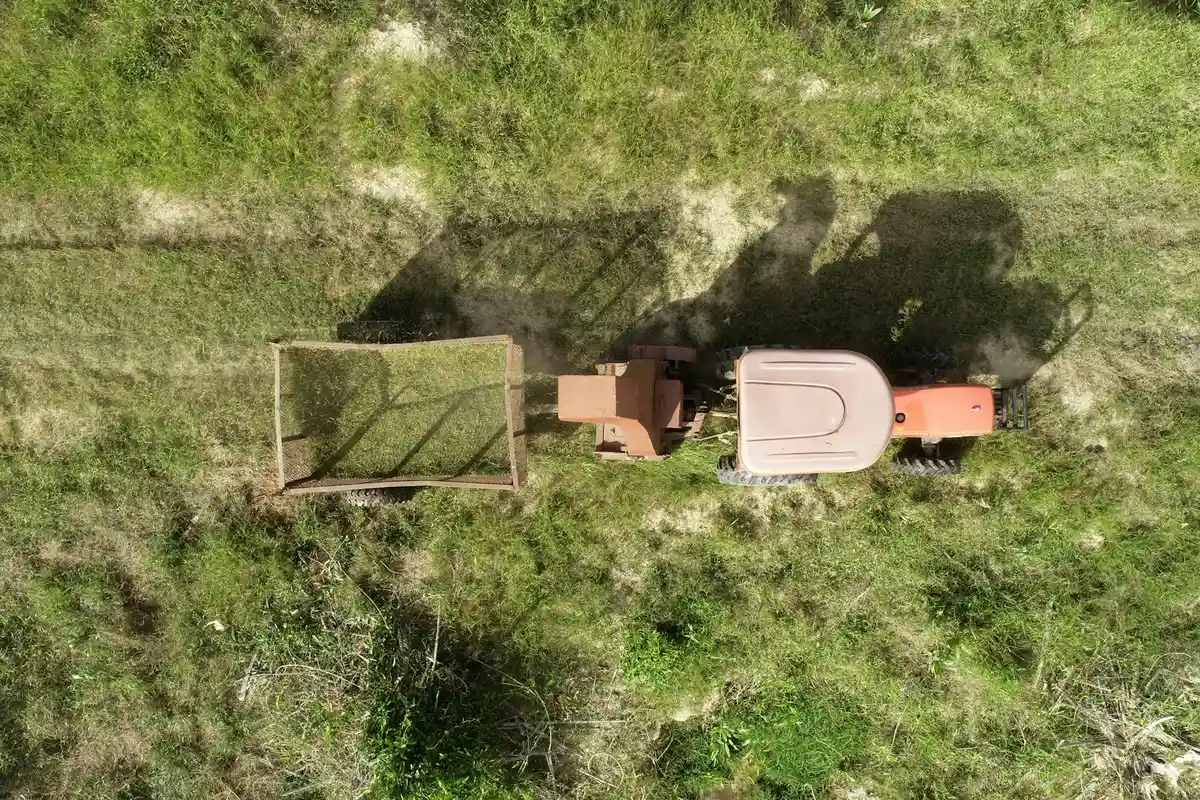
Let’s answer the big question right up front. You’re probably wondering, “How fast can this thing go?”
Most push mowers, straight from the factory, top out at a brisk walking pace. We’re talking 3 to 4 miles per hour. For riding mowers and tractors, the typical range is 5 to 8 mph. My zero-turn, Max, came set for about 7 mph, which felt plenty fast on my first few laps. The truth is, the top speed on the spec sheet is almost never the speed you should mow at, especially for zero-turn mowers.
Your Lawn is Not a Racetrack
I know the temptation. A wide-open yard looks like a green highway. But mowing at top speed is a recipe for a bad cut and a rough ride, especially if you haven’t mastered grass cutting techniques.
Think about what’s under those grass blades. Your lawn has subtle hills, dips from old mole runs, and random bumps. Hitting those at high speed makes the mower deck bounce. When it bounces, the blades lift up and then slam down, taking big, uneven bites out of the turf. This is called scalping, and it leaves ugly brown streaks that take weeks to recover — no matter what scalp lawn techniques you try.
Speed also hurts cut quality. The mower’s blade needs time to cleanly slice each grass blade, not just whack at it. Going too fast can leave a ragged, torn tip that turns white and makes your whole lawn look dull.
It’s simply not safe, either. Higher speed means less time to react. A hidden toy, a stray branch, or a sudden dip becomes a much bigger hazard. For hills, speed dramatically increases the risk of a rollover with a riding mower.
A Lesson from “Patch”
I learned this the hard way in my own backyard. There’s a corner I call “Patch.” It looks flat but has a gentle, hidden slope. One Saturday, I was trying to finish before a rainstorm and let Max open up a bit. I zipped across Patch at nearly full tilt.
The result was a disaster. The mower deck skipped over the crest of that slope and dug right into the downslope. It left a scar about four feet long where it scalped the grass right down to dirt. I traded five saved minutes for a month-long eyesore that needed careful babysitting to regrow. That was the last time I treated my mowing time like a speed trial.
The best speed is the one that gives you a clean, even cut without beating up your equipment or your lawn. For most of us, that’s a comfortable, steady pace where you feel in full control. Sometimes, slowing down is the fastest way to a better lawn.
FAQs: Get Your Mower Moving Faster
Where’s the best place to buy an upgraded mower blade?
For a standard replacement, B&Q or Screwfix are great for quick, affordable options. For a premium, long-lasting cut, invest in a genuine OEM blade from a brand like Stihl, ensuring perfect compatibility with your deck.
Can I really upgrade my mower’s engine for more power?
Beyond basic tuning, significant engine upgrades are complex and often not cost-effective for most homeowners. Your smartest power move is to ensure it’s perfectly tuned and consider a governor adjustment for optimized performance.
Is adding headlights worth the effort?
Absolutely, if you ever mow near dusk. A simple LED kit wired to your battery extends your mowing window safely, letting you see and be seen for a more flexible weekend schedule.
When should I consider a steering upgrade?
If your mower feels vague or sloppy when turning, tightening linkages is the first fix. For razor-sharp control that lets you zip around obstacles, a full aftermarket steering kit is a game-changer for efficient mowing.
Will bigger wheels always make my mower faster?
Larger wheels can increase top speed but may reduce pulling power on hills. For most flat lawns, switching to smoother-tread tires in your current size reduces drag for a quicker, more efficient roll.
Final Thoughts on Mower Tuning
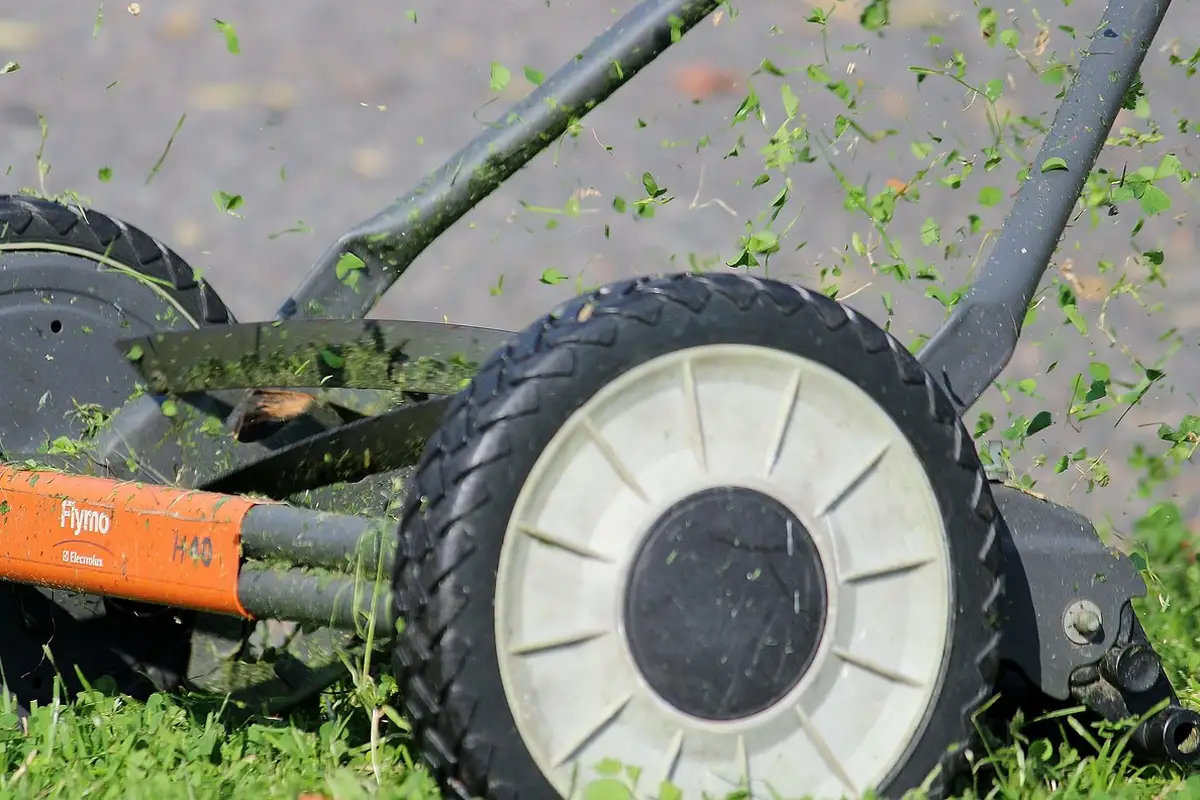
The best way to speed up your mower is to start with the basics: a sharp blade and clean air. Focus on consistent, simple maintenance over searching for a magic fix, and your machine will reward you with a cleaner, healthier cut every time. That reliable performance is what builds a thick lawn, season after season.
Always remember that a well-tuned mower is a safer, more efficient machine for you and your environment. Scheduling a regular service tune-up for your lawn mower keeps it running smoothly and ready for the season. I keep learning from every season with Max and Patch, and I encourage you to see your lawn care the same way-a continuous, rewarding project that’s safe for pets, pollinators, and your Saturday morning.
References & External Links
- How to Make Your Lawn Mower Faster: Tips for More Speed & Performance – MOWRATOR
- Here’s How To Make a Lawn Mower Go 30 mph
- How to Adjust Speed on PowerSmart Self-Propelled Lawn Mower | Expert Q&A
- How to Adjust Tracking & Speed on your Lawn Mower (2024) – Main …
- How to Adjust Lawn Mower Engine Speed – Easy DIY !!
- How to Adjust the Throttle of Your Self-Propelled Lawn Mower | DoItYourself.com
Written by Ria Carrington. Ria is an avid lawn care enthusiast and advisor. No lawn is unsalvagable when Ria is at work. She has helped countless homeowners breath new life into their dying lawns. She has a B.Sc in Agriculture and brings practical advice combined with knowledge of plant science and her decade worth of hands on experience.