
How Do You Fix a Lawn That Collects Puddles and Stays Waterlogged?
Is your lawn squelching underfoot and forming stubborn puddles after a rain? You’re not just dealing with a muddy nuisance; that water is suffocating your grass roots.
We will cover finding the true low spots, selecting the right fill material, my hands-on leveling technique, and integrating solutions with your existing irrigation.
I know this works because I’ve leveled the dips in my own yard with Max and adjusted Sunny’s patterns to match.
What’s Causing Those Pesky Puddles in Your Lawn?
You know the feeling. You walk across the yard after a rain and hear that wet, squelchy sound under your boots. Or you see a patch of water that just won’t soak in, even a day later. The first step is knowing what you’re looking at. Standing water is the obvious clue, but moss or a slick, green algae growing in a damp area is a quiet signal too.
To really understand your lawn, you need to know your soil, and a simple jar test tells you everything. Dig up a few tablespoons of soil from about four inches down, pop it in a clear jar with water, shake it hard, and let it settle for a day. Sand sinks fast, silt sits in the middle, and clay floats on top. If you see a thick layer of clay, you’ve found a big part of the problem. Think of clay soil like a plastic bag, it holds water tight and lets very little drain through.
Beyond soil type, a few common issues create those soggy spots:
- Soil Compaction: Years of foot traffic, playing, and even mowing with Max can press the soil particles together until there’s no room for air or water to move. It’s like a sponge you’ve stepped on, it just can’t hold anymore.
- Poor Grading: The ground should slope gently away from your house’s foundation. If it’s flat or, worse, slopes toward your house, water has nowhere to go but into a puddle.
- Thick Thatch: A dense mat of dead grass and roots above the soil acts like a thatched roof, preventing water from reaching the soil below.
- Hidden Surprises: Old construction debris, buried tree stumps, or even a forgotten sandbox can create an underground bowl that collects water.
Checking your lawn’s slope is a critical weekend task. Grab a long string, two stakes, and a string level to see if water is running away from your foundation, not toward it. This isn’t just about a pretty lawn, it’s about protecting your biggest investment, your home, from water damage.
How to Scout Your Lawn and Plan Your Attack
Once you know you have a problem, it’s time for reconnaissance. The best time to map your low spots is right after a good rain. Walk the yard and push a wooden garden stake into the center of every puddle you see. If it hasn’t rained, lay a long, straight board or a level on the grass. Anywhere you see a gap under the board, you’ve found a dip.
Look at all your stakes. Is it one big area or five small ones? Be honest with yourself about the scale, your budget, and your time. My shady corner, Patch, taught me that fixing a three-foot square is a Saturday project. Fixing half the backyard is a multi-weekend campaign. If you’re new to this or short on time, pick your worst spot and start there. Success on a small scale builds confidence.
Now, think about logistics. Can you get a wheelbarrow to the spot? If you need to rent a core aerator, can you get it through your gate? I learned the hard way with Max, my zero-turn, always measure the path from the driveway to the lawn to avoid a frustrating afternoon of maneuvering.
Before you put a shovel in the ground, you must call 811 to have your underground utility lines marked. This is free, it’s the law, and it keeps you safe. Even shallow grading or aeration can hit a line.
If you have an irrigation system like my setup, Sunny, you need to protect it. Flag every sprinkler head in your work zone with a bright plastic flag or a short stake. For bigger projects, you might want to temporarily shut off that zone at the controller to avoid a surprise geyser.
Required Materials for Most Fixes
You don’t need fancy gear. For most DIY leveling and drainage fixes, this basic toolkit will get you started:
- Tools: A sturdy steel rake for breaking up soil, a landscape rake (or leveling rake) for smoothing, a wheelbarrow, a garden hose, and a shovel.
- Materials: Your most important purchase is topdressing mix. A good blend is often called “lawn sand” or a topdressing mix, and it’s usually a combination of sand, soil, and compost. The sand improves drainage, the compost feeds the soil and grass, and the soil helps it blend. You’ll also need grass seed to reseed any areas you disturb.
- Specialty Tool: A core aerator. You can rent a gas-powered one for about $75-$100 for a half-day, which is perfect for tackling compaction. For small areas, a manual foot-press aerator works but is a serious workout.
On cost, doing it yourself is mainly the price of materials, tool rental, and your time. Topdressing mix might run $5-$10 per bag, and you may need 10-20 bags for a sizable area. A professional regrading job can cost thousands. For most homeowners, a targeted DIY approach to fill puddles and relieve compaction is the most effective and budget-friendly path.
Picking Your Weapon: Lawn Leveling Methods vs. Drainage Solutions
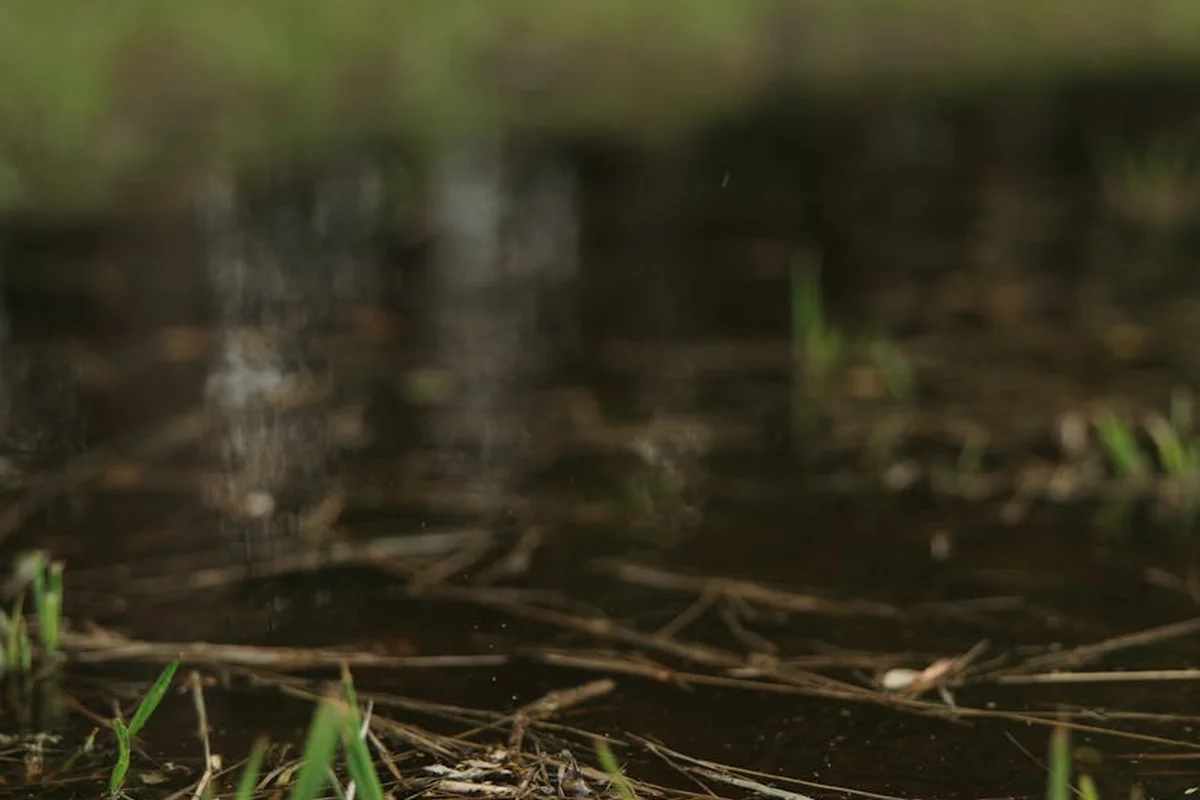
Your lawn is trying to tell you something when water pools. The fix depends on what it’s saying. Is the soil just packed too tight? Is the ground sunken in one spot? Or is your whole yard acting like a bowl? You pick the tool for the job.
Topdressing: The Filler for Minor Dips
Think of topdressing like filling in small potholes on your driveway. You mix up a thin layer of sand, compost, and topsoil and spread it over low spots. It fills the dips and, over time, improves your soil structure as it gets worked down by rain, mowing, and earthworms.
This is your go-to for fixing visual bumps and shallow depressions that cause small, temporary puddles after a rain. I use it every other fall on my whole lawn, and it’s made a huge difference in how even my cut looks from the seat of Max.
Core Aeration: The Breath of Fresh Air for Compacted Soil
If your lawn feels hard as a sidewalk and water just sits on top, the soil is compacted. Core aeration is the fix. A machine pulls out tiny plugs of soil, about the size of your finger. This creates holes for air, water, and nutrients to finally reach the grass roots.
It’s like poking holes in the tight lid of a container so water can finally drain through. The soil plugs left on the surface break down in a week or two, adding back good organic matter. You’ll notice the damp, earthy smell right after you’re done, a sure sign the ground can breathe again.
Aeration solves the problem of waterlogging caused by dense, hard soil that water simply cannot penetrate.
Drainage Systems: The Gutter for Chronic Soggy Areas
Sometimes, leveling the soil isn’t enough. If you have a low spot that collects water from your entire yard or a slope that dumps water against your house, you need to move that water away. A French drain is like installing a gutter system for your yard.
You dig a trench, lay a perforated pipe wrapped in fabric, and fill it with gravel. Water seeps into the gravel, flows into the pipe, and gets carried to a safer spot, like a storm drain or a sunny part of your garden. You’ll hear the satisfying sound of gravel shifting as you fill the trench.
This is the solution for severe, ongoing water flow or a yard that acts as a natural basin.
How to Choose Your Fight
- For minor grading issues and shallow low spots: Use topdressing.
- For water sitting on hard, packed soil: Use core aeration.
- For a yard that is always wet or channels water to a problem area: Look into a drainage solution like a French drain.
You also need to think about your grass. The best time to aerate or topdress cool-season grasses (like fescue or Kentucky bluegrass) is early fall. For warm-season grasses (like Bermuda or Zoysia), aim for late spring to early summer. This timing gives the grass its best chance to recover quickly. Also, understanding the best time aerate lawn frequency helps you plan ongoing care. This alignment of timing and frequency keeps soil loose and roots strong through the growing season.
Be honest about how much you’re willing to disrupt your lawn. Aeration and topdressing are minimally invasive, but installing a drain is a bigger project that usually requires reseeding or sodding over the trench. For quick recovery after aeration, just leave the soil plugs to break down naturally and keep the area watered. For a topdressed area, a light raking to brush soil off the grass blades and a gentle watering is all it takes.
The Hands-On Fix: Step-by-Step to a Level, Dry Lawn
Alright, you’ve picked your plan. Now let’s get your hands dirty. A little prep makes everything go smoother and keeps you safe.
Step 1: The Essential Prep Work
- Mow low. Cut your grass about one setting lower than normal. This lets you see the ground better and helps your leveling material reach the soil.
- Call before you dig. Have your underground utility lines marked. It’s free, it’s the law, and it keeps Sunny the irrigation system (and you) safe.
- Clear the area of toys, sticks, and any debris.
Step 2: Executing Topdressing
Your mix matters. I use a simple blend of two parts sand to one part good, sifted compost or topsoil. The compost feeds the soil and grass safely, which is great for pets and pollinators. Dump small piles of your mix onto the low areas.
The key is to spread it thinly and evenly using the back of a landscape rake. Aim for no more than a quarter-inch of material in a single pass. You want to fill the dip but not smother the existing grass. Gently brush the mix down into the turf so the grass blades are still visible. Finish with a light watering to settle the material.
Step 3: Running the Aeration Machine
You can rent a core aerator from any home improvement store. They’re simple to use but heavy. Make two passes over the problem area, with the second pass going perpendicular to the first. This creates a good pattern of holes.
Let the soil plugs dry for a day and then break them up by mowing over them or raking lightly. There’s no need to remove them; as they break down, they return valuable organic matter to your lawn. The smell of that freshly exposed, damp soil is the smell of success.
Step 4: Regrading a Small, Troubled Spot
For a more pronounced dip, you might need to move some soil. Use a leveling drag (a heavy piece of metal fencing) or simply a long, straight 2×4 board with a rope attached. Have a helper pull it over the area while you add or subtract soil from behind it.
Always ensure the final grade slopes gently away from your house or other structures, even if it’s just a fraction of an inch per foot. This directs water where you want it to go. For pet safety, if you’re adding soil, use an organic mix and keep dogs off the fresh dirt until it’s been watered in and settled.
Keeping It Dry: Aftercare and Knowing When to Call for Backup
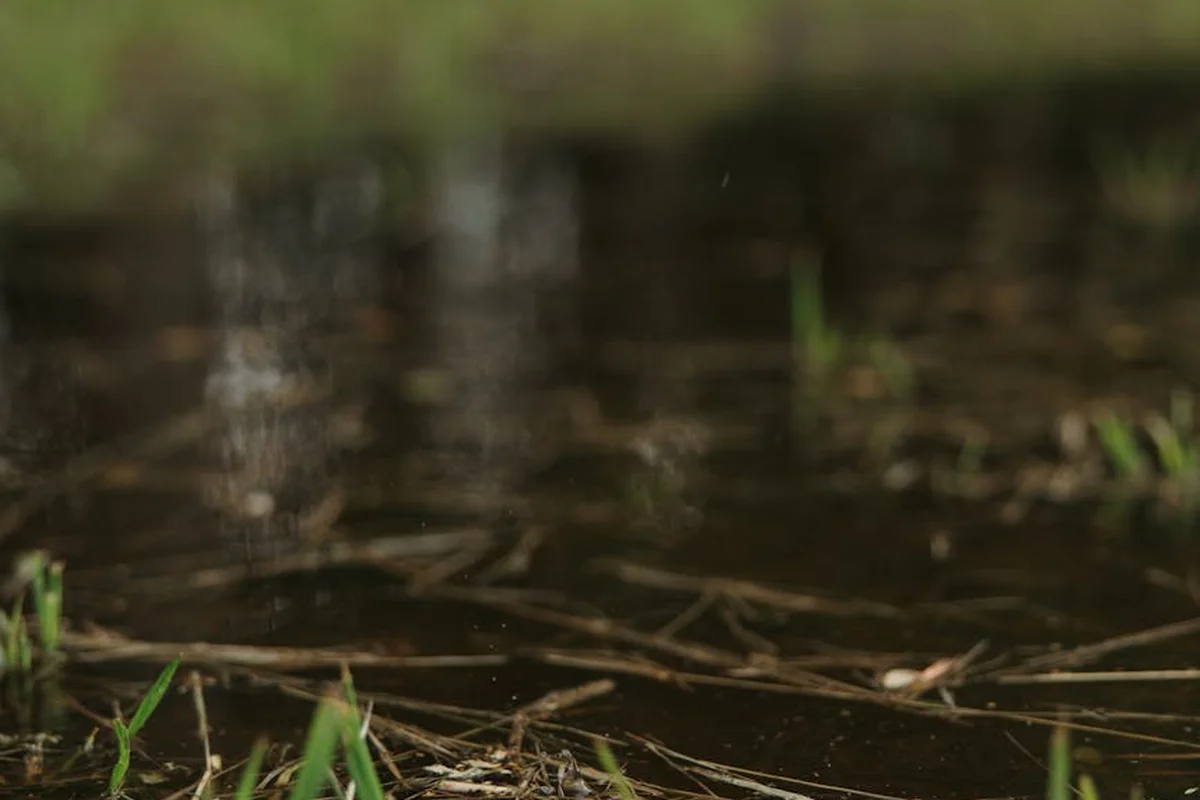
You’ve raked and leveled, and your lawn looks like a fresh-made bed. The real work starts now. Think of this as the recovery room for your grass.
Your new top priority is a gentle, consistent watering schedule. You want to keep that new topdressing mix and the soil beneath it damp, not drenched. I set Sunny, my drip irrigation, to run for about 10-15 minutes, twice a day for the first week. The goal is to encourage those roots to knit everything together without washing your hard work away.
Give your lawn a break from heavy traffic. I know it’s tempting to test it out, but keep the kids, pets, and even Max the mower off the repaired areas for at least two to three weeks. Let those grass roots get a firm grip.
If you had to remove a lot of grass, or if the area was thin to begin with, now is a perfect time to overseed. Scratch the seed lightly into the fresh soil and keep it moist. It’s a great way to ensure a thick, resilient stand of grass that can outcompete weeds and handle foot traffic.
Don’t just trust a sunny day. The true test comes with the next few good rains. Grab a cup of coffee and watch what happens. A proper fix means water sheets away or soaks in quickly, leaving no pond behind. If a small puddle forms but disappears in an hour, that’s usually fine. If it sits for half the day, you might need a light touch-up with more soil mix.
Long-term health is your best defense against future puddles. I aerate my lawn every fall without fail. It’s like poking thousands of tiny holes in a compacted sponge, letting water and air reach the roots. I also mow high, never taking off more than a third of the blade. Taller grass means deeper roots and soil that acts less like a hardpan.
When This Guide Isn’t Enough: Time to Seek Professional Help
I love a good DIY project, but sometimes the problem is bigger than a bag of sand and a Saturday afternoon. Recognizing this saves you time, money, and a whole lot of frustration.
Here are the red flags that mean it’s time to call a pro:
- Your entire yard needs regrading. If water pools against your foundation or the slope is clearly wrong, this requires heavy machinery and expert surveying.
- You suspect an underground issue. This includes broken drainage pipes, old septic systems, or a high water table. If one spot is always a swamp, even in a drought, something is likely going on below the surface.
- The fix needs major soil removal. If you’re looking at moving multiple cubic yards of earth, that’s a job for a skid steer, not a shovel.
Hire a professional for complex drainage systems like French drains, dry wells, or channel drains. These are fantastic, permanent solutions, but getting the pitch and placement wrong can make the problem worse. If your own DIY efforts have failed more than once, a pro can diagnose the root cause you might be missing.
Be honest about access and scope. If the troubled area is behind a locked gate or on a steep hill where you can’t safely operate, it’s not a DIY job. If just thinking about the project makes you feel overwhelmed, that’s a valid signal. DIY lawn leveling can be tricky, so consider hiring a good landscaping contractor who can handle the heavy lifting and give you a dry lawn back.
Frequently Asked Questions: Getting Your Lawn Back to Greedy
I have an existing drainage pipe. Do I need to adjust it before leveling?
Absolutely. Locate and mark any drain outlets first to ensure your leveling work doesn’t block or bury them. You want to complement the existing system, not fight against it.
What’s a realistic budget for a DIY fix versus a pro job?
DIY can be under $200 for materials to tackle a few spots yourself. For major regrading or complex drainage, pros charge thousands, but they bring heavy equipment and guaranteed slope.
My yard is a swamp near the fence. Could this be my neighbor’s issue?
It’s possible, especially if their yard slopes into yours. Have a friendly chat and check the grade together; sometimes the solution needs to be a cooperative one for proper water flow.
I have an irrigation system. Will leveling wreck my sprinkler heads?
Not if you flag every head in the work zone before you start. For deep leveling, you may need to temporarily adjust riser heights so your heads sit flush with the new grade.
How do I know if I just need to fill a dip or install a whole drain?
If water sits on compacted soil or in a shallow depression, fill and aerate. If water actively flows and collects in an area, you need a drain to move it. Watch where the water goes during a rain.
Enjoying Your Level, Puddle-Free Lawn
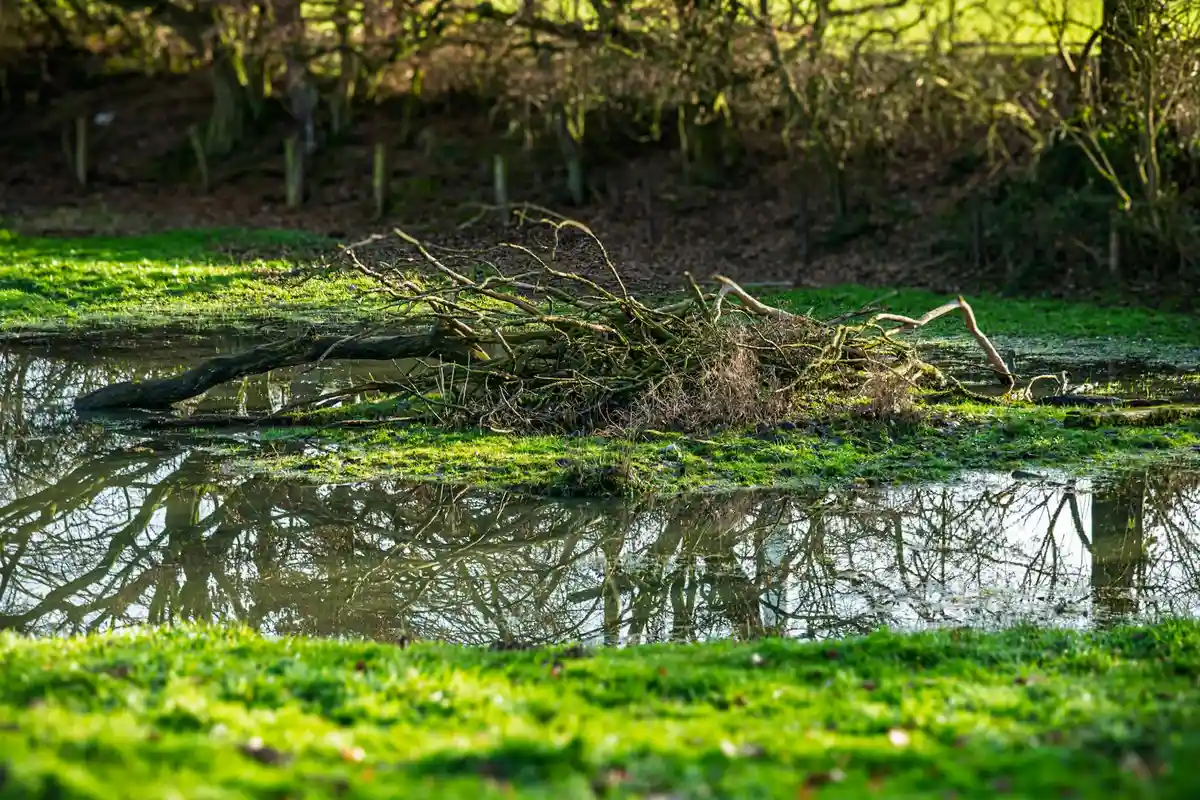
The best step you can take is to find out why water is pooling in the first place. Test your soil and fix compacted areas before you ever pick up a leveling rake or a bag of sand.
As you care for your lawn, remember that a healthy ecosystem starts with responsible choices. I always choose pet-safe, slow-release fertilizers and spot-treat weeds to protect the bees and butterflies that visit my yard. Pet-safe and environmentally friendly options help maintain a safe environment for everyone.
Citations and Authoritative Sources
- Waterlogged Lawns: Solutions | RHS Advice
- How to fix a waterlogged lawn: tips to rescue your garden | Homes and Gardens
- How Can I Fix A Waterlogged Lawn? | Garden Lawncare Guy
- How to fix a waterlogged lawn for a healthy yard | Tom’s Guide
- Lawn Damage from Poor Drainage & Waterlogging | Paul Munns
- How to Fix a Waterlogged Lawn | Kingsbury Lawn Care
- Landscaping experts reveal 3 home fixes for waterlogged lawns – you won’t find better DIY lawn drainage solutions
Written by Ria Carrington. Ria is an avid lawn care enthusiast and advisor. No lawn is unsalvagable when Ria is at work. She has helped countless homeowners breath new life into their dying lawns. She has a B.Sc in Agriculture and brings practical advice combined with knowledge of plant science and her decade worth of hands on experience.