
What Are the Best Lawn Edging Techniques for a Clean, Money-Smart Yard?
Is your lawn slowly swallowing your sidewalk or garden beds? A clean edge is the fastest way to make your whole yard look cared for and complete.
This guide will walk you through comparing different edging materials for cost and durability, mastering the right cutting and installation techniques, and maintaining those crisp lines with minimal yearly effort.
I’ve figured this out the hands-on way, after many weekends installing and tweaking edges with my own mower, Max, and irrigation, Sunny.
Why a Crisp Edge Makes Your Lawn Pop
Think of your lawn like a room in your house. Without baseboards, the walls just look unfinished, right? A clean edge is your lawn’s baseboard. It defines the space between your grass and a flower bed, driveway, or walkway, giving everything a polished, intentional look.
I learned this lesson with Patch, my stubborn shady corner. For a long time, the grass just sort of faded into the mulch and weeds. One Saturday, I took my manual edger and carved a clear line. The whole area instantly looked managed, even though the grass was still thin. That sharp visual line tricked the eye into seeing order. It’s especially important when caring for shady areas, where grass is less likely to thrive.
A good edge is a practical defense that saves you hours of weeding by stopping grass from creeping into your garden beds or over your sidewalk. It creates a physical barrier that roots have to work harder to cross.
There’s also a real satisfaction in it. You hear the crisp *snick* of the blade slicing through the sod. When you step back, you see that sharp, dark line of soil against the bright green grass. It’s an instant reward for your work.
How Do You Choose the Right Edging Material?
Picking edging is about balancing your budget, your desired look, and how much work you want to do. You can find these materials at any garden center or big box store. When you’re looking, pay attention to words like “heavy-duty,” “UV-stabilized” for plastic, or “powder-coated” for metal. They tell you about durability.
Here’s a quick comparison of the most common options to get you started.
Think of plastic edging like a flexible garden hose it bends to your will but isn’t the strongest. Stone edging is like a sturdy brick wall it’s not going anywhere, but you need the skills to build it right.
Plastic and Metal Edging: The Flexible Options
Plastic is the go-to for most homeowners starting out. It’s affordable and you can bend it around your flower beds without much fuss. The trade-off is that sunlight and freezing temperatures can make it brittle over time. I’ve had sections crack after a few harsh winters.
Metal edging, usually steel or aluminum, gives you a sleek, nearly invisible line that looks professional and lasts for decades. It’s fantastic for creating long, straight borders along a driveway. It doesn’t bend easily, so tight curves are a challenge.
Installation for both types is similar. You cut a narrow trench, drop the edging in so the top lip is just above the soil, and drive the provided stakes deep into the ground. This last part is key. Skipping stakes, or not driving them deep enough, lets frost heave push the edging right out of the ground. Ask me how I know.
Stone, Brick, and Wood: Natural Looks
For a classic, timeless look, you can’t beat stone or brick. It’s incredibly durable and blends beautifully with the garden. The installation is the real work. You need to dig a base trench, lay a bed of sand or gravel for drainage, and carefully level each piece. It’s a weekend project, for sure.
Wood offers a warm, rustic feel. I like using cedar or redwood rounds for a natural edge. The critical rule here is to only use untreated, natural lumber to keep the soil safe for pets, worms, and beneficial insects. Even the “good” woods will eventually rot where they contact the soil, but that’s part of its charm it’s a temporary, natural border you can replace.
With wood, expect to re-level or replace sections every 5 to 7 years in damp climates. In my drier spots, my cedar has held up much longer. It’s a trade-off between that natural aesthetic and a bit of future maintenance.
Step-by-Step: How to Install Lawn Edging
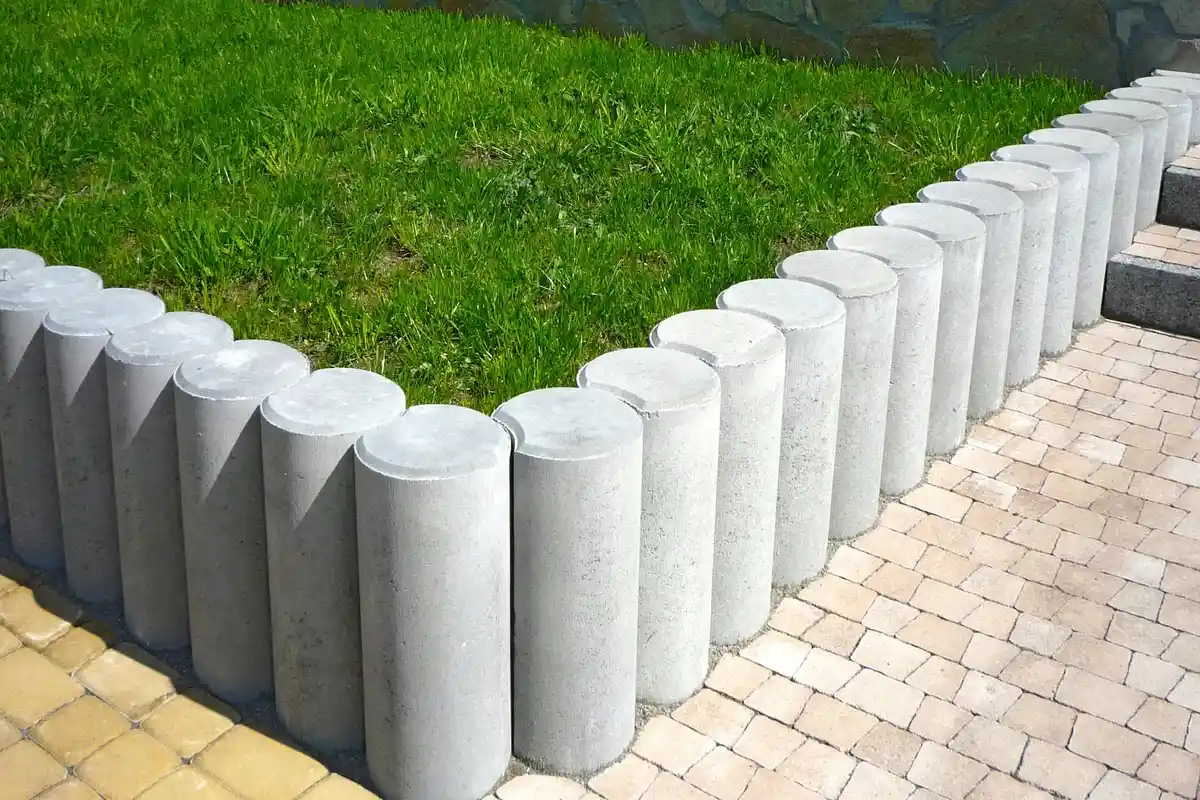
I get it. You see that fuzzy, creeping line between your grass and the garden, and you want a clean, sharp border that lasts. The good news? Learning how do you install lawn edging is a straightforward weekend project that pays off for years. The best time to tackle this is in spring or fall, when the soil is moist and workable, but not soggy from heavy rain. A well-defined edge is also a step toward a healthier, more beautiful lawn, helping turf grow where you want it and keeping weeds at bay. When you focus on the whole lawn—mowing, watering, and edging—you move closer to achieving a healthy, beautiful lawn.
Prepping the Area and Cutting the Trench
First, you need to see your new edge. Lay a garden hose on the ground to plan your line. For curves, the hose is perfect. For straight lines or more permanent marks, you can use landscaping spray paint. Take a step back and look. Once you love the shape, it’s time to cut.
You’ll need a few tools:
- A flat spade or an edging shovel (my go-to).
- A powered edger can speed up long stretches.
- A tape measure.
- Work gloves and safety glasses.
Now, cut your trench. Follow your hose or paint line. You’re aiming for a trench about 4 to 6 inches deep. This depth gives most edging materials a solid anchor. Push your spade straight down with your foot, then rock it forward to remove a wedge of soil. There’s a distinct, damp, loamy smell when you open fresh earth, a sure sign you’re deep enough to stop rhizomes and roots. For plastic or flexible metal edging, a consistent depth is more important than a perfectly vertical wall.
Setting the Edging and Finishing Up
With your trench cut, you’re ready for the main event. This is where we answer how do you install plastic lawn edging or any rigid type. Place your edging material into the trench. For rigid pieces, butt the ends tightly together. Use a rubber mallet to tap the top lip until it’s level with, or just below, the surrounding grass. You don’t want to trip on it later, especially when installing artificial or natural lawns.
Once it’s set, backfill the trench. Shovel the soil you removed back against the lawn-side of the edging. Tamp it down firmly with your foot to eliminate air pockets. On the garden side, you can backfill with more soil or add a layer of mulch for a finished look. Water the area lightly to help the soil settle. For inspiration, landscaping edging ideas can guide the look of your border.
The most common mistake I see is not digging deep enough. A shallow trench is an open invitation for grass to sneak underneath, defeating the whole purpose. Take the extra ten minutes to get that depth right.
Essential Tools: How Do Lawn Edgers Work?
Maintaining that crisp edge you just installed requires the right tool. People ask how do lawn edgers work because they see the clean lines and want to replicate them. At its core, every edger, manual or powered, works on the same principle: it cuts a vertical slice in the soil to sever grass roots and define a boundary. To keep that precision consistent across tools, a sharp, well-balanced lawn mower blade matters as much as a good edger. Sharpening and balancing the lawn mower blade reduces vibration and helps maintain a crisp edge when edging.
You have two main choices: manual tools for control and powered machines for speed. Always wear gloves and eye protection, especially when using powered tools where debris can fly.
Manual Edging for Precision and Small Jobs
A half-moon edger or a trenching shovel is perfect for touch-ups. I use mine around my delicate flower beds and that tricky spot I call Patch, where precision matters more than power. To use one, place the blade on your established edge line and push down with your foot. Then, rock the handle back and forth to deepen and clean the cut. This method gives you surgeon-like control for fixing spots where grass has crept over your installed edging.
Powered Edging for Speed and Large Lawns
For long driveways or sweeping bed lines, a gas or electric powered edger saves your back. These machines have a rapidly spinning blade (or a string trimmer on its side) that cuts the vertical edge as you guide it. The key is to go slow and let the tool do the work. A quick, pro tip: before you fire it up, make sure you know where Sunny, your drip irrigation, is buried. Mark those lines with flags so you don’t accidentally nick one. You can even get an edging attachment for a zero-turn mower like Max, which turns a big job into a quick, smooth pass around the yard. For tight spaces or when you want quiet edging, a manual reel push mower can be surprisingly effective. It’s a simple, hands-on option that doesn’t require fuel or cords.
Common Lawn Edging Mistakes and How to Avoid Them
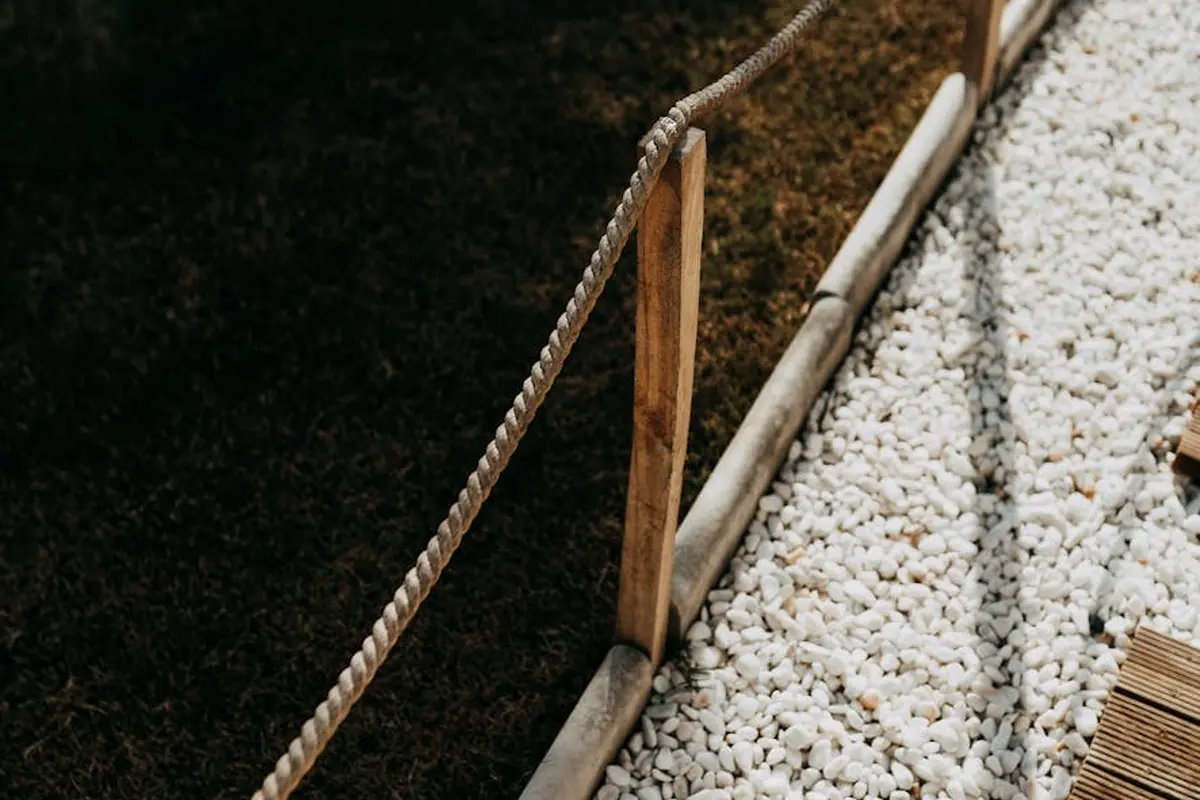
Getting a crisp edge is satisfying, but small mistakes can ruin the look fast. Here are the slip-ups I see most often.
First, uneven depth. A wavy edge looks messy and often fails to stop grass rhizomes. You might cut too shallow in hard soil or too deep in soft spots.
The simple fix is to use a two-foot level as a guide while you trench, checking every few feet to keep your depth consistent. For most situations, a 4 to 6-inch deep edge is the sweet spot for stopping grass in its tracks.
Next, poor material choice for your soil type. Heavy steel edging can buckle in expansive clay soil that swells and shrinks. Lightweight plastic can heave right out of the ground in sandy, loose soil.
Think of your soil like a sponge; dense clay holds water and pushes hard, while sandy soil shifts easily. For clay, use a flexible material like rubber or composite that can move a little. For sandy soil, choose something long and deep like a heavy-duty plastic spike or a deep-poured concrete curb that anchors well.
Finally, neglecting maintenance. People install a beautiful edge and forget it exists. Soil washes in, debris piles up, and grass creeps over the lip. That sharp line vanishes in a season.
The fix is a quick, five-minute check and cleanup every few months. Use a flat shovel or an edging tool to scrape away soil and debris that’s built up against the edge. This keeps the barrier clear and functional. Many reliable lawn edging techniques PDF guides are online, which are great for visual reference on these upkeep steps.
Greedy Grass Pro Tip: The Seasonal Check-Up
Make edge inspection part of your spring and fall routine. Look for sections that have settled, heaved, or been damaged by a shovel over winter.
A sharp, maintained edge makes mowing with Max smoother and faster, saving you time and frustration every single week.
Just pop out there when you change your mower blades or check on Sunny the irrigation. Tamp down any lifted sections and clear out any organic matter. This small, regular care keeps your results looking professional for years.
Quick, Greedy Grass Edging FAQs
What’s the best time of year to install new lawn edging?
Spring and fall are ideal, when the soil is moist and easy to work but not waterlogged. This helps the edging settle firmly and gives you a solid barrier before the grass’s main growing seasons. It pairs well with proper lawn aeration during these seasons.
What’s the most cost-effective edging technique for a long, straight border?
For long lines like a driveway, a powered edger or your mower’s edging attachment is the fastest, cheapest tool for the job. Pair it with a simple, deep-cut trench and you’ll get a clean, lasting line with minimal sweat.
How do I keep my edge crisp without constant trimming?
Install a physical barrier-like metal or deep-set plastic edging-right after you cut your initial trench. This acts as a permanent guide for your mower wheel and stops grass roots from creeping where you don’t want them.
I see “lawn edging techniques PDF” guides for sale. Are they worth it?
Almost never. You can find every technique and tip you need for free from reputable university extension sites. Save your money for good materials instead of overpriced instructions.
Where’s the best place to buy quality edging materials?
Skip the flimsy stuff and go to a proper garden center or landscape supply yard. They stock heavy-duty, UV-stabilized materials that will last, saving you money and a redo job in a few years.
Keeping Your Lawn’s Edge Sharp and Sustainable
The best lawn edge is a clean one. Find the technique that fits your lawn’s personality and your own schedule, whether that’s the quick slice of a spade or the lasting line of a trench. Pair that edge work with smart lawn mowing and grass cutting techniques to keep lines crisp. Understanding mowing patterns and blade height helps you choose an edging approach that lasts.
Every clean edge you create is a sign of thoughtful care, so I always choose methods that are safe for pets and pollinators. Your lawn is a living space that changes each season, and staying curious is how you keep it looking its best. Lawn aeration is one of those nutrient-boosting practices that helps maintain healthy soil without harming the environment.
Expert Resources and Citations
- r/lawncare on Reddit: Edging Lawn for the first time
- How to Edge a Lawn
- How to Create a Lawn Edge | RHS Advice
Written by Ria Carrington. Ria is an avid lawn care enthusiast and advisor. No lawn is unsalvagable when Ria is at work. She has helped countless homeowners breath new life into their dying lawns. She has a B.Sc in Agriculture and brings practical advice combined with knowledge of plant science and her decade worth of hands on experience.