
How to Aerate Your Lawn: Is Core Aeration Necessary for You?
Does your lawn feel hard as a sidewalk or pool water after a light rain? That’s your soil begging for air, and core aeration is the straightforward solution.
In this guide, we will cover the clear signs your lawn needs aeration, the perfect time to do it, how to pick the right tool without overspending, and my proven, step-by-step best practices.
I’ve fought my own compacted soil for seasons, learning with Max the mower and stubborn Patch exactly what gets results.
What Is Core Aeration and Why Does Your Lawn *Really* Need It?
Core aeration is a simple process where a machine pulls out small plugs of soil, leaving holes behind. Think of it as giving your lawn a deep breath of fresh air. The other method you might see is spike aeration, which just pokes holes. For most home lawns dealing with hard, packed-down soil, core aeration is the only way to go.
If your lawn feels hard underfoot or water runs off instead of soaking in, core aeration isn’t just helpful, it’s necessary. It tackles the root of the problem, literally. It relieves soil compaction so grassroots can spread. It lets water, air, and fertilizer get down to where they’re needed. It also helps naturally break down thatch by bringing soil microbes to the surface.
My own lawn taught me this. I have a corner I call Patch where the soil was so tight nothing thrived. It was like the grass was wearing a belt two notches too tight. Aeration loosened everything up. Now, imagine your lawn after a long summer of foot traffic, kids playing, and even just regular mowing with Max. The ground gets packed down. Aeration is how you loosen that belt and let everything function properly again.
The Simple Difference: Core Aeration vs. Spike Aeration
It’s easy to get these confused. A spike aerator is often a simple tool you step on. It punches holes. A core aerator, like the one you’d rent, uses hollow tines to remove a plug of soil. That removal is the magic.
| Method | Action | Result |
| Spike Aeration | Pokes holes, compacts soil sideways. | Can worsen compaction over time. Temporary relief. |
| Core Aeration | Removes plugs of soil and thatch. | Relieves compaction. Creates space for air, water, and roots. |
Spike tools press the soil aside, which can make a hard pan even harder right next to the hole. For truly compacted soil, core aeration is your only effective choice. It creates real space.
The Key Benefits Your Lawn Gets from Aeration
Each plug pulled does multiple jobs at once. Here’s exactly what your lawn gains.
- Reduced Soil Compaction: Roots can spread deeply, and water soaks in instead of running down your driveway.
- Better Water and Nutrient Uptake: No more wasteful runoff, and your fertilizer finally reaches the root zone where it can work.
- Thatch Breakdown: Those soil plugs deposited on the surface help microbes decompose the thick thatch layer naturally.
- Healthier Roots: Stronger, deeper roots mean your grass can handle summer heat and drought with much less stress.
When Is the *Best* Time to Aerate Your Lawn?
Timing is everything. You want to aerate when your grass is growing strong and can recover fast, filling in those holes quickly. The perfect soil condition is moist but not wet, like a wrung-out sponge. This lets the tines penetrate cleanly and pull a good plug.
This brings us to a common question, can you aerate a wet lawn? I strongly advise against it. On soggy ground, the tines rip the turf instead of cutting it, the machine gets stuck, and you’re left with a muddy mess. Just like when mowing wet grass, it’s best to wait a day or two after a good rain.
Also, don’t aerate during drought stress or when the ground is frozen. Stressed grass can’t recover well, and frozen soil will break the machine (and possibly your spirit).
Timing for Cool-Season Grasses (Like Fescue, Kentucky Bluegrass)
For these grasses, aim for early fall. That’s their prime growing time. The soil is still warm, autumn rains are coming, and the grass focuses energy on root growth. It will heal those aeration holes in no time. Early spring is your second-best window, just as the grass wakes up.
Fall aeration gives cool-season grass the perfect runway to build a deep, resilient root system before winter. I plan my aeration right after Labor Day weekend, when the brutal summer heat finally breaks. Fall vs. spring aeration can make a difference depending on your grass type.
Timing for Warm-Season Grasses (Like Bermuda, Zoysia)
For these grasses, you need to wait for full green-up. The best window is late spring to early summer, when they’ve hit their active growth stride. Aerating then gives them the entire growing season to spread into the new space and thicken up.
Aerating too early, while the grass is still dormant or just waking up, is a waste. The grass can’t recover, and weeds might move into the open spaces.
Signs Your Lawn Is Ready for Aeration
You don’t need to guess. Your lawn will tell you. Try the simple screwdriver test. Take a regular screwdriver and try to push it into the soil. If it’s a real struggle to get it more than a couple inches deep, your soil is compacted.
Look for other clues. Does water pool on the surface after you run Sunny, your irrigation system? Does the lawn feel hard and spongy when you walk on it, like an old mattress? These are all cries for help. When I see water puddling in my low spots, I know it’s time to get the aerator on the calendar.
How to Tell If Your Lawn Really Needs Aeration
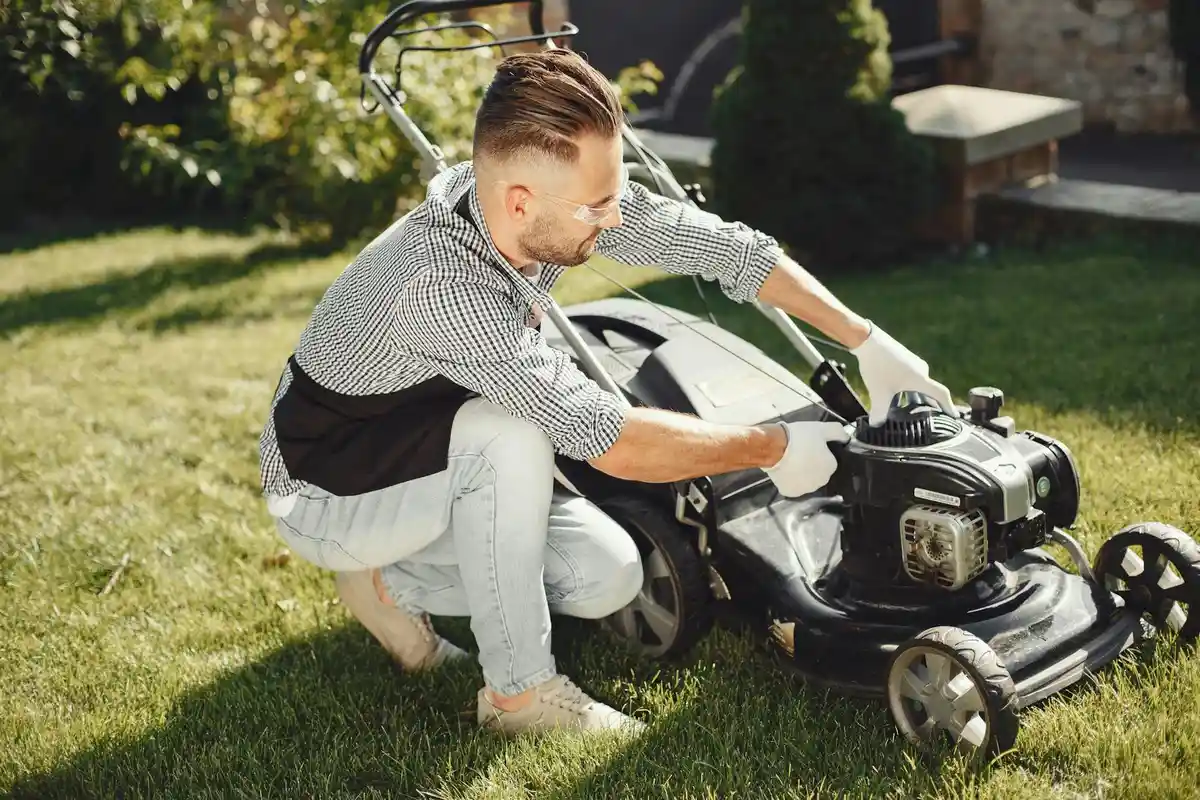
Everyone talks about the best time to aerate, usually fall for cool-season grasses. I get it. But before you mark the calendar, you need to know if your lawn is actually asking for it. You can’t just guess. I’ve learned to listen to what the soil is saying. You should make sure lawn aeration is necessary before you proceed.
Think about the spots that never seem to thrive. For me, that’s Patch, my stubborn shady corner under the old maple. That area stays damp and gets walked on more than I realize. It’s the first place I check. High-traffic zones are prime suspects too. The path to the shed, the spot where the kids play catch, the run your dog makes along the fence line. These areas get packed down, squeezing the life out of the soil.
The DIY Soil Compaction Test
This is my go-to, five-minute check. No special tools needed.
- Water the area you want to check. You don’t need to soak it, just dampen the top inch of soil. Think of it like a light morning dew.
- Wait about an hour. This lets the water start to move down but keeps the soil soft enough to test.
- Grab a long screwdriver or a soil probe. Stand on the spot and try to push it straight down into the ground.
If you meet serious, hard resistance before the tool sinks 2 or 3 inches, your soil is compacted and begging for aeration. It should push in with steady, firm pressure, not feel like you’re hitting a hidden brick. When my screwdriver bounces off Patch’s soil, I know it’s time.
Visual Clues That Don’t Lie
Your lawn shows symptoms when it can’t breathe. Keep an eye out for these signs:
- Thin, weak grass that looks tired even with regular watering and fertilizer. The roots are suffocating and can’t take up the good stuff you’re providing.
- Water runs off the surface during irrigation or a rain shower instead of soaking in. This is a classic sign. The soil is so hard it acts like a driveway, sending water and money right into the street.
- A thick, spongy layer of thatch over 1/2 inch deep. Thatch is a mat of dead stems and roots. A little is normal, but a thick layer creates a barrier that blocks air, water, and nutrients from reaching the soil. Core aeration helps break that barrier down.
The Tools You’ll Need for DIY Lawn Aeration
Once you know you need to aerate, it’s tool time. For a successful do it yourself lawn aeration project, you have choices. Let’s break down the real-world pros and cons of each so you can decide the best way to tackle how can i aerate my lawn.
Manual Aerators: For the Small and Patient
These are the simple, no-engine options. You’ll see step-on aerators, which look like pitchforks with hollow tines, and hand-held corers you twist into the ground.
They are perfect for spot treatments on areas like Patch or for a tiny postage-stamp lawn. The big drawback is your own energy. They are physically demanding and slow. Aerating a whole yard with one is a full weekend of hard labor. I keep a hand corer just for testing spots and fixing small areas, but I’d never use it on my whole lawn.
Power Core Aerators: The Homeowner’s Best Bet
This is what most of us need. A power core aerator is a machine you walk behind, with a rolling drum full of hollow, metal tines. As you push it, the tines punch into the soil and pull out plugs, leaving those perfect little holes across your lawn.
My strong advice for most homeowners is to rent one. Buying one is expensive and you only use it once or twice a year. Renting from a local garden center or equipment rental shop is common and surprisingly affordable for a day. When you rent, give the machine a quick look. Check that the tines aren’t completely worn down or bent. A heavier machine often works better, as its weight helps drive the tines deeper into tough soil.
How Deep Should Aeration Holes Be?
This matters more than you might think. You want those cores to be 2 to 3 inches deep and about a 1/2 inch wide.
The depth is critical because it needs to reach the main root zone where your grass lives and breathes. Shallow holes are just a surface scratch and won’t fix the deeper compaction. The good news is most rental aerators are preset to this ideal depth, so you usually don’t have to adjust a thing.
Step-by-Step: How to Aerate Your Lawn Correctly
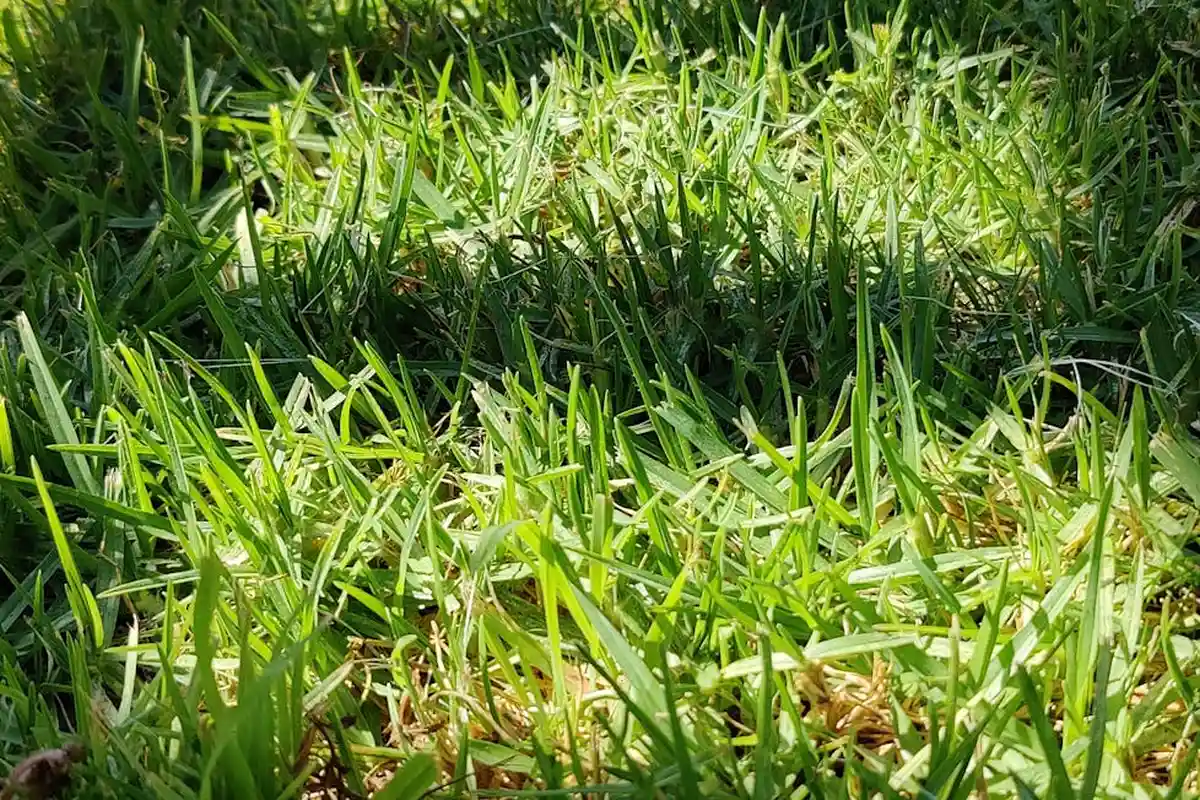
This isn’t brain surgery, but there is a right way to do it. Follow these steps and you’ll get the full benefit without wasting your weekend. First, a quick safety note: wear closed-toe shoes with good grip and take five minutes to walk the area. Pick up any sticks, dog toys, or garden hoses. You don’t want to trip or damage the aerator.
Step 1: Prepare Your Lawn
Good prep makes the job smooth. I do this the day before I plan to aerate.
- Water Deeply: Give your lawn a good, long drink 1 to 2 days prior. You want the soil moist, like a wrung-out sponge, not soggy. Trying to pull cores from concrete-dry dirt is a battle you’ll lose.
- Mark Your Hazards: Use little flags or even upside-down plastic pots to mark sprinkler heads, shallow utility lines, and that one rock that always appears. It saves you a costly repair bill and a lot of frustration.
- Mow a Little Shorter: Set your mower blade one notch lower than your usual cut. Shorter grass lets the aerator tines reach the soil easier and gives the plugs a clear path to the surface.
Step 2: Set Up and Run the Aerator
Whether you’re renting a big machine or using a manual tool, the principle is the same. Start in an out-of-the-way corner, like behind the shed, to get a feel for the weight and pull. Treat it like the first time you drove Max; go slow and steady.
Don’t force it. If you’re using a core aerator, just guide it. Let the machine’s weight and the tines do the cutting work. If you’re muscling it, the soil is probably too dry.
Step 3: Use the Right Pattern for Full Coverage
Think of this like mowing, but better. Going in just one direction will leave strips of unaerated soil between your passes.
- Make your first pass across the lawn in one direction, say north to south.
- Now, go perpendicular. Aerate over the same area again, but east to west.
This crosshatch pattern creates a grid of holes. It’s the secret to breaking up compaction uniformly. Overlap each pass by a few inches to guarantee you don’t miss a spot. Your goal is to see 20 to 40 holes per square foot when you’re done.
Step 4: What to Do With the Soil Plugs
You’ll be left with thousands of little soil cores littering the grass. This is a good sign. Leave them right where they are. I know it looks messy, but those plugs are gold.
Let them dry out for a day or two. Once they start to crumble underfoot, fire up Max and mow over them. The mower blades will pulverize them into a fine, free top-dressing. With rain and watering, this nutrient-rich soil filters back down into the holes, feeding your lawn.
Raking them up is the biggest waste of good soil and effort. Don’t do it.
Greedy Grass Pro Tip
If you want to thicken up your lawn, this is your golden hour. Overseed immediately after aerating. Those open holes are perfect pockets for seed. They protect it from birds, give it direct soil contact, and hold moisture. It’s the easiest way to get new grass to take root. This sets you up perfectly for the vital aftercare steps.
Common Aeration Mistakes and How to Avoid Them
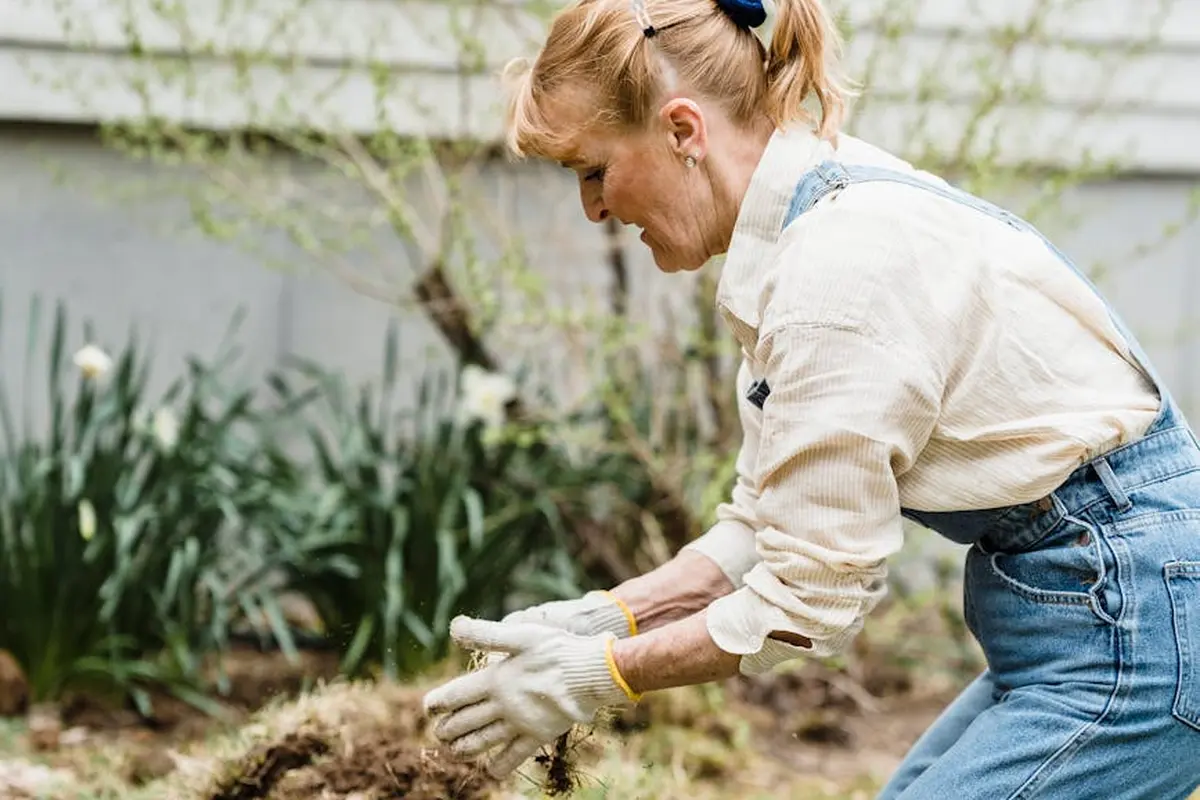
I’ve made some of these myself, usually when I was in a hurry. Learn from my mistakes so your effort pays off.
Aerating at the Wrong Time or in Bad Conditions
The most common error is picking the wrong day. Timing isn’t just about the season; it’s about the soil’s condition under your feet.
The mistake is aerating when the ground is bone-dry or a total mud pit. Dry soil won’t yield good plugs, and wet soil will ruin your lawn’s structure.
The fix is simple. Wait for that ideal “wrung-out sponge” moisture. If you can easily push a screwdriver 3 inches into the soil, you’re good to go. If not, adjust your watering schedule and reschedule.
Can You Aerate a Wet Lawn? (The Straight Answer)
No. Absolutely not. Aerating a wet lawn causes more harm than good. The tines will clog with mud, rip grass roots instead of slicing cleanly, and the weight of the machine can actually press the wet soil into a worse, sheet-like compaction. If it rains the night before your rental appointment, call and reschedule.
Over-Aerating or Using the Wrong Tool
More is not always better. Aerating every month or even twice a season on a healthy lawn is overkill and stresses the grass. Think of it like that search term “can you over aerate a pond.” Yes, you can overdo it in a lawn, too, creating unnecessary recovery work for your grass.
The other big tool error is using a spike aerator (one that just pokes holes) on seriously compacted or clay soil. Those spikes can press the soil sideways, making compaction worse in the areas between the holes.
For most homeowners, core aerating once per year during your grass’s peak growing season is perfect. For severe cases, like a lawn that sees heavy play, twice a year might be needed. Always choose a core aerator that removes plugs of soil.
Skipping the Aftercare Steps
This is the silent mistake. You put in the hard work, the lawn is covered in holes, and then… you just go back inside. Aeration opens the door, but aftercare walks through it. The next steps-like watering, fertilizing, or that overseeding I mentioned-are what actually heal and improve your lawn. The holes won’t do much on their own if you don’t follow up.
What to Do After Aeration for Maximum Benefit
All those fresh holes in your soil are like open invitations for good things to happen. Think of this like the follow-through on a good golf swing. The hard work is done, but what you do next determines your score.
You have a short window, maybe a week, where the soil is most receptive. Here’s how to leverage it.
Top-Dressing: An Optional but Powerful Boost
Top-dressing is spreading a thin layer of material over your lawn. I use a wheelbarrow and a stiff rake. You want just enough to filter down and fill the aeration holes, not smother the grass. Timing matters: top-dressing works best when the lawn is actively growing, usually in spring or fall. Plan your application to coincide with growth and moisture conditions.
The best material is high-quality, screened compost. It should be dark, crumbly, and smell like a forest floor. Avoid anything that looks like mostly wood chips or smells sour.
This simple step does two big jobs at once: it fills those holes with nutrient-rich organic matter and, over time, it gradually improves your entire soil structure. I’ve seen it help areas like Patch, my stubborn shady corner, hold moisture better. Just be sure your compost is organic and chemical-free. You’re feeding the soil life, and that’s what keeps your lawn and the pollinators healthy.
Fertilizing and Overseeding: The Perfect Pair
This is your best chance all year to thicken the lawn. The seed has perfect contact with soil when it falls into an aeration hole. Germination is faster and stronger.
Always use a starter fertilizer when you seed. It’s formulated with more phosphorus to help new roots develop fast. Feed the existing grass roots, too, as they’ll push growth into those new spaces.
For peace of mind with pets and kids, look for a fertilizer clearly labeled as pet-safe fertilizer, and always check the product label for the recommended time before re-entry. I apply the fertilizer first, then overseed right after. I run my spreader over the lawn twice in a crosshatch pattern to get even coverage. Don’t rake it in—let gravity and watering do the work.
Watering After Aeration: The Gentle Soak
This isn’t the time for a quick sprinkle. You need a deep, gentle soak to help the soil settle and to kickstart everything. Think of my drip system, Sunny-slow and steady wins the race.
Water right after you’re done with your other steps. Your goal is to moisten the soil down several inches without creating puddles or washing away seed. If you see runoff, you’re going too fast.
For the next 7-14 days, keep the top inch of soil consistently moist, especially if you overseeded. This usually means watering lightly once or even twice a day if it’s hot and sunny, just until the new grass sprouts. Then, you can switch back to deeper, less frequent watering.
Greedy Grass Aeration FAQ: Your Quick, No-Nonsense Guide
I just moved into a new house. How do I know if the lawn needs aeration?
Welcome! Do the screwdriver test we talked about in the guide-if it won’t sink in, the previous owners probably skipped this vital step. High-traffic areas and spots where water pools are your biggest clues to start.
Is a manual aerator good enough, or do I really need to rent a machine?
Manual tools are fine for a single stubborn patch, but for a whole yard, they’re a back-breaking shortcut. Renting a core aerator is the efficient, homeowner-smart choice to get the job done right without killing your weekend.
How often should I actually aerate my lawn?
For most lawns, once a year during its peak growing season is perfect. If you have heavy clay soil or the kids treat your yard like a sports field, hitting it twice a year might be necessary to keep things loose and greedy.
Those soil plugs left on the lawn look messy. Are they harmful?
Not at all-those plugs are free lawn food! Leave them be; they’ll break down in a few days and recycle nutrients back into the soil. Raking them up is the only real mistake you can make here.
Is overseeding absolutely necessary right after I aerate?
It’s not mandatory, but it is the single best opportunity you’ll get all year to thicken your lawn. Those open holes are perfect seed beds, so skipping overseeding is like leaving money on the table.
Your Lawn After Aeration
The best move you can make is to time aeration for your grass’s active growth season and follow it up with immediate overseeding and feeding. This one-two punch gives your lawn the open door and the raw materials it needs to repair itself and grow thicker.
Remember, a healthy lawn is our shared responsibility—it saves water, supports the life in your soil, and becomes more resilient each year. I’m always learning from my own yard, especially from stubborn old Patch, and I’m rooting for you and your green space. Achieving a healthy and beautiful lawn is a continuous journey.
Relevant Resources for Further Exploration
- Is lawn aeration necessary for a healthy lawn?
- 10 Signs It’s Time To Aerate And Seed Your Lawn
- Why, When and How to Aerate Your Lawn
- Is lawn aeration is necessary? Who can guide me properly? – Quora
Written by Ria Carrington. Ria is an avid lawn care enthusiast and advisor. No lawn is unsalvagable when Ria is at work. She has helped countless homeowners breath new life into their dying lawns. She has a B.Sc in Agriculture and brings practical advice combined with knowledge of plant science and her decade worth of hands on experience.