
How Do You Prepare Your Soil and Lawn for Seeding Success?
Seeing thin spots or bare dirt where grass should be? A successful seeding project starts long before the seed bag is open, with the ground work you do first.
This guide will walk you through understanding your soil with a simple test, clearing away thatch and debris, aerating to let roots breathe, amending soil with targeted nutrients, and choosing the right seeding method for your lawn.
I know this process works because I’ve used it to revive my own lawn, learning what saves time and money through seasons of hands-on care.
At a Glance: What Makes Seeding Stick (Key Takeaways)
You can buy the best seed in the world, but if your ground isn’t ready, you’re just feeding the birds. Success comes down to three things you absolutely cannot skip.
Think of seeding like baking a cake: you need a greased pan (prepared soil), the right ingredients (proper seed), and consistent oven heat (regular water). Miss one step and the whole thing falls flat.
- Perfect Seed-to-Soil Contact: Seed needs to nestle into the dirt, not sit on top of matted thatch or hard clay. It’s the difference between a seed taking root and one that dries out and blows away.
- Correct Seasonal Timing: Planting when the grass naturally wants to grow is everything. It’s the cheat code that gives young seedlings a fighting chance against heat, cold, and weeds.
- Grass Suited to Your Sun and Soil: Trying to grow a sun-loving grass in deep shade is a recipe for Patch, my stubborn weedy corner, to take over. Match the plant to the place.
First Things First: Picking Your Grass and Timing It Right
Let’s tackle the big question I see every season. Should you plant in spring or fall? The answer depends entirely on what type of grass you’re growing.
For cool-season grasses like Kentucky bluegrass, fescue, and perennial ryegrass, early fall is king. The soil is still warm from summer, which encourages germination, but the air is cooling down, which young seedlings love. There’s also less competition from weeds. Spring seeding is possible but trickier, as the baby grass has to survive the summer heat.
For warm-season grasses like Bermudagrass, Zoysia, and St. Augustine, late spring into early summer is your window. These grasses need warm soil to wake up and grow.
Picking the right seed is where many go wrong. Don’t just grab the cheapest bag. Cheap seed is often filled with “filler” annual grasses or weeds that green up fast but die off in a year, leaving you with bare spots again. Look for a tag with 0.00% weed seed and a high percentage of pure seed.
Choose based on your lawn’s personality:
- Sunny & Hot Lawns: Look for drought-tolerant varieties like turf-type tall fescue or Kentucky bluegrass blends.
- Shady & Damp Spots: Fine fescues are your best friend here. They tolerate lower light and don’t need as much water.
- High-Traffic Areas: Perennial ryegrass germinates fast and is tough, making it great for play areas or mixing into a blend for durability.
If you’re up in Ontario or anywhere with specific local conditions, don’t guess. Your local university extension office has free guides on the best varieties for “soil preparation for lawn grass in Ontario” and your exact region. It’s the smartest five minutes of research you’ll do.
Finally, should you seed or sod? For large, bare areas (over a few hundred square feet), seeding is far more budget-friendly but requires patience and careful watering. Sod gives you an instant lawn but costs more and needs just as much prep work underneath. For fixing small patches and thinning areas, seeding is almost always the way to go. When deciding, the cost, time to establish, and overall effort of grass seed versus sod should guide your choice. We’ll compare these factors in the next steps to help you decide.
Your Prep Toolkit: What You Need to Get Started

Think of this like getting your ingredients and pans ready before you cook a big meal. Having the right stuff on hand makes the whole job smoother.
For the tools, you do not need anything fancy. Here is the basic list:
- A sturdy garden rake (the metal bow kind, not a leaf rake).
- A core aerator. You can rent one from a hardware store for an afternoon, which is what I usually do.
- A spreader for your seed and fertilizer. A simple broadcast spreader works great.
- A garden hose with a gentle spray head or a sprinkler you can set to a fine mist.
For the materials, you will need:
- Your grass seed. Pick a type suited for your sun and traffic.
- Starter fertilizer. I look for an organic one that is safe for pets and pollinators once it’s watered in.
- A few bags of compost or topsoil. This is optional but acts like a welcome mat for new seeds.
- Lime or sulfur. Only get this after a soil test tells you to.
Always check your seed mix to ensure it does not contain invasive species that can crowd out native plants beneficial to pollinators. A little research here goes a long way. As for Max, my trusty mower, if you have a dethatching blade attachment, he can help tidy up a thick thatch layer. For most lawns, though, a good raking or core aeration is all you need.
Step 1: Get to Know Your Dirt (Soil Testing and Amendments)
You would not build a house on a shaky foundation. Your soil is the foundation for your lawn. Skipping this step is like hoping for the best, and in my experience, hope is not a great lawn care strategy.
Start by testing your soil’s pH and nutrient levels. You can grab a simple home test kit from any garden center. For a more detailed report, your local cooperative extension office will test a sample you mail in for a small fee. It is worth it.
While you wait for results, get a feel for your soil type. Grab a handful, dampen it, and squeeze.
If it falls apart and feels gritty, that is sandy soil. It drains water like a kitchen sieve, fast and completely.
If it forms a slick, dense ball, that is clay soil. It holds water like a soaked sponge, staying wet and sticky for days.
The ideal is loam. It holds together loosely, feels crumbly, and drains well but retains some moisture. It is the “just right” middle ground.
If your ground feels hard as a sidewalk, that is compaction, and you need to loosen soil for grass seed to take root. This is where a core aerator becomes your best friend. That machine pulls out small plugs of soil, creating air pockets. It is the single best thing you can do for tired, hard dirt. I do my whole yard, including Patch’s shady corner, every other fall.
Your soil test will tell you exactly what to add. The general rule is to add compost. It improves drainage in clay and helps sandy soil hold moisture. If your pH is off, you will add lime to raise it (sweeten acidic soil) or sulfur to lower it. The key is to work these amendments into the top 3 to 4 inches of soil with your rake after you aerate.
What Your Soil Test Results Really Mean
Do not let the numbers intimidate you. For most common grasses, you want a pH between 6.0 and 7.0.
If your pH is below 6.0, your soil is too acidic. Grass struggles to absorb nutrients. The fix is to apply pelletized lime according to your test’s recommendation.
If your pH is above 7.5, your soil is too alkaline. The fix here is to apply granular sulfur. You simply spread either amendment and lightly rake it in.
These amendments work slowly, so do not expect overnight change, but they create the right environment for your seed to thrive for years.
Fixing Common Soil Problems
For heavy clay soil, your mission is to open it up. Core aeration creates those vital holes. Then, spreading and raking in about a half-inch layer of compost fills those holes with something better. The compost breaks up the clay clumps, letting roots breathe and water drain through instead of pooling on the surface.
For sandy soil, your mission is to give it some substance. That same half-inch layer of compost acts like a sponge mixed into the sand. It holds moisture and nutrients right where your new grass seeds need them, instead of letting everything wash straight down beyond the roots. This is especially helpful in areas where irrigation might not be frequent or consistent.
This whole process is the real answer to soil preparation for lawn success. It is not glamorous work, but getting your dirt right makes every single step that comes next easier and more effective. This is also about improving and amending compacted lawn soil so roots can breathe. Tackling that now makes the rest of your lawn care steps smoother.
Step 2: Clear the Canvas (Weed Control and Surface Preparation)
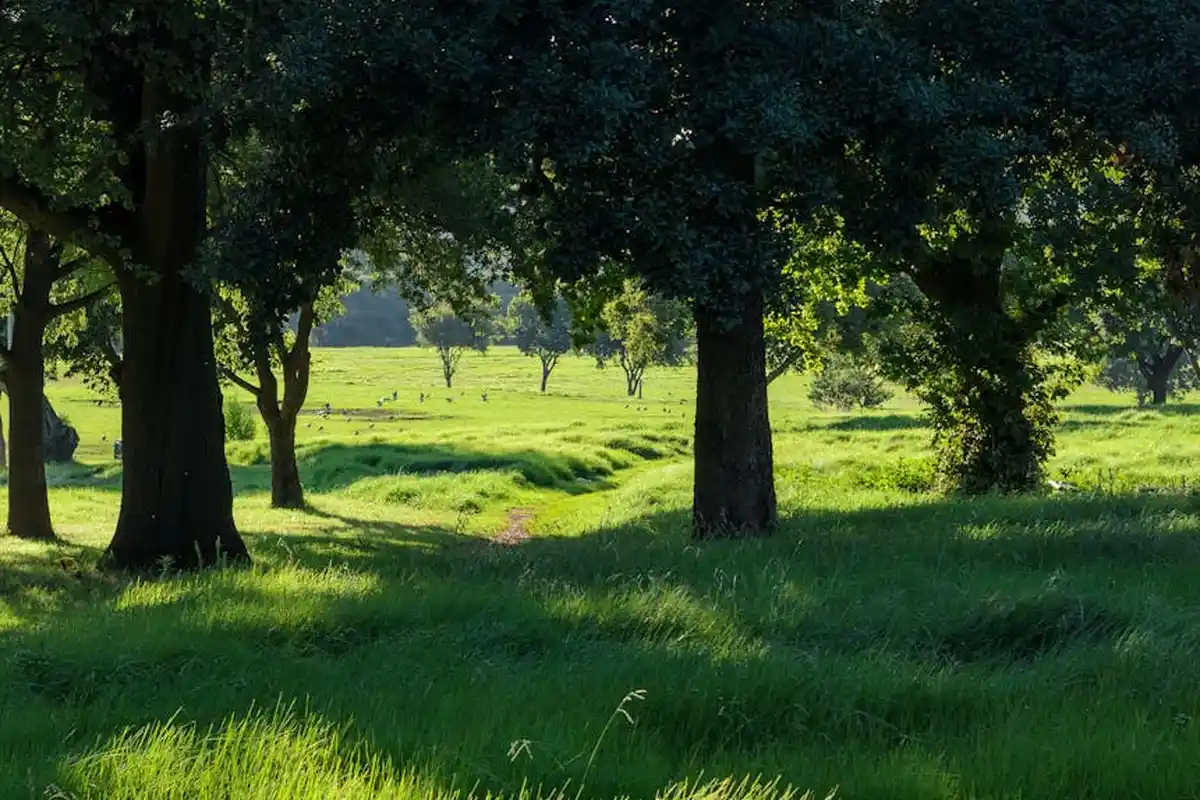
Think of your lawn right now as a canvas. You can’t paint a masterpiece on top of old, peeling paint and grime. Your first job is to clear away the competition so your new grass seeds have all the light, water, and space to themselves. Make sure you choose the right grass seed for your lawn project.
You have a few good options, and your choice depends on your lawn’s personality.
- Hand-pulling: For small areas or scattered weeds, get your gloves on. A dandelion digger or a simple garden knife helps get the whole root. I find it satisfying, like solving tiny lawn puzzles.
- Natural spray: For patches of weeds in a driveway crack or along a fence, a strong vinegar (20-30% acetic acid) spray can work. It’s a contact burn-down. It won’t kill roots deep down, so you might need a follow-up, but it’s pet-safe once dry.
- Smothering: For a larger, weedy patch where you’re starting mostly fresh, cardboard is your friend. Lay it down, wet it, and cover it with a thin layer of soil or compost. It blocks light and kills existing growth as it breaks down.
Now, prepping the surface itself is different for an existing thin lawn versus bare dirt.
For an existing lawn you’re thickening up (overseeding): You need to get seed-to-soil contact. Mow your grass as short as your mower allows. This is called scalping. Then, take a stiff rake and really go to town, scratching out thatch and dead material to expose bare soil between your existing grass plants. It looks harsh for a week, but it’s necessary.
For bare dirt or a totally new area: Your goal is to break up any crust. That hard top layer is like a roof that seedlings can’t punch through. Use a garden rake or a stiff-tined bow rake to loosen the top half-inch to an inch of soil. You want a loose, crumbly bed, not fine powder.
In my shady “Patch,” I’ve learned to be more patient. I hand-pull weeds slowly over a few days to avoid disturbing the few good blades of fescue that survive there. Sometimes, gentle persistence beats a single aggressive assault.
The Gentle Way to Deal with Weeds
I always choose manual or natural weed removal right before seeding. Here’s why.
Pulling weeds by hand or using a natural herbicide keeps the area safe for pets who love to explore and for the bees that might visit nearby flowers. Harsh chemical herbicides can leave residues in the soil that linger. Those residues don’t just vanish; they can stunt or even kill your delicate new grass seedlings as they try to sprout. You’ve gone to all this trouble to create a healthy lawn. Starting it off in a chemically stressed bed just doesn’t make sense, especially if you’re conscious about pet-friendly lawn care.
Step 3: Seed, Feed, and Succeed (The Actual Seeding Process)
This is the fun part. Your canvas is clear. Now let’s create something.
Follow these steps in order for the best shot at success.
- Final Loosen: Go over your prepped area one more time with your rake. Fluff up that top 1/2 inch of soil. It should look soft and ready.
- Spread Seed: Use a broadcast spreader for large areas or your hand for small patches. The goal is an even sprinkle. Walk in one direction, then criss-cross in the other to avoid stripes. Check the seed bag for the recommended rate-don’t just guess.
- Rake It In: Lightly drag the back of your rake over the seeded area. You’re not burying the seeds, just nestling them into the loose soil so they’re barely covered.
- Tamp Down: This is the secret. Walk over the area, use a lawn roller (empty), or even gently pat it with the back of a shovel. Good seed-to-soil contact is what triggers germination.
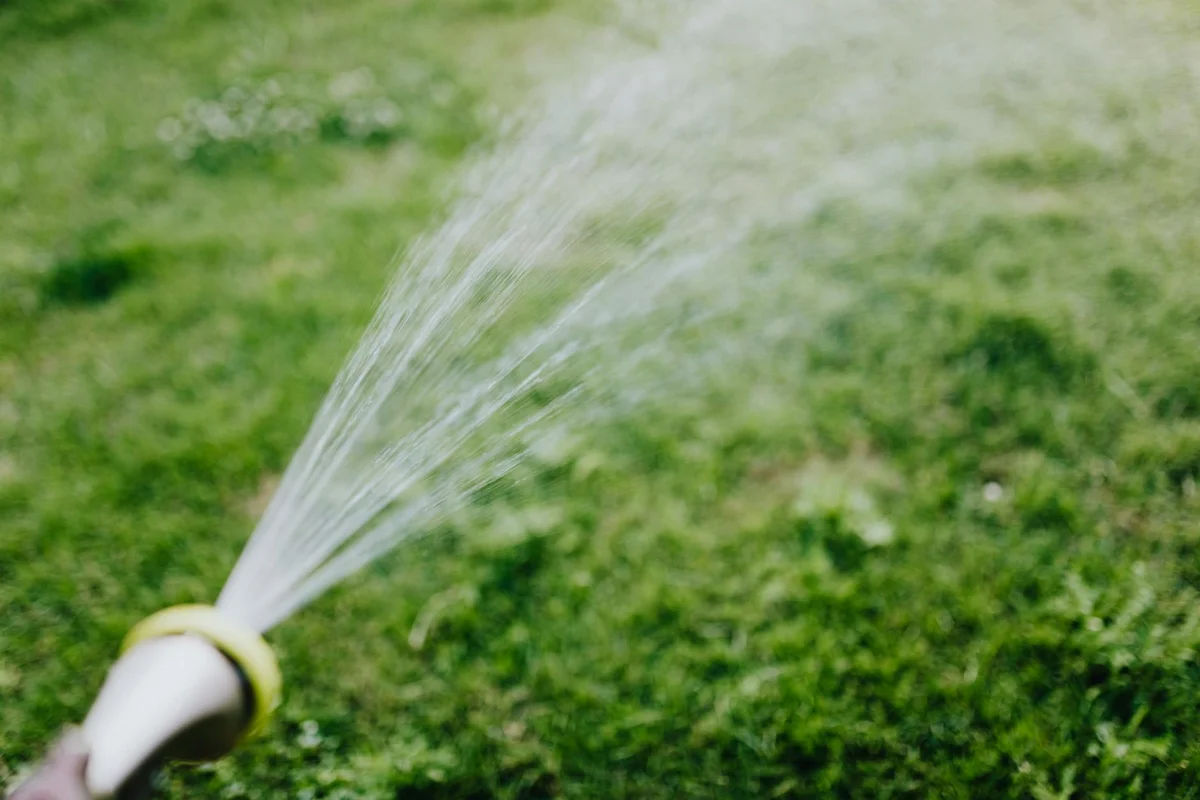
Now, water is everything. You must keep the top inch of soil consistently damp, like a wrung-out sponge. If it dries out, the seeds die. If you flood it, you wash seeds into piles.
I use my drip system, Sunny, on a gentle cycle for this job because the slow seepage doesn’t disturb the seedbed. If you’re using a sprinkler, set it to a fine mist. A hose with a gentle spray nozzle works, too. The key is gentle and frequent.
Feeding gives your seeds a running start. Apply a starter fertilizer right after seeding. Look for one labeled as a “starter”-it’s higher in phosphorus, which helps roots develop. And please, opt for a pet-safe formula. Your furry lawn inspectors will thank you.
How can you tell if you seeded too heavily? It’s obvious. You’ll see thick clumps of seed sitting on top of each other like a pile. Those clumps can mold, and the seedlings will fight each other, leading to weak, spindly grass. What you want is a light, even dusting where you can still see soil between the seeds. Understanding the grass seed’s spreading characteristics is crucial for lawn establishment. With even distribution, germination is uniform and the lawn fills in more smoothly.
Keeping Your New Seed Happy
Your job isn’t done once the seed is down. Think of yourself as a nursery attendant for the next few weeks.
Water lightly 2 to 3 times a day to keep that surface damp. Early morning and late afternoon are best. Once you see a carpet of green sprouts (germination), you can shift. Start watering deeper but less often to encourage those new roots to chase water down into the soil.
The first mow is a milestone. Wait until the new grass is about 3 inches tall. Make sure your mower blade is sharp-a dull blade shreds tender seedlings. Then, mow high. Only cut the top 1/3 of the grass blade off, leaving it around 2 inches tall. This keeps the young plants strong and shades the soil. That first pass with Max over the new area feels like a real victory. On a newly seeded lawn, the first mow is a crucial milestone. Getting that first cut right helps the turf establish quickly.
Pitfalls to Avoid: Common Seeding Mistakes and Fixes
Even with the best plans, small missteps can trip you up. I’ve made most of these myself. The goal isn’t perfection, it’s awareness. Here’s what to watch for and how to bounce back.
Seeding on Top of Thatch
Thatch is that spongy, crunchy layer between green grass and soil. It’s normal, but too much acts like a thatched roof, blocking seed from the soil it needs. Your expensive seed just sits there, then dries out or gets eaten.
The fix is simple: never skip the core aeration or dethatching step if your lawn needs it. If you already seeded on thick thatch, you’ll have very poor germination. Gently rake the area to try and work some seed down, and be prepared to overseed again in a few weeks after you’ve properly opened up the soil.
Watering Too Hard and Washing Seeds Away
This is the most common panic move. You see dry soil and blast it with a jet stream from your hose. This creates tiny rivers that carry all your seeds into piles in low spots or onto your sidewalk.
Your sprinkler should mimic a gentle spring rain, not a pressure washer. If you see seeds have washed into a pile, don’t hose them away. Let the area dry just a bit, then use a leaf rake turned upside down (the back of the tines) to gently drag and redistribute the seeds over the bare soil.
Using Old or Bad Seed
That half-used bag from two years ago in the back of the garage is a gamble. Seed viability drops each year. You might be spreading mostly dead, empty hulls.
Always buy fresh, quality seed each season and check the label for a recent test date. If you’re unsure about old seed, a quick test is to place a few seeds between damp paper towels. If less than half sprout in a week, toss the bag. It’s cheaper to buy new seed than to waste your weekend spreading nothing.
Mowing the New Grass Too Soon
It’s tempting to get out there and tidy up. But new grass seedlings are incredibly tender. Mowing too early rips them right out of the ground.
Wait until the new grass is at least one-third taller than your desired mowing height before that first cut. For most grasses, that’s about 3 to 4 inches tall. Use a sharp mower blade (dull ones tear) and never take off more than the top third of the grass blade. Be patient with Patch, my shady problem area, it always needs an extra week. Keeping the cutting height steady aids healing. A sharp blade minimizes tissue damage and helps the turf recover faster.
Managing the Cost of Prep Work
I see searches about “lawn soil preparation cost” all the time. Hiring a crew with a big tiller and truckloads of topsoil is one way. The DIY way saves you the most.
Renting a core aerator for an afternoon is far cheaper than a landscaping service, and bulk compost from a local yard is a fraction of the cost of bagged products. A single cubic yard of compost, which you can often have delivered, covers a much larger area than a mountain of plastic bags. The work is yours, but the savings and the satisfaction stay with you.
Made a mistake? Don’t stress. Lawns are remarkably forgiving, and grass wants to grow. If an area fails, you can lightly rake it, add a thin layer of compost, and re-seed in as little as three to four weeks. Each season is a chance to learn something new.
Got Questions? I’ve Got Answers (Your Seeding FAQ)
1. What’s the single most important step for soil preparation for lawn seed?
Creating perfect seed-to-soil contact is non-negotiable. That means clearing away thatch and loosening the top layer of dirt so your seed can nestle in, not just sit on top where it will dry out or get eaten.
2. I’m in Ontario. What’s special about soil preparation for lawn grass here?
Our freeze-thaw cycles can wreak havoc, making core aeration in the fall critical to relieve compaction. Always test your soil’s pH first; many Ontario soils are acidic and need a sprinkle of lime to sweeten them up for grass.
3. Is it worth the cost to hire out my lawn soil preparation?
You can save a significant chunk of change by doing the core work yourself. Renting an aerator for an afternoon and buying compost in bulk is far cheaper than a full-service landscaper, and the results are just as greedy for growth.
4. Can I just throw seed on my existing lawn to thicken it?
Only if you prep first! Mow short and aggressively rake to scalp the lawn and expose bare soil between grass blades. Seed thrown on top of thatch is just expensive bird food.
5. How do I protect my newly seeded lawn from birds and washing away?
A light raking and tamping down after seeding hides it from birds and anchors it against rain. Then, water with a gentle mist-a hard blast from the hose will create seed rivers right off your property.
Your Lawn’s Fresh Start
Get your soil tested first; that simple report tells you exactly what to add so your money and effort aren’t wasted. Then, make sure you have good seed-to-soil contact by raking or aerating, because grass seed can’t grow on top of thatch or compacted ground. When you plant, get the planting depth right for your grass seed. Also, prepare the soil so it’s ready for optimal germination.
Always lean toward pet-safe products and consider leaving a few flowering weeds for bees and butterflies. I’ve picked up new tricks every season from my time with Max and Patch, and you’ll build your own confidence with each passing year.
Related Guides and Information
- Preparing a Lawn for the Planting of Grass Seed. – Mike’s Backyard Nursery
- How to prepare bare, compacted soil/dirt for seeding | Lawn Care Forum
- FS584: Seeding Your Lawn (Rutgers NJAES)
- How To Seed a Lawn – This Old House
- Preparing Lawn Soil and Site | Lawns | Illinois Extension | UIUC
- How to Prepare Soil for Lawn Seed | Jonathan Green
Written by Ria Carrington. Ria is an avid lawn care enthusiast and advisor. No lawn is unsalvagable when Ria is at work. She has helped countless homeowners breath new life into their dying lawns. She has a B.Sc in Agriculture and brings practical advice combined with knowledge of plant science and her decade worth of hands on experience.