
Is Clover Taking Over Your Lawn? Here’s Your Game Plan.
You’re not alone if those little green leaves and white flowers have you worried about your grass. Clover is a common visitor, and managing it is simpler than you might think.
We will cover why clover moves in, how to remove it by hand or with pet-safe sprays, and the smart lawn care habits that keep it from coming back.
I’ve spent plenty of weekends dealing with Patch, my own stubborn clover spot, and I know what actually works for a healthy, thick lawn.
At a Glance: Key Takeaways for Your Clover Situation
Let’s cut to the chase. Clover in your lawn isn’t a personal insult, it’s a message. Here are the big ideas to keep in mind before you choose your battle plan.
- Clover is a symptom, not the disease. It moves into lawns that are struggling, often where the grass is thin, the soil is compacted, or nutrients are out of balance.
- Eradication is a marathon, not a sprint. You might kill visible clover today, but new seeds can germinate for years if the underlying lawn issues aren’t fixed.
- Your strongest weapon is a competitive lawn. Thick, vigorous grass is the best natural defense because it simply doesn’t leave room for clover to take root.
- Your effort today dictates your effort tomorrow. A quick spray with herbicide offers immediate relief, but the problem often returns. Changing how you care for your lawn builds lasting resilience.
- Your end goal is everything. The strategy for a pristine, uniform turf is different from one for a low-maintenance, pollinator-friendly yard.
Think of it this way. Reaching for a spray bottle is like fixing a leaky pipe with duct tape. It works for a bit. Adjusting your mowing, watering, and feeding is like replacing the pipe. It takes more upfront work, but you won’t be back here next season. I learned this the hard way with Patch, my shady problem corner. Quick fixes never lasted.
First, Know Your “Guest”: What Type of Clover Moved In?
Identifying your clover is step one. It tells you how it will grow and how stubborn it might be. For home lawns, you’re almost certainly dealing with one of two common types.
White Clover is the most frequent uninvited guest in my yard, especially in Patch. You’ll recognize it by its classic three-leaf clusters and small, white, ball-shaped flowers. It grows low, often weaving its stems through grass blades to form a dense mat. This one loves soil that’s low in nitrogen.
Red Clover stands taller and prouder, usually poking up above the grass in thin or bare spots. Look for larger, oval leaves and fuzzy, pink to purple flower heads. It’s a biennial, meaning it lives for two years, so you might see it pop up in areas where you recently disturbed the soil.
You might hear about Yellow Clover or Crimson Clover, but in a regularly mowed residential lawn, they are far less common. For now, focus on the white and red. Knowing which one you have helps you understand what your lawn is telling you it needs.
Are Clovers Good for Your Lawn? The Honest Neighborly Take
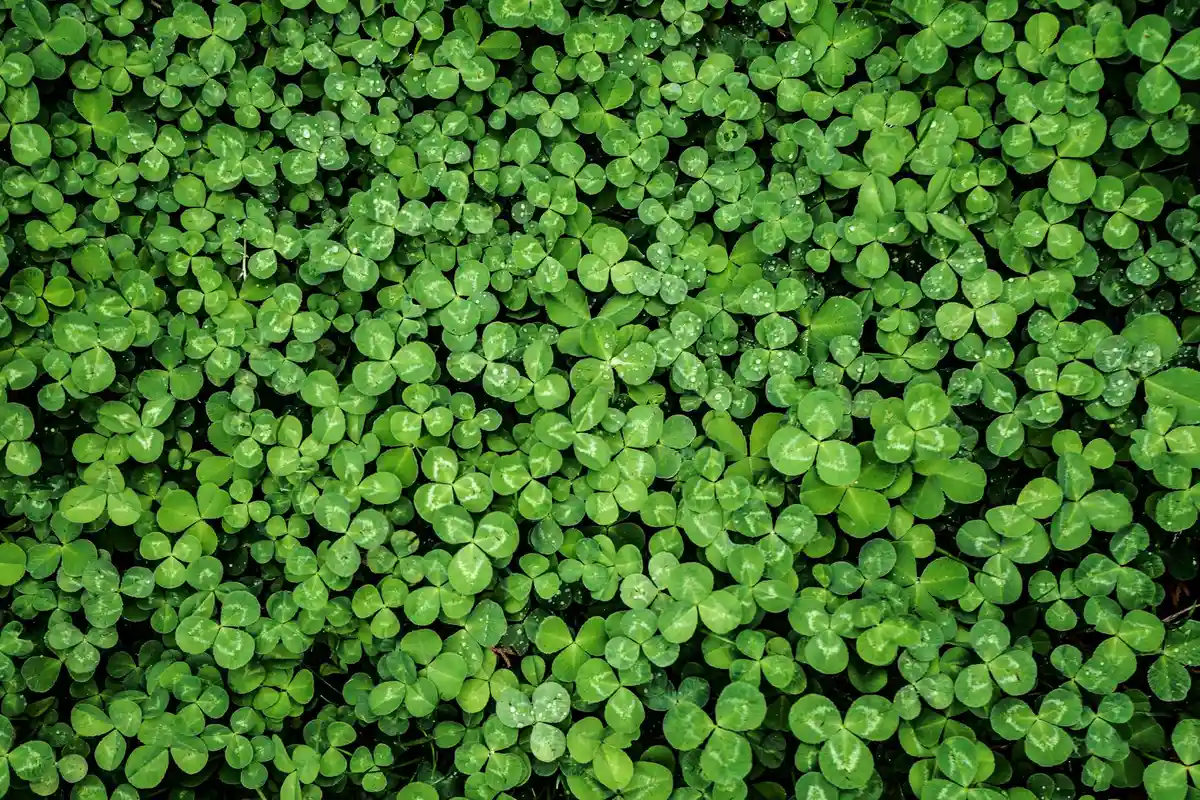
Let’s talk about clover without the drama. Some folks see a weed to be nuked. Others see a green gift. The truth is, it’s a little of both, and where you land depends on what you want from your yard.
The Good Stuff: What Clover Brings to the Party
Clover isn’t just a freeloader. It earns its keep in a few smart ways.
Its superpower is called nitrogen fixation. Basically, it pulls nitrogen from the air and stores it in little nodes on its roots. When the clover dies or you mow it, that nitrogen gets released into the soil. Think of it as a tiny, free, slow-release fertilizer service for the grass around it.
It’s also incredibly tough when the weather turns nasty. While your grass might go brown and crispy in a summer drought, clover often stays stubbornly green. Its deep taproot finds water that grass roots can’t reach.
And let’s not forget the bees. Those white or pink flowers are a prime food source. If you’re trying to be more pollinator-friendly, a little clover is a big gesture. The gentle buzz on a sunny afternoon has its own charm.
The Not-So-Good: Why Clover Drives People Nuts
For all its benefits, clover has habits that frustrate homeowners.
First is the look. A uniform, deep green lawn is the goal for many. Clover’s lighter green color and round leaflets create a patchy, spotty appearance. It breaks the “carpet” look.
Then there’s its ambition. Clover spreads by seed and by creeping stems (stolons) that root as they go. If you ignore it, a few patches can quietly take over thin or struggling areas of your lawn in a single season.
Finally, the feel. A thick patch of clover has a soft, almost spongy texture underfoot. Some people don’t mind it, but if you enjoy the firm, crisp feel of a dense grass stand, clover changes that experience.
My Take: The Signpost, Not the Destination
Here’s where I stand after years of weekends with Max the mower and troubleshooting Patch’s shady corner.
I don’t wage total war on clover. A few patches here and there? I let them be. They’re a helpful ally, feeding the grass and staying green when it’s hot. But I don’t let it become the main event.
For me, clover is a signpost. It points directly to areas where your grass is weak and struggling to compete. It fills in where grass is thin due to low nitrogen, poor soil, compaction, or shade. So instead of just killing the clover, I see it as a cue to fix the real problem.
My personal rule is to manage its spread. If it starts moving aggressively into healthy turf, I take action. A perfect lawn is grass, but a healthy, resilient yard can have a few helpful guests. Tolerate a little, understand what it’s telling you, and manage it before it manages you.
Do You Have to Mow a Clover Lawn?
Yes, you still need to mow it. I know, it feels weird the first time you run Max over those soft, white flowers. But the rules for when and how high you cut change completely depending on your goal.
The Mixed Lawn Strategy: Keep It Happy and Flowering Low
If you’re okay with some clover mixed in your grass, your mowing goal is simple. You want to enjoy its benefits without letting it get tall and leggy. The sweet spot is keeping your lawn between 3 and 3.5 inches tall.
Mowing at this height lets the grass blades shade the soil lightly, which helps retain moisture, while keeping the clover low enough that its flowers stay below the cutting line. This means the bees can still visit, but the clover doesn’t go to seed aggressively or look unkempt. You get a thick, green carpet that feels lush underfoot.
The Grass-Only Strategy: Starve It Out with Shade
If clover is your opponent in Patch’s corner of the yard, your mowing tactic becomes a powerful weapon. Here, you want your grass to be the superstar.
Set your mower deck to cut at 4 inches, or even a touch higher if your grass type allows it. Tall, healthy grass acts like a living canopy. It blocks the sunlight clover needs to thrive. To tailor this further, consider adjusting your lawn mower cutting height. A few small height tweaks can influence grass vigor and how much sunlight reaches the soil.
By mowing high and consistently, you encourage deep grass roots and create a dense shade that slowly suffocates the existing clover and prevents new seeds from taking hold. It’s a slow, natural squeeze play, not a quick fix. This is the most effective thing you can do from the driver’s seat of your mower.
A Quick Word on Grass Types
Your ideal “tall” height depends on your grass:
- Cool-Season Grasses (like Fescue, Kentucky Bluegrass): These can handle 3.5 to 4 inches easily.
- Warm-Season Grasses (like Bermuda, Zoysia): Keep these at the very top of their recommended range. For Bermuda, that might mean 2.5 inches instead of 1.5.
That’s why mowing height should be tailored to the grass type you have. Recognizing the differences between cool- and warm-season grasses helps you set the right mowing height for your lawn, and understanding the ideal mowing height by grass type can further guide your practice. The principle is the same: more grass blade equals more shade.
Now, a pure clover lawn is a different beast entirely. It involves a whole other set of rules about irrigation (hello, Sunny) and traffic tolerance. That’s a conversation for another sunny afternoon.
How Do I Get Rid of Clover in My Lawn? The Action Plan
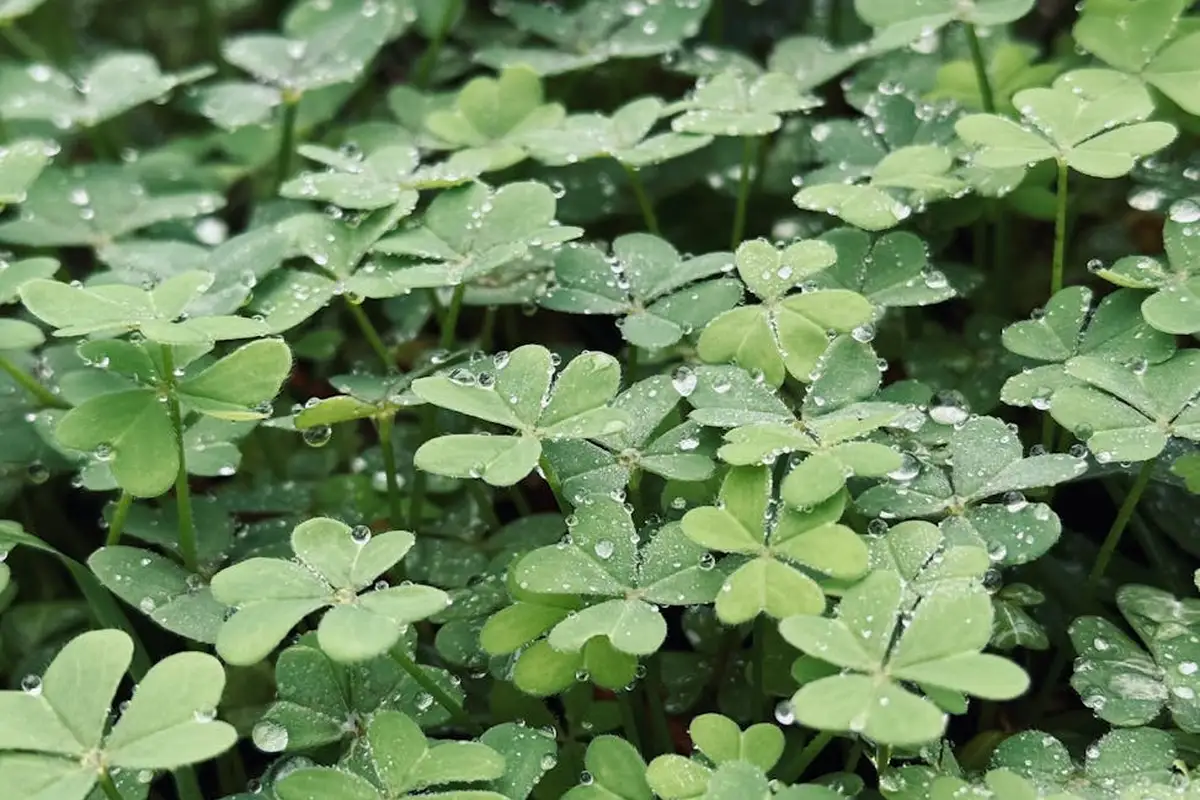
Getting rid of clover comes down to a simple choice. Do you want a quick fix, or a lasting solution? The quick fix kills what’s there now. The lasting solution changes the conditions so clover can’t come back. My advice? Do both. Tackle the existing plants, then fix your lawn. I learned this the hard way with Patch, my own weedy corner.
The Hands-On Approach: Manual Removal
For a small, defined patch, nothing beats getting your hands dirty. It’s immediate and chemical-free. You need the right tool. Forget a short dandelion digger. You want a long-handled, forked weeder. The forked tip slips around the clover stem and deep taproot perfectly.
Here’s how you do it:
- Water the clover patch the night before. You want the soil damp, not muddy.
- Push the forked tip deep into the soil right next to the main plant cluster.
- Lever the handle back to loosen the soil and pop the root system free.
- Gently pull the plant, checking that the long, white taproot comes out whole.
This method works beautifully for a few dinner-plate-sized patches, especially if you’re focusing on organic care. You’ll feel a crisp snap when a piece of root breaks, and you know it might regrow. It’s satisfying work, but it’s a slow, losing battle against a lawn that’s half clover. For that scale, you need a different plan.
Clover Control Spray: What’s in the Bottle?
When you have more clover than grass, a spray is the practical choice. You’re looking for a “selective broadleaf herbicide.” That’s a fancy term for a weed killer that targets plants like clover and dandelions but leaves your grass alone (if used correctly).
The common ingredients are a team of chemicals with letters for names: 2,4-D, Dicamba, and MCPP. They work together. One might be great on dandelions, another on clover. Combined, they cover more weeds. They work by mimicking plant growth hormones, causing the weed to grow itself to death in a matter of days.
For pet safety, timing is everything. Always spray on a calm, dry day, let the treatment dry completely on the leaves, and keep pets off the lawn until it is fully dry. I wait until Sunny (my drip system) won’t run for at least 48 hours after spraying.
Protect pollinators by spot-spraying only the clover patches instead of blanketing the whole yard. Bees love clover flowers, so if the clover is blooming, consider mowing the flowers off first, waiting a day, then spraying the leaves. This limits exposure while still getting control.
Natural and Homemade Remedies: Do They Work?
You’ll see many suggestions for DIY weed killers. Let’s be honest about what they do.
- Vinegar or Soap Solutions: These are non-selective. They burn the leaf tissue of anything they touch-clover, grass, everything. They can also harm the life in your soil. They work as a very temporary spot treatment on a driveway crack, not in a living lawn.
- Corn Gluten Meal: This is a natural pre-emergent. It doesn’t kill existing clover. It can help prevent new clover seeds from sprouting if applied at the right time in early spring. It’s also a mild fertilizer.
I only advocate for these natural methods in one scenario: if you are fully committed to an organic lawn and are willing to manage very small, recurring patches by hand. For most homeowners seeing widespread clover, these remedies are a frustrating detour. Here’s a quick look at the trade-offs:
| Method | Best For | Big Limitation |
|---|---|---|
| Vinegar Spray | Killing weeds in sidewalk cracks | Kills grass, too; effect is superficial |
| Hand Pulling | Small, isolated patches | Impractical for large areas |
| Corn Gluten Meal | Preventing new weeds in spring | Does nothing to existing plants |
How to Stop Clover From Coming Back: Build a Stronger Lawn
Killing clover is just the first step. If you don’t change the conditions that invited it, you’ll be right back here next season. This is the real, permanent fix. This is where Max the mower and Sunny the irrigation system do their best work, building a lawn so thick and vigorous that clover can’t get a foothold.
Test and Feed Your Soil (It’s Hungry)
Clover moves into lawns that are low on nitrogen. Think of nitrogen as your lawn’s main course. If your grass is hungry, it gets thin and weak. Clover, on the other hand, brings its own sandwich. It pulls nitrogen from the air and feeds itself, which is why it stays green when your grass looks sad.
The only way to know what your soil needs is to test it. A simple home test kit from the garden center works fine. You’re looking for the result for Nitrogen (N). If it’s low or very low, that’s your open invitation for clover.
Here’s a simple guide to reading and acting on your test:
- Low Nitrogen: Your lawn is starving. You need to start a feeding schedule.
- Balanced Nitrogen: Keep doing what you’re doing, but stick to a schedule to prevent a drop.
- High Nitrogen: Ease up. Too much can burn the grass and pollute waterways.
Feed your lawn with a balanced, slow-release fertilizer. Slow-release feeds the grass steadily over weeks, avoiding a big burst of growth that can weaken it. For cool-season grasses like Tall Fescue and Kentucky Bluegrass, I feed in early fall and again in late spring. That fall feeding is the most important one for building strong roots.
Mow Smarter, Not Just Shorter
Cutting your grass too short is one of the biggest mistakes you can make. It stresses the plants, letting sunlight hit the soil and warm up weed seeds. You want to mow at the ideal height for your grass type, which encourages it to grow thick and shade the ground. Just make sure your blade is sharp and set at the correct height.
- Tall Fescue: Set Max’s deck to 3.5 to 4 inches high.
- Kentucky Bluegrass: Aim for 2.5 to 3.5 inches.
Keep your mower blades sharp. A dull blade tears the grass, leaving ragged, brown tips that stress the plant and open the door for disease and weeds. I sharpen mine at least twice a season; the crisp, clean cut makes a visible difference. For best results, balance the lawn mower blade as you sharpen. A balanced, sharp blade makes cleaner cuts and reduces vibration.
Always follow the “One-Third Rule.” Never cut off more than one-third of the grass blade height in a single mowing. If your grass is 4 inches tall, mow it down to no shorter than about 2.7 inches. This prevents shock and keeps your lawn dense, which is your best defense. For a broader view, lawn mowing grass cutting techniques cover blade sharpness and mowing frequency. Implementing these can further improve turf density.
Water Deeply and Infrequently
How you water determines how your roots grow. Light, daily sprinkles are a recipe for clover. They encourage grass roots to stay lazy and shallow right at the surface, where they dry out fast. Clover loves those conditions.
Deep, infrequent watering trains grass roots to grow down into the soil, searching for moisture. This makes your lawn resilient to drought and heat. My Sunny drip system is set for this exact purpose, as it aligns with the best lawn watering methods.
The simplest guide is this: aim for one inch of water, once a week. You can measure this by placing an empty tuna can on your lawn while you water. When the can is full, you’re done. Do this in the early morning to reduce water lost to evaporation.
Overseed to Fill the Gaps
This is your final knockout punch. After you’ve corrected the soil, mowing, and watering, you need to fill in any thin or bare spots where clover could return. Overseeding is simply spreading new grass seed over your existing lawn.
A thick, lush lawn leaves no physical room for clover seeds to sprout and take root. The best time to overseed cool-season grasses is early fall, when the soil is still warm but the air is cooler.
The process is straightforward:
- Mow Low: Cut your existing grass shorter than normal, down to about 2 inches.
- Rake: Rough up the soil surface to give the new seeds good contact. A stiff garden rake works fine.
- Seed: Use a sun/shade-appropriate mix. For mostly sunny areas, a Tall Fescue blend is tough. For spots like Patch, my shady corner, use a mix labeled for shade.
- Water: Keep the seeded area consistently damp (not soggy) for the first two weeks until the new grass is established.
Common Mistakes and How to Avoid Them

We’ve all been there. You see the clover, you get the spray, and you think the battle is won. A few weeks later, it’s back, maybe even thicker. I’ve made these mistakes in my own yard, especially in that spot I call Patch. The key isn’t just killing what you see. It’s stopping it from ever wanting to come back.
Mistake 1: Mowing Too Short
This is the number one invitation for clover. When you scalp your lawn, you’re cutting off the grass’s food factory-its leaf blades. The grass gets stressed and thin. Clover, with its low-growing leaves, suddenly has all the sunlight it could ever want. It’s like rolling out a green carpet just for it.
Set your mower, like my old reliable Max, to its highest setting-usually between 3 and 4 inches for cool-season grasses. Taller grass shades the soil, making it hard for clover seeds to germinate. It also develops deeper roots. That’s your best defense. A quick check? Use a ruler. If your grass is shorter than your thumb, you’re mowing too low.
Mistake 2: Overusing Quick-Release Fertilizer
This is like feeding your lawn junk food. You get a huge, green rush of growth, followed by a crash. That weak, hungry lawn is exactly what clover waits for. Clover makes its own nitrogen, so when your grass is starving after the fertilizer wears off, clover just keeps on thriving without any help from you.
Switch to a slow-release, organic-based fertilizer that feeds your lawn steadily over months, not days. It builds soil health, which builds grass strength. Your first step should always be a simple soil test. It tells you exactly what your lawn needs, so you don’t waste money or create a problem. Healthy soil grows grass that can outcompete clover naturally.
Mistake 3: Spraying and Walking Away
Killing the clover you see is just a temporary fix, a cosmetic solution. If your soil is compacted, acidic, or low in nutrients, clover will return. It’s not the problem. It’s a symptom. I learned this with Patch. Every time I sprayed, it came back because I never fixed the dirt underneath.
Use clover as your free, natural soil test. Its presence is a signal that your soil needs help. After you spray, you must follow up. Core aerate to relieve compaction. Apply lime if your soil test shows it’s too acidic. Add compost to improve soil life. This is the real, long-term work that leads to a thick lawn.
Mistake 4: Watering Every Evening
Frequent, shallow watering creates a damp paradise at the soil surface-perfect for clover and fungal diseases. It also teaches your grass to be lazy, keeping its roots shallow. Deep, strong roots are what help grass survive drought and beat out weeds.
Water deeply and less often, ideally in the early morning. My drip system, Sunny, is perfect for this. Aim for about one inch of water per session, once or twice a week. This soaks deep into the soil, encouraging grass roots to grow down. The surface stays drier longer, which clover hates. Put out a tuna can to measure how long it takes your sprinklers to deliver that inch.
Thinking of a Different Path? Alternative Lawn Approaches
You can fight clover until you’re blue in the face. I’ve been there. But sometimes, the smartest move is to step back and ask if there’s another way to win the game. Your lawn doesn’t have to be a battlefield. Here are a few other routes I’ve seen homeowners take, each with its own set of trade-offs.
The Traditional Synthetic Path
This is the classic “spray and pray” method many of us know. You hit the clover with a selective broadleaf herbicide, something like a three-way mix with 2,4-D. You follow up with a schedule of synthetic fertilizer to push thick grass growth and crowd everything else out.
The big plus is speed; you’ll often see the clover start to curl and bleach within days, which is deeply satisfying when you’re fed up. The results look clean and uniform, fast.
The downside is the treadmill it creates. That thick grass needs constant feeding and frequent mowing. You’re committing to a cycle of chemical inputs. It’s harder on the soil life over time and means keeping pets and kids off the lawn for a day or two after application. For me, it feels like a short-term fix that demands long-term attention.
The Organic-Only Path
This route is all about building health from the ground up, literally. You forgo synthetic herbicides and fertilizers entirely. Instead, you might use corn gluten meal as a natural pre-emergent in early spring, feed the soil with compost tea, and get very familiar with your hand weeder.
The major benefit here is safety and sustainability; you can let the dog out right after you apply corn gluten, and the bees buzzing around your clover blooms won’t be harmed. You’re nurturing the whole ecosystem of your yard.
The trade-off is time and mindset. This method is slow. You have to be patient and accept that a perfectly weed-free lawn isn’t the goal-a healthy, resilient one is. You will have some clover. I think of it like my shady corner, Patch; it teaches you that a little imperfection is part of a living system. With time, that patience helps you achieve a healthy, beautiful lawn. It’s a slow path, but it yields steady growth with less upkeep.
The Low-Maintenance Clover Blend
This is the ultimate “if you can’t beat ’em, join ’em” strategy. Instead of fighting clover, you intentionally seed a dwarf variety, like micro-clover, right into your existing grass.
Clover is a natural nitrogen-fixer, pulling fertilizer from the air and sharing it with the grass roots. A mixed clover-and-grass lawn stays greener during summer droughts, needs far less fertilizer, and provides vital nectar for pollinators. It’s a pragmatic, eco-friendly choice that cuts your workload.
The compromise is aesthetics. You won’t have that pristine, uniform carpet of grass. It will have a more varied, meadow-like texture and appearance. You’ll still need to mow it, but you can set the blade higher. It’s a different kind of beautiful, one that’s alive with activity and easy on your water bill.
Quick Answers to Other Curious Questions

You have the main plan, but a few other things always pop up. Here are the short, honest answers.
Do deer eat clover lawns?
Yes, enthusiastically. Clover is like candy to them. If you live near woods or a field, a clover-heavy lawn is basically a free salad bar. I’ve watched a small herd clean out the clover in my back corner in one evening, leaving the tall fescue blades untouched.
If you’re trying to grow a thick grass lawn, deer traffic can be a nuisance, but if you’re embracing the clover, just know it may attract more wildlife visitors than a pure grass yard would.
How can I kill clover without killing my grass?
This is the million-dollar question. The answer is a selective, post-emergent broadleaf herbicide. These chemicals are formulated to target broadleaf plants (like clover) while leaving your grass blades (grasses are narrow-leaf plants) unharmed.
The most common active ingredients are things like 2,4-D, dicamba, and MCPP. You’ll find them combined in many “weed & feed” products or standalone liquids.
The real secret is in the application: spot-treat only the clover patches instead of spraying the entire lawn. This uses less chemical and is better for everything else living in your soil. Mix according to the label, use a sprayer with a fine nozzle, and apply on a calm, cool day. The clover will curl up and turn white in a week or so.
When is the best time to attack clover?
Timing is everything. You want to hit clover when it’s actively growing and happy, not when it’s stressed and hunkered down.
That means spring and fall are your prime windows. Think of clover in the summer heat like a person hiding in the shade with a cold drink it’s not actively working, so herbicides are less effective. In spring and fall, with mild temperatures and good soil moisture, the plant is pulling nutrients (and herbicide) from its roots up through its leaves efficiently.
For a clear sign, wait until your soil temperature is consistently between 55 and 85 degrees Fahrenheit, which is when clover is in its major growth phase. A simple soil thermometer can tell you this, or you can just watch for the clover patches to look lush, green, and full.
Your Top Clover Control Questions, Answered
1. What’s the best time of day to apply clover control spray?
Spray in the early morning when the air is calm and the clover leaves are dew-free. This gives the herbicide time to be absorbed fully before the heat of the day kicks in.
2. How fast will I see results after using a spray?
You’ll typically see the clover leaves start to curl and bleach white within 3-5 days. Don’t panic if it takes a full two weeks for the patch to completely brown out and die.
3. Is clover control spray safe for my kids and pets?
Yes, when used as directed. The key is to let the spray dry completely on the leaves before anyone walks on the lawn-usually about 2-4 hours.
4. Can I just use more spray to make sure it works?
Never. Over-applying herbicide can damage your grass and soil. Mix and apply exactly according to the label instructions-more is not better.
5. What’s the first sign my lawn is winning against clover?
You’ll see the grass start to thicken and slowly creep into the bare spots left by the dying clover. That’s your greedy grass reclaiming its territory.
Final Thoughts on a Clover-Free Lawn

The best long-term strategy for clover is to grow a lawn so thick and vigorous that weeds simply can’t find a spot to settle in. Focus on proper mowing, regular feeding, and improving your soil’s health season after season.
Remember, every lawn is a living system, and sometimes a little clover can be a helpful sign or even a welcome resident for pollinators. The goal isn’t perfection, but creating a space you enjoy, one healthy patch at a time.
Expert Resources and Citations
- r/lawncare on Reddit: My lawn got overrun with clover this year. Any tips or priducts that will get rid of it without killing the lawn?
- How do I remove clover? | Jonathan Green
- Clovers / Home and Landscape / UC Statewide IPM Program (UC IPM)
- Lawn and Turfgrass Weeds: White Clover
Written by Ria Carrington. Ria is an avid lawn care enthusiast and advisor. No lawn is unsalvagable when Ria is at work. She has helped countless homeowners breath new life into their dying lawns. She has a B.Sc in Agriculture and brings practical advice combined with knowledge of plant science and her decade worth of hands on experience.