
Can You Walk on Newly Seeded Grass? Your Smart Homeowner’s Guide
You just finished seeding and now every glance out the window comes with a nagging fear that one wrong step will undo all your work. Let me put your mind at ease with some straight talk from the driveway.
Here, we’ll cover the precise timing for safe foot traffic, how to visually confirm your grass is ready, and practical, money-saving strategies to shield those tender seedlings.
I’ve learned this through seasons of overseeing my own lawn’s thick regrowth, balancing care for areas like Patch with the reality of a lived-in yard.
At a Glance: Key Factors for Protecting Your New Grass
Think of your new lawn like a newborn. It needs a little peace and quiet to get settled. You can absolutely walk on it one day, but not today. Follow these simple rules and you’ll be rewarded.
- Avoid walking on the seeded area for at least the first 3 to 4 weeks after germination.
- Use simple, temporary protection like boards or a defined walkway if you must cross.
- Know the signs your grass is ready: it should be tall enough for its first mow and resist pulling up from the soil.
The most important thing is time, and the type of grass you planted makes a big difference in how long you wait. Cool-season grasses like Kentucky bluegrass establish roots faster than warm-season grasses like Bermudagrass. The risks of walking too soon are real, from broken roots to crushed blades, but a few easy barriers work wonders. I know it’s tough to wait, but that patience pays off with a thicker, more resilient lawn you’ll enjoy for years. I’ve learned this lesson the hard way, so you don’t have to.
Why Your New Grass Seedlings Can’t Handle Foot Traffic (Yet)
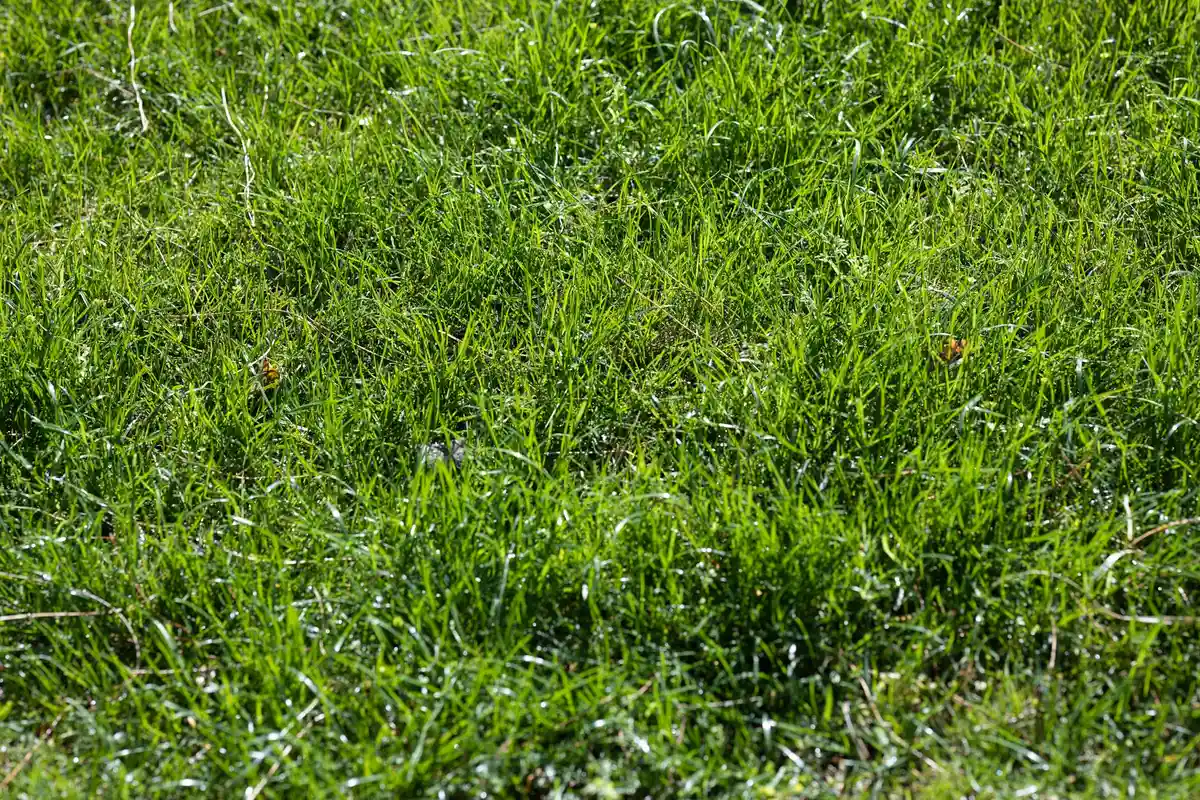
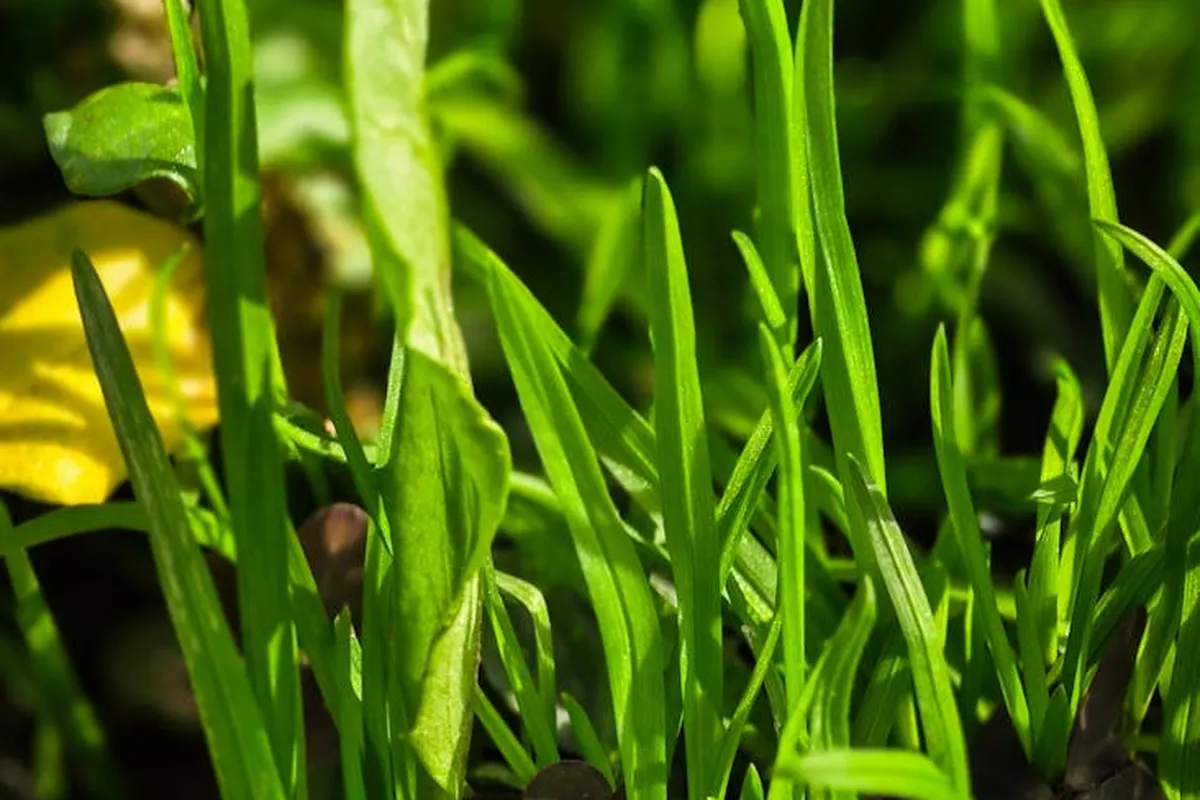
Let’s get up close. A new grass seedling in its first few weeks is incredibly delicate. Those first roots are thinner than sewing thread, just starting to weave into the soil. The leaves are tender shoots, more like fresh lettuce from the garden than the tough blades you’re used to mowing. Grass seeds and seedlings look like tiny specks and slender shoots at this stage, delicate but full of potential. Noticing these tiny forms helps you understand the transition from seed to sprout.
A single footstep does more damage than you might see from the sidewalk. It can snap those tiny roots, cutting off the plant’s water supply before it ever gets established. It crushes the leaves, stopping photosynthesis in its tracks. Worst of all, it presses the soil down, which can smother other seeds trying to germinate.
Walking directly affects germination and growth. Good growth starts with perfect seed-to-soil contact. When you step on a seeded area, you shift seeds around and press the soil unevenly. This disrupts the moist environment seeds need to sprout and can bury them too deep or expose them to the air where they’ll dry out. For the young plants that do emerge, the pressure stunts their development, forcing them to use energy to recover instead of to grow.
I learned this with Patch, my stubborn shady spot. I was so eager to check progress one evening that I took a shortcut across a newly seeded corner. A week later, there was a clear footprint of thinner, yellower grass struggling to catch up to the rest. It was a perfect, frustrating lesson in why we keep off.
The Hidden Damage: What Happens Underfoot
The damage you can’t see is often the worst. When you walk on damp soil, the pressure pushes the soil particles tightly together. This is compaction.
Compacted soil is like a kitchen sponge that’s been squeezed hard and left to dry; water just runs off the surface instead of soaking in where the roots need it. It also squeezes out the vital air pockets in the soil. Roots need oxygen as much as they need water and nutrients. Without these, growth slows to a crawl, and the whole lawn becomes weaker. To address this, you can improve and amend compacted lawn soil by aerating and adding organic matter. These steps restore air pockets and improve water and nutrient uptake, supporting stronger growth.
This hidden damage creates a cycle of problems. Poor drainage leads to puddling, which can drown seedlings. Hard soil makes it difficult for mature roots to expand later. Giving your new lawn a traffic-free start is the simplest way to avoid these issues down the line.
The Waiting Game: How Long Before You Can Safely Walk on New Grass?
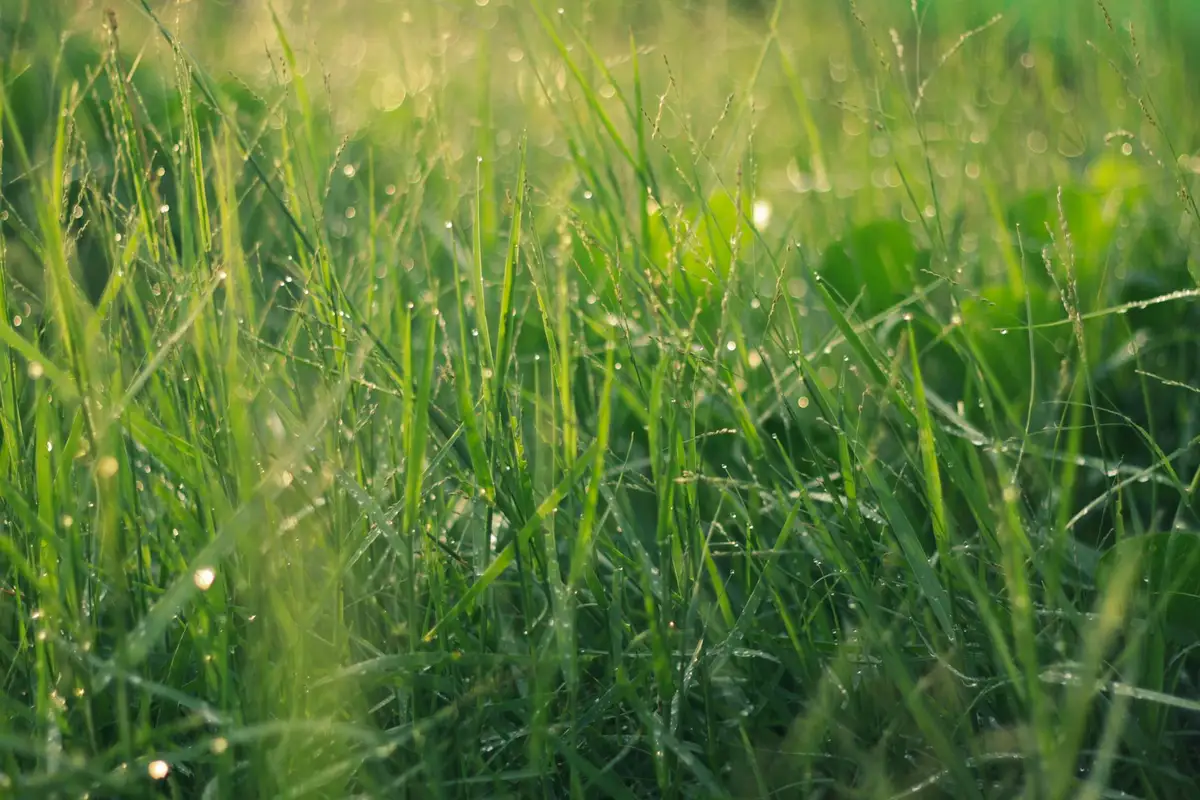
You just seeded your lawn and now you are waiting. I have been there, staring out the window. The urge to check on progress is strong, but stepping out too soon is the quickest way to ruin your work.
There is no universal deadline, so forget the calendar and start watching the grass itself. Your seed type and the weather call the shots. For best results, align fertilization timing with seeding to support new growth. This helps seeds establish faster and more evenly. Here is a practical week by week guide based on what I have seen in my own yard.
- Weeks 1-2: This is a strict no go zone. Seeds are germinating and are incredibly fragile.
- Weeks 3-4: If you see a green fuzz about 3 inches tall and you have mowed it once, you might tiptoe for an absolute necessity.
- Week 5 and beyond: This is when you can start thinking about a gentle test. If the lawn looks thick and recovers quickly, light traffic is probably safe.
People always ask for the best time to walk. The honest answer is when the grass shows you it is ready. A cool, rainy spring can stretch this timeline, while a warm, sunny one can shrink it. Your specific seed variety makes a big difference too. If you’re wondering about the best time to plant grass seed in spring, timing matters. Planting at the right moment supports quicker germination and establishment.
The Critical First Two Weeks: Hands Off!
This is the most vulnerable period. Those seeds are putting down their first tiny roots. Any pressure can crush them or mess up the soil contact they need. I treat this like a sacred space.
Do not walk on the lawn during germination, period. Even one footprint can create a bald spot that takes weeks to fill back in, as I learned the hard way with a corner of my lawn I call Patch.
To keep family and pets off, use clear visual cues. I string bright orange garden twine around the edges. For pets, leash walk them on the driveway or sidewalk. It keeps them safe and protects your seedlings from being trampled.
Weeks Three to Four: Tiptoeing Around
You should see a proper green carpet now. If the grass is about 3 inches tall and you have given it that first mow with Max, my zero turn, the blades are starting to toughen up.
Very light, infrequent steps might be okay now, but always use something to spread your weight. Never just walk on the soil.
I lay down old plywood boards or large stepping stones to create a temporary path. Use it only for essential trips, like adjusting Sunny the drip irrigation. Avoid stopping or turning sharply. The goal is to prevent soil compaction.
After a Month: Testing the Waters
Around the four week mark, you can start to test your lawn’s strength. Begin at the edge, in a less critical area. When it’s time to mow the newly seeded lawn for the first time, do it gently to avoid stressing the young grass. Start with a higher cut and gradually lower it as the stand thickens.
Take a few gentle steps and watch what happens. If the grass blades spring back up within a minute, the roots are getting strong.
If your footprints linger, give it another week. Consistent mowing is your ally here. Regular passes with Max at the proper height encourage the grass to grow dense and resilient, which naturally prepares it for foot traffic.
How Grass Type Changes the Timeline
Your seed bag holds the key. Cool season grasses, like Kentucky bluegrass, germinate slower (10 to 21 days) and establish from seed gradually. Warm season grasses, like Bermuda, sprout fast (5 to 10 days) and spread aggressively with runners. Choosing the right grass for your climate is crucial, so it’s essential to understand the difference between cool season and warm season grasses.
A fast germinating seed like perennial ryegrass might handle light traffic a bit sooner, but I always tell people to err on the side of caution. If you’re aiming for a lawn that stands up to heavy use, consider the best grass seed for high-traffic lawns. They balance speed of germination with long-term durability.
Think of it like building a house. Kentucky bluegrass is a meticulous bricklayer, while Bermuda is a speedy framing crew. If you have a mix, wait for the slowest grower to catch up before you consider the lawn open for business.
Reading the Signs: Is Your New Lawn Ready for a Stroll?
Your lawn will tell you when it is ready. You just need to know how to listen. Look for these clear signals before you take a normal walk.
A uniform green color and grass blades standing 3 to 4 inches tall are your first visual green lights. It should look like a thick carpet, not a sparse scattering.
The real test is underground. I use a simple tug test. Find a few random seedlings and give them a very gentle pull. If they resist and do not come up easily, the roots are anchored. If they slip out with no effort, the roots are not ready.
Use your other senses too. The soil should feel firm underfoot, not soft or squishy. When you brush your hand over it, you should hear the quiet, crisp rustle of thick blades. I remember the feeling last fall, the damp, earthy smell and the sight of a fully rebound lawn told me my patience had finally paid off.
Smart Protection: How to Shield Seedlings from Foot Traffic
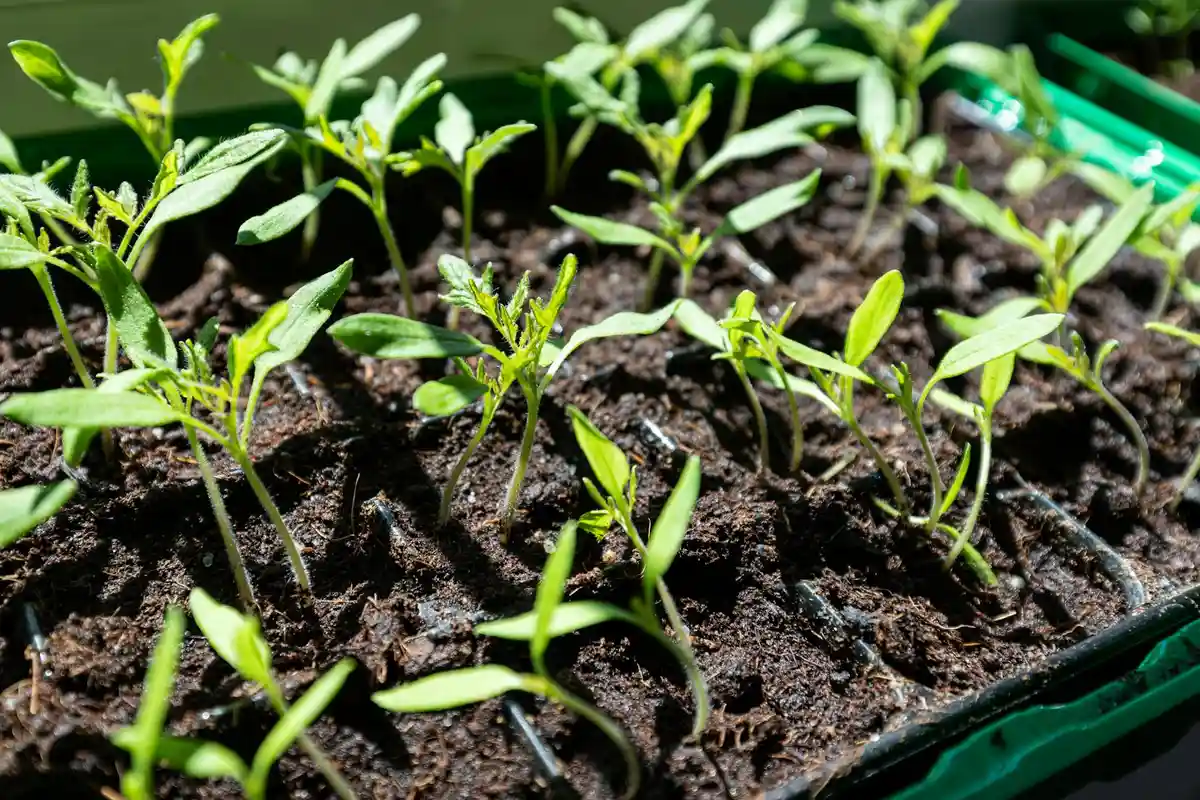
You want to protect your investment and your new grass especially during seed germination. The goal is to manage movement, not stop life completely. These are practical, low cost methods I use to keep foot traffic off the seedbed without making my yard look like a construction site.
Always choose pet safe and pollinator friendly materials. For a broader approach to pet safe lawn care, weed and pest control options can help protect your yard without risking pets. Avoid any chemical weed treatments near your new seedlings, as they can harm the delicate grass.
Temporary Fencing or Flagging: The Simple Barrier
This is my go to for a quick, visual “keep out” sign. It works for pets, kids, and even forgetful neighbors.
You need garden stakes and some brightly colored string or flagging tape. Push the stakes into the ground around the perimeter of your seeded area. Run the string between them at about shin height. It is that simple.
This quick weekend project creates a clear boundary without any permanent impact, much like how I set up Sunny the drip system for fast, efficient protection.
For a slightly nicer look, use decorative garden flags on the stakes. The movement and color make the barrier even more obvious.
Lawn Boards and Plywood: Spreading the Weight
Sometimes you absolutely need to walk on the area, like to adjust a sprinkler. This is where boards save the day.
Laying down a plank or a sheet of plywood spreads your weight over a large area. Think of it like snowshoes for your lawn. This prevents your heel from punching down and compacting the soft soil, which would crush tender roots.
Use only untreated wood. Treated lumber can leach chemicals into the soil. Move the boards every time you use them. If you leave a board in one spot for more than a day, you will smother the grass underneath and create a dead patch.
Stepping Stones and Pathways: Planning for Traffic
If you have a common route, like to a garden shed or compost bin, plan for it. Placing stepping stones or pavers creates a permanent, friendly path.
Dig out a shallow base for each stone, about an inch deeper than the stone’s thickness. Fill it with a bit of sand or fine gravel. This is like making a stable foundation for a tiny patio. It ensures the stone sits solidly and allows for water to drain away from the grass roots around it.
This upfront work saves your grass season after season and looks intentional, not like an afterthought.
Oops, I Stepped on It! What to Do If You Accidentally Damage New Grass
It happens to everyone. Do not panic. A single misstep is not a lawn ending disaster. Here is what to do right away.
First, assess the damage. Is it just a faint footprint in damp soil, or did your heel gouge a deep hole?
For a simple footprint, take a hand cultivator or even a sturdy garden fork. Gently fluff up the compacted soil in the print. You are just loosening it back to the texture of the surrounding area. Then, give that spot a gentle drink of water to settle the soil back around any seedlings.
If you created a divot or exposed bare dirt, you will want to overseed that spot. Scratch up the soil a little, sprinkle a pinch of your grass seed, and cover it with a thin layer of peat moss or compost. Keep it moist.
I learned this lesson with Patch, my stubborn shady corner. I slipped on a damp morning and planted my boot right in a freshly seeded area. I felt that sinking feeling, literally and figuratively. I quickly loosened the soil, added a bit more seed, and within a week, you could not tell where I messed up. Patience and a quick repair make all the difference.
Common Lawn Care Mistakes and How to Avoid Them
We’ve all been there, full of hope after seeding, only to make a simple error that sets us back. Let’s walk through the usual suspects so you can sidestep them.
Mistake 1: Walking on the Lawn Way Too Soon
The biggest error is giving in to temptation. You see a stray leaf or think the soil looks dry, so you step out for “just a second.” Those first two to three weeks are critical, and even one footstep can compact the soft soil and crush delicate seedlings before they have a chance. You’ll know you walked too soon if you see footprints that don’t spring back or, worse, bare trails where the seed was.
- The Fix: Plan your paths before you seed. Use temporary walkways made of spare boards or stepping stones to get to your sprinkler or garden hose. Treat the seeded area like a wet paint sign you absolutely cannot ignore.
Mistake 2: Using Heavy Equipment on Fresh Seed
This includes lawn rollers, heavy wheelbarrows, or even just leaving your garden cart in one spot. I learned this lesson near ‘Patch’ my first year. The weight presses seed too deep into the soil where it can’t germinate and creates hardpan that new roots can’t penetrate.
- The Fix: Keep it light. If you need to level soil or press seed into contact, use a lightweight lawn roller that’s only half-filled with water, or simply drag a piece of chain-link fencing behind you. Get everything you need in or out before you start seeding.
Mistake 3: Not Adjusting Water After Accidental Damage
So, a pet or a kid ran across a corner. It happens. The mistake is not changing your watering routine to help that spot recover. Damaged soil dries out faster and stressed seedlings need extra care.
- The Fix: Crank up ‘Sunny’ your irrigation for that specific zone. If you see damage, give that area a deeper, longer drink for the next few days to help the remaining seedlings establish and encourage new growth to fill in. Hand-watering the spot for a minute or two extra can make a real difference.
Mistake 4: Forgetting About High-Traffic Areas
We plan for the big open lawn but forget the path to the shed, the gate, or the spot where you always cut across to the driveway. These areas get trampled even when we’re trying to be careful.
- The Fix: Be strategic. Before seeding, lay down permanent stepping stones in these natural walkways. For a simpler fix, lay a thick, 3-inch layer of straw or biodegradable erosion-control mulch on these paths right after seeding; it protects the seed but is obvious to walk on. This visually reminds everyone to stay on the path.
Greedy Grass Pro Tip: The Weekend Warrior’s Shortcut
I used to rope off my lawn like a crime scene. It looked awful and I’d still trip over it. My cheap, effective solution? Before I even open a bag of seed, I lay down old 2x4s or plywood strips in a simple grid pattern to define my temporary walkways. It creates a clear, raised path for me to walk on while I water or adjust sprinklers. When the grass is established, I just pull the boards up. It’s a little trick that saves a lot of regret, learned from one too many evenings staring at my own muddy footprints.
Your Top Questions on Walking on New Grass, Answered
How does the type of grass seed affect when I can walk on it?
Fast-germinating seeds like perennial ryegrass establish quicker, meaning you might tiptoe a bit sooner. However, for mixes or slower varieties like Kentucky bluegrass, always wait for the slowest grower to catch up before normal traffic. Different grass seed sprout and germination times can affect when you should start walking on your lawn.
What’s the single best sign my new lawn is ready for foot traffic?
Perform the simple tug test: if seedlings resist being gently pulled from the soil, their roots are anchored. Combine that with a uniform height of about 3 inches after the first mow, and you’ve got your green light.
What’s the best way to protect a high-traffic pathway on a new lawn?
Before you seed, lay down permanent stepping stones or a 3-inch layer of straw on that natural walkway. This creates an obvious, protective path that guides feet and shields the seedbed underneath.
I accidentally stepped on a newly seeded area. What’s my immediate first step?
Don’t panic-gently fluff the compacted soil in the footprint with a hand cultivator to loosen it. Then, give that specific spot a deeper drink of water to help the stressed seedlings recover.
Are there specific materials I should use (or avoid) for temporary walkways?
Use only untreated wood planks or plywood to spread your weight, as treated lumber can leach chemicals. Always move these boards after each use to prevent smothering the grass trapped beneath them.
Final Thoughts on Your New Lawn’s First Steps
The best thing you can do is stay off the seeded area completely for those first few critical weeks, giving the tender roots a chance to anchor without disturbance. If you absolutely must cross it, use a scattered walkway of flat stones or a single plank to distribute your weight and protect every precious seedling.
Good lawn stewardship means caring for your soil and the creatures in it, so I always opt for pet-safe fertilizers and welcome clover for the bees. Every year with my lawn teaches me something new, and that patient, watchful approach is what turns a patchy area into a thick, resilient carpet.
Research and Related Sources
- seedlings – Planting and Walking on New Grass – Gardening & Landscaping Stack Exchange
- How Long After Planting Grass Seed Can You Walk on It?
- Care and Maintenance of a Lawn after Seeding | University of Maryland Extension
- Walking on new seedlings? | Lawn Care Forum
Written by Ria Carrington. Ria is an avid lawn care enthusiast and advisor. No lawn is unsalvagable when Ria is at work. She has helped countless homeowners breath new life into their dying lawns. She has a B.Sc in Agriculture and brings practical advice combined with knowledge of plant science and her decade worth of hands on experience.