
What’s the Best Aeration Tool for Your Lawn?
Choosing an aerator can feel overwhelming, but picking the right one for your yard saves you money and backache.
We will cover manual tools for small spots, tow behind aerators for most homeowners, and stand on machines for big properties.
I’ve used all three types on my own grass over the years, from battling Patch’s compaction with a hand tool to renting a big machine for a full renovation.
At a Glance: Your Quick-Start Aeration Guide
Think of this as a “choose your own adventure” for your lawn. The right tool for the job isn’t the fanciest one, it’s the one that matches your grass, your dirt, and how much sweat you’re willing to put in.
You have three main paths. Here’s the short version of each.
- Manual Aerators (Spikes or Corers): Best for small patches, stubborn spots like “Patch,” or testing the waters before a big project.
- Tow-Behind Core Aerators: The workhorse for most homeowner lawns, designed to be pulled by your riding mower or lawn tractor.
- Stand-On Aerators: The heavy-duty option for large properties (half-acre and up) or soil that fights back.
To pick your path, you just need to answer three simple questions about your lawn: How big is it? What’s the soil like? And how compacted is it? The goal is to find the tool that gets the job done right without leaving you exhausted or your lawn underwhelmed.
The Three Yard Tests: What Your Lawn Tells You to Buy
Forget the flashy ads. Your lawn, and your back, will tell you exactly what you need. I learned this the hard way trying to use a dinky manual tool on my compacted clay before I wised up.
Grab these three things from your garage. This is your diagnostic kit.
- A long screwdriver
- A tape measure
- Your eyes (and maybe a notepad)
Test 1: The Size Check
Walk off the length and width of your main lawn area and multiply them. It doesn’t have to be surveyor-perfect. You’re just getting a ballpark – just enough for your lawn care.
- Postage Stamp (Under 1,000 sq. ft.): This is manual tool territory. Think front lawns in tight subdivisions.
- The Classic Quarter-Acre (approx. 10,000 sq. ft.): This is the sweet spot for a tow-behind aerator. It’s Max’s (my mower) favorite kind of job.
- Half-Acre or More: Start thinking about a stand-on machine or a very powerful tow-behind. Your time is valuable.
Test 2: The Screwdriver Compaction Test
Wait a day after Sunny (the irrigation) runs or a good rain. Then, push your screwdriver straight down into the soil.
If it slides in smoothly to the hilt, your soil is in good shape and a lighter-duty tool might suffice. If you meet serious resistance, feeling like you’re poking cement, that’s compaction talking. You need a core aerator that can pull deep plugs, not just poke spike holes.
Test 3: The Soil & Sweat Assessment
Look at your soil. Is it dark and crumbly? Light and gritty? Or is it thick, sticky clay?
Sandy soil is like a loose sponge. It drains fast and compacts less, so you might aerate less often. Dense clay is like a wet coffee filter—it packs tight and needs deep, frequent coring to ever improve.
Now, be brutally honest with yourself. Are you looking for a 30-minute workout or a 3-hour marathon? A manual corer for a small lawn is effective, but it’s real work. Hooking up a tow-behind to your mower is simpler, but you need the machine to pull it. Your effort level is a real factor. Picking a tool you’ll actually use is more important than picking the “best” one that stays in the shed.
Manual Aeration Tools: When the Simple Answer is the Right One
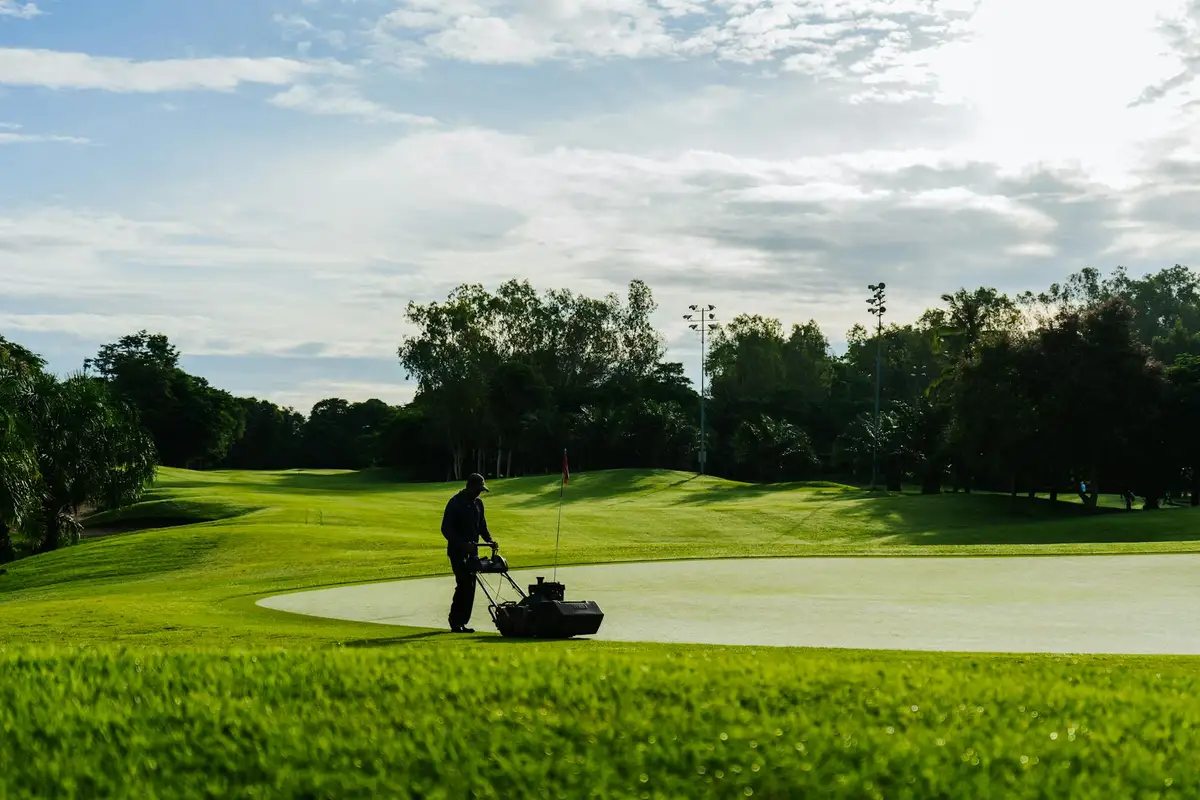
You have two main types of manual tools. The first is a spike aerator. Think of a very sturdy garden fork you push into the ground. It pokes holes to loosen the soil. The second is a core aerator. This is usually a step-on tool with hollow tines. When you step down and pull it up, it removes small plugs of soil and thatch.
These tools are perfect for small lawns, tight spots, or tight wallets. I reach for mine when working on an area under 1,000 square feet, which is about the size of a modest backyard patio. They’re also my go-to for spot-treating high-traffic paths or that stubborn, compacted corner I call “Patch.” If you’re on a budget, a manual tool gets you in the game for very little money.
Let’s break down the good and the tough parts.
The Pros
- Very low cost to buy.
- No storage headache. It hangs on a garage wall.
- Quiet operation. Your neighbors won’t hear a thing.
- Perfect for precise work in garden beds or tricky corners.
The Cons
- It’s a real workout. Aerating a large area this way is back-breaking.
- It can’t fix severe soil compaction over a big space.
- Results depend on your effort, so holes can be uneven.
How to Use a Manual Aerator
Good technique makes a difference. Follow these steps.
- Water your lawn a day before, or wait a day after a good rain. You want the soil moist, not soggy or bone-dry.
- Use a systematic pattern. Go north to south, then east to west. This prevents you from missing spots.
- Clean the tines between passes. Mud and grass clumps will clog the hollow tines of a core aerator. A quick scrape with a stick keeps it working.
So, how does lawn size affect your choice? For a small lawn, a manual tool is a completely valid, economical option. It’s a hands-on project for a Saturday morning. For anything over 1,000 square feet, you’ll start wishing for a machine that fits your budget.
Tow-Behind Aerators: The Sweet Spot for Most Homeowners
This is the workhorse option. If you have a riding mower or a garden tractor, this is your tool. You hook it up and let the machine do the hard pulling.
It works with a simple, effective mechanism. A weighted drum, covered in hollow coring tines, rolls behind your mower. As you drive, the tines punch into the soil, pull out a plug, and drop it on your lawn. Those little soil plugs break down in a week or two, feeding your grass. It’s a great natural way to nourish your lawn.
This is the ideal choice for a large suburban lot, up to about an acre. It turns a weekend-long manual job into an afternoon task. If your yard is big enough for a riding mower, it’s big enough for a tow-behind aerator.
Not all tow-behinds are the same. Look for these key features.
- Weight: Heavier models use their own mass to drive the tines deeper into compacted soil.
- Adjustable Depth: A control lever lets you set how deep the tines go. You need this for different soil conditions.
- Easy Hook-Up: Look for a standard hitch that matches your mower. A simple pin is faster than wrestling with bolts.
Weighing Your Decision
The biggest pro is the massive reduction in labor. You get all the benefits of true core aeration without the sore back. For the area it covers, it’s very cost-effective, especially if you own the mower already. And safety matters too—using proper technique and protective gear helps prevent injuries. When done safely, aeration boosts lawn health with less hassle.
But there are cons to consider. You must have a suitable vehicle with enough power to pull it. They can be tricky to maneuver around tight tree trunks or garden beds. And yes, you need a spot in the garage or shed to store it off-season.
Keeping It Running
A little care makes this tool last for years. After each use, hose off the soil and grass. Check the tire pressure before you start. A yearly grease for the moving parts on the drum axle is a good idea. For off-season storage, give it a final cleaning and park it somewhere dry.
You might have a few questions. For clay soil, you need a heavy model set to a shallower depth on moist ground. For sandy soil, a standard weight works fine. If storage is impossible, rental is a fantastic option. You can find these for rent at most equipment rental yards or for purchase at farm supply stores and online. Rental makes sense if you only plan to aerate once a year. Whether you rent or buy mower and aeration equipment, you can tailor your setup to your lawn’s needs. Exploring rental and purchase options for mowers and aeration gear can help you choose the best approach for your schedule and budget.
Stand-On Aerators: For When Your Lawn is a Serious Hobby
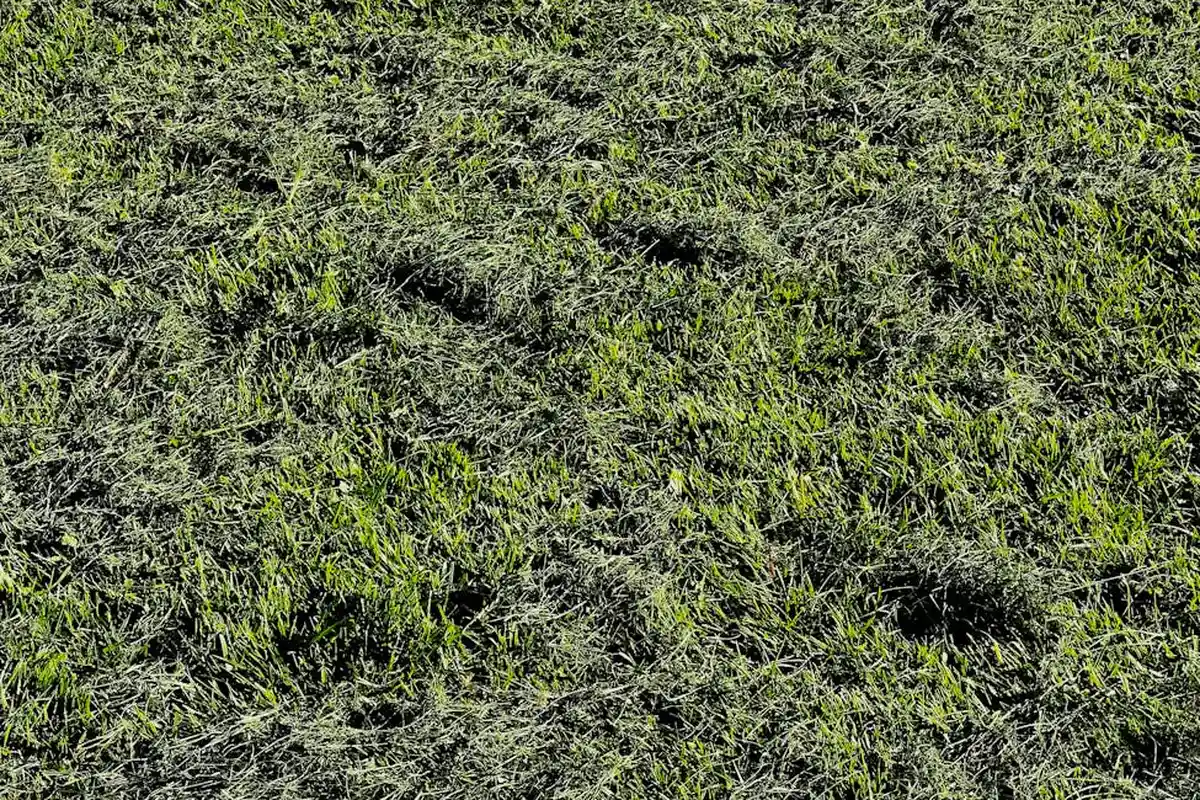
This is where lawn care graduates from a chore to a full-blown operation. Think of a stand-on aerator as the cousin of my zero-turn, Max, but built for a different kind of work. Instead of cutting grass, it’s a precision hole-punching machine you stand on and drive. These were once strictly commercial tools, but now they’re within reach for the homeowner who treats their turf with professional-grade seriousness.
Operating one feels familiar if you’ve used a zero-turn. You have levers or a wheel to control speed and direction, and you stand on a platform behind the aerating mechanism. The big difference is the satisfying *thunk-thunk-thunk* rhythm of solid tines driving deep into the earth beneath you.
Who Really Needs One of These?
This isn’t for everyone. You should only be looking at this category if:
- Your property is over an acre.
- Your soil is so compacted a manual tool just skitters across the surface. If your lawn feels like a parking lot when dry, listen up.
- You’ve built a reputation and now aerate a few neighbor’s lawns each fall to help out (and maybe offset the cost).
What Makes Them Tick
The engineering here is what you pay for. Hydraulic drives deliver smooth, consistent power directly to the tine drum, so it never bogs down in tough spots. Depth control is usually a simple lever adjustment, letting you dial in exactly how deep those cores get pulled. The speed is the real game-changer. You can cover an area in an hour that would take a full weekend with a manual corer.
The Good, The Bad, and The Heavy
Let’s lay it out straight.
The pros are compelling:
- It’s the fastest, most thorough method available.
- It delivers superior results on severely compacted soil that other tools can’t handle.
- It turns a day-long marathon into a morning task.
The cons are real, though:
- The upfront cost is significant, often several thousand dollars.
- You need serious garage or shed space to store it.
- There’s a learning curve to operate it safely and effectively.
- For a standard quarter-acre lot, it’s absolute overkill.
Safety First, Always
This is powerful machinery. Treat it with more respect than your mower. Always keep hands and feet well clear of the moving tine drum, even when it’s off. Walk the area first to clear sticks, toys, or hoses that could get tangled and thrown. When transporting it on a trailer, ensure it’s securely strapped down; these units are top-heavy and can tip.
Your Questions, Answered
“How often I aerate decides if this is worth it, right?” Exactly. If you have bad clay soil and need to aerate every single year, buying can make more sense than annual rentals. If your soil is decent and you only aerate every other year, renting is likely the smarter financial move.
“Can I use it for other things?” Some models offer dethatcher or slicer attachments, which is a nice bonus. It turns your big investment into a multi-season workhorse.
Caring for Your Tool & Making the Final Choice
No matter which aerator you pick, a little care makes it last for years. Neglect it, and you’ll be shopping again sooner than you’d like.
Universal Maintenance Steps
After each use, I follow the same routine. Hose off all the dirt and grass plugs from the tines and frame. Let it dry completely to prevent rust. Inspect the tines or spikes for bending or dullness; sharp tines pull clean cores, while dull ones just tear the soil. For manual and tow-behind models, a sharpening file works wonders. For a stand-on, you’ll likely replace whole tine segments when they wear down.
Looking at the Real Cost
The price tag is just the start. Think about cost in terms of time, effort, and money. A manual tool is cheap to buy but expensive in sweat and hours. A rental is moderate in cash but requires you to haul it and work within a narrow time window. A purchased machine, even a pricey one, might be the lowest “cost” over ten years if it saves you countless weekends of backbreaking labor.
A Simple “You Choose” Guide
Let’s make this practical. Match your situation to the tool.
- If your lawn is a small city lot (< 5,000 sq ft) and your soil is halfway decent, lean toward a manual core aerator.
- If your lawn is a typical suburban yard (up to 1 acre) and the soil is firm or you just want to get done faster, lean toward a tow-behind aerator for your tractor.
- If your lawn is over an acre, your soil feels like concrete, or you’re aerating multiple properties, lean toward a stand-on aerator.
To Rent or to Own?
Here’s my rule of thumb. If you plan to aerate once and see how it goes, rent. If you know you’ll be aerating every year or every other year like clockwork, run the numbers on buying. Compare five years of rental fees (plus your time picking it up and returning it) against the purchase price of your chosen tool. The answer often becomes clear.
In the end, the perfect aerator isn’t the fanciest one. It’s the one you’ll actually use, season after season. Consistent aeration is what builds a thick, healthy, drainable lawn that can handle whatever comes its way. Choose the tool that makes that consistency easy for you—especially after understanding why lawn aeration is necessary.
Your Aeration Questions, Answered
What are the key factors to consider when choosing aeration equipment?
Think of it this way: your lawn’s square footage, your soil’s stubbornness (especially after the screwdriver test), and your own sweat budget are the big three. The right tool matches all three without overcomplicating the job.
What is the budget range for different types of aerators?
Manual tools are an afternoon project’s cost, tow-behinds are a major appliance investment, and stand-on models are a serious vehicle-level purchase. Your true budget includes your time and effort, not just the price tag.
What are the storage and maintenance requirements for each type?
Manual tools need a wall hook and a quick hose-off. Tow-behinds demand shed space, tire checks, and annual greasing. Stand-on machines require significant garage real estate and more detailed upkeep, just like a riding mower.
What safety considerations are important when using aerators?
Always clear the area of debris first, and keep hands and feet well away from moving tines-treat every machine with respect. For tow-behind and stand-on models, secure transport is critical to prevent dangerous tipping.
How often should aeration be performed, and how does that influence equipment choice?
Most lawns benefit from annual aeration, but tough clay may need it every season. If you’re committing to yearly core aeration, owning a machine often beats the long-term cost and hassle of renting.
Getting the Most from Your Aeration
Choosing the right aerator really comes down to matching the job to your lawn’s size and your own back. That choice also frames your approach to lawn aeration work, helping keep the process simple. Get that match right, and you’ve set yourself up for a season of great growth without turning the chore into a nightmare.
Remember, the tool is only half the equation; using it well and keeping up with the basics is what makes a lawn truly thrive. Clean your equipment after use, focus on building healthy soil, and your lawn—and the critters that visit it—will thank you for years. Understanding the purpose of lawn soil composition helps you target improvements more effectively. This knowledge guides the right amendments for drainage, nutrients, and root health.
Citations and Authoritative Sources
- The Best Lawn Aerators – Tested by Bob Vila
- The 5 Best Lawn Aerators, Tested by BHG
- The 5 Best Lawn Aerators The Spruce Has Tested
Written by Ria Carrington. Ria is an avid lawn care enthusiast and advisor. No lawn is unsalvagable when Ria is at work. She has helped countless homeowners breath new life into their dying lawns. She has a B.Sc in Agriculture and brings practical advice combined with knowledge of plant science and her decade worth of hands on experience.