
Peat Moss, Straw, or Erosion Mats: Which Saves Your New Grass Seed?
You’ve dropped seed and now need to shield it, but picking a cover feels confusing. Get it right, and you protect your investment for a lush lawn that lasts.
We’ll compare these covers head-to-head, covering upfront cost, how well they hold moisture and prevent washout, the labor involved to put them down, and their effects on pets, pollinators, and your soil’s health.
I’ve used each one in my own yard, learning from mistakes with Patch and my trusty setup to find what actually works.
At a Glance: Key Factors to Decide
Here’s a simple table to help you pick your fighter.
| Cover Type | Cost | Effort Level | Best For | Pet & Pollinator Notes |
| Peat Moss | Medium to High | Medium | Superior moisture control, even germination | Pet-safe when damp; sourcing impacts environment |
| Straw | Low | Low | Budget-friendly, large area coverage | Must get weed-free; can mat and create barriers |
| Erosion Mats/Blankets | High | Medium to High | Steep slopes, severe washout areas | Pet-safe; choose biodegradable jute or coir |
Pick peat moss for moisture control. It acts like a damp sponge over your seed, which is perfect for spot repairs and smaller areas where consistent watering is a challenge.
Choose straw for budget coverage. If you’re seeding a big, open area and just need something to shield the seed from birds and sun, a thin layer of clean straw gets the job done. This cover also helps protect new grass seed germination by maintaining soil moisture and reducing temperature swings. For more on how to support germinating seed, explore additional cover options in our guide.
Use mats for slopes. On any incline where water runs faster than my dog Max when he hears the treat bag, a blanket is the only thing that will hold seed and soil in place through a storm.
My personal go-to for a typical, flat backyard is a light layer of peat moss. I find it works perfectly with my drip irrigation system, Sunny, to keep the seedbed consistently damp without me having to babysit it with the hose three times a day.
Why a Seed Cover Isn’t Just Extra Work
Think of throwing grass seed on bare dirt and walking away like sprinkling breadcrumbs on a plate in a windstorm. Some might stick, but most will blow away or get eaten before they ever have a chance. A cover changes everything.
The main jobs are simple but critical: hold the seed where you put it, lock precious moisture into the top layer of soil, and provide a physical shield from birds and washout from rain or sprinklers.
You’ll know your cover is working when you peek underneath and see soil that’s still dark and damp hours after watering, not dusty and dry.
In a week or so, you’ll see the first bright green seedlings pushing right through the cover. After a good rain, you won’t find little rivers of seed piled up along your sidewalk or driveway. The seed stays put and grows where you intended.
This matters for a healthy, pollinator-friendly space because thick, established grass is the best foundation. A good cover helps ensure a dense stand of grass that will crowd out weeds naturally, reducing the need for interventions later. Thick grass also supports soil life and provides better habitat than a thin, patchy lawn.
Peat Moss: The Moisture-Locking Specialist
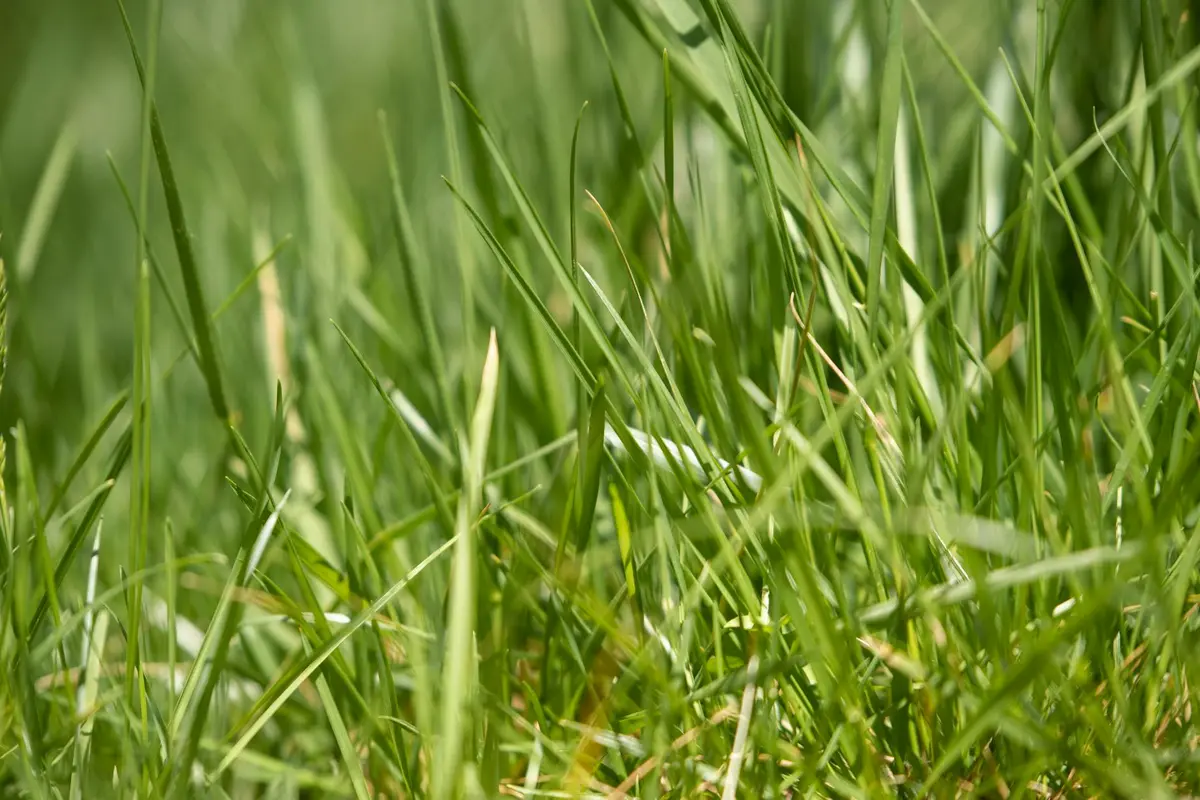
Let’s get into it. Peat moss is a natural, spongy material harvested from old bogs. It feels like soft, crumbly soil that holds its shape when you squeeze it. If you’ve ever repotted a houseplant, you’ve probably felt it.
Here is how you apply it right.
- Moisten it first. Dump the peat moss into a wheelbarrow and add water, mixing it until it feels like a damp, wrung-out sponge. This stops it from blowing away as dust.
- Spread a thin layer. You want just enough to barely cover the soil and seed, about a quarter-inch thick. Think of a light dusting of cocoa powder.
- Press it gently. Use the back of a rake or walk over it lightly to ensure it has good contact with the soil.
You absolutely need to water peat moss after applying it, and here’s why: it acts like a damp sponge, holding moisture right at the soil surface where your new seeds need it most. A dry sponge repels water. A damp one soaks it up. Keep the peat moss consistently damp, and it will keep your seedbed from drying out between waterings.
The Good and The Not-So-Good
Its pros are why many of us reach for it.
- Excellent moisture retention. It can be a lifesaver on hot, sunny days.
- Fine texture. It won’t smother tiny grass seedlings.
- Slightly acidic. This can be a benefit if your soil is alkaline.
Its cons are worth considering.
- It can be messy, especially if you apply it dry on a windy day.
- If you let it go bone-dry, it repels water, which is a headache to re-wet.
- There are real environmental concerns about harvesting it from sensitive bog ecosystems.
Quick Questions
So, what is peat moss good for? It’s perfect for small, high-value areas like patch repairs or tricky spots where moisture control is everything. You can find it at most garden centers, big box stores, or farm supply spots like Tractor Supply.
The most common mistake I see? Applying it too thickly. If you pile it on, those tender grass shoots won’t have the strength to push through, and you’ll wonder why nothing is growing. A thin, even layer is the goal.
Straw: The Classic, Budget-Friendly Blanket
This is the old-school method. First, a critical distinction: straw is not hay. Straw is the hollow stalk left over after harvesting grains like wheat. Hay is dried grass or legumes, cut for animal feed and packed with seeds. You want straw for your lawn, especially when you’re not seeding grass yourself.
The best straw for grass seed is labeled “weed-free” and is a finely chopped wheat or barley straw. The finer chop means it lays down better and mats together to stay put, unlike similar products such as straw or hay used for protection in gardening.
Applying straw is simple, but technique matters.
- Fluff it. Pull apart handfuls from the bale to break up any clumps.
- Spread a thin, fluffy layer. You should still be able to see about 50% of the soil and seed underneath. If you can’t see the ground, you’ve used too much.
- Let it be. Don’t rake it in. The loose structure is what provides the cover.
Weighing Your Options
Here is why straw has been the go-to for generations.
- It’s cheap and you can find it almost anywhere.
- It provides light shade, cooling the soil.
- It gives structure that helps prevent soil and seed from washing away in a rain.
It does have its drawbacks, though.
- If it’s not clean, it can introduce a crop of weed seeds, creating a new problem.
- It can blow around in the wind before it settles.
- You will need to rake it up once the grass is about 3 inches tall, which is an extra chore.
Straight Answers
Should you put hay down for new grass? No. A firm no. You might as well sow a weed crop alongside your grass seed.
What month is best to put straw on grass? The same months you should be seeding: early spring or early fall. Those cooler seasons give the grass its best shot.
The biggest mistake? Grabbing the first cheap bale you see without checking its quality. Using a bale full of weed seeds turns your lawn project into a weeding project for the next two seasons. Always look for that “weed-free” label.
Erosion Mats: The Heavy-Duty Protector for Slopes
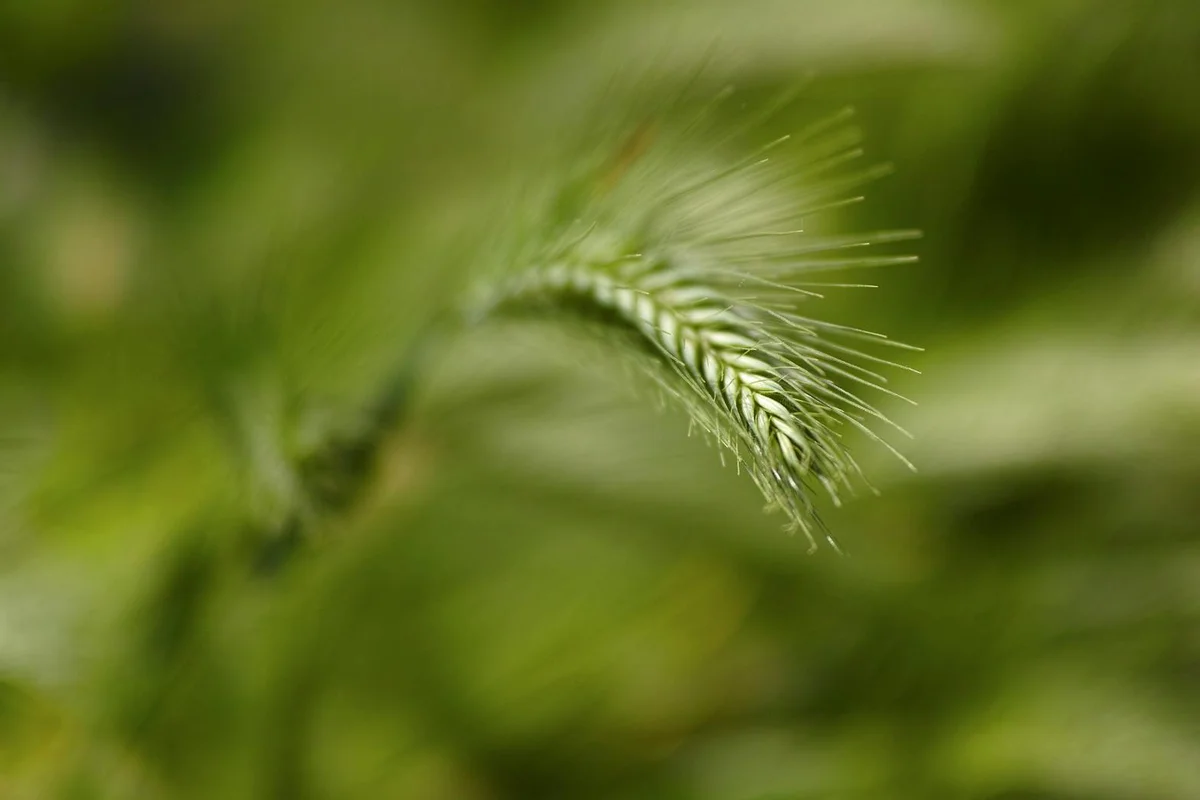
Let’s talk about the tool for when your lawn looks more like a ski jump. Erosion mats are your heavy-duty, biodegradable blankets. They’re typically made from materials like jute, coir (coconut fiber), or straw held together by a mesh netting. You roll them out like a carpet, and they lay down over your seed to form a protective shield.
Installing one is straightforward, but you have to do it right.
- Prepare your soil and spread your seed like normal.
- Roll the blanket out directly over the seeded area.
- Secure it tight to the soil using landscape fabric staples or pins. I place them every few feet along the edges and a few in the middle.
- Water it. The beauty is you water right through the mat.
On a steep bank where every rainstorm threatens to wash your work and money down the driveway, nothing else compares. An erosion mat provides unmatched protection from wind and water, holding your seed and soil firmly in place. It lets sunlight and water pass through to the seedbed and simply decomposes over time, leaving no cleanup.
The trade-offs are real. These mats are the most expensive option per square foot. They also take more time and effort to install properly than just scattering straw. For a perfectly flat, gentle yard, it’s complete overkill. That’s like using Max, my zero-turn, to mow a 10×10 patio.
So when is a mat the only real choice? Any slope you look at and think, “Yep, that’s gonna wash.” If it’s steep enough that walking on it is tricky, you need a mat. For a mild incline or flat ground, peat moss or straw will do the job just fine and save you money and sweat.
The most common mistake I see? Not securing the edges well enough. A loose mat is a kite waiting to happen. The first stiff breeze will get under it and send it flying into your neighbor’s shrubs. Pound those staples in firmly.
How to Pick the Winner for Your Lawn
Don’t overcomplicate this. Your best pick comes down to three things: your lawn’s slope, your budget, and the time you can spend. Think of it like this:
| Your Situation | Best Choice | Why It Wins |
| Steep slope or hill | Erosion Mat | It physically holds everything in place. Non-negotiable for erosion control. |
| Sandy, fast-drying soil | Peat Moss | Acts like a sponge, holding crucial moisture at the seed level. |
| Flat yard, tight budget | Weed-Free Straw | Cheap, fast, and provides good coverage and moderate moisture retention. |
| Shady area (like Patch) | Peat Moss | A thin layer won’t smother delicate seeds struggling for light, yet still conserves moisture. |
Let’s compare straw or peat moss for grass seed in a real scenario. A sunny, flat yard with decent soil? Straw is your workhorse. It’s affordable and effective. For that damp, shady corner where Patch lives, I go with a light layer of peat moss. It keeps the soil moist without blocking the limited light, giving those seeds a fighting chance. It’s especially useful when trying to establish grass in heavy shade.
Your soil type changes the game. If your soil drains like a sieve, peat moss is a helper. Peat moss can help sandy soil hold water like a sponge, giving seeds the consistent dampness they need to sprout. For heavy clay, a super thin layer is best, as too much can create a crust.
People often ask, “Should I use peat moss or compost for grass seed?” They do different jobs. Think of compost as the long-term meal for your soil, adding nutrients. Peat moss is the short-term babysitter for your seed, managing moisture and coverage. You can use a little compost when preparing the soil, then use peat moss (or straw) as the seed cover.
When you shop, look for these specific product types:
- Finely milled or screened peat moss (it’s easier to spread thinly).
- Certified weed-free straw or straw blanket (this saves you future headaches).
- Biodegradable jute or coir erosion control mats (they break down naturally).
Finally, a tip from my years wrestling with Patch, my problem slope. Sometimes, you mix tactics. On a tricky, eroding slope, I’ll spread a thin layer of straw first for instant coverage, then roll a jute mat over top and staple it down. The straw gives immediate protection, and the mat locks it all in for the long haul. It’s a belt-and-suspenders approach that has never failed me.
Common Covering Blunders and How to Fix Them
Even the best plan can go sideways with a few simple mistakes. I’ve made them all in my own yard, especially in that tricky area I call Patch. The good news is, most covering errors are easy to spot and fix if you catch them early.
Using Too Much of a Good Thing
The most common error is smothering your seed. You think you’re helping, but you’re building a roof that blocks light, air, and water.
Watch for a matted, slimy layer or fuzzy mold, especially on straw, which is a sure sign you’ve laid it on too thick.
The fix is simple. Grab a rake and gently pull some material away until you can just see the soil beneath. For peat moss, you want a translucent layer no thicker than a quarter-inch. With straw, a light, fluffy blanket you can see through is perfect. If you’ve used an erosion mat, you can’t thin it, so your only job is to ensure it’s in solid contact with the soil.
Neglecting the Water After the Cover
Covering helps retain moisture, but it doesn’t replace your watering can or sprinkler. A dry blanket over dry seed is useless.
The symptom here is a crusty, dry surface layer while the seed underneath remains bone dry and never sprouts.
Your routine shouldn’t change after you lay the cover. You still need to water lightly multiple times a day to keep that top inch of soil consistently damp. Think of the cover as a sponge-it needs to be wet to work. Lift a corner to check the soil moisture for the first few days until you get the rhythm.
Burying Seed Too Deep, Then Covering It
This is a double whammy. Grass seed needs light to germinate. If you rake it in too deep and then pile on cover, you’re asking for failure.
You’ll see patchy germination or no germination at all in areas where the seed is buried.
Always sow seed on the surface or barely raked in (no deeper than 1/4 inch), and then apply your cover. The cover’s job is to protect surface-sown seed, not to bury seed you’ve already planted too deep. If you suspect this happened, you may need to gently re-seed the bare spots once you correct the covering depth.
Overlooking Safety for Pets and Pollinators
Our lawns are shared spaces. A common blunder is not considering what’s in the materials we bring home.
Always ask for straw that is guaranteed to be free of pesticides or herbicides, as these chemicals can harm pets and the beneficial insects we want to encourage. With erosion mats, run your hand over them and check the edges for any loose plastic netting or staples that could cut a paw. A few minutes of inspection can prevent a lot of trouble.
Forgetting About the First Cut
You’ve nurtured your new grass, and it’s finally tall enough to mow. Here’s where many get tripped up. That new turf is tender, and your cover might not be fully gone.
I learned this the hard way with Max, my zero-turn. Mowing over a stray erosion mat corner or a matted clump of old straw can jam the deck and scalp the young grass.
Before that first mow, walk the area and clear any lingering debris, then set Max’s cutting height to the highest setting to avoid stressing the new grass. Take it slow. That first cut is a celebration, not a race.
Your Top Cover Questions, Answered
Can I use the same peat moss for my grass seed and my strawberry pots?
Yes, you can use the same bag, but the application is different. For grass seed, apply a dust-thin layer; for potted strawberries, mix it into your potting soil to improve moisture retention.
Is peat moss from Tractor Supply good for grass seed?
Absolutely. The peat moss at Tractor Supply is the same quality you’ll find at garden centers. Just be sure to moisten it in a wheelbarrow before spreading to keep it from blowing away.
I see “peat moss” translated online. Is it the same product everywhere?
Yes, whether you see “peat moss,” “tourbe,” or “turba,” it’s the same material. The key is to buy a finely milled or screened grade for the best coverage on your seedbed.
Should I use peat moss or compost to cover new grass seed?
Use peat moss as the cover. Think of compost as a soil meal you mix in before seeding, and peat moss as the seed’s babysitter that keeps it moist and protected until it sprouts.
Will peat moss hurt the strawberry seeds I planted in my garden bed?
No, a light layer can help conserve moisture for strawberry seeds too. Just like with grass, the rule is thin and even-don’t smother those tiny seeds.
Final Thoughts on Choosing Your Seed Cover
The right cover is the one that solves your lawn’s specific problem without creating more work for you. Look at your slope, your soil’s thirst, and how much time you can give it, and let that point you to the best choice for your situation.
Every bag of peat moss, straw bale, or roll of mat you use is a choice for your yard’s little ecosystem. I always learn something new from Patch, my stubborn weedy spot, and taking care of it the right way is what builds a lawn you can be proud of for years.
References & External Links
- r/lawncare on Reddit: Best erosion control material
- Cover seed with wheat straw or peat moss? | Lawn Care Forum
- r/lawncare on Reddit: When to cut and what to do with straw net?
- Peat Moss vs Straw for Grass Seed Cover?
- Erosion Control Blanket – Biodegradable Mats – Sandbaggy – Tagged “feed-material-Straw”
- Straw over grass seed – TractorByNet
Written by Ria Carrington. Ria is an avid lawn care enthusiast and advisor. No lawn is unsalvagable when Ria is at work. She has helped countless homeowners breath new life into their dying lawns. She has a B.Sc in Agriculture and brings practical advice combined with knowledge of plant science and her decade worth of hands on experience.