
How Do You Switch Grass Types Without Wasting Time or Money?
You might look at your lawn and think a full grass change means tearing everything out and starting from scratch. I get it, but that expensive headache is often avoidable.
We will cover reading your soil’s needs, choosing the right grass for your climate, practical renovation methods, and the aftercare that locks in results.
I learned this through trial and error on my own yard, transforming areas like Patch with a homeowner’s budget in mind.
Is a Grass Type Transition Right for Your Lawn?
How do you know if your lawn needs renovation? You look it in the eye every weekend. I see it when I’m out with Max, noticing the same bare spots I filled last fall staring back at me. It’s a feeling more than a single weed. It’s your grass thinning a little more each year, losing ground to clover or crabgrass no matter what you spray. It’s that one section under the oak tree that just gives up by July, while the sunny strip bakes to a crisp.
Before you decide on a full overhaul, rule out the simpler solutions first. A soil test is your best friend here. It tells you if you’re just low on nutrients or if the pH is locked up. Sometimes, the fix is as straightforward as a season of diligent overseeding with the right grass or adjusting your fertilizer timing. These are great ways to thicken up and improve what you already have.
But if the core species is wrong for your spot, all the care in the world is like putting a bandage on a broken pipe. You’ll keep fixing the same leaks.
Signs Your Lawn Is Begging for a Change
Look for these clear signals that a simple fix won’t cut it.
- Weeds make up more than half of your lawn’s cover.
- Your grass goes fully dormant (brown) for long stretches when it shouldn’t. Think of a mismatched grass type like wearing a winter coat in summer, it just can’t function properly.
- You have persistent areas that refuse to grow, no matter the seed, water, or sun.
My shady corner, Patch, taught me this. I tried for two years to force the existing grass there. It was a waste of time, seed, and hope. The grass type was simply wrong for the deep shade.
When a Simple Fix Isn’t Enough
Overseeding adds more blades to the team you already have. A full grass type transition is like trading out the entire team for one better suited to the game. If your lawn is a cool-season blend struggling in Georgia heat, or a warm-season grass languishing in Michigan shade, no amount of overseeding will change its fundamental nature. When the species itself is the problem, replacement is the only permanent solution.
Picking Your New Grass: A Quick Snapshot Guide
How do you choose the right new grass type? Start with the biggest question: cool-season or warm-season? Your USDA hardiness zone gives you the answer. This isn’t just a suggestion, it’s the rulebook for what can survive your winters and thrive in your summers. Once you know your zone, you can review grass seed types that will perform best there. When you’re ready to shop, you’ll find options tailored to cool-season or warm-season lawns.
I always advocate for grasses that need less from you, less water, fewer chemicals, and offer more to the local bees and butterflies. A resilient lawn is an easier lawn that also has lower environmental impacts.
Understanding Cool-Season vs. Warm-Season Grasses
It’s simpler than it sounds. Cool-season grasses (like Tall Fescue, Kentucky Bluegrass) hit their growth spurts in the cool of spring and fall. They’re like morning people, full of energy when the temperatures are mild. Warm-season grasses (like Bermudagrass, Zoysia) wake up in the heat of summer. They’re the night owls, peaking when the sun is strongest and often going dormant and brown when frost hits.
Quick Snapshot Table: Grass Types at a Glance
| Grass Type | Best For | Water Needs | Best Time to Plant | Good to Know |
| Tall Fescue (Cool) | Sun & Partial Shade | Moderate | Early Fall | Drought-tolerant, stays green in winter. A tough, low-chemical workhorse. |
| Kentucky Bluegrass (Cool) | Full Sun | High | Early Fall | Forms a dense, lush carpet but needs more water and care. |
| Fine Fescues (Cool) | Shade & Low Traffic | Low | Early Fall | Super fine blades, very low water needs. Great for eco-friendly, low-mow areas. |
| Bermudagrass (Warm) | Full Sun | Moderate | Late Spring | Handles heat and foot traffic like a champ. Spreads aggressively via runners. |
| Zoysia (Warm) | Sun & Partial Shade | Low | Late Spring | Slow growing, dense, and chokes out weeds. Excellent drought tolerance. |
Matching Grass to Your Local Climate and Yard Conditions
Your zone is the starting line, not the finish. Next, become a detective in your own yard. Soil type changes everything. Clay holds water like a sponge, sand drains like a sieve. Most grasses want something in between, loamy soil.
Sun exposure is the other huge factor. Spend a Saturday noticing where the light falls. That back corner that only gets 2 hours of sun needs a shade-tolerant grass, period. Also, be honest about foot traffic. A play area needs a tough grass like Bermudagrass or Tall Fescue, not delicate Fine Fescues. Matching these conditions is how you pick a grass that will actually want to live in your yard.
Timing Is Everything: When to Start Your Lawn Transition

So, what is the best time of year to transition grass types? The simple answer is to start when your current grass is weakest and your new grass is strongest. This is your golden rule. Rushing this step is the biggest mistake you can make. I learned that lesson years ago trying to beat an early frost, and Patch (that stubborn corner) just laughed at my thin, struggling new seedlings. Patience here saves months of headache later.
You’re also wondering how long it takes. Think of it as a short-term project with a long-term payoff. From the day you start prep to the day you get a thick, established lawn, you’re looking at a season of focused care.
The Golden Rule: Transition in the Off-Season
For cool-season grasses like Kentucky Bluegrass or Fescue, your window is late summer to early fall. The heat-stressed old grass gives up easily, and the cool nights and warm soil are perfect for new seed. For warm-season grasses like Bermuda or Zoysia, aim for late spring to early summer, right as they wake up from dormancy.
Don’t just watch the calendar, watch your soil temperature. Your new grass seed has an ideal germination range. A simple soil thermometer from the garden store is a better guide than any date on a page.
Seasonal Effects: A Step-by-Step Checklist
Here’s a practical checklist for a classic fall transition. Taping this to the fridge kept me on track.
- 8 Weeks Out: Get a soil test kit. This is your planning phase.
- 6 Weeks Out: Begin killing or removing your old grass using your chosen method.
- 2 Weeks Out: Final soil prep. Amend based on your test, level, and rake smooth.
- Planting Week: Sow your seed or lay your sod. Water immediately.
- First Month: Water lightly every day to keep the top inch of soil damp.
- 6-8 Weeks In: Give the new lawn its first mow.
How Long From Start to Finish?
If you’re seeding, expect 4 to 8 weeks for full germination and a lawn you can actually use. Sod looks like an instant green carpet, but it needs 2 to 3 weeks of careful, gentle care for its roots to knit into your soil. Think of seeding like baking a cake from scratch, and sodding like buying a beautiful bakery cake-both need the right conditions to turn out well.
Removing the Old Grass: Kill, Strip, or Smother?
How do you kill the existing grass? You have three main paths: chemical kill, physical stripping, or smothering it. For a full species change, overseeding rarely works. The old grass will outcompete the new seedlings every time. You need a clean slate.
My first advice is always to go pet-safe and chemical-free. It’s better for the bees, the birds, and your peace of mind when your dog is rolling in the yard.
Chemical-Free Methods: Solarization and Smothering
Solarization uses the sun’s heat. You water the lawn, cover it with clear plastic sheeting (anchor the edges with bricks), and let it bake for 4 to 8 weeks. The trapped heat cooks the grass and many weed seeds. Smothering is slower but great for small areas. Layer cardboard or newspaper over the mowed grass, wet it down, and cover it with 3-4 inches of mulch. This blocks all light. Both methods are completely safe for pets and pollinators, but they require you to plan far ahead.
Using Herbicides: What You Need to Know
If you have a massive area and need speed, a non-selective herbicide like glyphosate is an option. Treat it as a last resort. Read the entire label, not just the front. You must follow the safety gear instructions and the waiting period before you can plant your new grass. The goal is to kill the old grass, not poison the soil for your fresh start.
The Overseeding Shortcut: Does It Work for a Full Transition?
Overseeding is fantastic for thickening up a thin lawn of the same grass type. It’s not a magic trick for changing from, say, Bermuda to Fescue. The established grass is too strong and will crowd out the different seedlings. My rule of thumb is simple: if you’re switching grass families, you need to start from bare soil. Trying to overseed for a full transition usually just wastes money and time.
Soil Prep: The Foundation for a Healthy New Lawn

What preparation is needed for the soil before planting new grass? This is the most important question you can ask. You can buy the best seed or sod on the planet, but if you drop it on poor ground, you’re setting yourself up for a constant fight. Properly preparing the soil can make all the difference.
Think of soil prep as the non-negotiable homework. Do it right now, and your new grass will reward you with thicker growth, deeper roots, and far fewer problems for years to come. Good soil means less work later, I promise you. We break this down into three straightforward phases: testing, amending, and final grading.
When you’re done, the soil should feel crumbly and loose in your hands, like a moist chocolate cake, not clumpy or hard as a rock. That’s the perfect bed for new roots.
Testing and Amending Your Soil
You wouldn’t bake a cake without checking you have flour, so don’t plant grass without checking your soil. A simple test tells you exactly what your dirt is missing.
Here’s how to do it in three steps:
- Get a test kit from your local county extension office or a garden center. These are inexpensive and easy.
- Take samples from a few spots in your lawn, about 4-6 inches deep. Mix them together in a clean bucket.
- Send the sample off in the provided bag or use a simple home pH test kit for a quick idea.
The results will tell you two main things: pH (acidity) and nutrient levels. Now you know what to add.
- For poor, lifeless soil, add compost. It’s like a multivitamin, improving texture and feeding microbes.
- If your soil is too acidic (low pH), add lime to sweeten it.
- If it’s too alkaline (high pH), add sulfur to gently lower it.
Greedy Grass Pro Tip: When adding compost, think of topping a pizza. Spread a thin, quarter-inch layer over the bare soil and rake it in lightly. This feeds the new grass roots right where they start without smothering them.
The Final Touch: Leveling and Loosening
Once your old grass is gone and any soil amendments are added, you need to create the perfect seedbed. This means breaking up the top inch or two of soil. You can use a sturdy garden rake for a small area or rent a lightweight tiller for bigger spaces.
The goal is to loosen any compaction so tiny new roots can push through easily. Next, you need to level it. Low spots collect water and drown grass, creating perfect spots for “Patch” and his weed friends to move back in.
Use a simple method: drag a long, straight piece of lumber or a metal rake handle (with a rope tied to both ends) across the soil. Go over it in multiple directions. You’re not creating a pool table, just smoothing out the major bumps and dips.
Your prepared seedbed should look and feel like a fluffy, well-made bed, ready for the grass seed to tuck in.
Planting and Aftercare: From Seed to Sod to Success
Now for the fun part. How should you care for the new grass? What common mistakes should you avoid? How can you ensure it establishes well? The answers all hinge on the first few weeks. This period makes or breaks the entire project.
Seeding vs. Sodding: Which Path for You?
You have two main choices, each with clear trade-offs.
Seeding is cheaper and offers more grass variety, but it’s slower and requires more precise care at the start. Sodding gives you an instant lawn, but it costs more and is heavy, physical work to install. Cost, time, and effort are key when weighing grass seed versus sod. The next steps will compare these factors side by side.
For seeding, use a broadcast or drop spreader. Walk at a steady pace, apply half the seed in one direction and the other half in a perpendicular direction. This gives you even coverage. Lightly rake the seed into the soil so it’s just barely covered.
For sodding, lay the rolls like bricks, with tight seams. Stagger the joints so they don’t line up. I use a sharp knife to cut pieces to fit around curves. The key is to keep the sod moist from the moment it’s delivered until it’s firmly rooted.
The Critical First Weeks: Watering and Mowing
This is where most folks stumble. The schedule is simple but must be followed.
For the first two weeks, water lightly and frequently. Your goal is to keep the top half-inch of soil consistently moist, like a wrung-out sponge. This might mean watering for 5-10 minutes, two or three times a day if it’s hot and sunny.
After the grass sprouts and reaches about 2 inches tall, switch to deeper, less frequent watering. This encourages roots to grow down. Water for longer periods, but only every other day.
This is where my drip irrigation setup, Sunny, earns his keep. I can set a timer and know the new lawn is getting a gentle, consistent drink without me having to drag hoses around every evening.
The first mow is a big moment. Wait until the grass is about one-third taller than its recommended mowing height. If your new tall fescue should be cut at 3 inches, wait until it’s about 4 inches tall. Use a sharp mower blade. A dull blade will shred the tender young grass and turn the tips brown.
Common Mistakes That Can Derail Your New Lawn
- Walking on new seed or sod: This compacts your fluffy seedbed and can tear up new sod roots. Mark the area with string and stick to the edges.
- Using weed killer too soon: Most herbicides can damage or kill young grass. Wait until you’ve mowed the new lawn at least 3-4 times before considering any spot treatment.
- Letting pets on the area: Their traffic and waste create dead spots. It’s a temporary sacrifice for a permanent lawn.
- Mowing with a dull blade: As mentioned, a sharp blade makes a clean cut that heals fast. A dull blade rips and stresses the plant, opening the door for disease.
Long-Term Care for a Lasting Lawn
Once your new lawn has survived its first few mows, you can transition to regular maintenance. Hold off on fertilizer for about 6-8 weeks after planting; the seed or sod usually comes with a starter charge. Then, you can begin a simple feeding schedule based on your grass type.
Plan for annual core aeration, especially if you have heavy clay soil. This reduces compaction and lets water, air, and nutrients get to the roots, which is the secret to a lawn that thrives with less fuss from you.
A well-chosen grass type, planted into properly prepared soil, will naturally need less work over time. You’ll spend more time enjoying your resilient, green lawn from the patio and less time wrestling with problems out by the shed with Max. That’s the real goal, and it’s absolutely within your reach.
Your Lawn Transition FAQ: Straight Talk for a Thicker Yard

Can I overseed to transition, or do I need to start from bare soil?
For a true grass-type change, you need bare soil. Overseeding works to thicken your existing team, but it fails when you’re trying to trade out the whole roster because the old grass will outcompete the new seedlings every time.
What’s the absolute non-negotiable soil prep before planting?
Test and amend your soil based on the results-it’s the foundation. Then, loosen the top layer and level it out to create a fluffy, welcoming bed where new roots can dive deep without fighting compaction or puddles.
What’s the single most important thing to do right after seeding or sodding?
Master the watering schedule: keep the topsoil consistently moist with light, frequent watering for the first two weeks. This is non-negotiable for germination and root establishment, so set reminders if you have to.
What’s the top mistake that dooms a new lawn?
Walking on or mowing the new grass too soon. This compacts your perfect seedbed or tears up tender roots—be patient, use string to mark the area, and avoid walking on newly seeded grass until it has established enough for that first official mow.
How do I ensure my new grass establishes well and doesn’t fail?
Choose the right grass for your conditions and stick to the aftercare plan like a recipe. A greedy, thick lawn is built on consistency in those first critical weeks of water, followed by a sharp mower blade and smart, delayed fertilizing.
Your New Lawn’s First Season
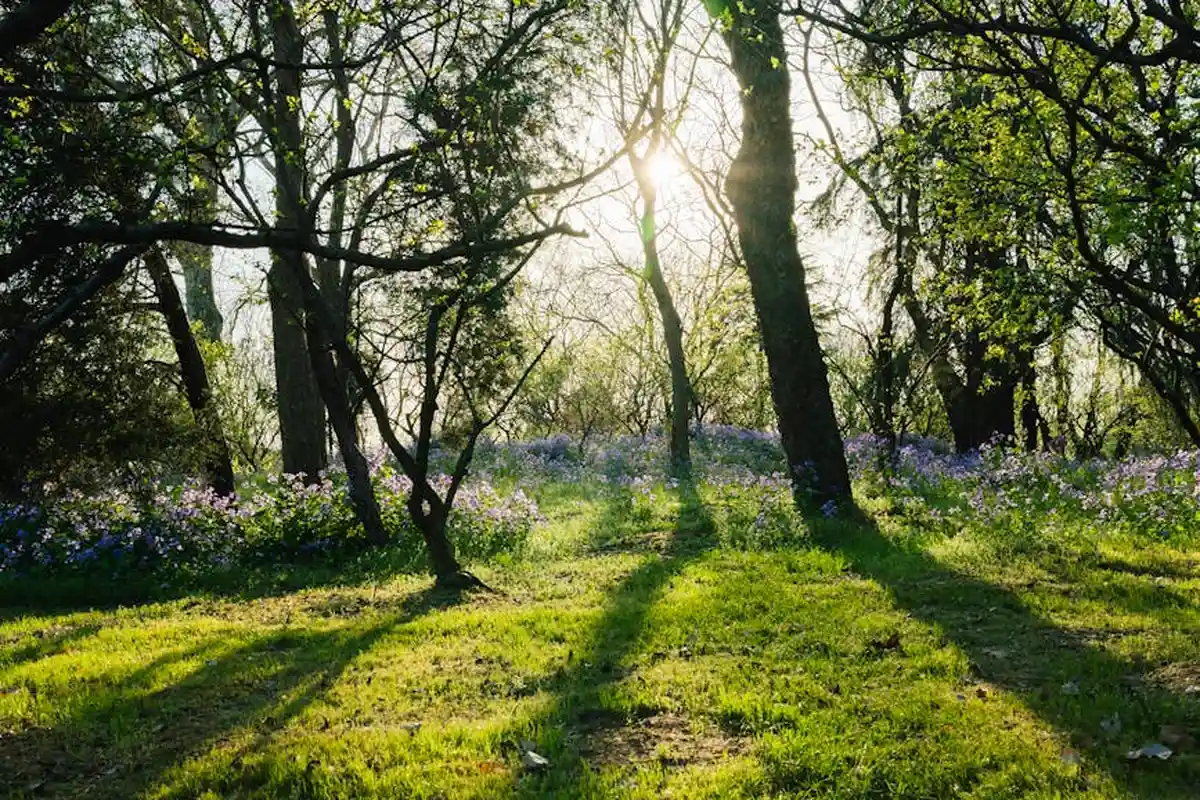
Getting your timing right is the most important step in this whole process. Plan your renovation for the peak growing season of your new grass type, and invest your effort in preparing the seedbed. A careful start gives your lawn the best chance to thrive for years.
As your new grass establishes, remember that a healthy lawn is a responsible one. I always choose pet-safe fertilizers and spot-treat weeds to protect the bees and butterflies that visit my yard. Lawn care is a continuous learning experience, and each season teaches you more about your own patch of green.
Research and Related Sources
- Switchgrass – Species & Varieties | Forages
- Lady Bird Johnson Wildflower Center – The University of Texas at Austin
- Dig deeper into Switchgrass, the genus Panicum.
- Switchgrass, Panicum virgatum – Wisconsin Horticulture
- Switchgrass | Hamilton Native Outpost
- Switch grass | The Morton Arboretum
Written by Ria Carrington. Ria is an avid lawn care enthusiast and advisor. No lawn is unsalvagable when Ria is at work. She has helped countless homeowners breath new life into their dying lawns. She has a B.Sc in Agriculture and brings practical advice combined with knowledge of plant science and her decade worth of hands on experience.