
How Do You Feed Your Lawn Without Wasting Fertilizer or Cash?
Figuring out fertilizer math can feel overwhelming, but getting it right means a healthier lawn and no more guessing with your wallet.
This article will walk you through how to calculate your lawn’s exact size and nutrient needs, choose the right amendments for your soil, and spread everything evenly for consistent results.
I’ve dialed in this exact process over years of hands-on Saturdays with Max on mowing duty and Sunny keeping things watered just right.
What You Need Before You Start: Tools and Info
You don’t need a garage full of expensive gear for this job. A few basic items will get you the answers you need.
- A 100-foot tape measure. The long tape lets you measure big sections without stopping and starting, which saves time and avoids mistakes.
- A soil test kit. This is your most important tool.
- A notepad and a calculator. Your phone works fine for the calculator, but I like writing numbers down on paper. It helps me think.
A proper soil test tells you exactly what your lawn is hungry for, so you don’t waste money or harm the soil with guesses. You can use a home test kit from a garden center for a basic idea. For the best results, send a sample to your local university extension office. They give a detailed report for a small fee. It is worth it.
Finally, know if you have cool-season grass (like Kentucky Bluegrass or Fescue) or warm-season grass (like Bermuda or Zoysia). This decides the best time of year to feed your lawn. Applying fertilizer when the grass is dormant or stressed can hurt it.
Step One: Find Your Lawn’s True Square Footage
Don’t guess the size of your yard. Guesses lead to applying too much product, which can burn the grass and wash into waterways, or too little, which wastes your effort. We will break your lawn into simple shapes, do a little math, and get it right.
Walk your property and split it into rectangles, circles, or triangles. Most lawns are just a few big rectangles.
- For a rectangle or square: Multiply length by width. (A 50 ft. long by 40 ft. wide section is 50 x 40 = 2,000 square feet).
- For a circle: Measure from the center to the edge (the radius). Multiply the radius by itself, then by 3.14. (A circle with a 10 ft. radius is 10 x 10 x 3.14 = 314 square feet).
- For a triangle: Multiply the base by the height, then divide by 2. (A triangle with a 20 ft. base and 10 ft. height is (20 x 10) / 2 = 100 square feet).
Add the area of all the shapes together. Now, here is my pro-tip.
Subtract the areas you will not be treating, like your house, driveway, patio, and large perennial garden beds. My drip irrigation system, Sunny, takes care of the flower beds separately. Their soil has different needs. This gives you the true “turf area” for spreading fertilizer.
If you want to double-check your math, use an online satellite map tool. Many let you draw over your property to calculate area. It is a great way to confirm your numbers before you buy anything.
Step Two: Read Your Soil Test and Choose Your “Food”

You’ve got your soil test results. It looks like a report card, but for dirt. Don’t let it intimidate you. This is your cheat sheet to feeding your lawn exactly what it craves. In the next steps, those numbers will map to simple lawn-care actions. We’ll translate the lab results into easy, actionable steps you can follow.
First, you need to understand the main label on any fertilizer bag: the NPK ratio. Think of it like a balanced meal for your grass. The three numbers represent Nitrogen (N) for green, leafy top growth, Phosphorus (P) for strong roots and seedlings, and Potassium (K) for overall plant health and stress resistance. A bag labeled 24-0-10 is like a steak dinner heavy on protein (Nitrogen) with a side of vitamins (Potassium), but skipping the potatoes (Phosphorus).
What Your Soil is Telling You
Your soil test breaks down two big things: nutrient levels and pH. pH tells you how sour or sweet your soil is on a scale from 0 (battery acid) to 14 (lye). Most grasses are happiest in the slightly sour range, between 6.0 and 7.0.
If your pH is too low (acidic), your grass can’t absorb nutrients well, even if they’re in the soil. It’s like having a locked pantry. To fix this, you add lime. If your pH is too high (alkaline), you add elemental sulfur or another acidifier. These are amendments, not food. They adjust the soil’s condition so your grass can actually eat the fertilizer you give it later.
Your test will also show if you’re low on Nitrogen, Phosphorus, or Potassium. This is your shopping list. Match your fertilizer’s NPK numbers to what your soil lacks most to avoid wasting money and feeding weeds instead of grass. If your test shows high Phosphorus but low Nitrogen, you want a fertilizer where the first number (N) is high and the middle number (P) is low or zero.
Now, let’s tackle a couple of common questions I see all the time.
Can you put compost on your lawn? Absolutely, and I encourage it. Top-dressing with a thin layer of screened compost is one of the best things you can do. It adds organic matter, which improves soil structure, holds moisture, and feeds beneficial microbes. It’s a slow-release meal and a soil conditioner in one. Apply a 1/4-inch layer in spring or fall and rake it gently so it settles down to the soil surface.
Can you spread diatomaceous earth (DE) on your lawn? You can, but know what it’s for. Diatomaceous earth is made from fossilized algae. Its sharp edges cut up insects with exoskeletons, like ants or fleas. It is not a fertilizer. “DEF” will not feed your grass. If you use it for pest control, choose food-grade DE and apply it very lightly to dry grass. Reapply after rain or watering. I use it sparingly around the patio, not as a blanket treatment for the whole yard.
Chemical, Organic, or Homemade?
You have choices for your lawn’s main course. Each has its place in my shed.
Synthetic (chemical) fertilizers are like an energy drink for your grass. They are readily available, affordable, and give you that fast green-up. The nutrients are in a form grass can use immediately. The downside is they can feed the plant but do little for the long-term health of the soil itself. If you use them, follow the label rates exactly. More is not better.
Organic fertilizers, like those made from feather meal, bone meal, or manure, are a slow-cooked stew. They feed the soil biology first, which then feeds your grass. The results come slower but last longer, and they build your soil’s health over time. They are generally much safer for pets and pollinators once watered in. I lean toward organic options for the long game, especially in areas where my dog hangs out.
Homemade mixes, like compost tea, can be great supplements. But for primary nutrition, I trust a bagged product with a guaranteed analysis. It takes the guesswork out of feeding thousands of square feet. Your goal is a thick lawn, and that requires a reliable, consistent food source.
Step Three: The Simple Math to Avoid Waste and Burn
Let’s talk numbers. This is where many people zone out, but trust me, it’s simple. Getting this right means your grass gets fed, your wallet stays full, and you avoid the heartbreak of “frying” your lawn. It’s not about dumping a whole bag and hoping for the best. It’s about precision.
Think of it like a recipe. You wouldn’t use a cup of salt when it calls for a teaspoon. Your lawn fertilizer has a similar recipe, called the N-P-K ratio, printed right on the bag. We’re going to use one number from that ratio for our key calculation.
The Magic Formula, Demystified
You only need three pieces of information: your lawn’s square footage, the recommended nutrient rate, and the bag’s percentage. A lawn fertilizer calculator can quickly turn those inputs into the exact amount to apply. Here’s the step-by-step formula.
- Lawn Area (in sq ft): This is your starting point. You figured this out in Step One.
- Recommended Rate (in lbs per 1000 sq ft): This is on your soil test report. If you’re going generic, a common recommendation for nitrogen in spring is 0.5 to 1 pound per 1000 square feet.
- Bag Percentage (as a decimal): Find the N-P-K. The first number (N for Nitrogen) is the percentage. A bag labeled 24-0-6 has 24% nitrogen. You’ll use 0.24 in the math.
Now, plug it all in: (Your Lawn SQ FT) x (Recommended Lbs) / (Bag Percentage) = Total Pounds of Product to Use.
A Real-World Example
Let’s say your lawn is 5,000 square feet. Your soil test says to apply 0.75 lbs of nitrogen per 1000 sq ft this spring. You bought a bag of 24-0-6 fertilizer. This is a form of npk nitrogen lawn fertilizer, designed to deliver nitrogen for spring greening. Used as directed, it helps you meet the 0.75 lb N per 1000 sq ft target.
Here’s how the math works:
- Lawn Area: 5,000 sq ft
- Recommended Rate: 0.75 lbs of Nitrogen per 1000 sq ft
- Bag Percentage: 24% Nitrogen (which is 0.24)
The calculation: (5,000 x 0.75) / 0.24
First, 5,000 x 0.75 = 3,750. This is the total pounds of pure nitrogen your entire lawn needs.
Then, 3,750 / 0.24 = 15.625.
You need just under 16 pounds of that 24-0-6 fertilizer for your 5,000 sq ft lawn, not the whole 40-pound bag. This saves you money and protects your grass.
Why “More” Becomes Your Enemy
I learned this lesson the hard way one hot June. I got impatient and thought an extra scoop would green up Patch faster. A week later, I had yellow, then crispy brown, streaks exactly where the spreader overlapped too much. That’s fertilizer burn.
It happens when excess salts in the fertilizer literally draw water out of the grass blades, dehydrating and killing them. Fertilizer burn shows up as discolored streaks or patches that follow your spreader’s path, a clear sign you applied too much in those spots.
To avoid it, stick to your math. Calibrate your spreader on the driveway first. Walk at a steady pace. When in doubt, put down less. You can always do a follow-up feeding later if needed, but you can’t un-burn your grass.
How Do You Apply Fertilizer? Spreader Choice and Technique

You’ve got the right fertilizer for your grass type and you know the correct rate to use. The final, critical step is getting it from the bag to the lawn evenly. An uneven application is the main reason you see dark green stripes and light yellow patches in a lawn, creating a pattern that’s hard to fix. The goal is simple: consistent coverage. That all comes down to your tool and your technique.
Broadcast vs. Drop Spreader: Which is Right for Your Yard?
Think of your spreader as the paintbrush for your lawn. You wouldn’t paint a wall with a tiny detail brush. Choosing the right type makes the job faster and better.
A broadcast (or rotary) spreader flings material out in a wide, fan-shaped pattern. It’s my go-to for large, open areas. I can cover my backyard with Max the mower in 30 minutes, and Sunny the irrigation system waters it in just as fast. The wide swath means you finish quicker, but the “flinging” action requires more care near flower beds, driveways, and sidewalks to avoid throwing product where you don’t want it.
A drop spreader releases material straight down in a controlled band between its wheels. It offers surgical precision, which is perfect for edging along gardens, sidewalks, or tight spaces. The trade-off is that it’s slower and requires very straight, slightly overlapping passes to prevent missed strips. If your lawn is smaller or has lots of obstacles, this might be your best friend.
For very small lawns or just spot-treating a thin area, a handheld broadcast spreader is a great, affordable option. It works just like the big walk-behind version but fits in one hand.
Your Step-by-Step Spreading Pattern
This is where the magic happens. A good pattern prevents misses and doubles. I use the same method every time, rain or shine.
- Load your spreader on a hard surface, like your driveway. This catches any spills so you don’t burn a spot on your grass. Fill it only halfway for easier handling and to prevent the hopper from jamming.
- Set the spreader to the correct setting. Check the bag label. If it gives a range, start on the lower end. You can always make a second, lighter pass if needed.
- Walk the perimeter first. Start with the spreader engaged and walk all the way around the edge of your lawn. This creates a border to turn within.
- Go back and forth in straight lines. Just like mowing, walk in parallel lines across the main area of your lawn. Start your next pass so the wheel track lines up with the outer edge of the previous spread pattern. That slight overlap guarantees no thin strips.
- Walk at a steady, brisk pace. Don’t rush, but keep a consistent speed. A slow stroll dumps too much product, and a sprint leaves too little.
- Check the hopper often. Make sure the agitator inside is moving and product is flowing freely. If it clumps, give the hopper a gentle tap with your hand.
A few final thoughts on the tool itself. For most homeowners who feed their lawn a few times a year, buying a spreader makes sense. You can find solid models at any big-box store or tractor supply shop. If you’re unsure, check online reviews for walk-behind models focusing on ease of use and durability. Renting is an option if you have a tiny yard or think you’ll only do this once. But honestly, once you see the results, you’ll probably be back for more.
Common Mistakes and How to Fix Them
Even with the best plans, things go sideways. I’ve been there, staring at a missed stripe of pale grass next to a dark green streak. Don’t worry. We can fix these common blunders.
Pitfalls to Sidestep
Most fertilizer issues start before you even open the bag. Here are the big ones I see (and have done myself).
Skipping the soil test is like trying to fix a squeaky door without checking if it’s the hinge or the frame. You might add stuff your soil doesn’t need and miss what it’s desperately lacking. That $20 test saves you hundreds in wasted product and years of frustration.
Guessing your lawn size is a surefire way to over or under-apply. My rule? Trust the mower, not your eyes. If Max covers my 10,000 sq ft yard in exactly 45 minutes at his standard pace, I know my math is close. Pace it out or use an online map tool. A 10% error on a bag’s coverage means you’re either starving your grass or force-feeding it.
Using the wrong spreader setting ruins everything. That tiny chart on the bag is your bible. Always do a test run on your driveway or sidewalk first. You want to see the granules land about 2-3 inches apart. Too thick and you’ll burn the lawn; too sparse and it’s a waste of time.
Applying right before a heavy, forecasted rain is asking for trouble. A gentle shower is perfect. A downpour washes it all into the storm drain or, worse, into Patch’s shady corner where it fuels weeds instead of grass. I watch the radar and trust Sunny’s schedule less than my own two eyes.
Fixing Streaks and Missed Spots
So you finished and see a pattern. Maybe the spreader clogged for a second, or your walking speed changed. It happens.
The fix is simple and effective. Make a light second pass, walking perpendicular to your first pattern. If you first went north-south, now go east-west. Set your spreader to half the original application rate. This crosshatch method fills in the gaps without overdoing it. It’s the secret to that perfectly even, carpet-like look.
The Accidental Spill Pile
We’ve all tipped the hopper a little too fast. A pile of granules in one spot screams “future dead patch.” Don’t panic.
Your first move is to keep it from dissolving. Don’t water it in. Carefully scoop up as much of the visible pile as you can with a dustpan or piece of cardboard. Then, take a rake and gently disperse the remaining granules over a much wider area. Follow up with a deep watering to help dilute the concentration in that spot. The grass might still get a bit stressed, but this will save it from certain death.
After You Spread: What to Expect and Do Next
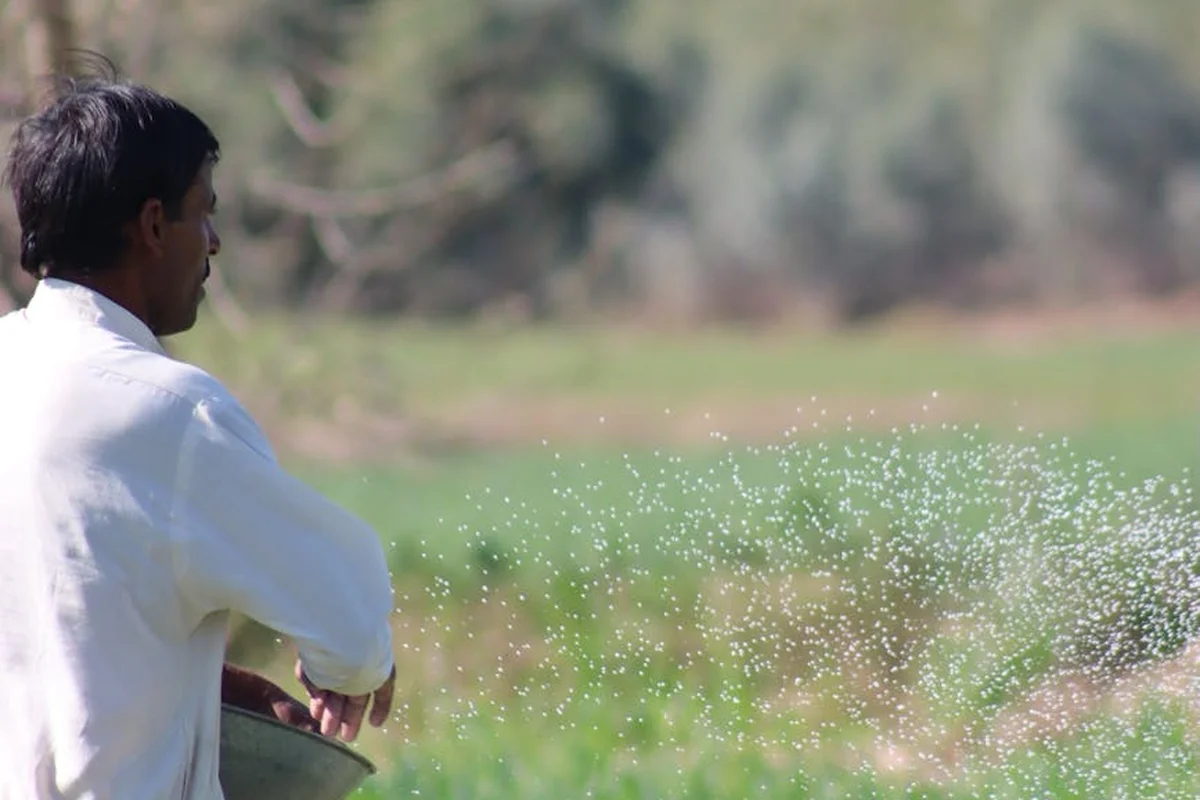
You just finished pushing the spreader. Now what? The steps you take in the next 24 hours are just as important as the math you did beforehand.
Watering: The First Crucial Step
Get your sprinklers ready. You want to water your lawn within a day of applying most granular fertilizers and soil amendments.
A light, immediate watering washes the fertilizer granules off the grass blades and down to the soil where they can start working, and it prevents the sun from burning your lawn.
Think of it like a gentle spring rain, not a monsoon. You want about a quarter-inch of water. Too much too fast, and you risk washing those valuable nutrients right into the storm drain or low spots in your yard. I turn on Sunny, my drip system, for a short cycle right after I’m done to get things started.
To Mow or Not to Mow?
Here’s a simple rule I follow with Max, my zero-turn. Mow the day before you plan to fertilize.
This gives you a clean, even surface for the spreader to roll over and ensures the fertilizer granules fall straight to the soil. If you mow right after applying fertilizer, you’ll vacuum up a good chunk of your expensive product. After feeding, give your lawn a few days to a week to soak up those nutrients before the next cut.
When Will You See Results?
Patience is part of the game. The timeline depends entirely on what you put down.
Quick-release synthetic fertilizers are fast. You might see a surge of deep green growth in 5 to 10 days. It’s satisfying, but that growth spurt means more frequent mowing. For balance, many gardeners compare slow-release and quick-release fertilizers to tailor feeding timing. Slow-release varieties feed gradually, reducing peak growth.
Slow-release organics and soil amendments work differently. They feed the soil life first, so visible changes above ground take longer, often 2 to 4 weeks. The greening is more gradual and sustained. Milorganite, for example, gives my lawn a steady, rich color that builds over time. Lime or sulfur amendments for pH can take months to show their full effect, but they’re working underground the whole time.
Don’t panic if Patch, my stubborn shady spot, doesn’t transform overnight. It always lags a bit behind the sunny areas.
Fitting This Feeding into Your Year
This application isn’t a one-time fix. It’s a strategic move in your seasonal plan.
An early spring feeding wakes the lawn up. A late spring application builds strength before summer heat. Every feeding has a purpose. What you do next depends on the season. After a spring feed, my focus shifts to weed control and proper mowing height to encourage deep roots. A fall feeding is followed by aeration and overseeding to repair thin areas.
Mark this feeding date on your calendar. It helps you space out your next applications correctly, usually 6 to 8 weeks apart for synthetic fertilizers, or as directed by a soil test for organics. Consistent, timed care throughout the year is what builds a lawn that can handle a few bumps, from dry spells to my dog’s favorite running path. A seasonal lawn fertilizer treatment schedule keeps you aligned with spring, summer, and fall feedings for steady, healthy growth. This approach helps maximize results and minimize waste.
Your Spreader Questions, Answered
What’s the best type of spreader for a typical suburban yard?
For most lawns, a walk-behind broadcast (rotary) spreader is your best bet-it covers ground quickly and evenly. Just be mindful of your walking speed to avoid flinging product onto driveways or flower beds.
Should I buy a spreader or just rent one?
Buy one. If you’re feeding your lawn properly a few times a year, renting becomes a hassle and expense fast. A decent spreader is a one-time investment that pays off in consistent, streak-free results.
Is a handheld broadcast spreader worth it, or is it just a toy?
They’re absolutely worth it for small lawns, tight spots, or spot-treating thin areas. They offer the same even broadcast pattern as a big push model, just on a much smaller, more manageable scale.
I see spreaders at Tractor Supply and Lowe’s. Which brands hold up?
Stick with brands known for outdoor power equipment. Look for metal gears and a sturdy axle-plastic parts crack under the weight of heavy bags. Read reviews specifically focusing on durability and ease of cleaning.
I’ve heard of Echo spreaders. Are they a good choice?
Echo makes reliable, professional-grade equipment, and their spreaders are built to last. You’re paying for precision engineering and durability, making them a top-tier choice if you want a tool that will handle decades of spring and fall feedings.
Your Lawn’s Feeding Routine, Made Simple
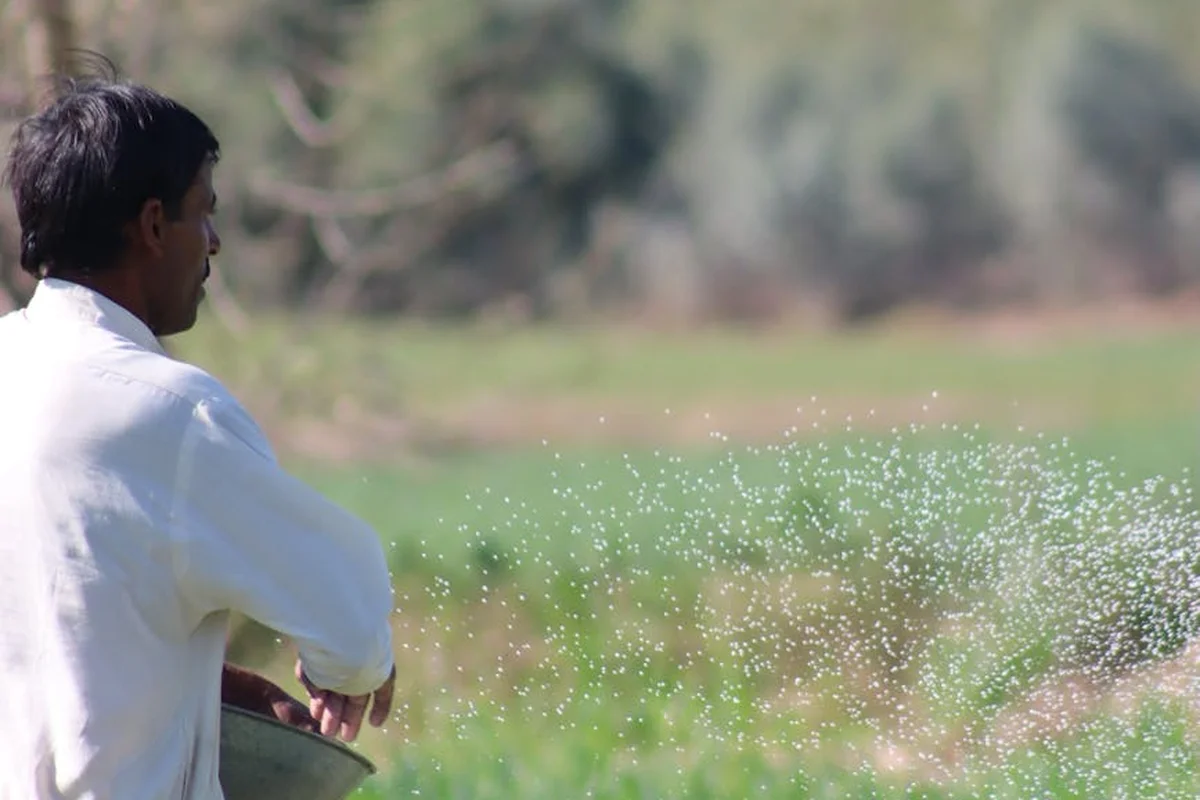
Stick with a soil test to guide your fertilizer choices every single time. That one step saves you money and prevents guesswork, giving your grass exactly what it needs without the waste.
I’ve found that the best lawn care is about working with nature, not against it. This mindset fits with pet-safe lawn care and natural weed and pest control. It’s about safety for pets and wildlife. Keep exploring pet safe options and pollinator friendly habits, and you’ll build a green space that’s lush, resilient, and full of life.
Relevant Resources for Further Exploration
- When to Fertilize for a Greener Lawn | ScottsMiracle-Gro US
- Fertilizing Lawns | OSU Extension Service
- Fertilizing lawns | UMN Extension
- 5 Ways to Apply Fertilizer to Your Lawn and Garden
- Summer Lawn Fertilization: Best Practices for a Thriving Yard | TruGreen
- Best Time to Fertilize Your Lawn via @ConsumerReports
Written by Ria Carrington. Ria is an avid lawn care enthusiast and advisor. No lawn is unsalvagable when Ria is at work. She has helped countless homeowners breath new life into their dying lawns. She has a B.Sc in Agriculture and brings practical advice combined with knowledge of plant science and her decade worth of hands on experience.