
How Should I Store and Transport My Lawn Mower for Winter?
Putting your mower away for the cold months feels straightforward, but a few missed steps can lead to a stubborn engine or a dead battery when you need it most.
This guide will walk you through the practical, money-smart process, covering treating the fuel system, giving the mower a proper clean, storing the battery correctly, and securing it safely for transport.
I follow this exact routine every fall with my zero-turn, Max, to avoid springtime surprises and repair bills.
At a Glance: Key Takeaways for Winter Mower Care
If your weekends are packed and you need the quick version, here it is. Focus on these five actions. I learned them the hard way with Max, my zero-turn. Skip them, and you will absolutely see why “how to get lawn mower to start after winter” fills the search bars every spring.
- Stabilize the fuel in your tank. Fresh gas goes bad and turns into a gummy mess that clogs your carburetor.
- Remove the battery and bring it inside. Cold temperatures drain it, and leaving it connected can cause slow, sneaky power loss.
- Clean the mower thoroughly, especially under the deck. Damp grass clippings rust metal and attract pests.
- Pick a dry, sheltered storage spot. A corner of the garage or a shed is far better than a damp tarp outdoors.
- Secure the mower properly for transport. Use straps to prevent it from rolling or tipping during the move to storage.
Gather Your Gear: The Winter Prep Tool Kit
Do not start this job without your tools within arm’s reach. I keep a dedicated plastic tote in my shed for Max’s winter hibernation. It makes the whole process smooth. Here is everything you need, broken down by the job it does.
For the Fuel System
- Fuel stabilizer. This small bottle is your best friend. Add it to a full tank of gas to prevent varnish and corrosion all winter long.
For Cleaning and Scrubbing
- A stiff brush or a sturdy putty knife. You need this to scrape off the thick, caked-on grass from the mower deck. It sounds like tearing cardboard.
- A pump sprayer or garden hose. For rinsing away dirt and debris. I hook mine up to Sunny’s line, but any water source works.
- Old towels or rags. Common household towels are perfect for drying the metal parts and wiping down surfaces.
For Basic Engine Service
- Socket set and wrench. Useful for removing the spark plug or the drain plug if you are changing the engine oil.
- Oil drain pan. A simple, inexpensive pan to catch the old oil. A used dishwashing tub can work in a pinch.
For Battery Maintenance
- Battery tender or maintainer. This is not essential, but it is a smart investment. It keeps the battery at a full charge without overcharging it during months of storage.
With this kit assembled, you are ready. The job feels less daunting when you have the right tools laid out on the driveway.
How Do You Winterize a Lawn Mower? The Step-by-Step Shutdown
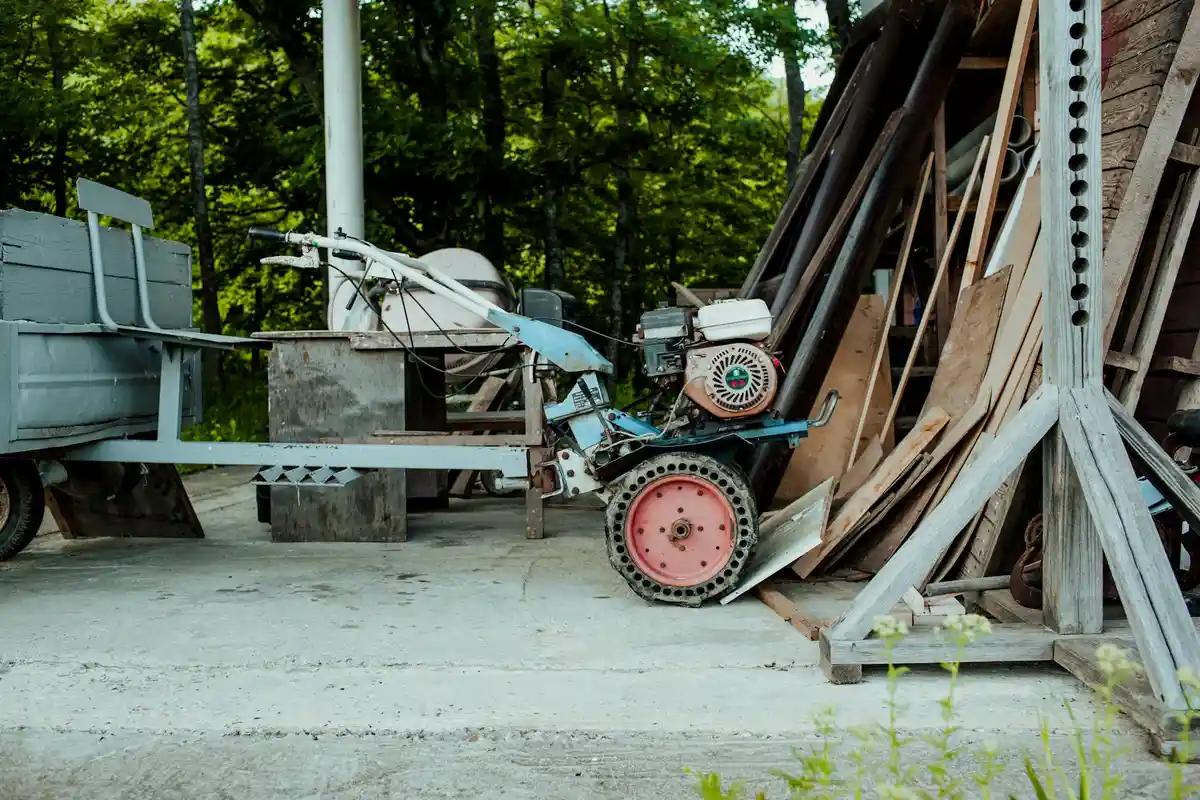
Let’s walk through it. Think of this like tucking your mower into a long, deep sleep. A little care now means a quick, roaring start next spring. I do this with my zero-turn, Max, every single year.
Phase 1: The Final Mow and Clean-Out
Start with one last normal mow. Don’t scalp it. You want to put the lawn to bed cleanly, not stress it. After that final pass, the real work begins.
You need to get every bit of grass and mud off the machine. Wet clippings left under the deck are a recipe for rust. I use a putty knife to scrape thick gunk, then a blast from the hose. The key is to let it dry completely in the sun afterward, until you smell clean metal instead of damp grass. Wipe down the entire chassis, wheels, and handles. A bone-dry mower is a happy mower. Regular basic maintenance helps catch problems early. It sets you up to fix common lawn mower issues.
Phase 2: Conquering the Fuel System
This is the most critical step to avoid spring headaches. Old gas turns to varnish and clogs the carburetor. You have two main choices.
Option one is to run the carburetor dry. Simply disconnect the fuel line or turn off the fuel valve and let the engine stall. This works well for basic push mowers stored in a dry place.
Option two, which I use for Max and any engine stored more than a few months, is a fuel stabilizer. Here’s the simple rule I follow:
- Push mower, short storage: Run it dry.
- Riding mower or long storage (all winter): Use stabilizer.
Fill the tank nearly full with fresh gas, add the recommended amount of stabilizer, and run the engine for 5-10 minutes to circulate the treated fuel through the entire system. This keeps the fuel from degrading and protects all the internal parts.
Phase 3: Basic Engine TLC
With the engine still warm from circulating the stabilizer, it’s the perfect time to check the oil. Warm oil flows out easily, taking any suspended grit with it. Change it if it’s dark or low. Check your manual for the right type.
Next, locate the air filter. Tap out loose dirt or replace a paper filter if it’s filthy. A clean filter prevents the engine from working too hard. For riding mowers, take a minute to check tire pressure and grease any fittings (zerks) on the deck lift mechanism. A quick shot of lubricant keeps things moving freely.
Phase 4: Battery and Spark Plug Care
For any mower with a battery, this is non-negotiable. Remove the battery and store it indoors properly, on a wooden shelf in a cool, dry place like a basement. Concrete floors can drain a battery over time. That practice is also a core part of electric lawn mower batteries lifespan care. Taking these steps now helps extend the battery’s lifespan between charges and replacements.
Connect a battery maintainer (a trickle charger) if you have one. If not, just make sure it’s fully charged before you store it. A dead battery left in the cold probably won’t recover.
Finally, the spark plug. This is optional, but smart. Pull the plug, check its gap with a gauge, and clean any carbon deposits off the electrode. A fresh plug in spring gives you a stronger, more reliable spark.
Finding a Winter Home: Storage Options and Local Considerations
Where you park your mower matters as much as how you prep it. People search for things like “winter mower storage Vermont cost” for a reason. Climate dictates your battle plan.
Ideal Storage Spots: From Garage to Shed
Your best options, in order:
- Insulated Garage or Basement: This is the gold standard. Temperature-controlled and dry.
- Unheated Garage or Shed: A very close second. It’s covered and blocks precipitation. This is where Max lives. In damp climates, I throw a few moisture-absorbing desiccant packs on the seat and cover the exhaust.
- Under a Tarp on a Patio: The bare minimum. Ensure the tarp is breathable and secured. Moisture under a plastic trap is worse than no cover at all.
Remember my stubborn shady spot, Patch? Even a dim, crowded corner of a garage is infinitely better than leaving your mower exposed to rain, snow, and sun. The goal is to limit temperature swings and moisture.
What About Professional Storage Services?
If you have no space, a storage unit is a valid option. In areas with harsh winters, like around Shelburne, VT, many folks use them. Costs vary widely by size and location, so you’d need to call for local “winter mower storage Shelburne VT prices.”
If you go this route, prep your mower even more meticulously. Assume you won’t see it for 5 months. Run stabilizer, remove the battery to store at home, and consider a breathable cover. You’re putting total trust in that unit—it’s especially important to service and tune up your lawn mower before storing it for an extended period.
Can You Store a Lawn Mower on Its Side?
Almost never. Storing a mower on its side, especially a riding mower, can cause oil and fuel to leak into places they shouldn’t be, like the air filter or cylinder. This can lead to a hydro-locked engine or a nasty mess.
The sole exception is for a very brief transport of a push mower. If you must tilt it, always ensure the carburetor and air filter are facing upward. Drain the fuel and oil first if possible. For winter storage, always keep it upright on all four wheels.
Moving Day: How to Transport Your Mower Safely
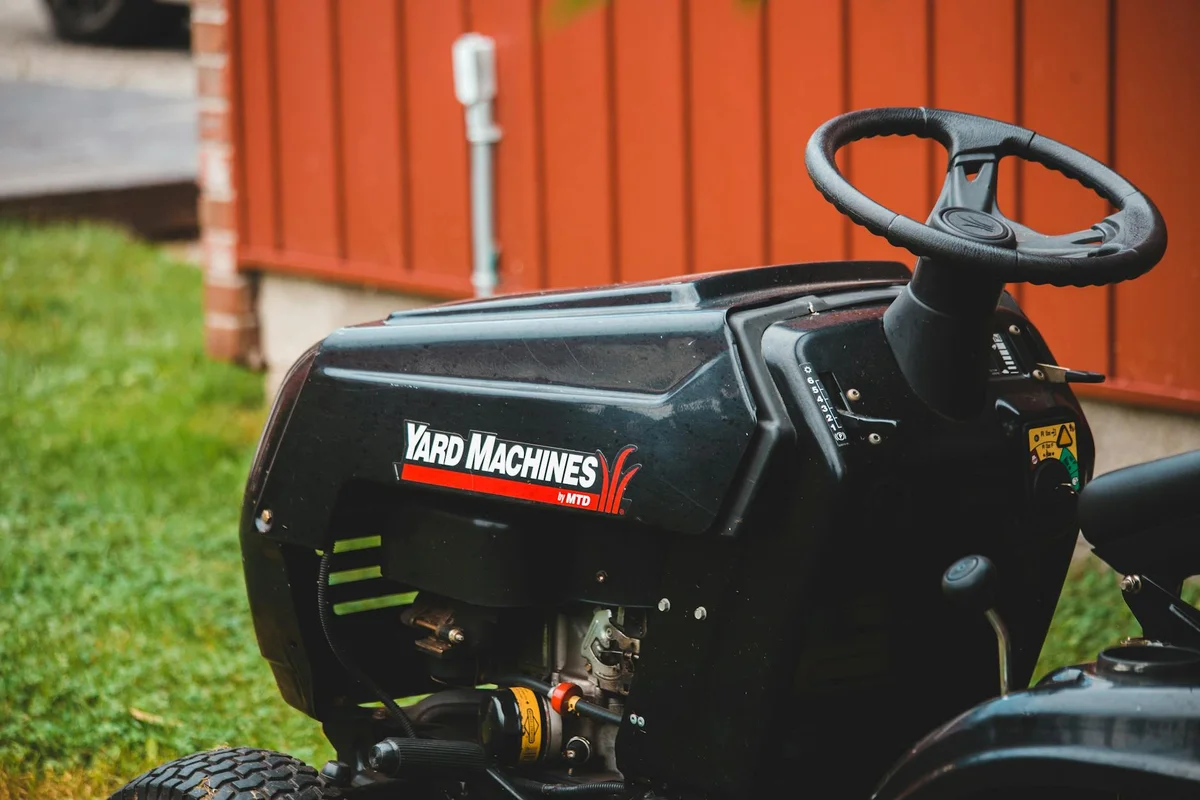
Whether you’re taking it to a professional for a tune up or moving it to a shed for the season, getting your mower from point A to point B needs a plan. The main thing to remember is that a push mower is an awkward piece of garage gear, while a riding mower is a small vehicle. You handle them very differently.
Transporting a Push or Walk Behind Mower
This is the most common move. You can fit it in a trunk or SUV, but you have to prep it first. Think of it like packing a heavy, somewhat fragile, and potentially greasy toolbox. You don’t want it tipping, leaking, or scratching your car’s interior.
- Drain the fuel completely. Run the engine until it stalls from an empty tank. This prevents dangerous spills and fuel system gunk.
- Secure the blade. Unplug the spark plug wire first for safety. Then, use a block of wood to wedge the blade so it can’t spin, and tape it in place.
- Give it a quick clean. Knock off the big clumps of grass and mud from the deck and wheels. This keeps your car clean and stops moist debris from sitting on the metal all winter.
- Use a protective barrier. Lay a heavy tarp or an old moving blanket in your trunk or cargo area first. Place the mower on top, and you can wrap the excess around it to contain any last bits of dirt.
Secure it so it can’t slide or tip during turns or stops, and you’ll avoid damage to your mower and your vehicle.
Transporting a Riding Lawn Mower
This is a serious task. A riding mower is heavy and needs a proper trailer or a sturdy truck bed. Trying to move it any other way is a big risk.
You need heavy duty ratchet straps, at least four of them. The goal is to secure the mower’s frame to solid anchor points on the trailer. Never strap the steering wheel, the steering column, or just the plastic body panels. You’re looking for solid metal.
- Park the mower on the trailer and set the parking brake.
- Loop one strap around a solid part of the rear frame or axle, and ratchet it down to a trailer D ring opposite it. Do the same on the other side.
- Repeat this process at the front of the mower, securing the frame near the front wheels.
- Gently test the straps by trying to rock the mower. It should not budge or shift on the trailer deck.
If you don’t have a trailer, rent one. It’s a small cost that prevents a huge headache or an accident on the road. Plan this ahead of time, just like you planned your winterizing steps.
Greedy Grass Pro Tip: The Spring Startup Secret
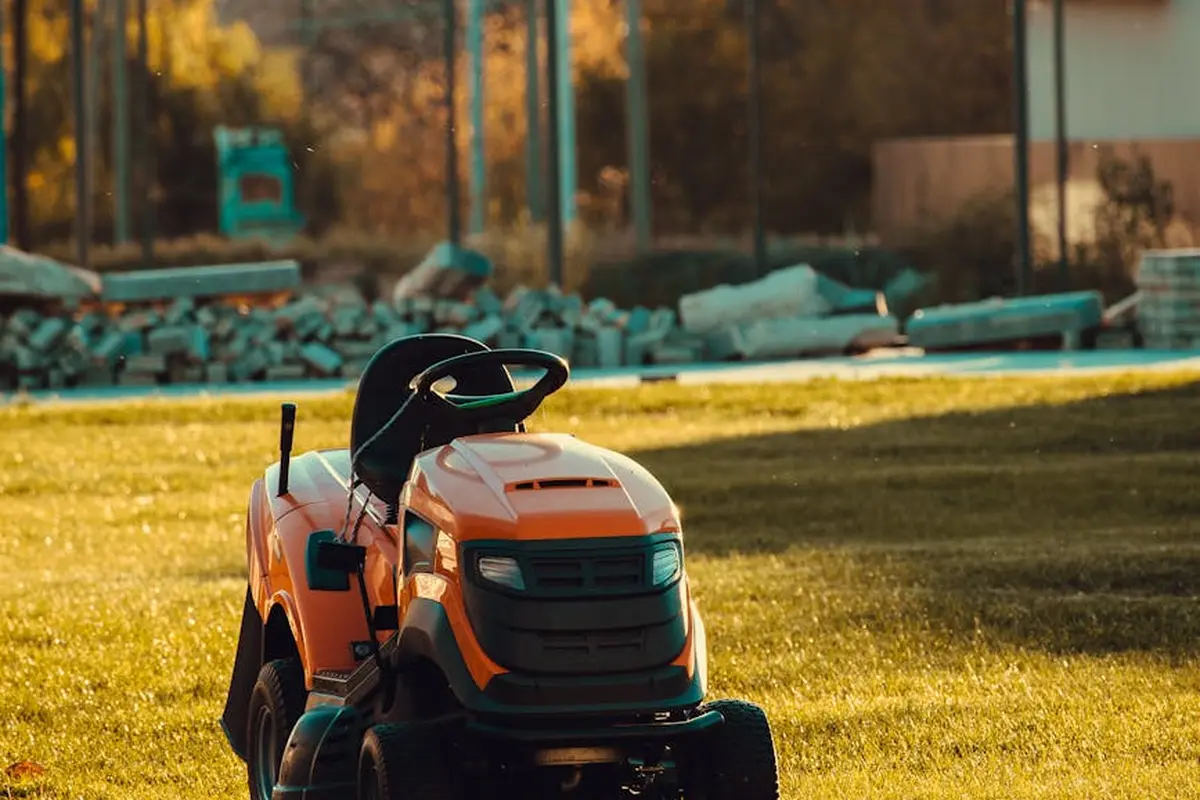
Everyone asks, “how do you start a lawn mower after winter?” The answer is simple: you reverse the storage process. If you did the winter prep right, spring is a celebration, not a struggle.
Here’s your first lawn weekend checklist:
- Reinstall the battery if you removed it. Give the terminals a quick scrub with a wire brush if they look corroded.
- Check your fuel. If you used a stabilizer and fresh gas, you’re likely good. If you drained it, fill it up with fresh gasoline.
- Prime the system. For push mowers, press the primer bulb a few times. For riders, turn the key and let the fuel pump run for a moment.
- Check the oil level one more time.
I remember the first start of last season with Max, my zero turn. After a full winter in the shed, I turned the key. It coughed once, then roared to life like I’d just used it yesterday. That sound, and the lack of fuss, is the ultimate reward.
The smooth roar of an engine starting on the first try is the direct result of the care you took months earlier during winter storage. It turns a potential frustration into the perfect start to a new season of lawn care.
Your Winter Mower Storage Questions, Answered
Should I store my mower with a full tank or an empty one?
For any mower stored over winter, a full tank with fuel stabilizer is the greedy-grass gold standard. An empty tank invites condensation, which leads to rust and a cranky engine come spring.
Do I really need a battery tender, or is bringing it inside enough?
Bringing the battery inside to a cool, dry spot is the essential move. A tender is a smart backup that guarantees a full charge, but simply storing it inside, fully charged, will work for the season.
My shed isn’t heated. Is that okay for a Vermont winter?
An unheated shed is a perfectly fine winter home if your mower is prepped right. Just make sure it’s bone-dry before storing, and consider a moisture-absorbing product to combat our damp cold.
What affects the cost of professional winter storage in places like Shelburne?
Cost is mostly about space and security. A simple outdoor storage unit is cheaper, while a climate-controlled, indoor unit with easy drive-up access will cost more but offers premium protection.
What should I look for in reviews of local mower storage facilities?
Look for mentions of cleanliness, secure access, and customer service responsiveness. Reviews that specifically mention dry, pest-free conditions and no spring-startup issues are a great sign.
Final Touches for Winter
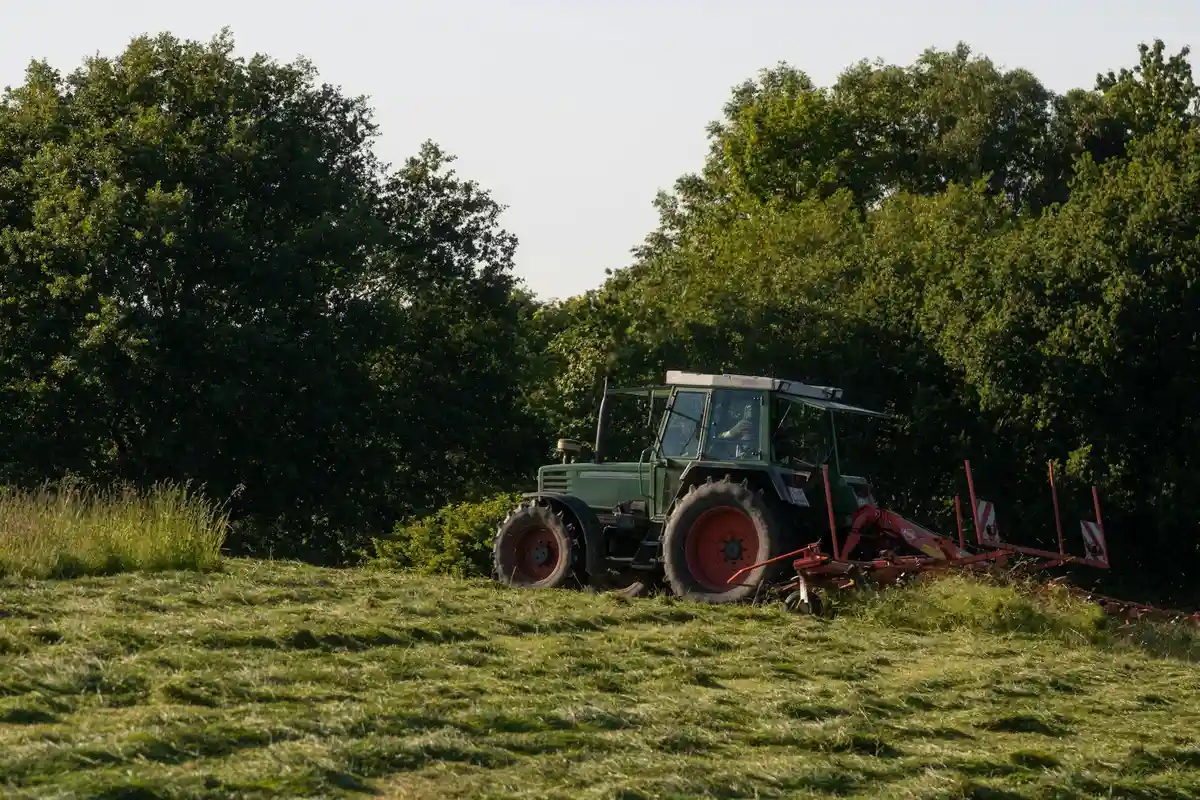
The single most important step is treating your fuel. Adding a stabilizer and running the engine for five minutes protects the carburetor from gummy residues. This simple act is the difference between a first-pull start next spring and a morning filled with frustrating repairs.
Taking good care of your equipment is part of being a responsible lawn steward. Establishing a simple lawn mower maintenance schedule helps you stay on track. The next steps outline a practical routine you can follow for regular checks and tune-ups. A well-maintained mower is safer, lasts longer, and is ready to help you build that thick, green lawn we all want when the new season arrives.
Related Guides and Information
- Winter storage | Petrol Lawn Mower support | Help Center US
- r/lawncare on Reddit: What do you actually need to do with your mower before winter?
- Lawn Mower Winter Storage | Topsham, ME | Norway, ME
- How To Properly Winterize Your Mower
- Prepare Your Lawn Mower For Winter | Milorganite
- How to Winterize Your Lawn Mower
- Storing Your Cub Cadet Riding Lawn Mower in the Off Season | Cub Cadet US
Written by Ria Carrington. Ria is an avid lawn care enthusiast and advisor. No lawn is unsalvagable when Ria is at work. She has helped countless homeowners breath new life into their dying lawns. She has a B.Sc in Agriculture and brings practical advice combined with knowledge of plant science and her decade worth of hands on experience.