
Is Your Soil pH Sabotaging Your Grass Seed?
You did everything right with your grass seed, but your lawn still looks thin and patchy. The issue might not be your effort, but a hidden problem with your soil’s acidity or alkalinity.
Let’s fix that. This guide will walk you through how to test your soil pH accurately, what your results mean for your grass type, and simple, cost-effective methods to amend it.
I’ve tested and adjusted the pH in my own yard for years, learning what works through trial and error with my own stubborn spots.
At a Glance: What Soil pH Means for Your Lawn
Soil pH is a number that tells you how acidic or alkaline your dirt is. Picture a scale from 0 to 14. A reading of 7 is neutral, like pure water. Anything below 7 is acidic. Anything above is alkaline.
For the grass we grow in our yards, the ideal pH range is between 6.0 and 7.0. This is the comfort zone where grass roots are happiest and healthiest. Beyond growth, soil pH influences turf diseases, with some pathogens thriving outside this range. Maintaining this pH helps reduce disease pressure and keeps roots robust.
The whole job boils down to four clear steps. I follow them every season.
- Test your soil to get a starting number.
- Read the results to see where you stand.
- Amend the soil if it’s too acidic or too alkaline.
- Seed your lawn after the correction has started.
Amending your soil’s pH is a slow correction, not a quick fix. It works over months, not days. Patience here saves you money and effort later. I learned this the hard way by trying to rush it and wasting good seed—and it’s especially important not to apply soil amendments too quickly, especially when combined with weed killer.
Why Bother? How pH Affects Grass Seed Germination
pH acts like a gatekeeper for your lawn’s food. Essential nutrients like nitrogen and phosphorus are locked in the soil. If the pH is wrong, it’s like the key doesn’t fit. The grass roots are right there, but they can’t access the meal they need to grow. That’s why soil test interpret results matter for lawn care, guiding what amendments will unlock those nutrients. When you interpret the results, you can tailor lime, sulfur, and fertilizer applications for your specific lawn.
Your lawn will show you when the pH is off. Look for grass that looks thin and weak. Moss might creep in, especially in shady, damp areas. Weeds like plantain or dandelions often thrive in poor pH conditions. You might also see yellow patches that don’t improve, even after you fertilize.
I see this every year in the corner of my yard I call Patch. It’s a shady spot that stayed damp and developed a thick moss problem. The grass was sparse and pale. A soil test revealed the soil was far too acidic. That moss was a clear sign the environment was perfect for it, but all wrong for grass seed to germinate and take hold.
If the pH is wrong, your grass seed struggles to access food, leading to poor germination and weak growth. Getting the pH right is like setting the dinner table before your guests arrive. It makes everything else work, especially when you’re using quality grass seed and soil.
Gathering Your Tools: What You Need for Soil pH Testing
Think of this like prepping for a small weekend project. You don’t need a garage full of gear, just a few key items to get an honest look at your dirt.
- A soil pH test kit or a digital pH meter.
- A clean trowel or, better yet, a soil probe for a clean core sample.
- A plastic bucket (I use a rinsed-out 5-gallon joint compound bucket).
- A jug of distilled water. This matters more than you think.
Now, about those testers. Home kits usually come with capsules or strips and a color chart. You add soil and water, shake it up, and match the color. They’re cheap, maybe $15-$20, and perfectly fine for a ballpark figure. I’ve used plenty.
Digital meters feel more scientific. You push a probe into damp soil and get a number on a screen. A decent one costs $30-$50. They’re simple, but you must keep that soil pH testing probe clean and calibrated. If you love data, this is your tool.
Then there’s the gold standard: sending a sample to your local agricultural extension office. A search for ‘soil ph testing near me’ or ‘free soil testing’ with your county name will find them. This is not just a pH test. It’s a full nutrient report card for your lawn.
Choose your tool based on what you want: a quick check with a kit, instant digital feedback, or the full story from the pros. For most of us fixing a patchy lawn, a simple kit is a fantastic first step.
Step-by-Step: How to Test Your Soil pH at Home
Testing soil isn’t hard. Getting a result you can trust just means being a little methodical. Let’s walk through it.
When and Where to Take Your Soil Samples
Timing is everything. You want a normal reading, not one skewed by recent chemicals or bone-dry earth.
- Test in early fall or spring. The soil is usually workable and has settled from summer or winter.
- Avoid testing right after you fertilize or add lime. Wait a few weeks.
- Don’t test during a drought. Parched soil can give a funny reading.
Where you sample is just as key. You need an average for your lawn, not a reading from one weird spot.
- Pick 5 to 10 random spots in the area you care about. Think of a zig-zag pattern.
- Avoid the edges near your house or fence, garden beds, under trees, or where the dog does its business. We want grass root zone soil.
- At each spot, use your trowel or probe to get soil from 3 to 4 inches down. That’s where the grass roots live. Scrape away any surface thatch first.
Sampling from several spots and the right depth gives you a true picture of your lawn’s condition, not just one lucky (or unlucky) corner.
Preparing Your Soil Sample for Accurate Testing
Now you have little piles of dirt from all over. This next step makes them one, uniform sample.
- Dump all your sub-samples into that clean plastic bucket.
- Use your hands to break up any clumps and mix it all thoroughly. Pick out any obvious rocks, twigs, or bits of grass.
- If the soil feels wet, spread it out on a couple of paper towels to air dry. Testing soggy soil can mess with the chemistry.
- When you’re ready to run the test, remember to use only distilled water from the store. Tap water has minerals that change the pH, which defeats the whole purpose.
Running the Test: Using Kits and Meters
Here’s where you get your number. The process is different for a kit versus a meter.
Option 1: Using a Liquid pH Test Kit
These are straightforward. Just follow the directions on your specific box to the letter.
- Typically, you fill the test tube to the marked line with your prepared soil.
- Add the provided soil ph testing solution or powder capsule.
- Top it off with distilled water, cap it, and shake it like a cocktail for the time it says.
- Let it settle. The liquid will change color. Hold it next to the provided chart to find your pH.
My tip? Shake it really well and use a clean tube. Leftover dirt or chemicals from a dirty container will give you a lie. The color can be subtle, so check it in good natural light.
Option 2: Using a Digital pH Meter
This feels more high-tech, but it needs a gentle touch.
- First, calibrate it. Most meters come with a small packet of powder to mix into a calibration solution. Do this. A meter that’s not calibrated is just a fancy stick.
- Take your mixed soil sample and moisten it slightly with distilled water. It should feel like a damp sponge, not mud soup.
- Insert the soil ph testing probe deeply into the soil, wait the 30-60 seconds for the reading to stabilize, and note the number.
- Afterward, gently rinse the probe with distilled water and store it as the manual says. Treat it well, and it’ll last for years.
Whether you watch for a color change or wait for a digital readout, the goal is the same: a clear, actionable number to guide your next steps.
What If You Want a Professional Test?
Maybe your home test shows a confusing result, or you want the full breakdown of nutrients. That’s when you call in the experts.
Your local university cooperative extension service is the best place. They have labs for this. You can search something like ‘soil ph testing in NH’ or ‘free soil testing Cary NC’ to find yours. Some states or counties offer free basic tests.
You’ll follow their specific sampling instructions (often very similar to what we did), bag up the soil, and mail it in. In a week or two, you get a detailed report.
The pros are more detailed-they’ll tell you exactly how much phosphorus or potassium you have. The cons are the wait and sometimes a small fee. For solving a persistent problem in Patch, my stubborn shady corner, this lab report was the key that unlocked the solution.
Decoding Your Results: Do You Need to Amend Your pH?
The Ideal pH Range for Your Grass Type
Think of soil pH as the gatekeeper for your grass’s food. If it’s off, the gate is locked, and your grass seed can’t get the nutrients it needs to grow strong. Every grass type has a sweet spot.
Here’s the simple breakdown for common home lawn grasses.
Aim for the middle of your grass’s range, and you give roots the perfect environment to push deep and thrive.
Signs Your pH is Off and Amending is Needed
How do you know if you need to amend your lawn soil pH? Your test kit gives you the hard numbers, but your lawn often sends signals first.
If your pH is below 6.0, your soil is too acidic. I see this in shady, damp areas like my own trouble spot, Patch. Look for moss taking over, grass that looks thin and weak, or fertilizer that doesn’t seem to work no matter how much you put down. The nutrients are there, but the grass can’t use them.
If your pH is above 7.5, your soil is too alkaline. The grass might show a pale yellow color, especially between the veins of the blades, even with proper watering. The soil can feel hard and compacted, like it repels water instead of soaking it in.
Your soil test is the final confirmation. If that number is outside the ideal range for your grass, amending is your next move. If your test shows a pH outside the ideal range, amending before seeding gives your grass the best start. Trying to grow seed in the wrong pH is like trying to bake bread in a cold oven.
Timing: When to Test and Amend Before Seeding
Should you test soil pH before or after seeding? Always test, and amend, months before you plan to put seed down. This isn’t a last-minute task.
Products like lime or sulfur don’t work overnight. They need time to react with the soil, slowly shifting the pH where your new grass roots will grow. If you apply them right before seeding, they won’t have done their job.
I plan my seasons around this. For a fall seeding, I test and apply amendments in the spring. For a spring seeding, I do the work the previous fall. This gives the soil a full season to adjust. Think of it as getting the room ready before the guest arrives. It makes all the difference.
How to Amend Your Soil pH: Raising or Lowering It
Safely Raising pH with Lime
To raise a low pH and sweeten acidic soil, you use lime. For home lawns, pelletized dolomitic lime is your best friend. It’s easy to spread with any broadcast spreader, and it’s safe for pets and kids once watered in.
Stay away from quicklime or hydrated lime. They work too fast and can burn your lawn and skin.
Your soil test results will tell you exactly how many pounds of lime to apply per 1,000 square feet. This is not a guesswork step. Use a lawn lime calculator to double-check the amount. Fill your spreader, set the rate as directed, and walk your lawn just like you’re fertilizing. The key is an even coat. Once it’s down, water it in thoroughly with Sunny, my irrigation system. This washes the pellets off the grass blades and starts them working into the soil.
Safely Lowering pH with Sulfur
To lower a high pH and acidify alkaline soil, you need sulfur. I use either elemental sulfur (often as pellets or dust) or iron sulfate. Both are gentle on soil life and safe for pollinators when used correctly.
Sulfur works slower than lime, so patience is part of the plan. You must measure carefully. Over-applying sulfur can make the soil too acidic too quickly, harming the beneficial microbes and earthworms you want to keep.
Follow your soil test recommendation to the letter for pounds per 1,000 square feet. I sometimes use a small scale to measure bags for my front yard separately from the back to get it right. Apply it evenly with your spreader on a calm day, and water it in well.
How Long Does It Take for Amendments to Work?
Set your expectations for the long game. Lime can take 6 to 12 months to fully raise the pH. Sulfur acts a bit faster, usually showing effects in 3 to 6 months. Clay soil takes longer than sandy soil. Rain and warmth help move the process along.
Amending soil is like seasoning a soup slowly, not dumping in salt all at once. You’re guiding the chemistry, not forcing it.
The best practice is to retest your soil pH after one full growing season has passed. This tells you if your application worked or if you need a light follow-up. Only when your pH test reads in the ideal range should you invest in premium grass seed. Then you know the soil is truly ready to support it.
Greedy Grass Pro Tips for pH Balance and Lawn Care
You’ve got your soil test results in hand and a plan to amend. Great. Now let’s talk about keeping that pH in the sweet spot long-term. It’s less about big, dramatic actions and more about smart, consistent habits.
How Often Should You Retest Your Soil pH?
Think of a soil test like a check-up, not an emergency room visit. A good rule of thumb is to test every two to three years. That’s often enough to catch a slow drift before it becomes a real problem.
You might need to test more often. If you live in an area with heavy rainfall that leaches nutrients, or if you’re using synthetic fertilizers frequently, your soil chemistry can change faster. My personal trigger is if I see problems I thought I fixed, like moss or poor grass color, creeping back into the same area. That’s my cue to get the test kit back out.
Maintaining pH with Smart Fertilizing and Watering
Your everyday lawn care choices have a big impact on pH. I choose fertilizers labeled as “pH neutral” or “soil building,” and I lean toward organic options like compost or milorganite. They feed the grass and the soil life without causing wild pH swings. For a practical, step-by-step approach, an organic lawn care guide can translate these ideas into a season-by-season plan. It helps you tailor soil inputs and practices to your lawn without relying on synthetic swings.
Don’t forget about your water. If you have hard water like I do, the minerals in it can slowly push your soil pH higher over time. My drip system, Sunny, is efficient, but it’s still delivering that mineral-heavy water. I try to collect rainwater for spot-watering sensitive areas when I can. Every little bit helps.
The best defense is a thick, healthy lawn. Regular mowing with Max and consistent care help maintain a healthy soil environment that resists pH swings. A dense turf shades the soil, holds moisture better, and supports the microbes that keep everything in balance. It’s your first line of defense.
The Patience Game with Stubborn Spots
Some areas just fight you. I have a corner I call Patch. It’s shady, compacted from an old tree root, and for years it was a sad mix of moss and dirt. I learned that dumping a bag of lime on it and hoping for a miracle doesn’t work.
With Patch, I had to be patient. I applied smaller, targeted amendments, watered it in well, and waited a full season to retest that one three-foot circle. For problem zones, spot-treating is always smarter than a blanket application over your whole yard. It saves you money, product, and it’s better for the environment.
Here’s a Greedy Grass Pro Tip you can use right now. Your lawn isn’t one uniform block. Test soil in different sections separately. Take one sample from a sunny, well-drained area and another from a shady, damp spot like under a tree. Shade, foot traffic, and drainage can create what I call pH microclimates. Treating them the same is why one area thrives while another struggles.
Your Soil pH Questions, Answered
Can I really get a free soil test near me?
Absolutely. Your local cooperative extension office is the best place to start-search “free soil testing Cary NC” as an example to find yours. They provide a detailed nutrient report, which is the ultimate cheat sheet for your lawn’s health.
My pH test kit gave a weird reading. What should I do?
Don’t panic. First, double-check you used distilled water and a clean sample. If it’s still unclear, grab a sample from a different spot or consider a digital meter for a second opinion; sometimes a soil pH testing probe cuts through the guesswork.
I’m seeding this weekend and just tested. Is it too late to amend?
Yes, you’ve missed the window for this seeding. Amendments work over months, not days. Seed now, but plan to properly amend after this season’s growth so your next seeding is wildly successful.
How soon after amending should I retest my soil pH?
Give it a full growing season-about 6 to 12 months. These changes are slow and steady. Retesting too soon will just frustrate you and waste a test kit.
Is a professional lab test worth the effort?
For a stubborn lawn problem, 100% yes. A search like “soil ph testing in NH” finds labs that give you a full nutrient breakdown. It’s the difference between guessing and knowing exactly what your greedy grass craves.
Your Path to a Healthier Lawn
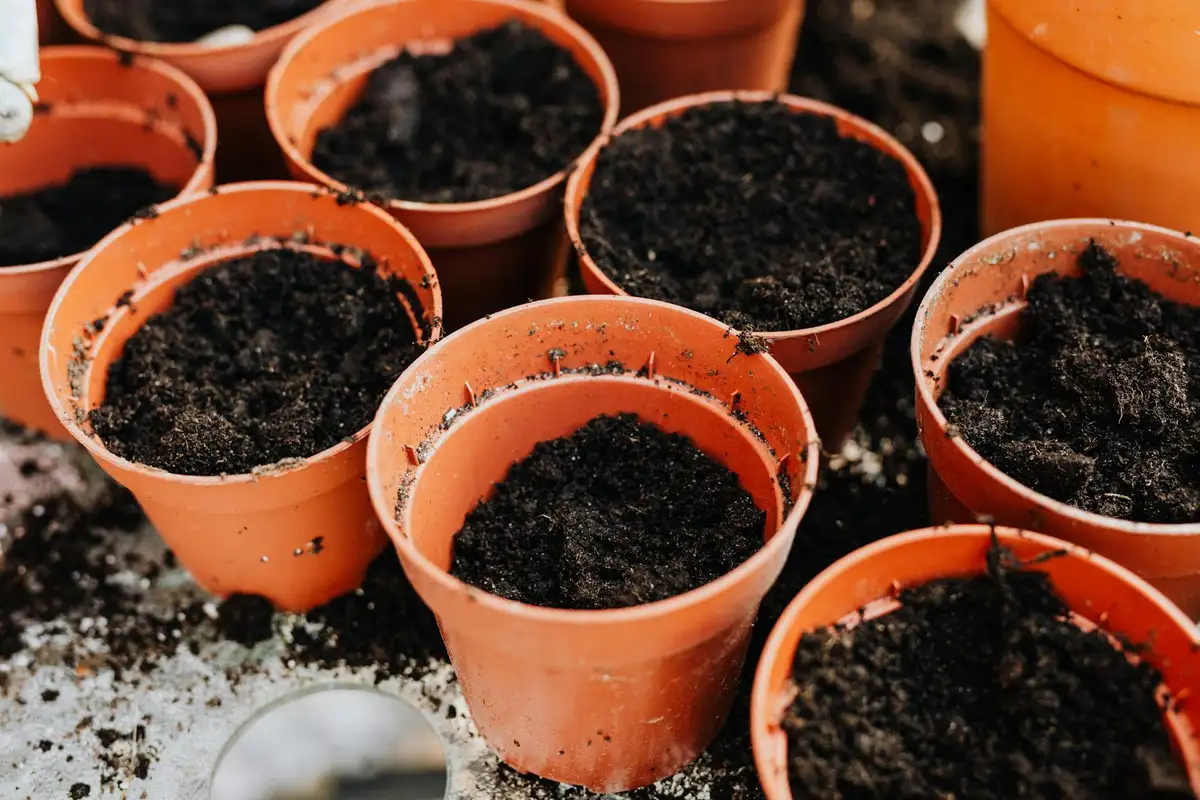
The single most important step is to test your soil’s pH before you do anything else. Knowing your starting point turns a guessing game into a simple plan, saving you time, money, and a whole lot of frustration.
I make it a habit to check on my lawn with my morning coffee, and that kind of simple, consistent attention is what builds real results. Taking care of your soil is the foundation of responsible lawn care, a practice that naturally leads to using fewer harsh chemicals and creating a safer space for everyone who enjoys your yard.
Expert Resources and Citations
- Read your weeds: A simple guide to creating a healthy lawn
- Best pH For Lawn Soil | Jonathan Green
- The Role of pH Levels in Lawn Seeding Success
- Best Soils for Planting Fescue Grass Seed
- r/lawncare on Reddit: Soil pH for new lawn?
- How to Plant Grass Seed
Written by Ria Carrington. Ria is an avid lawn care enthusiast and advisor. No lawn is unsalvagable when Ria is at work. She has helped countless homeowners breath new life into their dying lawns. She has a B.Sc in Agriculture and brings practical advice combined with knowledge of plant science and her decade worth of hands on experience.